In recent months, HTC has decided to start breaking its proprietary apps out of its own ecosystem and into the Google Play Store. Along with the benefit of allowing its users to update their system apps more easily, this move also means that other folks can get a glimpse of what it's like to use an HTC device.
As a part of this recent initiative, Zoe—one of HTC's most sought-after features—has just been added to the Play Store. While it may not be the full camera and editing suite, the heart of Zoe is now available to all devices running Android 4.4 or higher (see Step #1 below for more info on this).
This version allows users to create professional-level video compilations, and Zoe even provides a platform for you to share and discover videos (almost any modern smartphone will be capable of viewing them). Complete with filters, transitions, and even a synced soundtrack, your videos will look better than ever and you'll come off looking like a pro.
Install Zoe
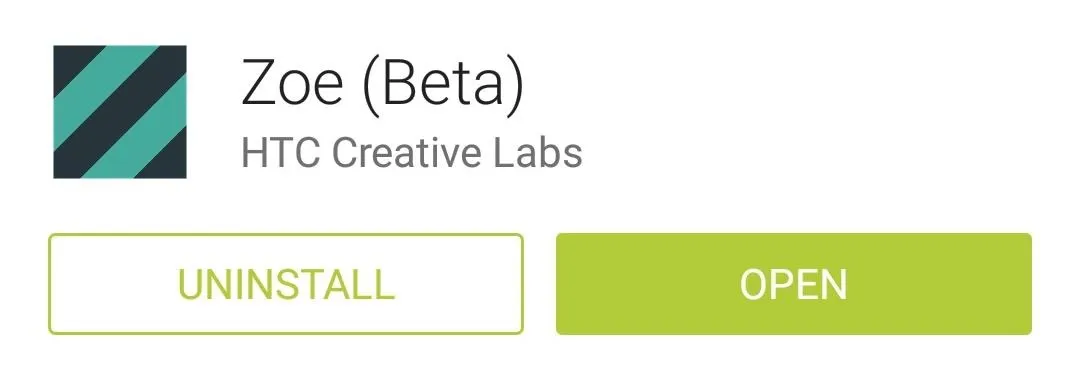
To get Zoe installed on your device, open up your Play Store app and search Zoe (Beta). If you'd rather jump straight to the install page, you can head to this link. This "official" version currently only supports Sense 6 devices, the Nexus 5, LG G2 and G2 Pro, Samsung Galaxy S4, Galaxy S5, and Note 3.
If yours isn't yet supported, you can grab the app (in APK form) from our mirror here (as long as you have installation from "Unknown sources" enabled). Some features may or may not work, but it never hurts to try.
Log into Zoe
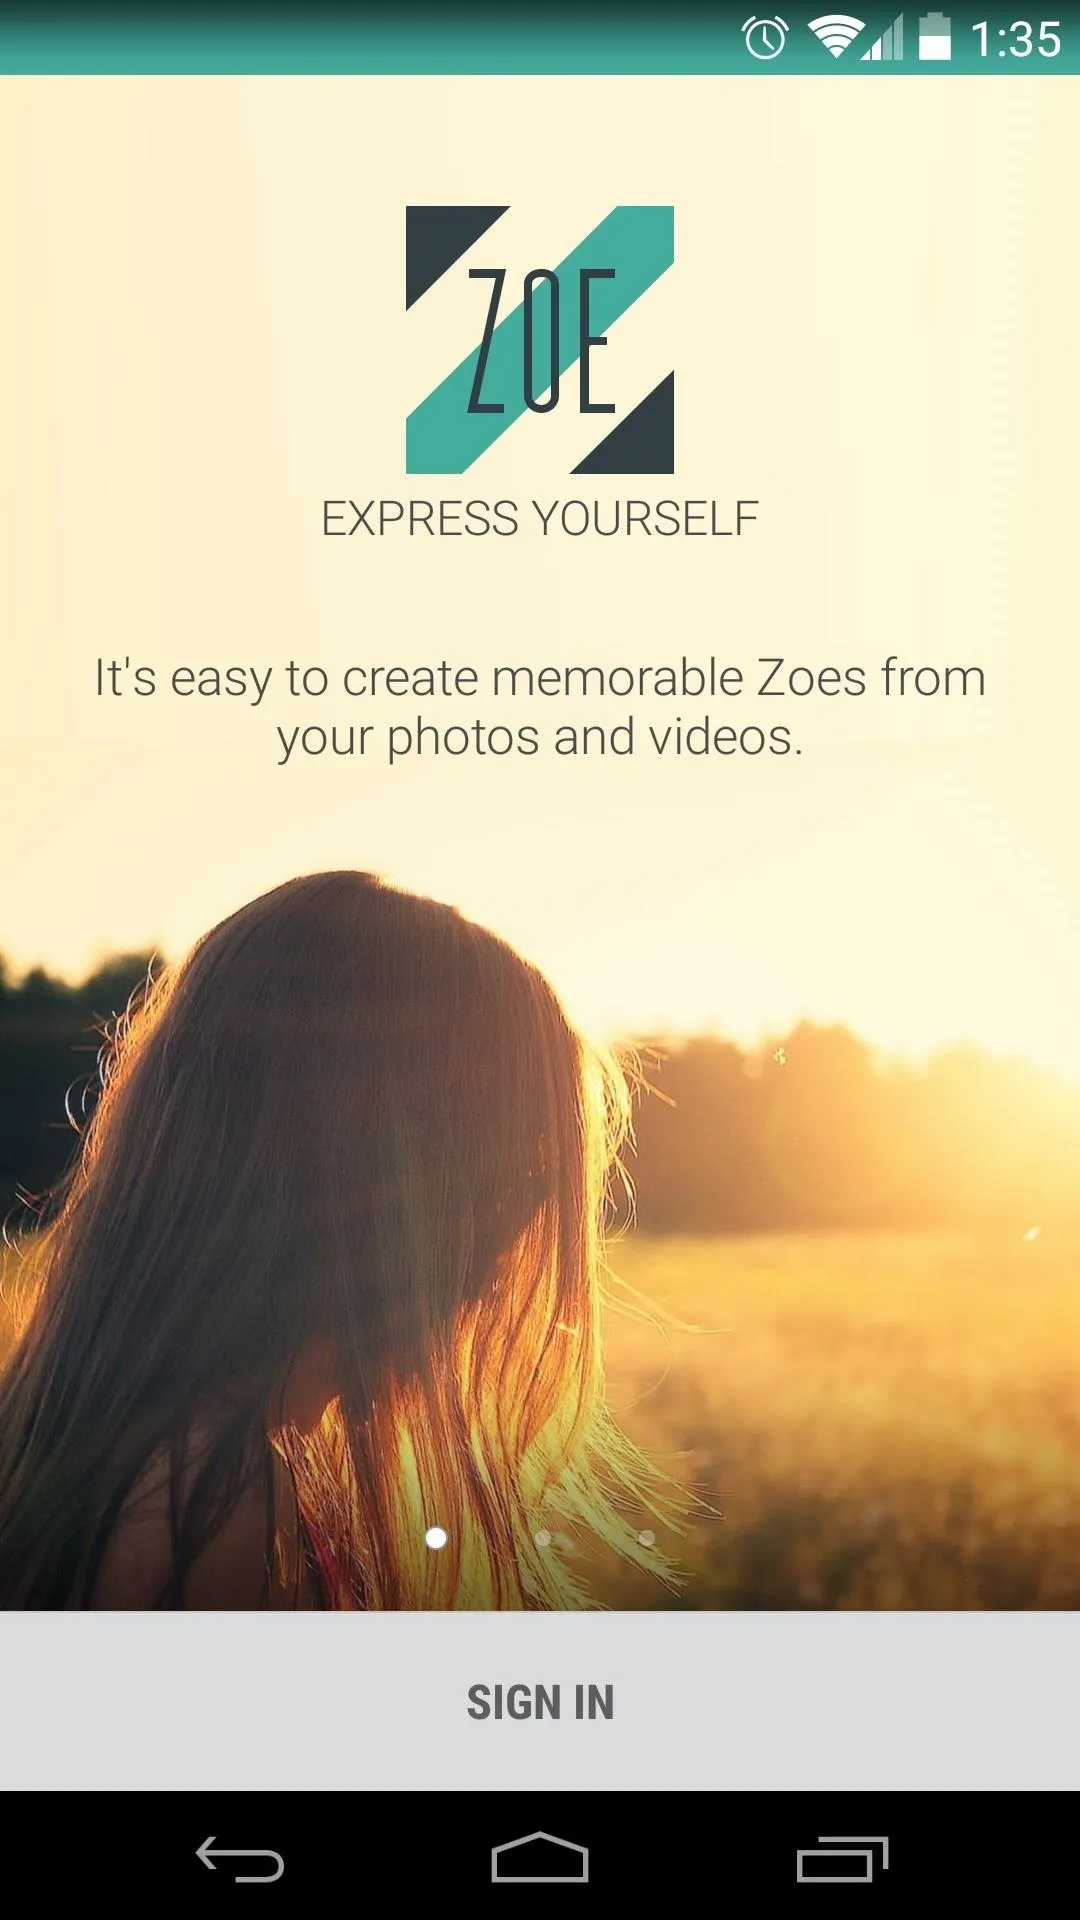
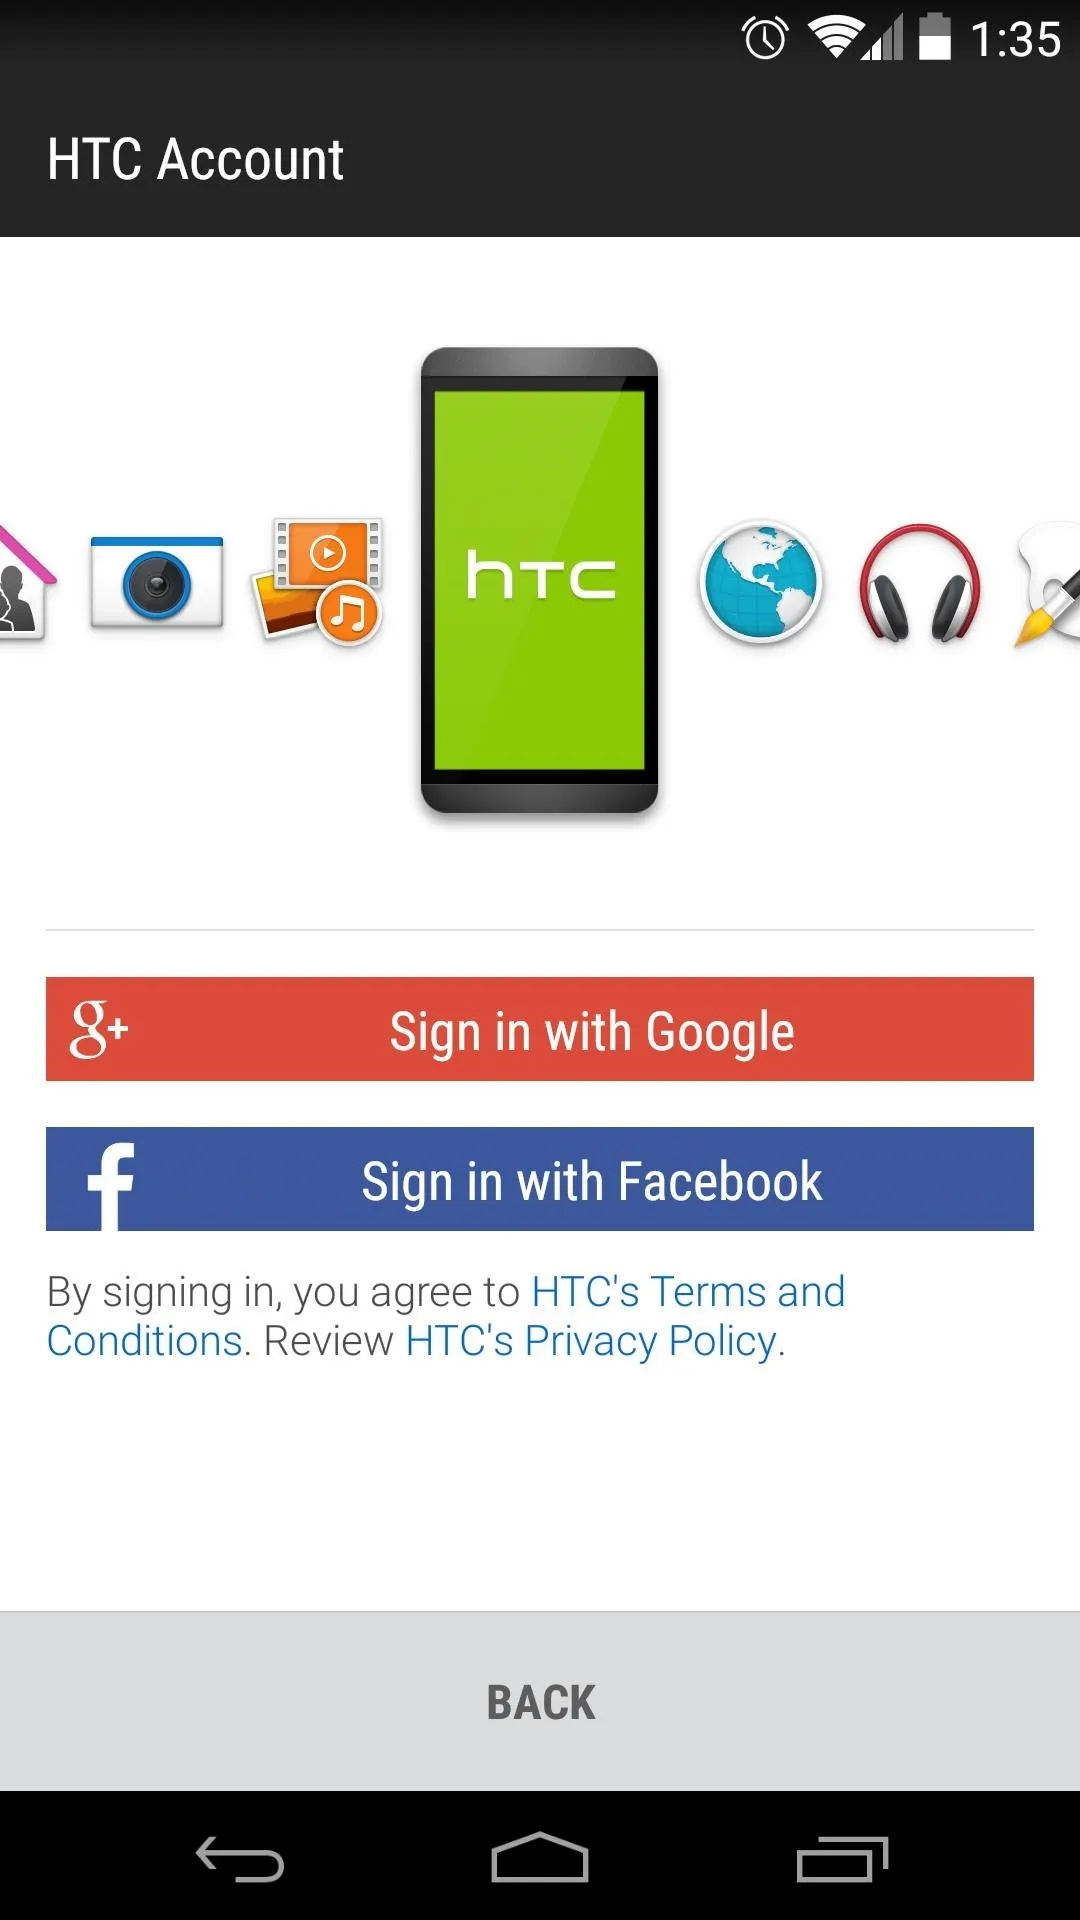
When you first launch Zoe, you'll be asked to log in. The choices here are Google or Facebook, so tap the one that you'd prefer to use as your login credentials, then press Sign In on the subsequent popup.
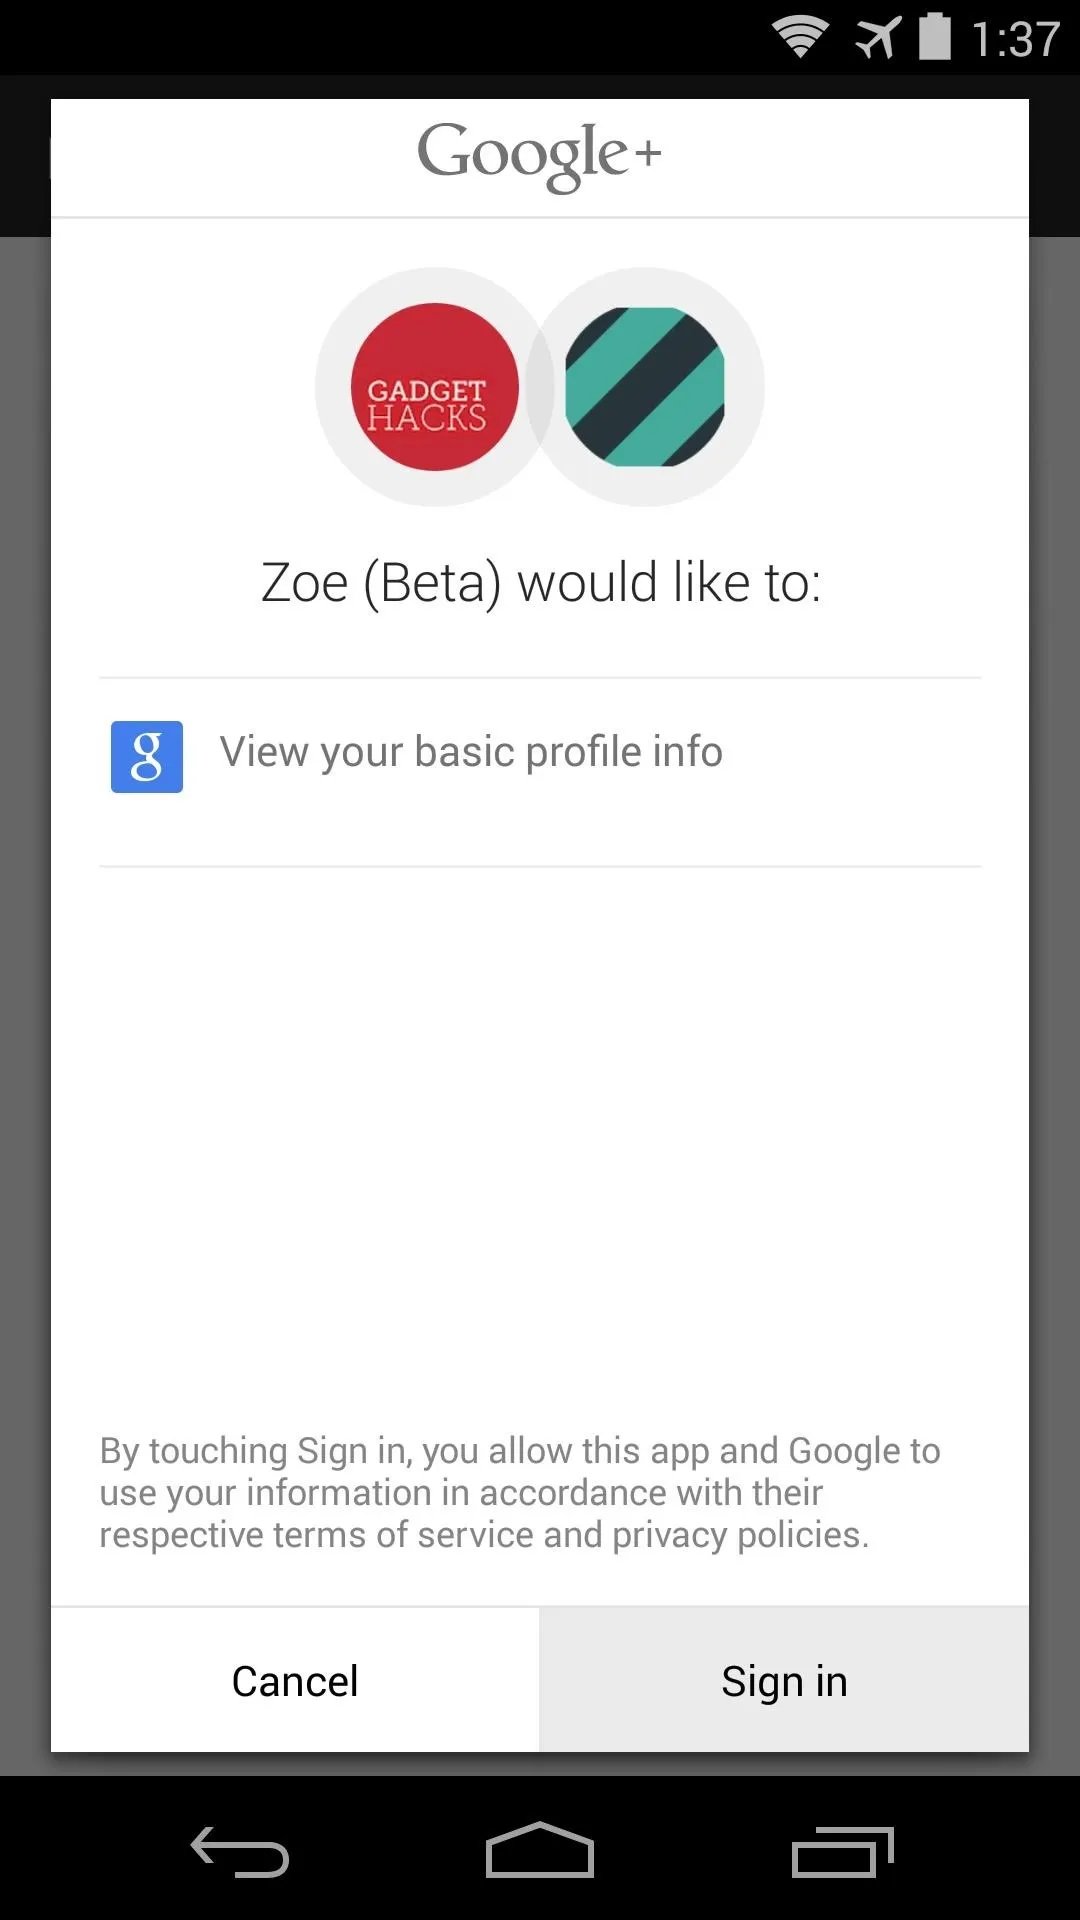


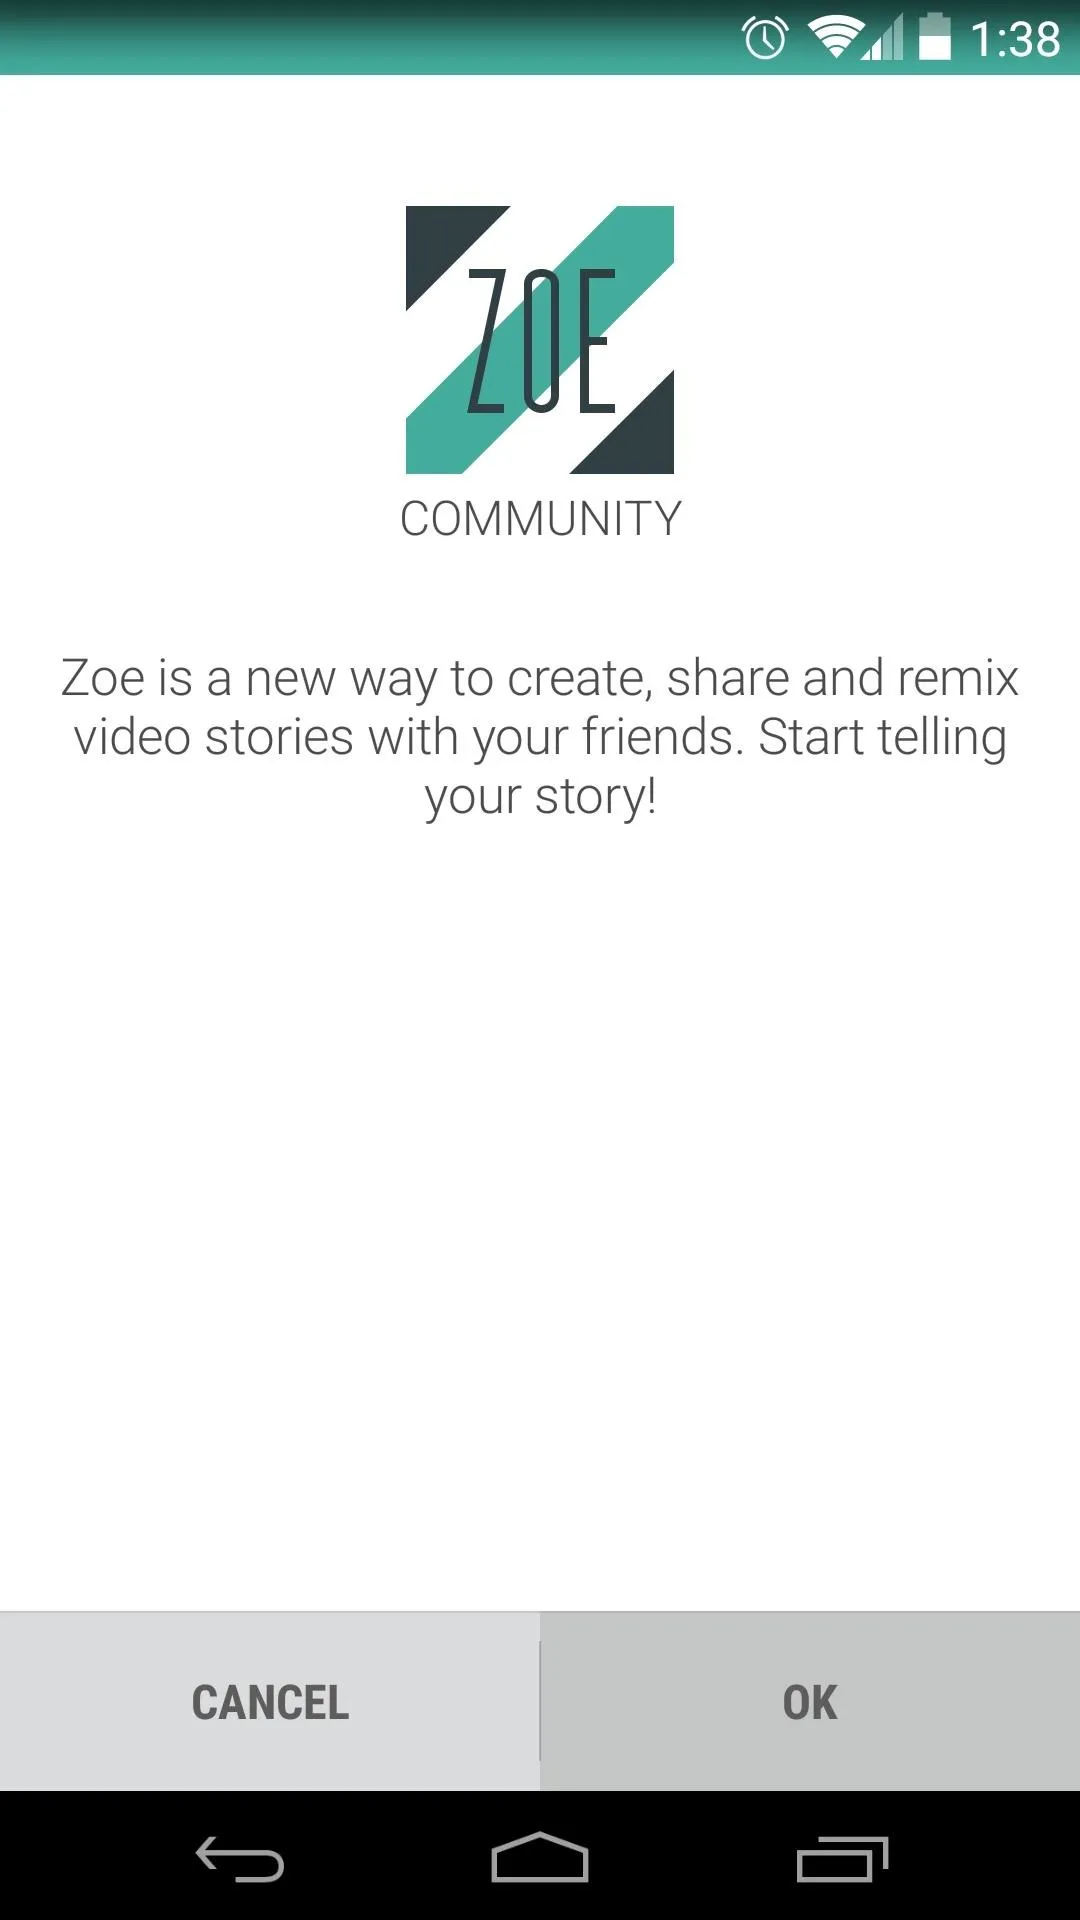
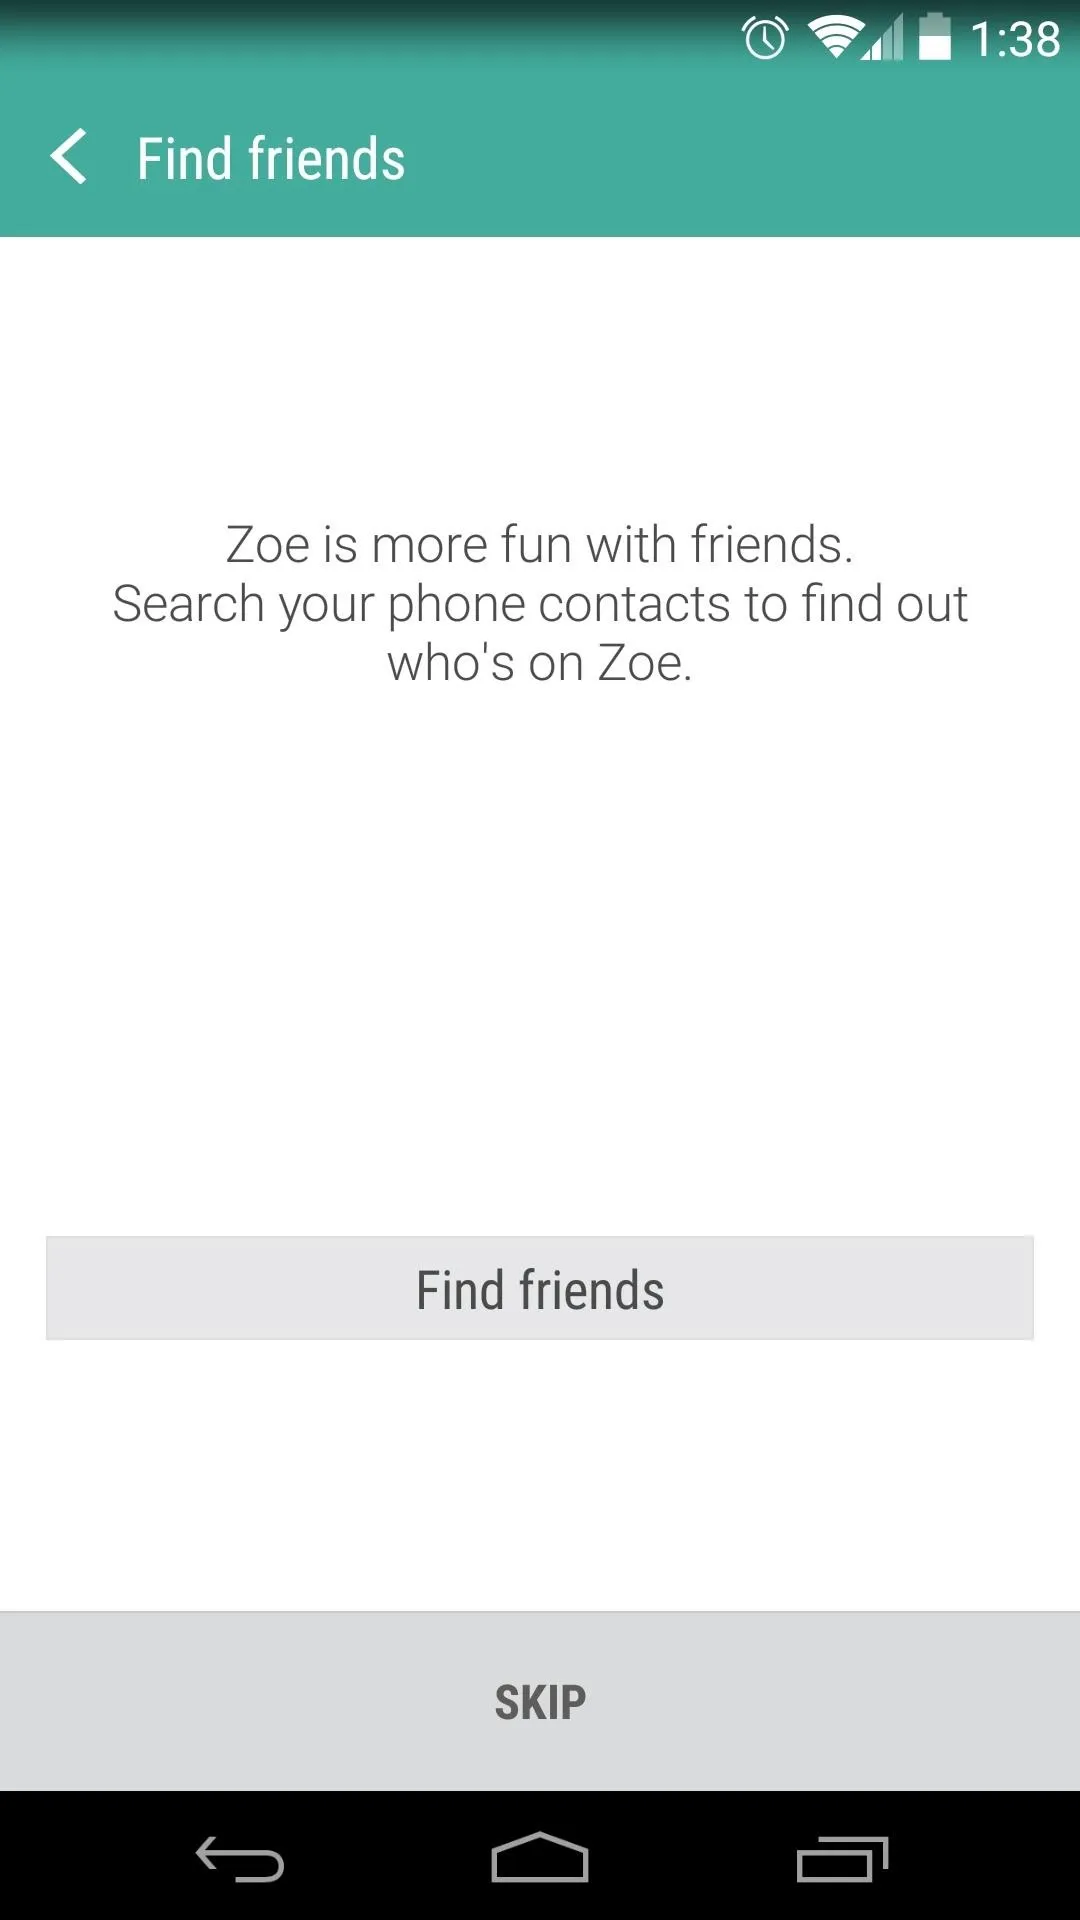
Hit OK on the summary page that comes up next, then you'll be given a chance to Find Friends on the next page. If you don't know anyone who uses Zoe, just hit Skip.


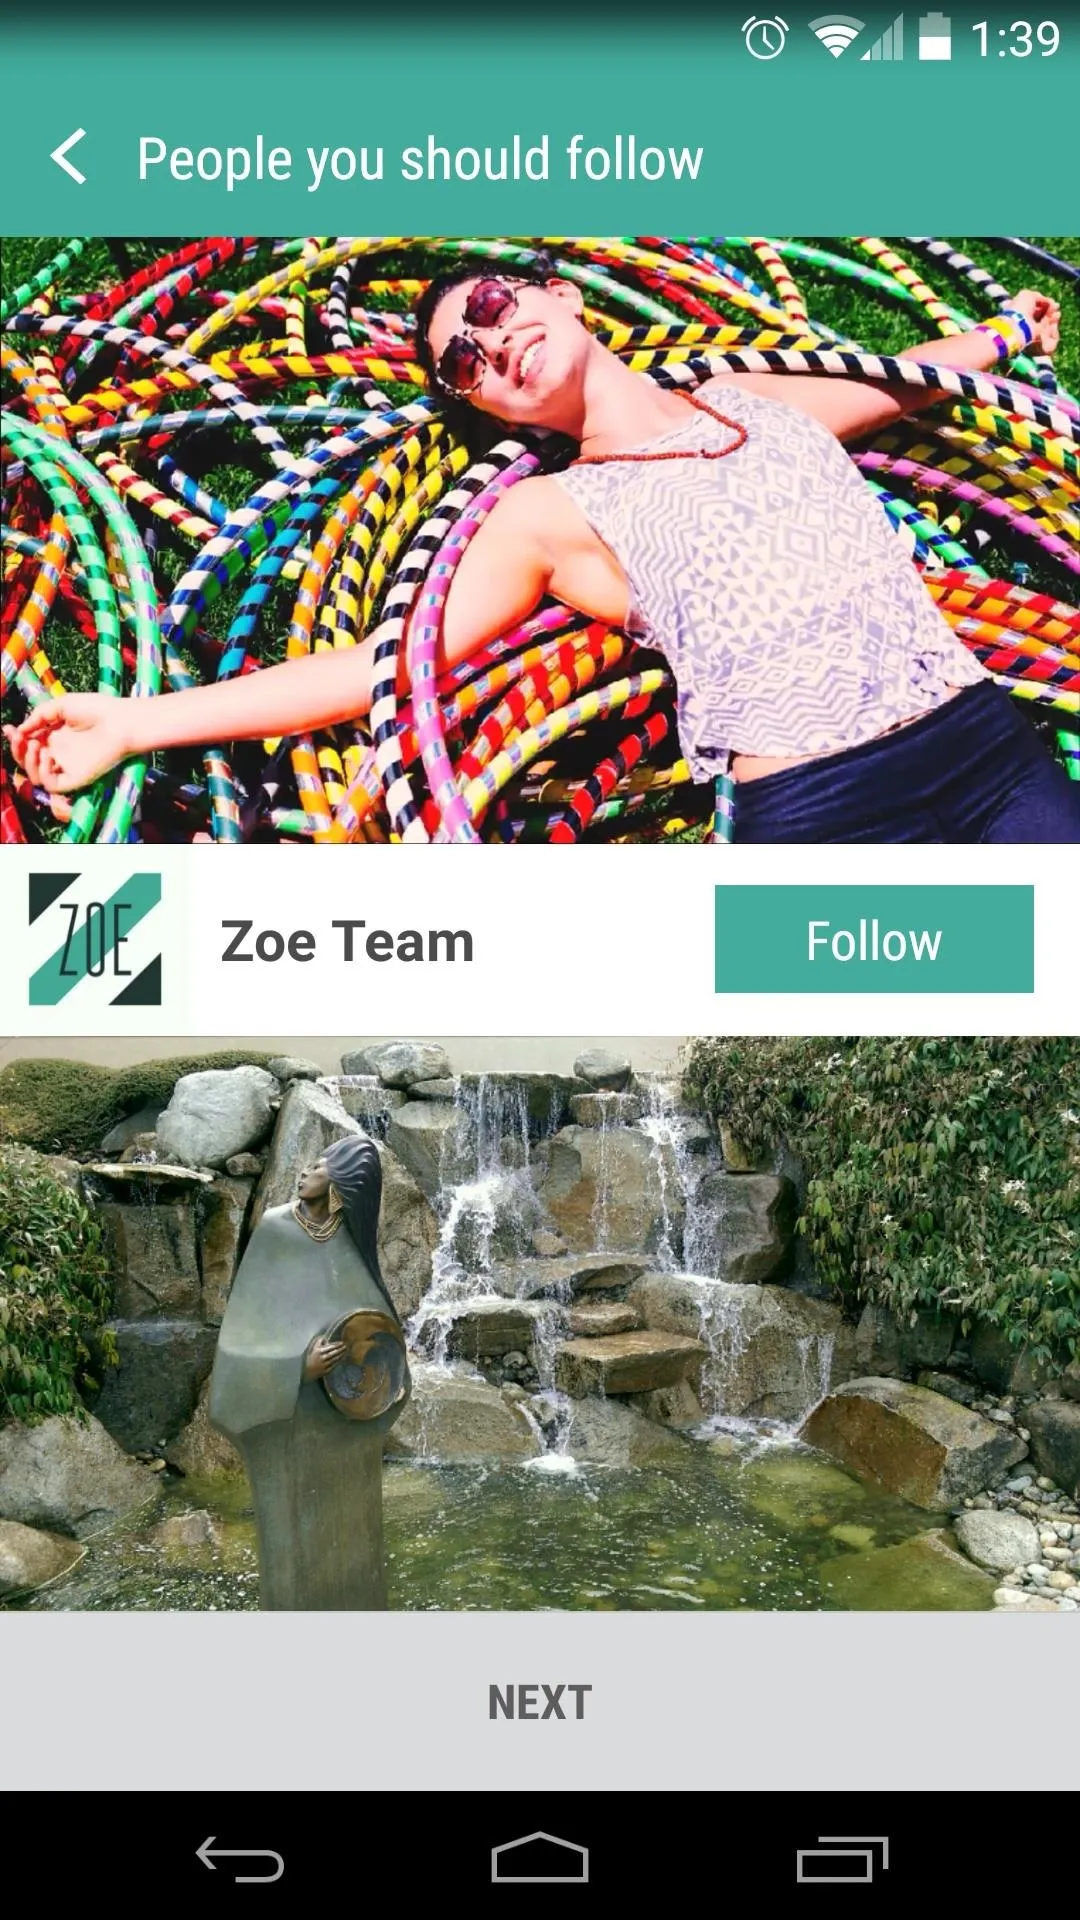
On the next screen, Zoe will suggest people for you to follow. This is not necessary, but it gives you a chance to see what kind of videos other folks have made with the app. So tap the Follow button next to anyone whose videos intrigue you, then hit Next and you'll be taken to Zoe's main screen.


Create a Zoe Video
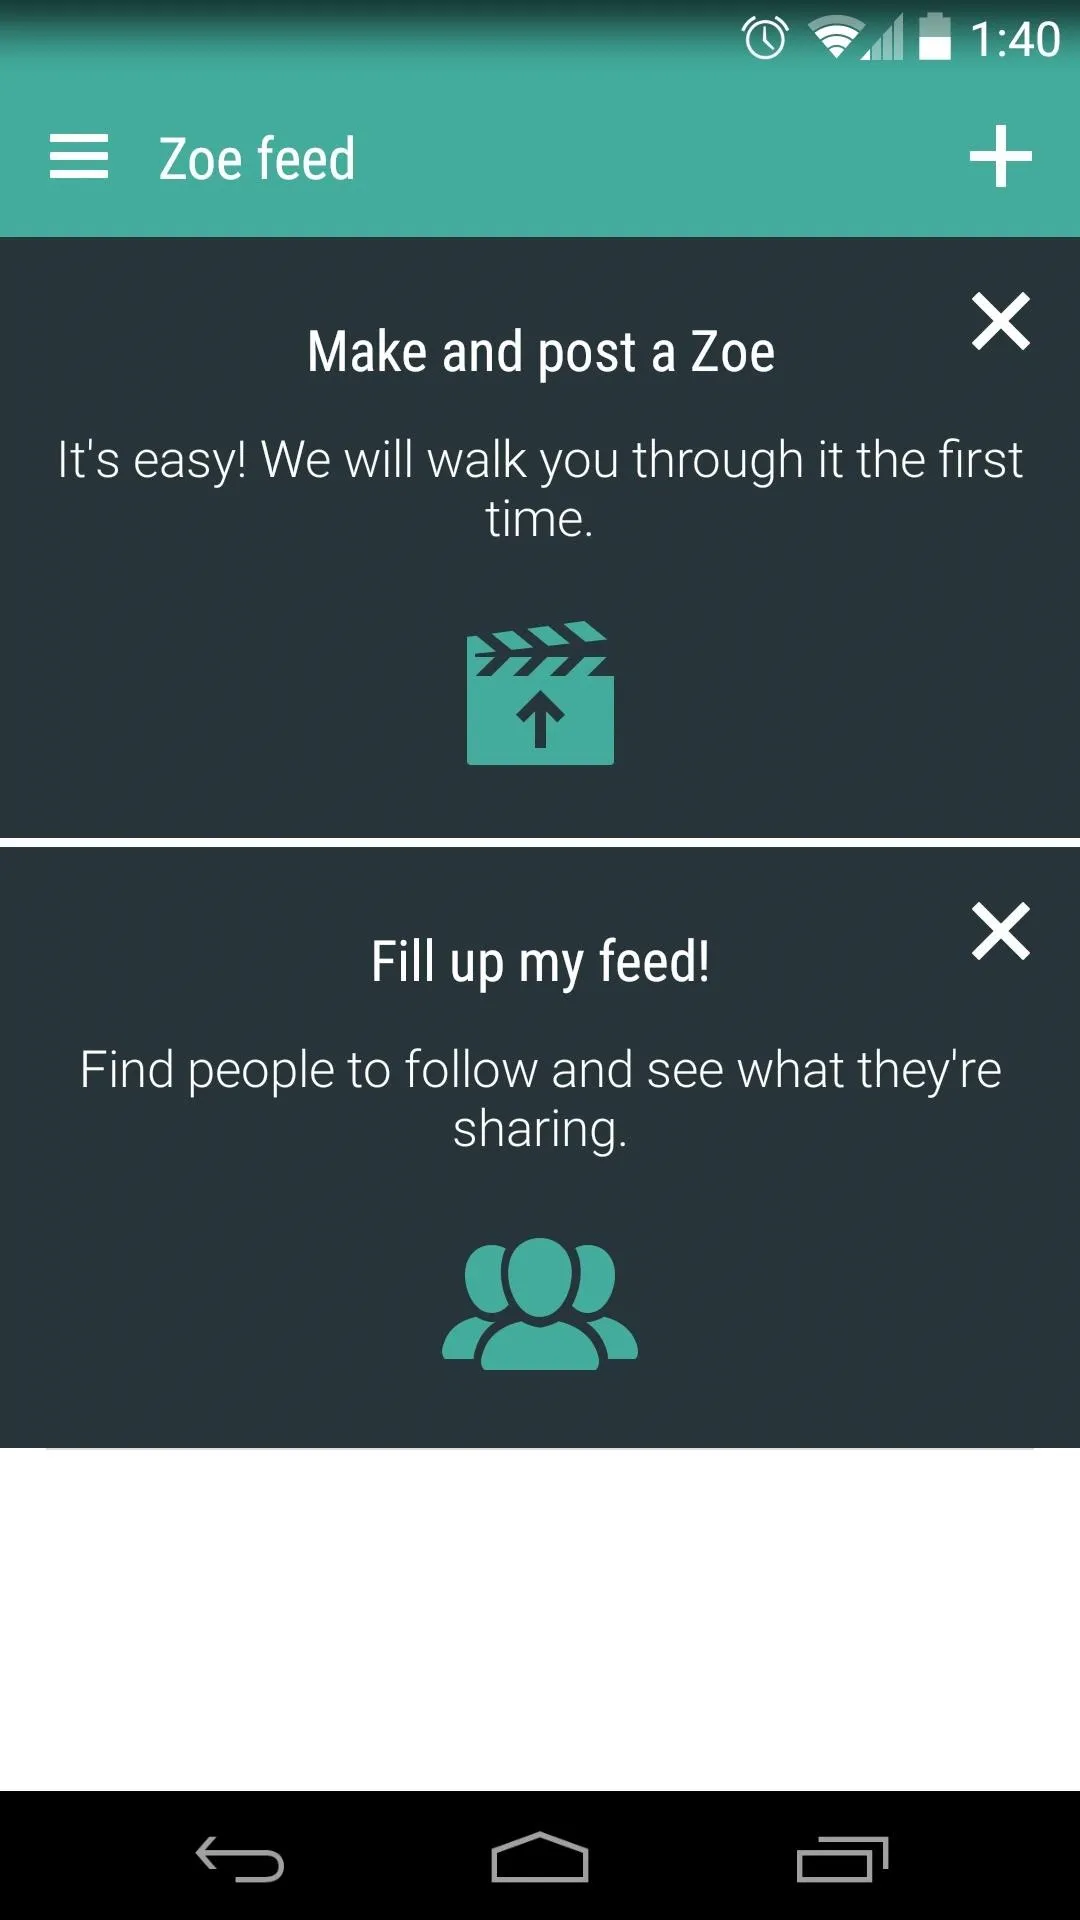
From Zoe's main screen, tap the Plus button in the upper right-hand corner to begin creating your a compilation video.
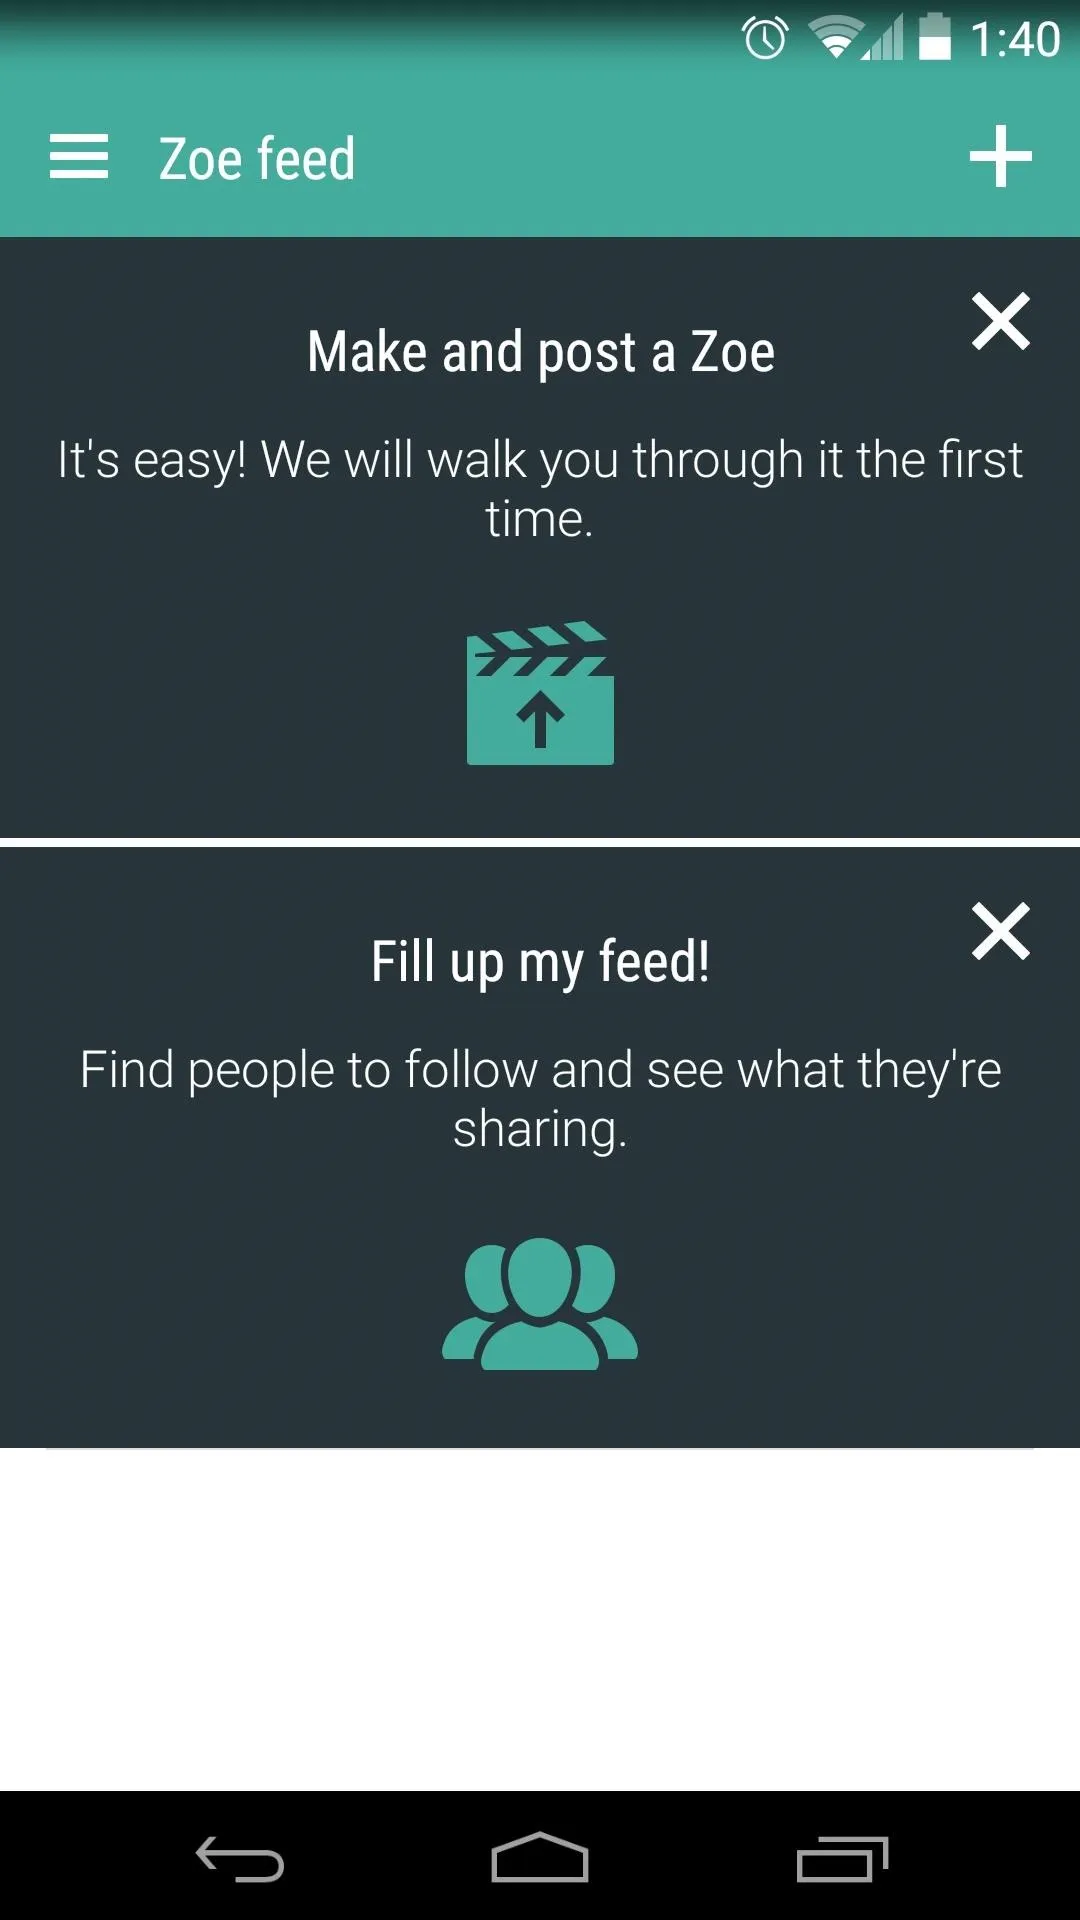
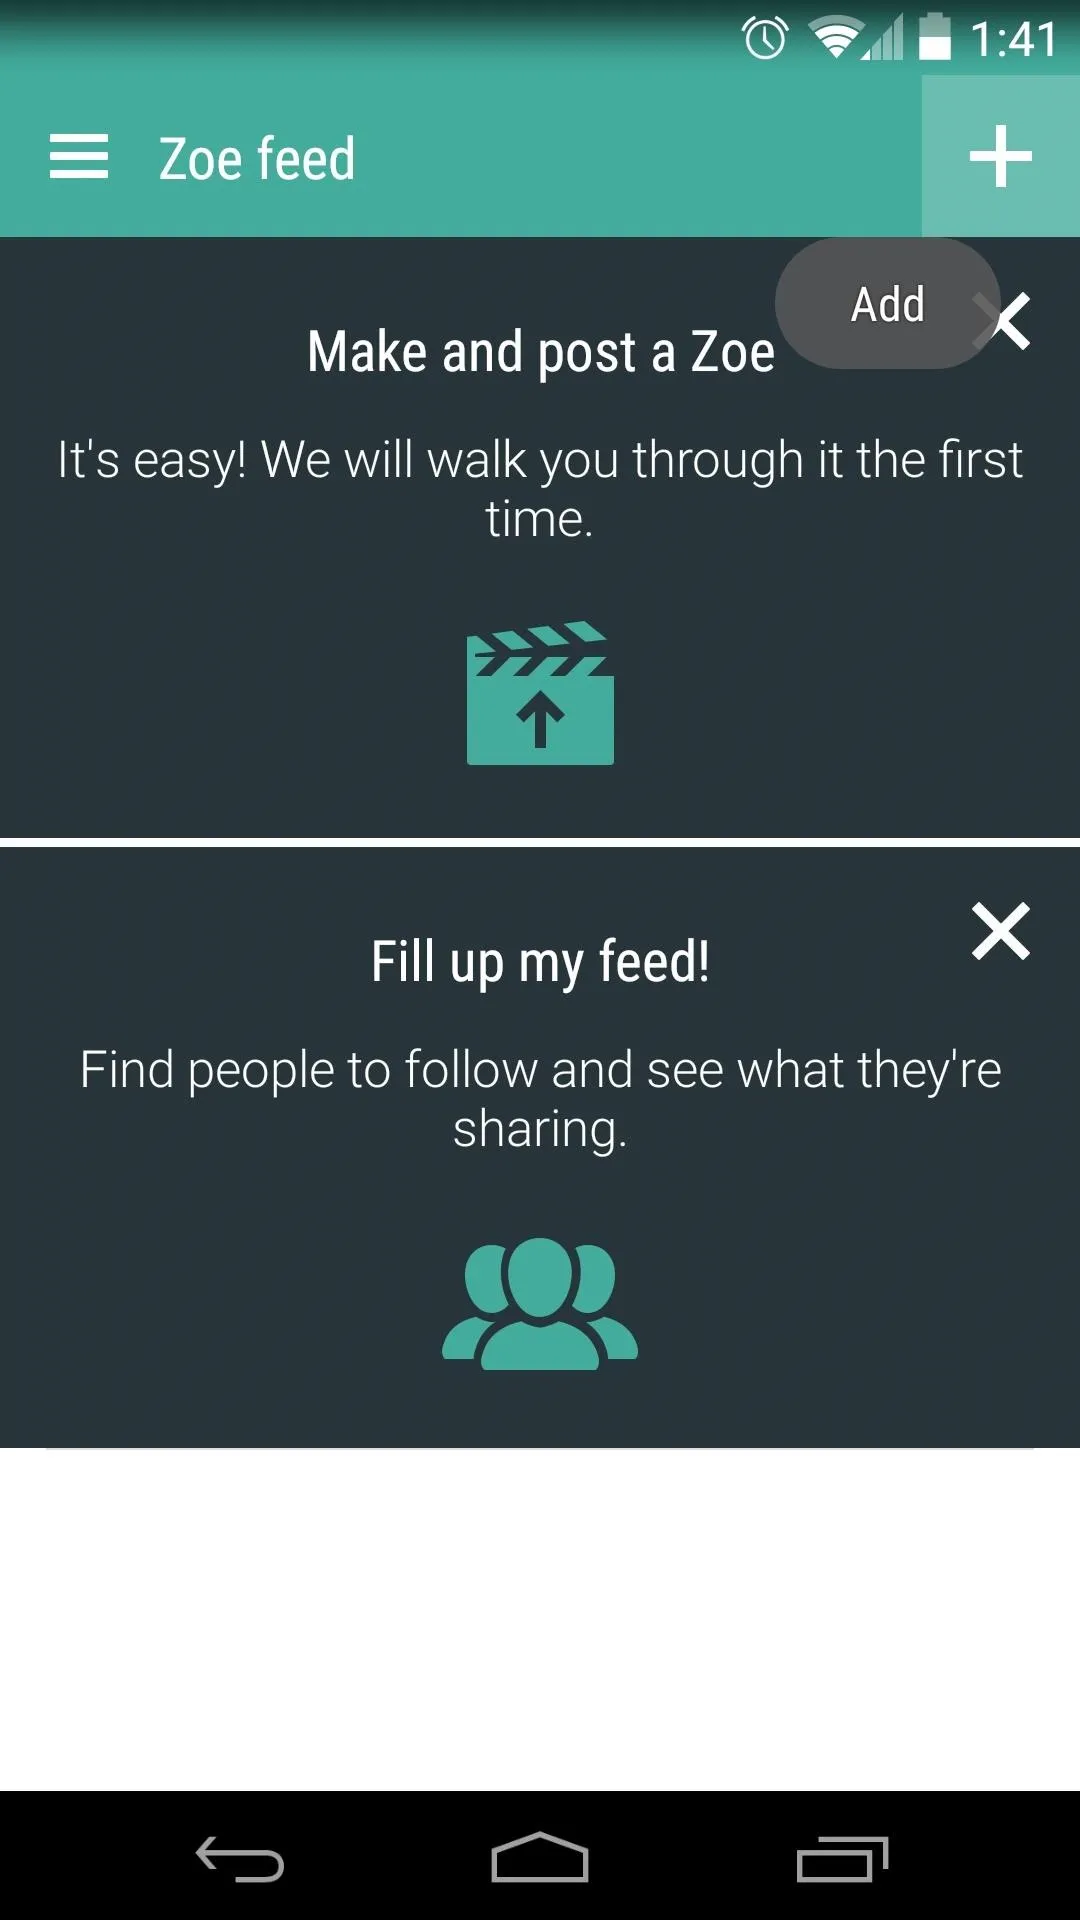


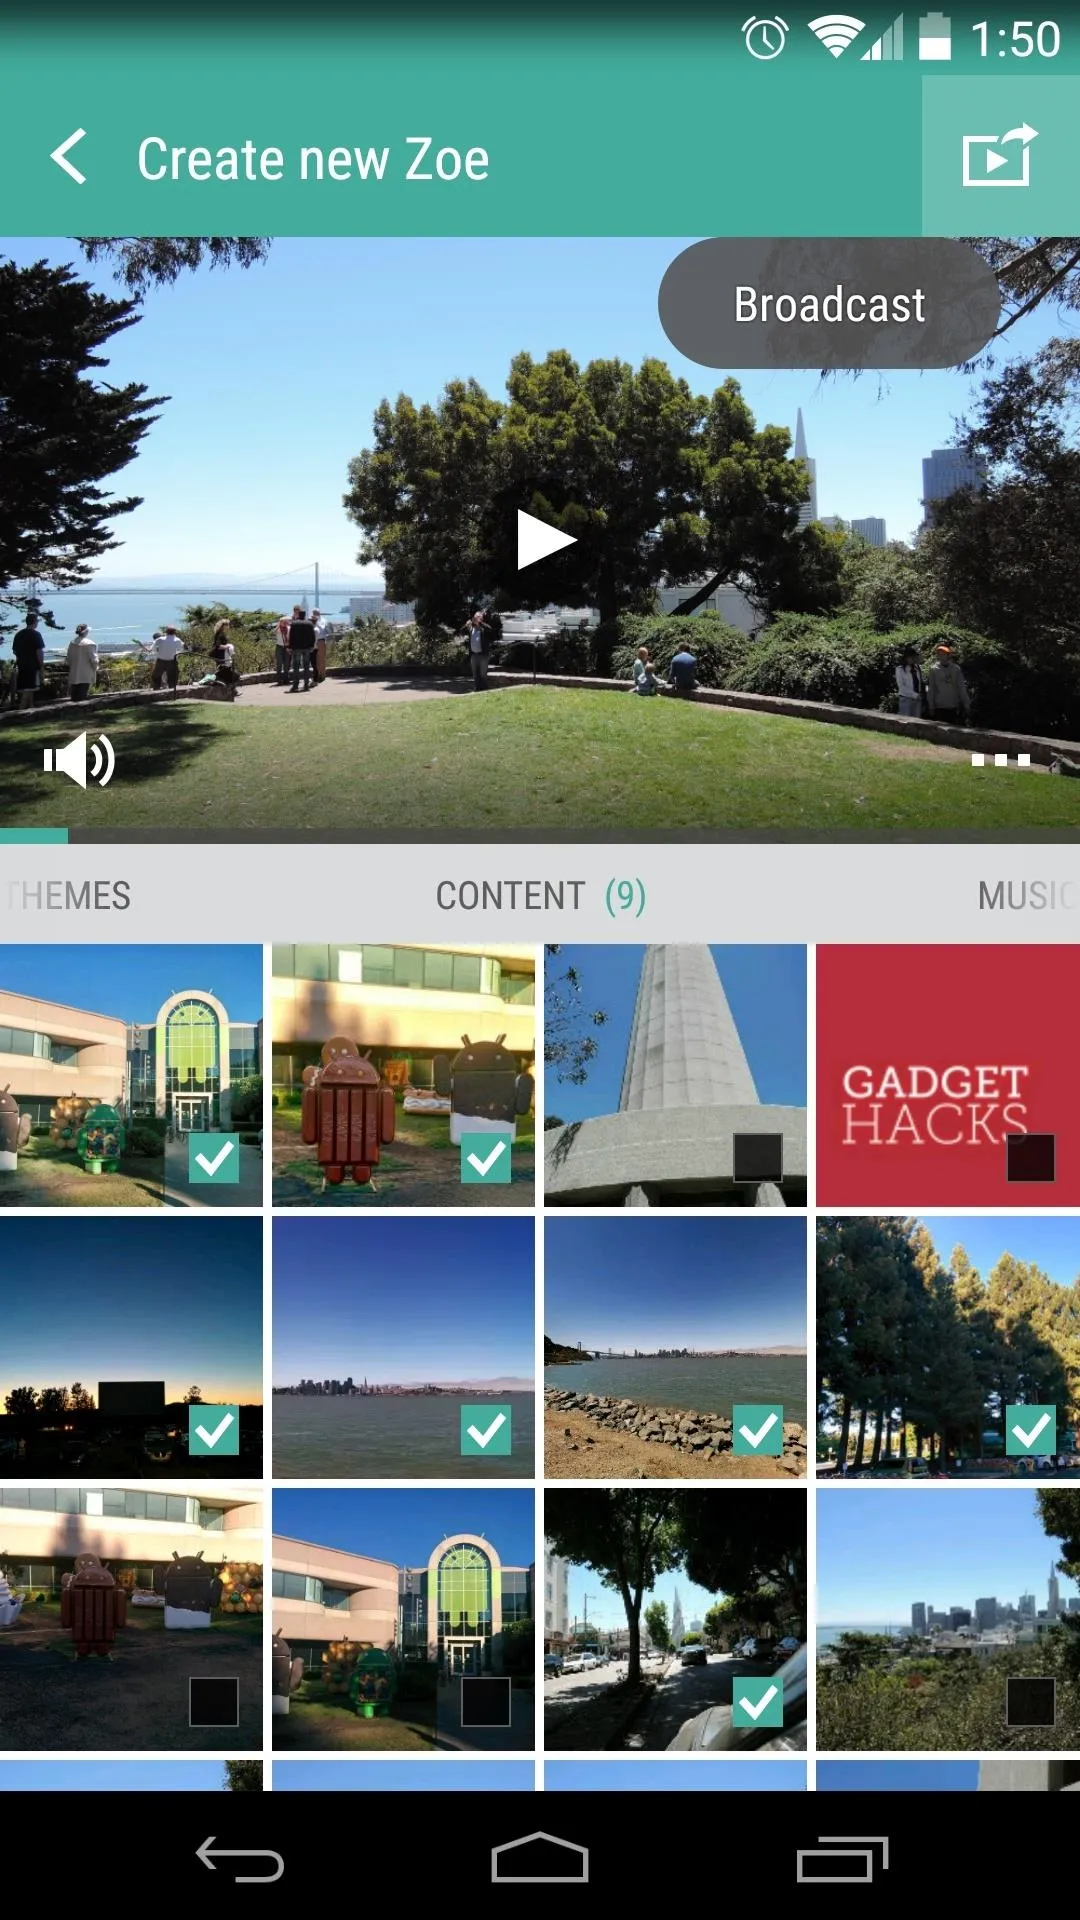
The first time you go to create a video, Zoe will automatically select a few pictures and clips to populate your compilation. If you'd like to choose other photos and videos to use in your Zoe, just browse the area beneath your video and select any media that you'd like to add.
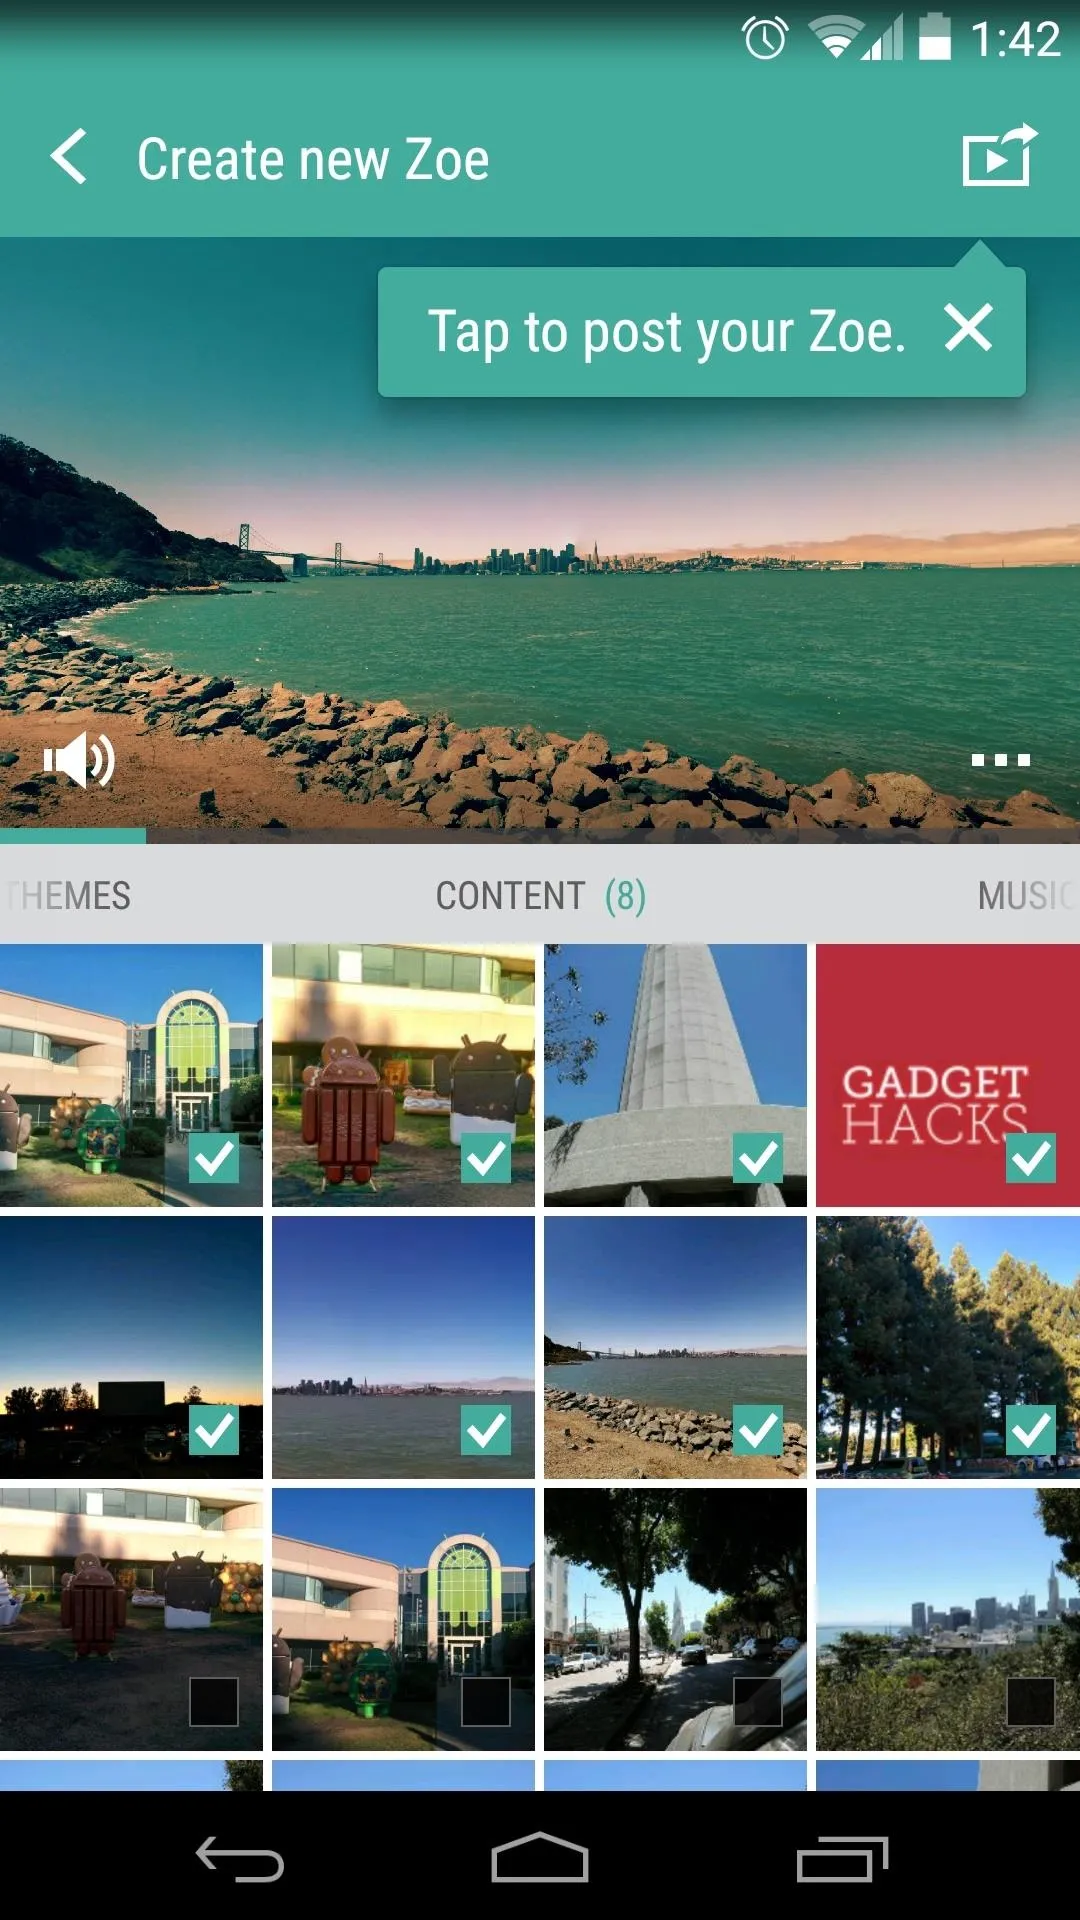
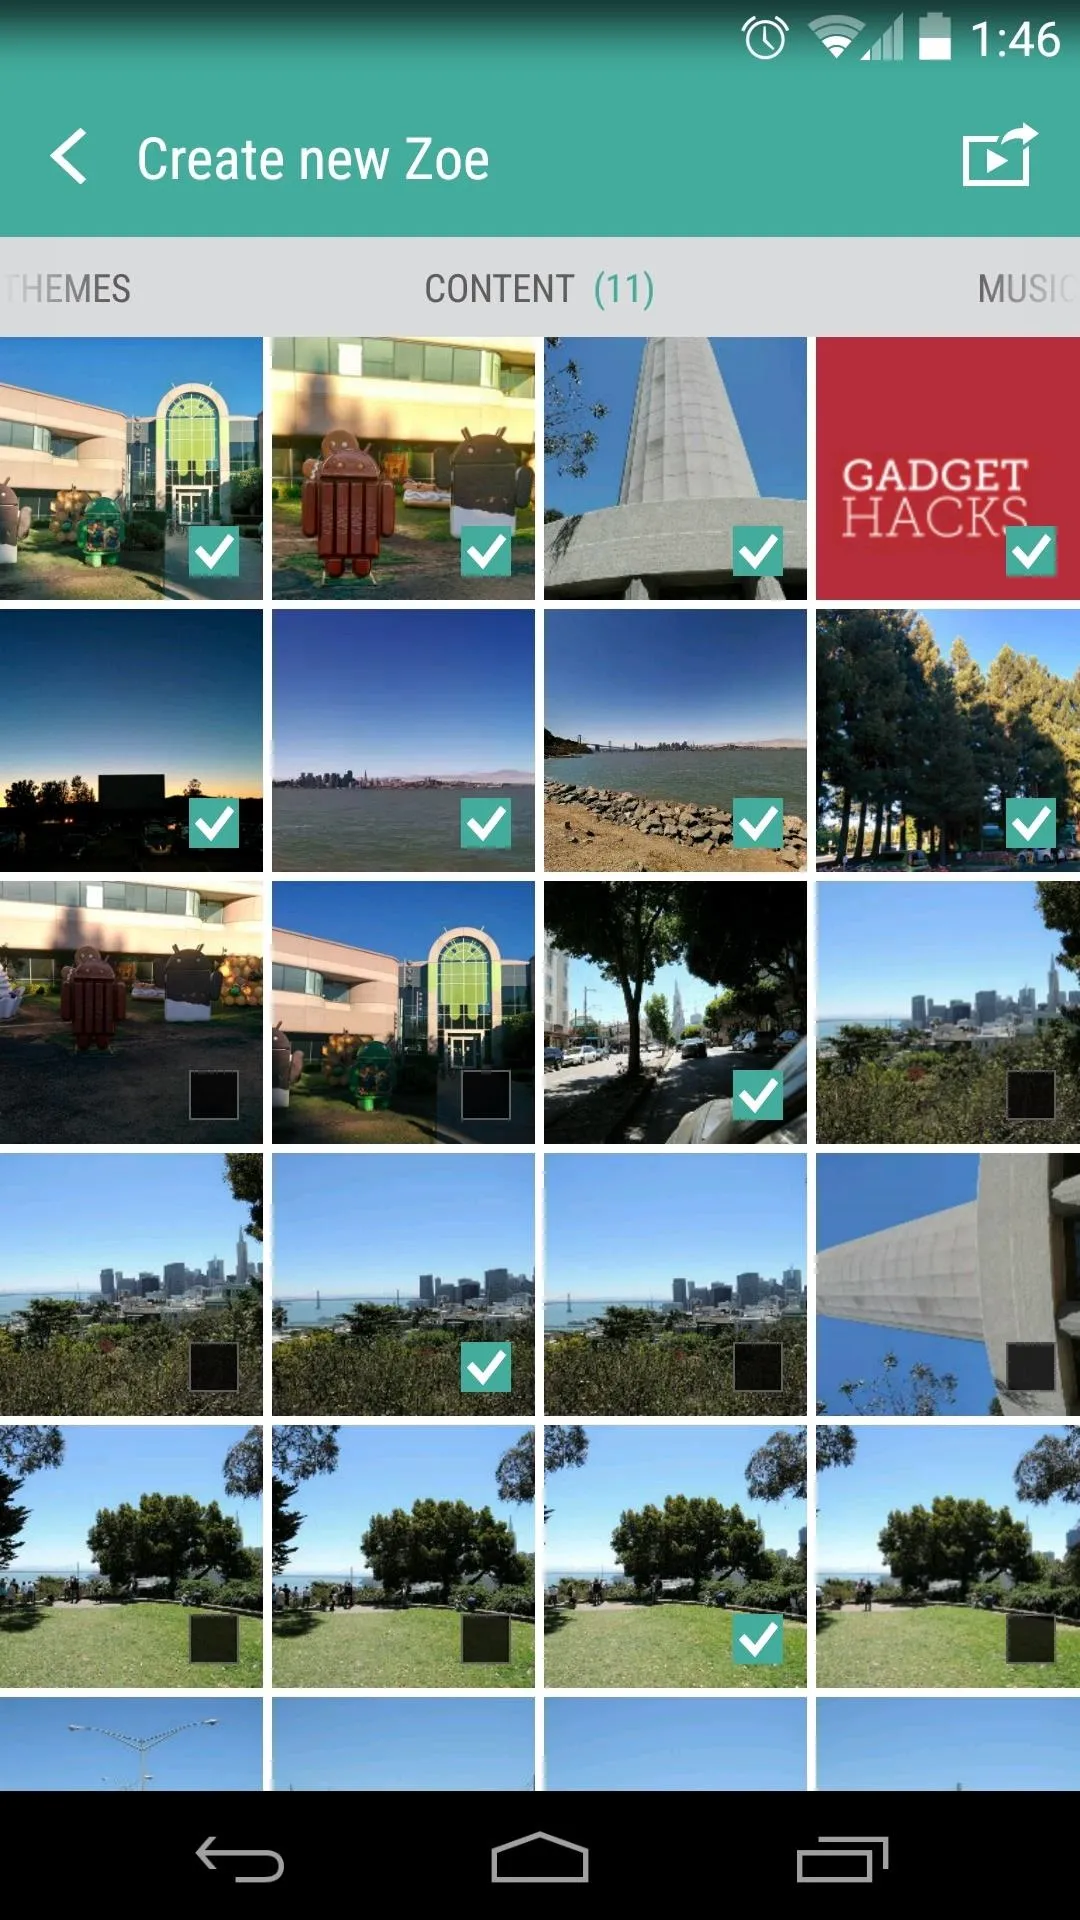


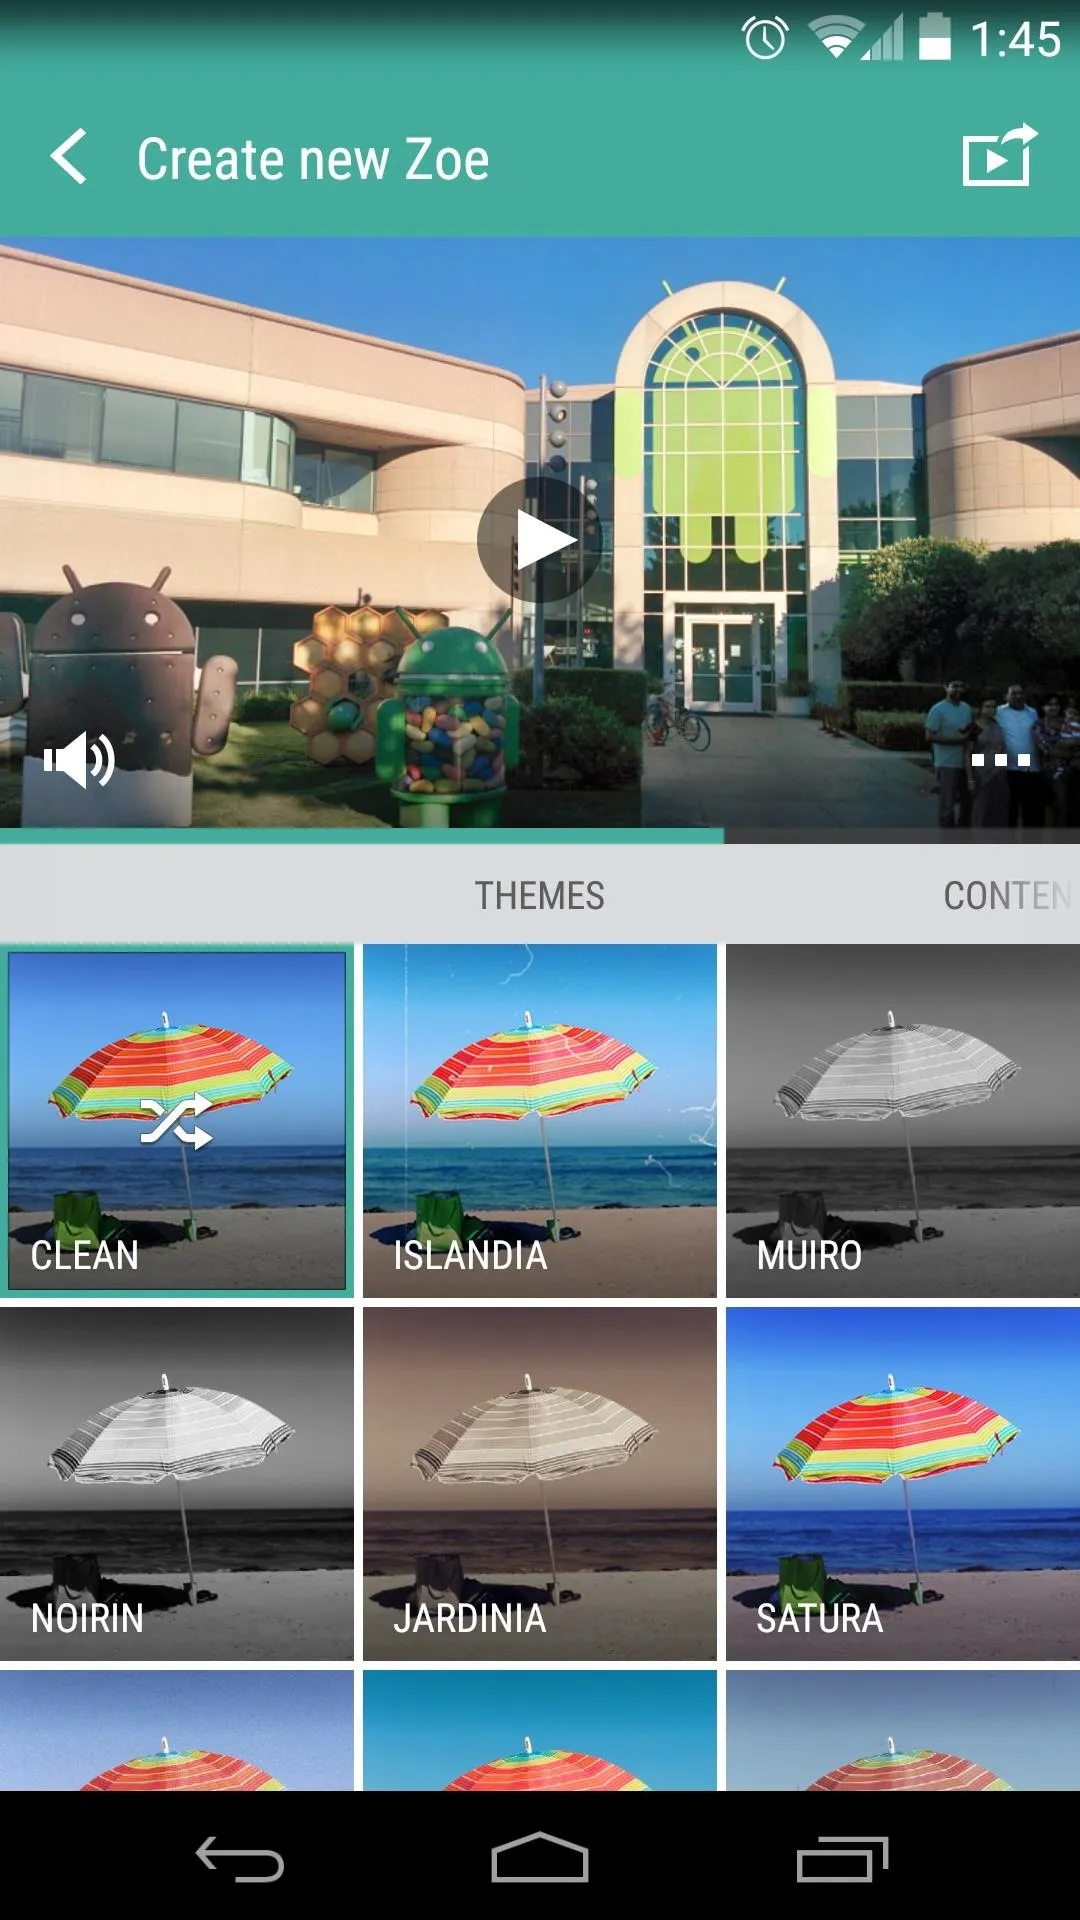
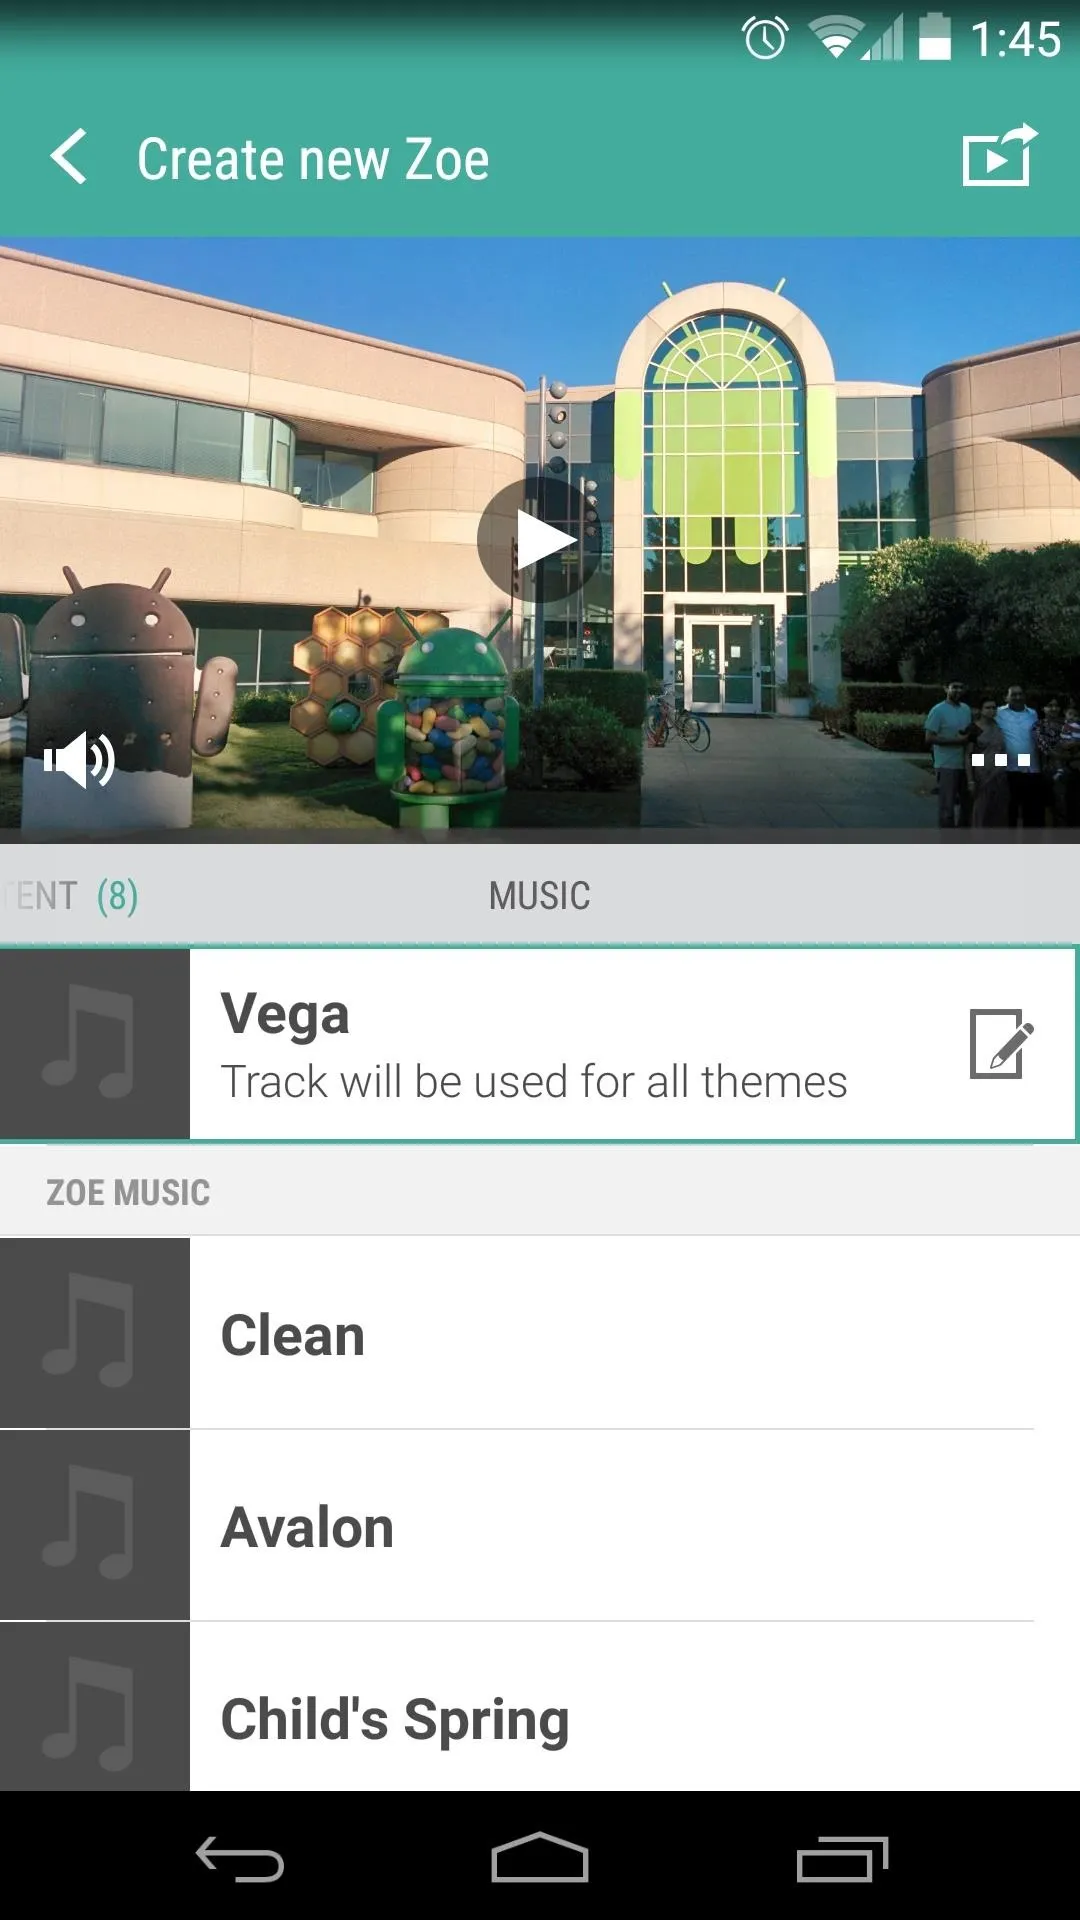
From the lower half of the screen, swipe over to the left tab to adjust the Theme your video uses. Themes are more than just filters, they also include unique transition animations. If you'd like to change the soundtrack to your video, use the Music tab to the right.


Share Your Zoe
When you're happy with all of your adjustments, tap the button in the upper right-hand corner to Share your video. You'll be given a chance to add a title to your video, and you can also allow your friends to remix your media from this screen.
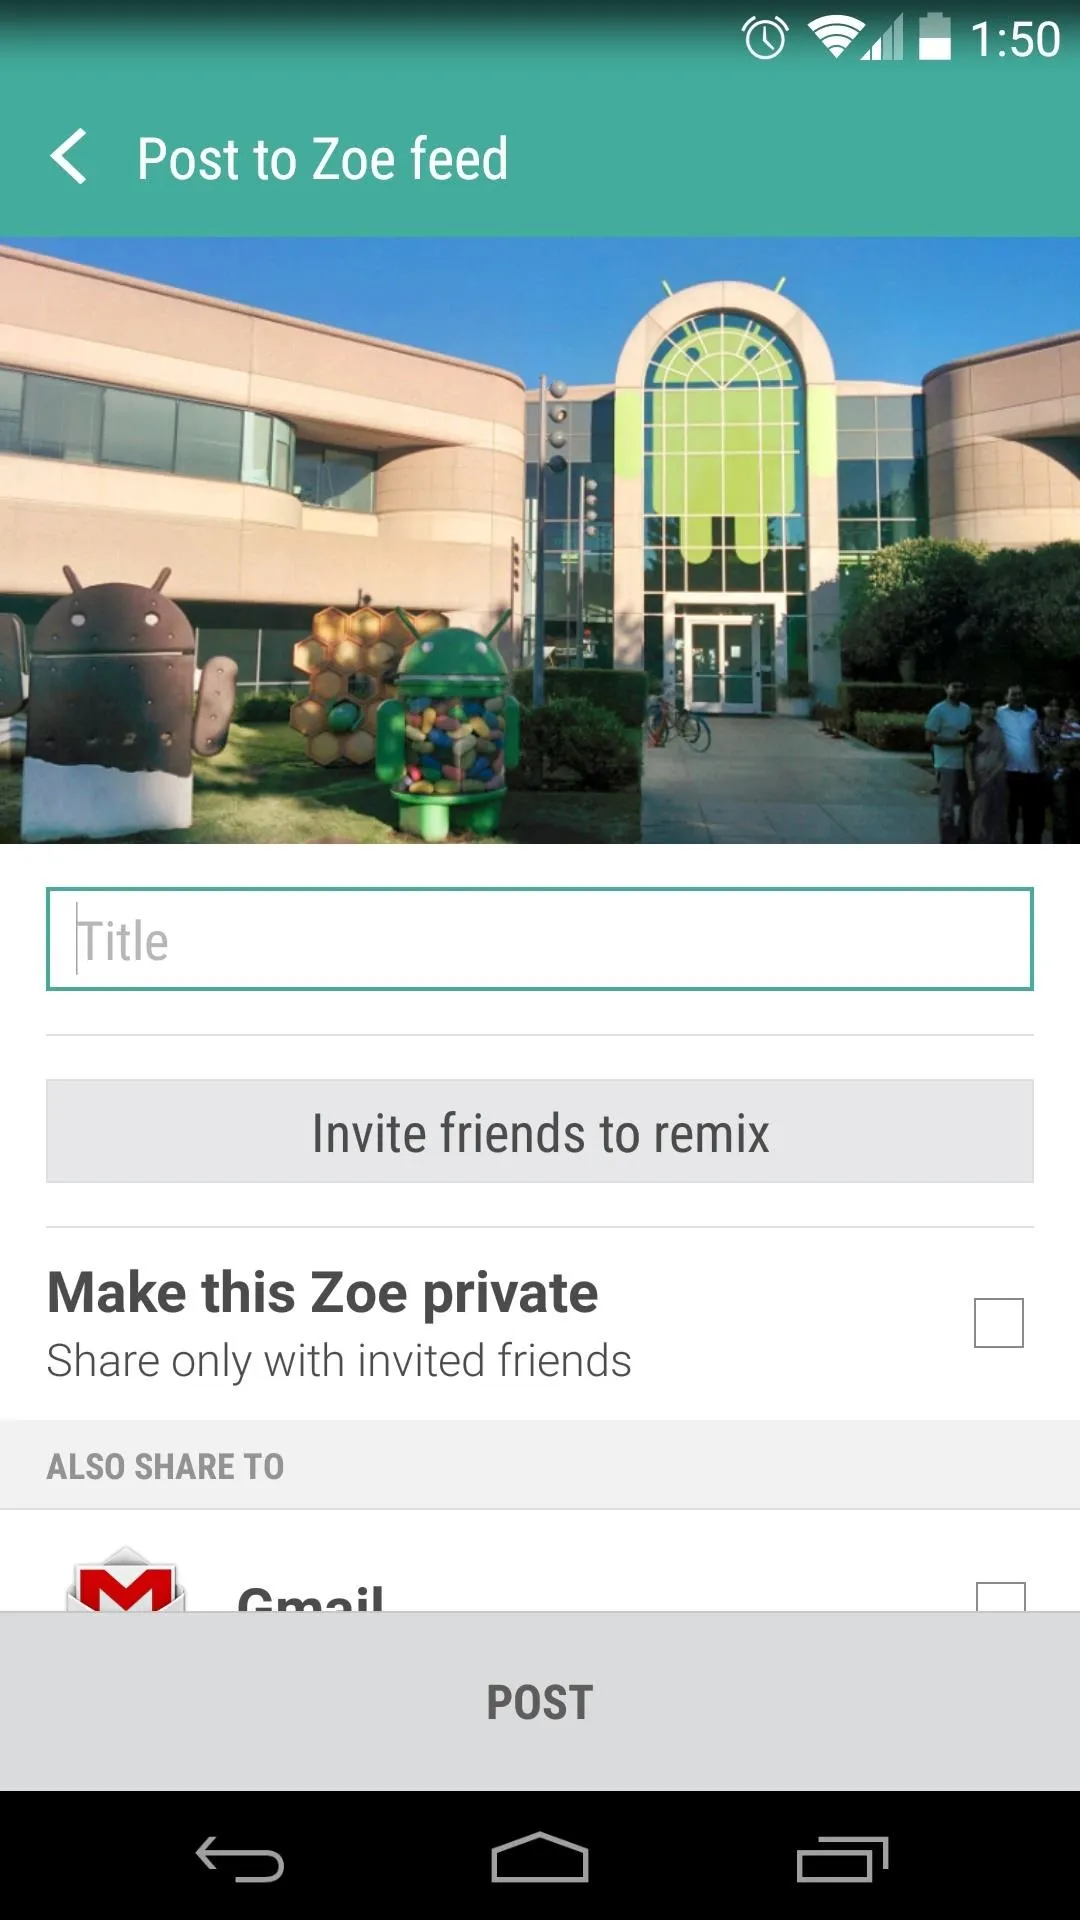
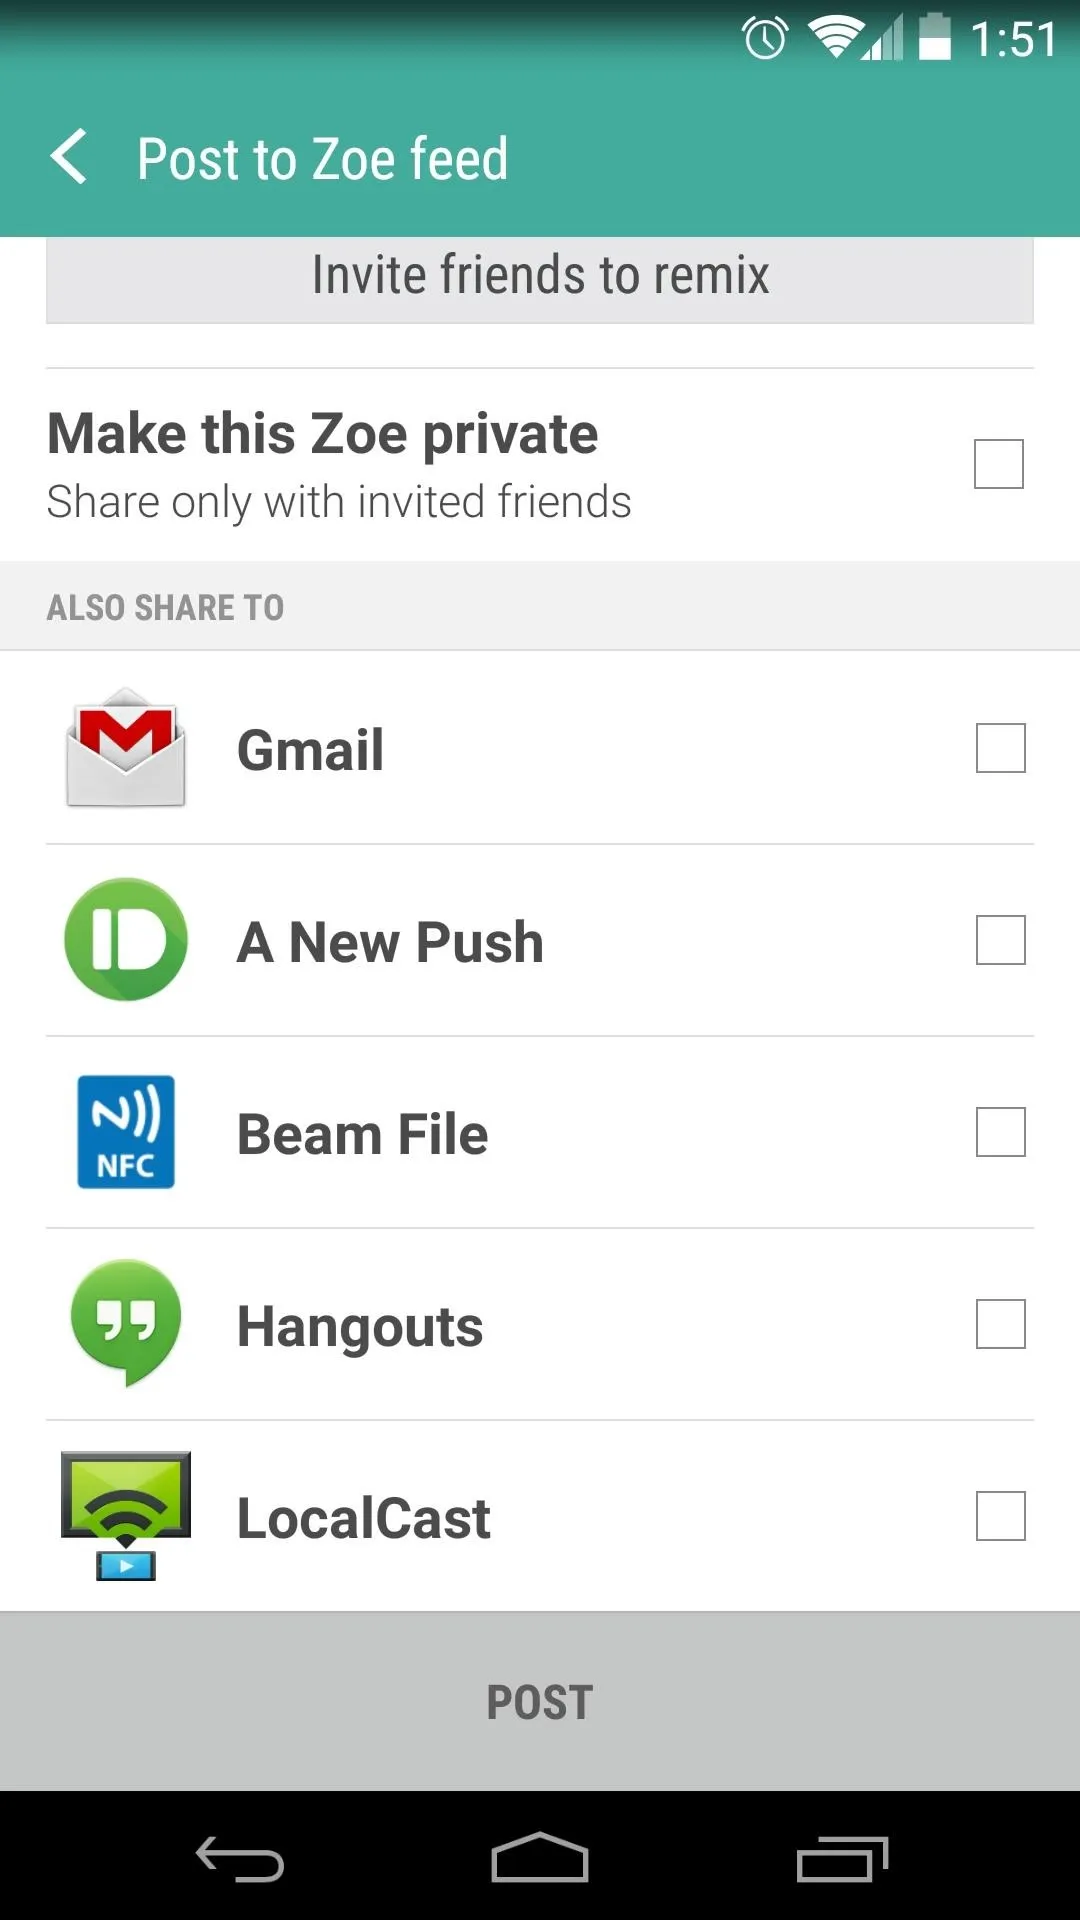


Near the bottom of the screen, you can select another app that you would like to use to share your video. When you think your video is ready for prime time, just tap the Post button at the bottom of the screen.
Zoe videos are hosted on a mobile website, so anyone with a modern smartphone will be able to view your creation—they don't even need Zoe installed on their device!
Let's see some of your creations. Post a link to your favorite Zoe video in the comments section below.







Comments
Be the first, drop a comment!