How To: Boost Performance & Battery Life on Your Nexus 6 by Lowering the Display Resolution

Boost Performance & Battery Life on Your Nexus 6 by Lowering the Display Resolution

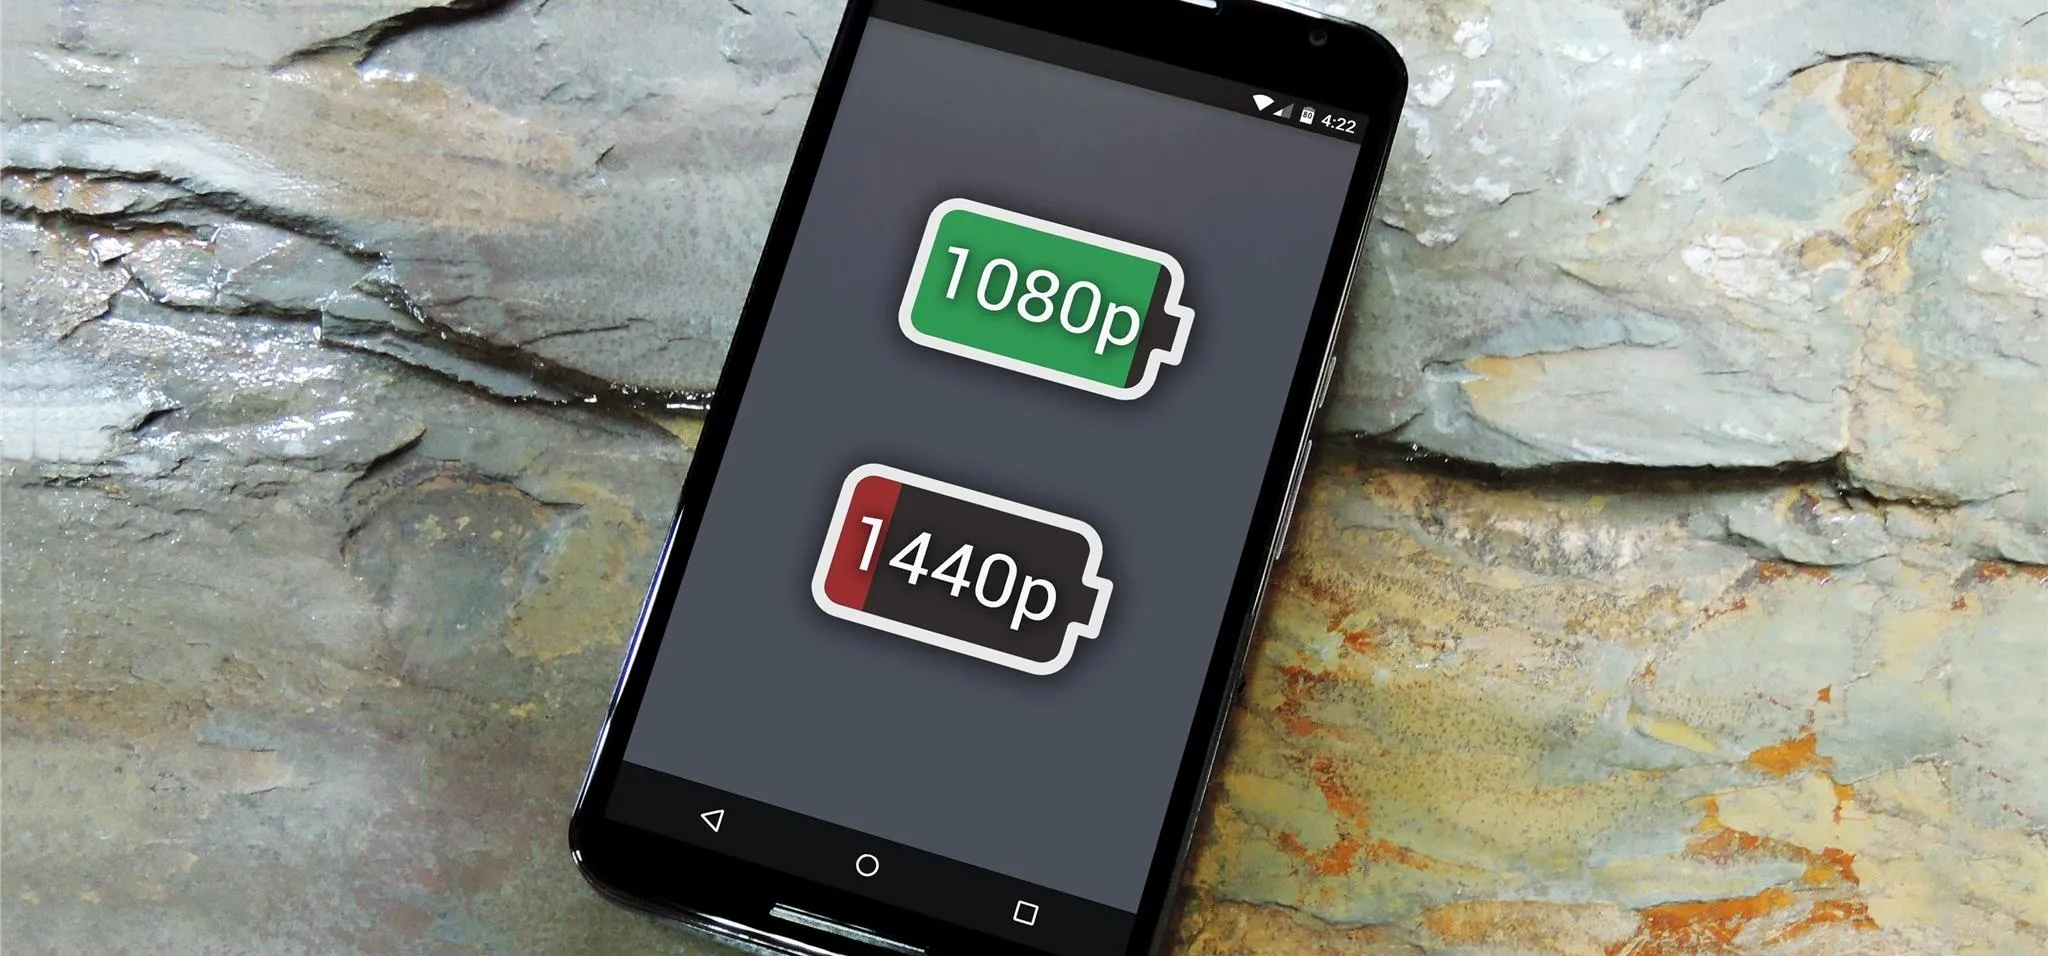
The Nexus 6 is one of the few devices on the market that sports a 1440p "QHD" display. This means that the amount of pixels displayed is higher than almost any other smartphone, which sounds great on the surface, but is not without its drawbacks.

For one, most apps and games are still written with 1080p as their max resolution, since this is the standard amongst current generation devices. And even if an app or game does support 1440p resolution, the graphics processor on your device has to work overtime to track all of those extra pixels, resulting in diminished performance and battery life. None of this even touches on the fact that it's debatable whether or not the human eye can actually discern a difference between 1440p and 1080p at this display size and viewing distance.

So, if you're fine with the standard "Full HD" resolution of 1080p, you stand to save some battery life and boost the performance of your Nexus 6. By lowering the resolution with a software mod, your GPU will have less work to do, and the difference will most likely not be noticeable to the naked eye.

Requirement

Step 1: 
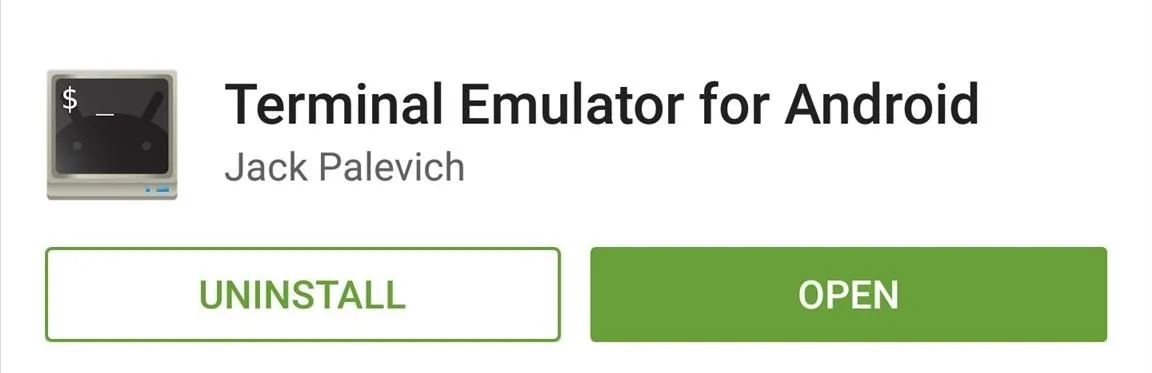
Install Terminal Emulator for Android

The bulk of this mod involves typing a few terminal commands. As such, you'll need a terminal emulator app, and one of the best options for Android is appropriately named Terminal Emulator for Android. Simply search that name on the Google Play Store to get the app installed, or head to this link.

Step 2: Execute the Commands

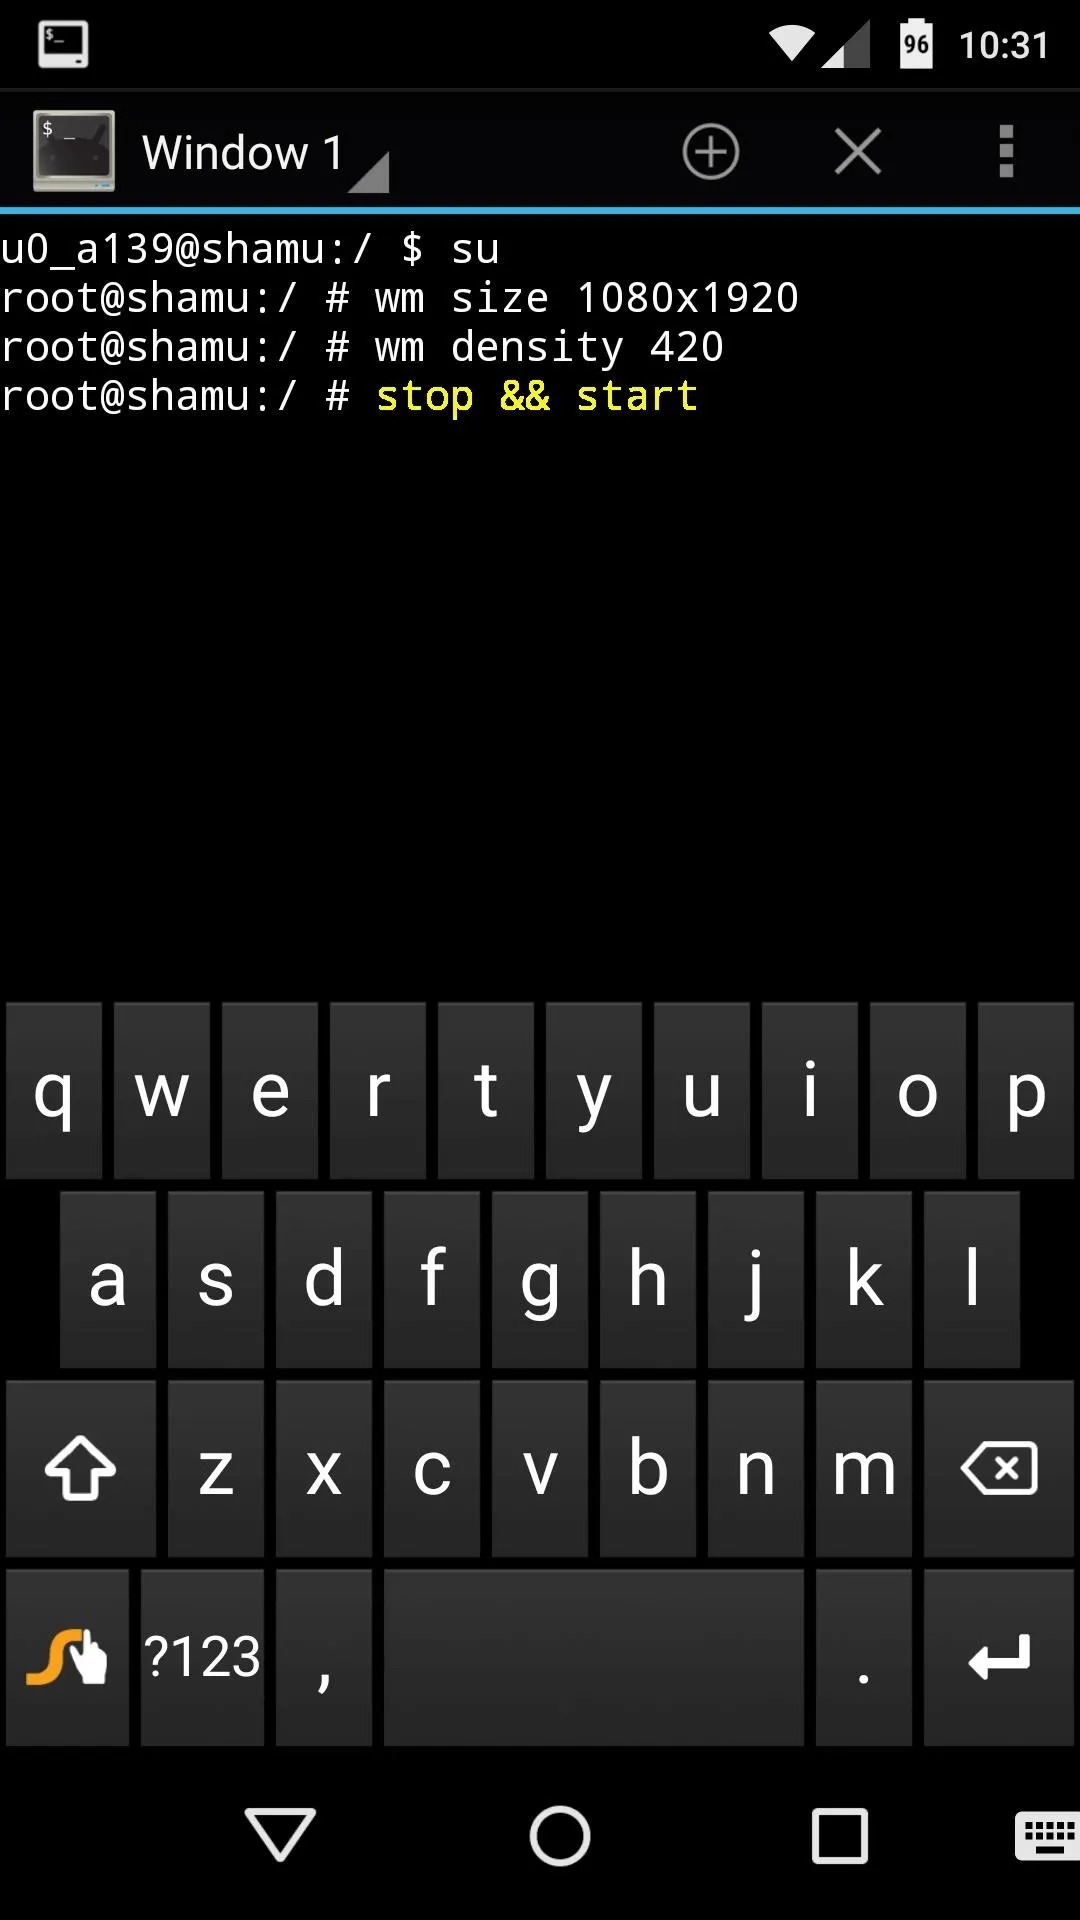
The commands we'll be using today will need to be typed in accurately. If you'd like, you can copy each of them from this webpage, then paste them into the Terminal Emulator app on your phone.

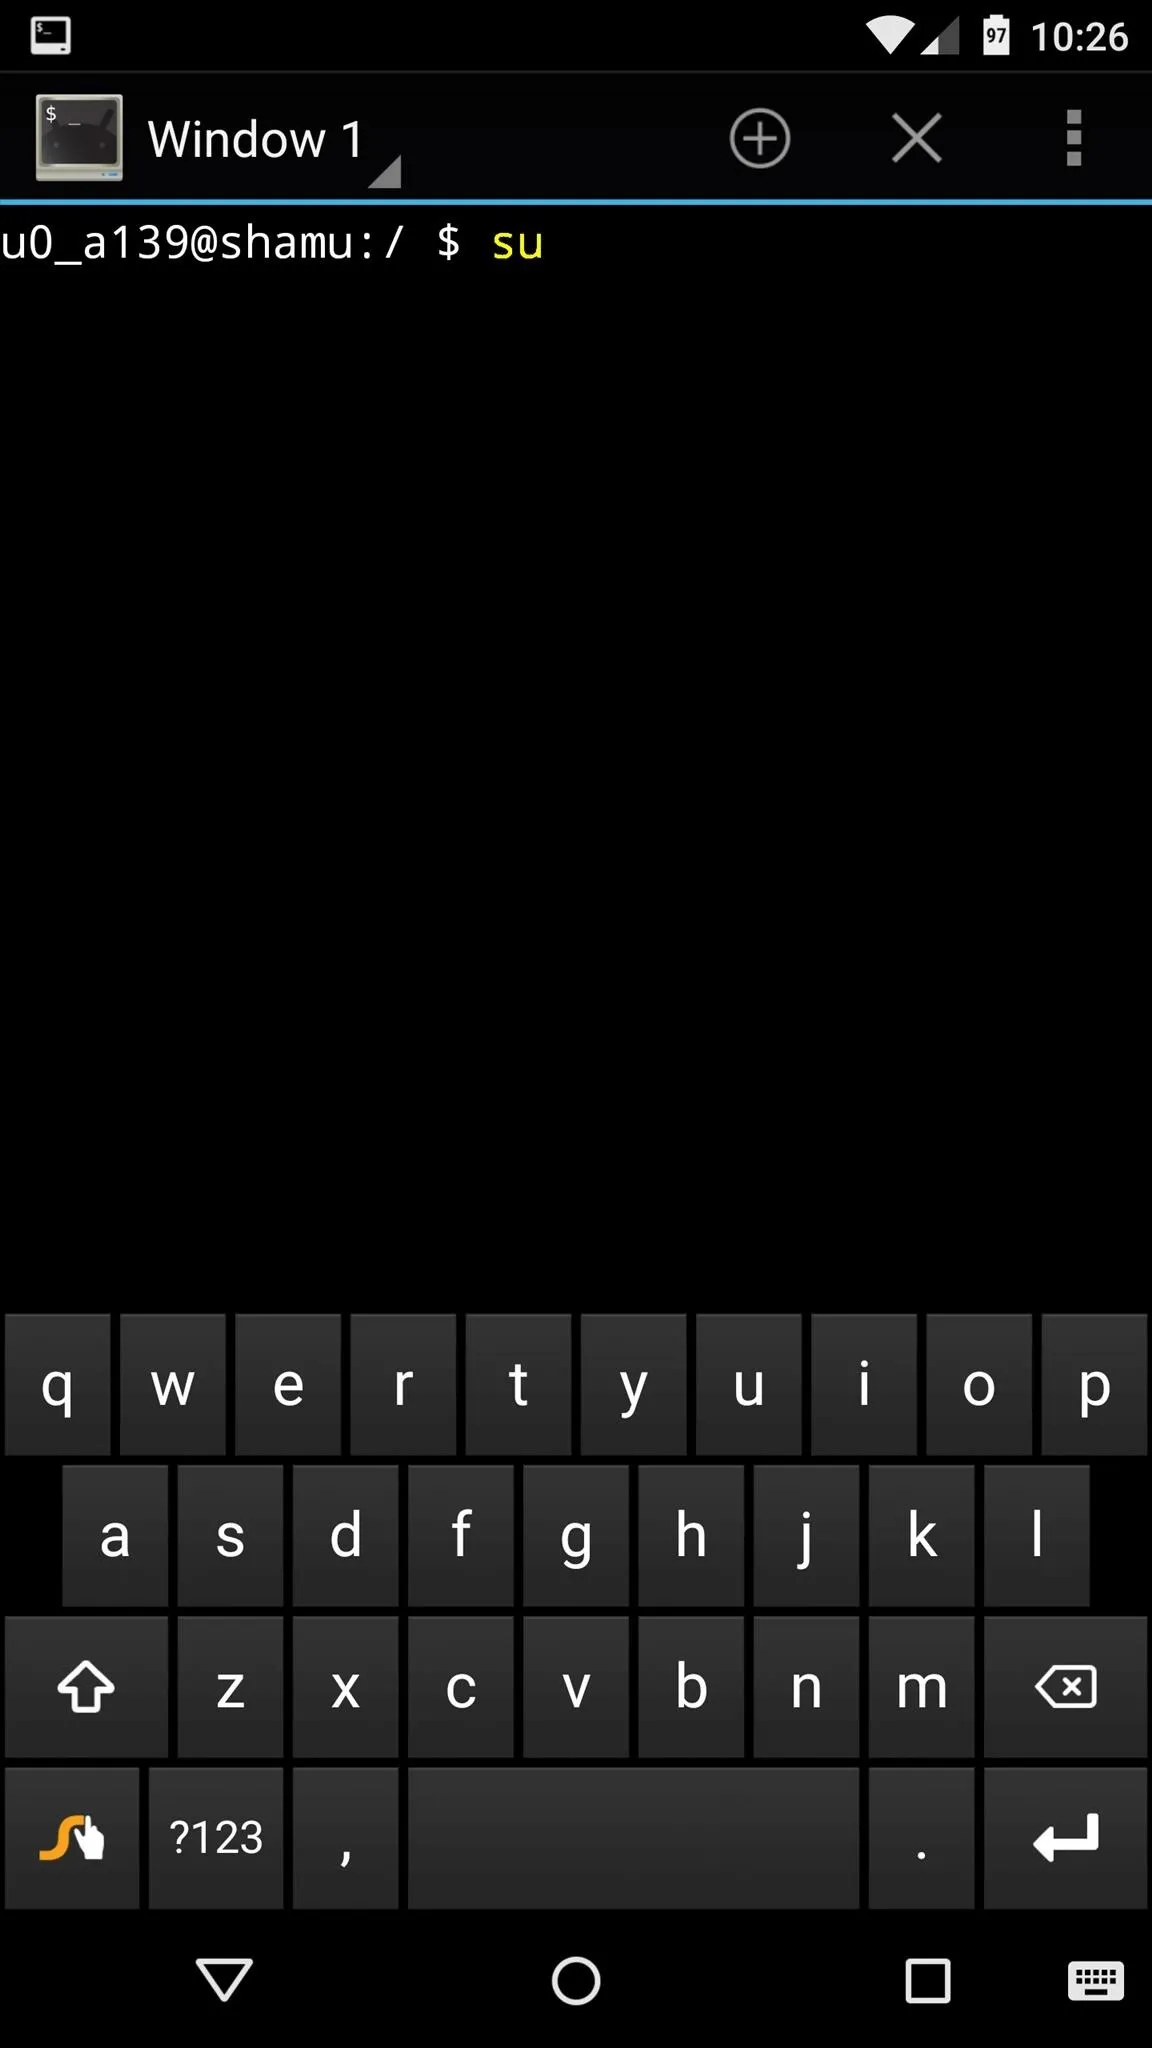
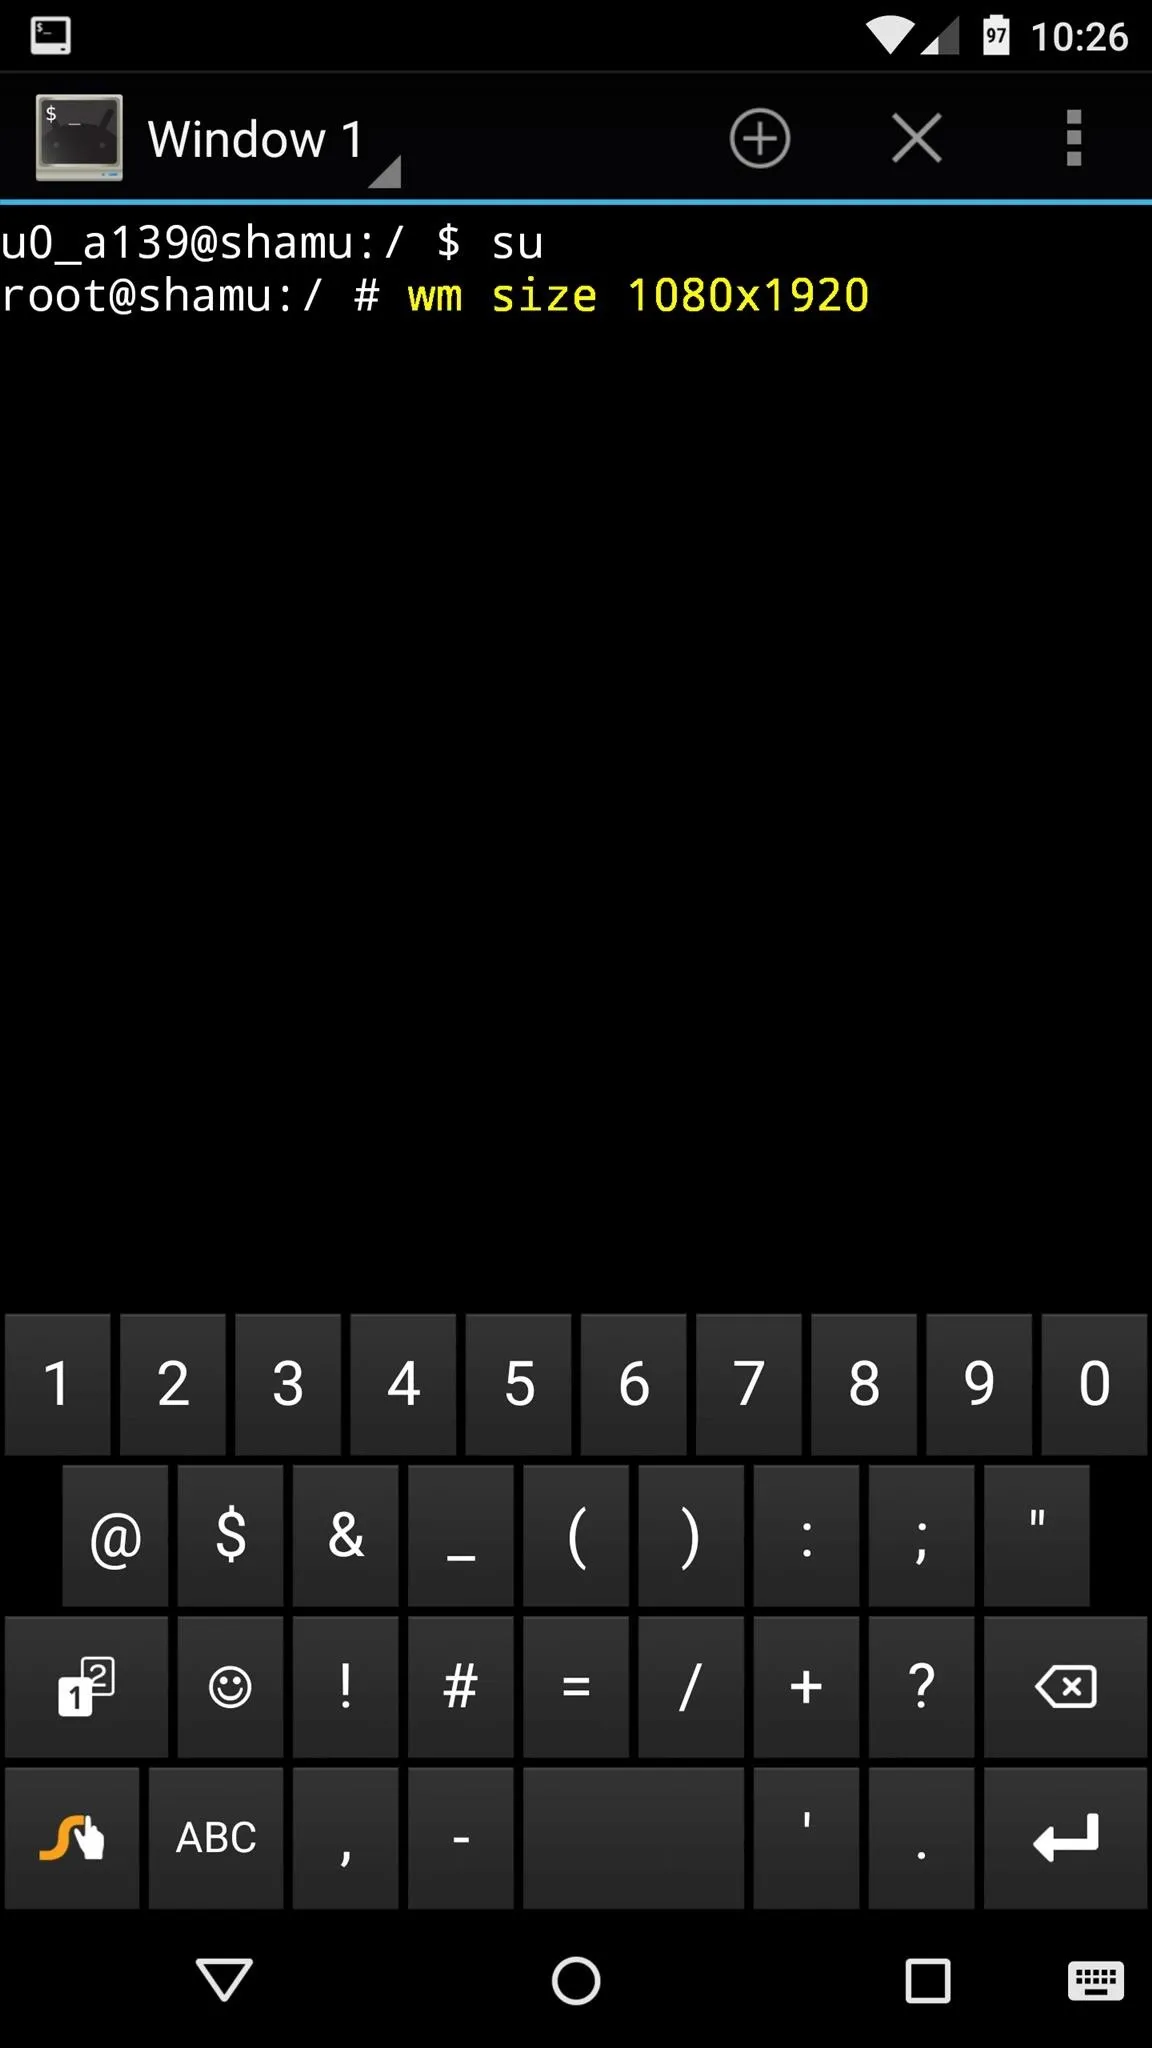
The first command is a simple one, just type:

  • su

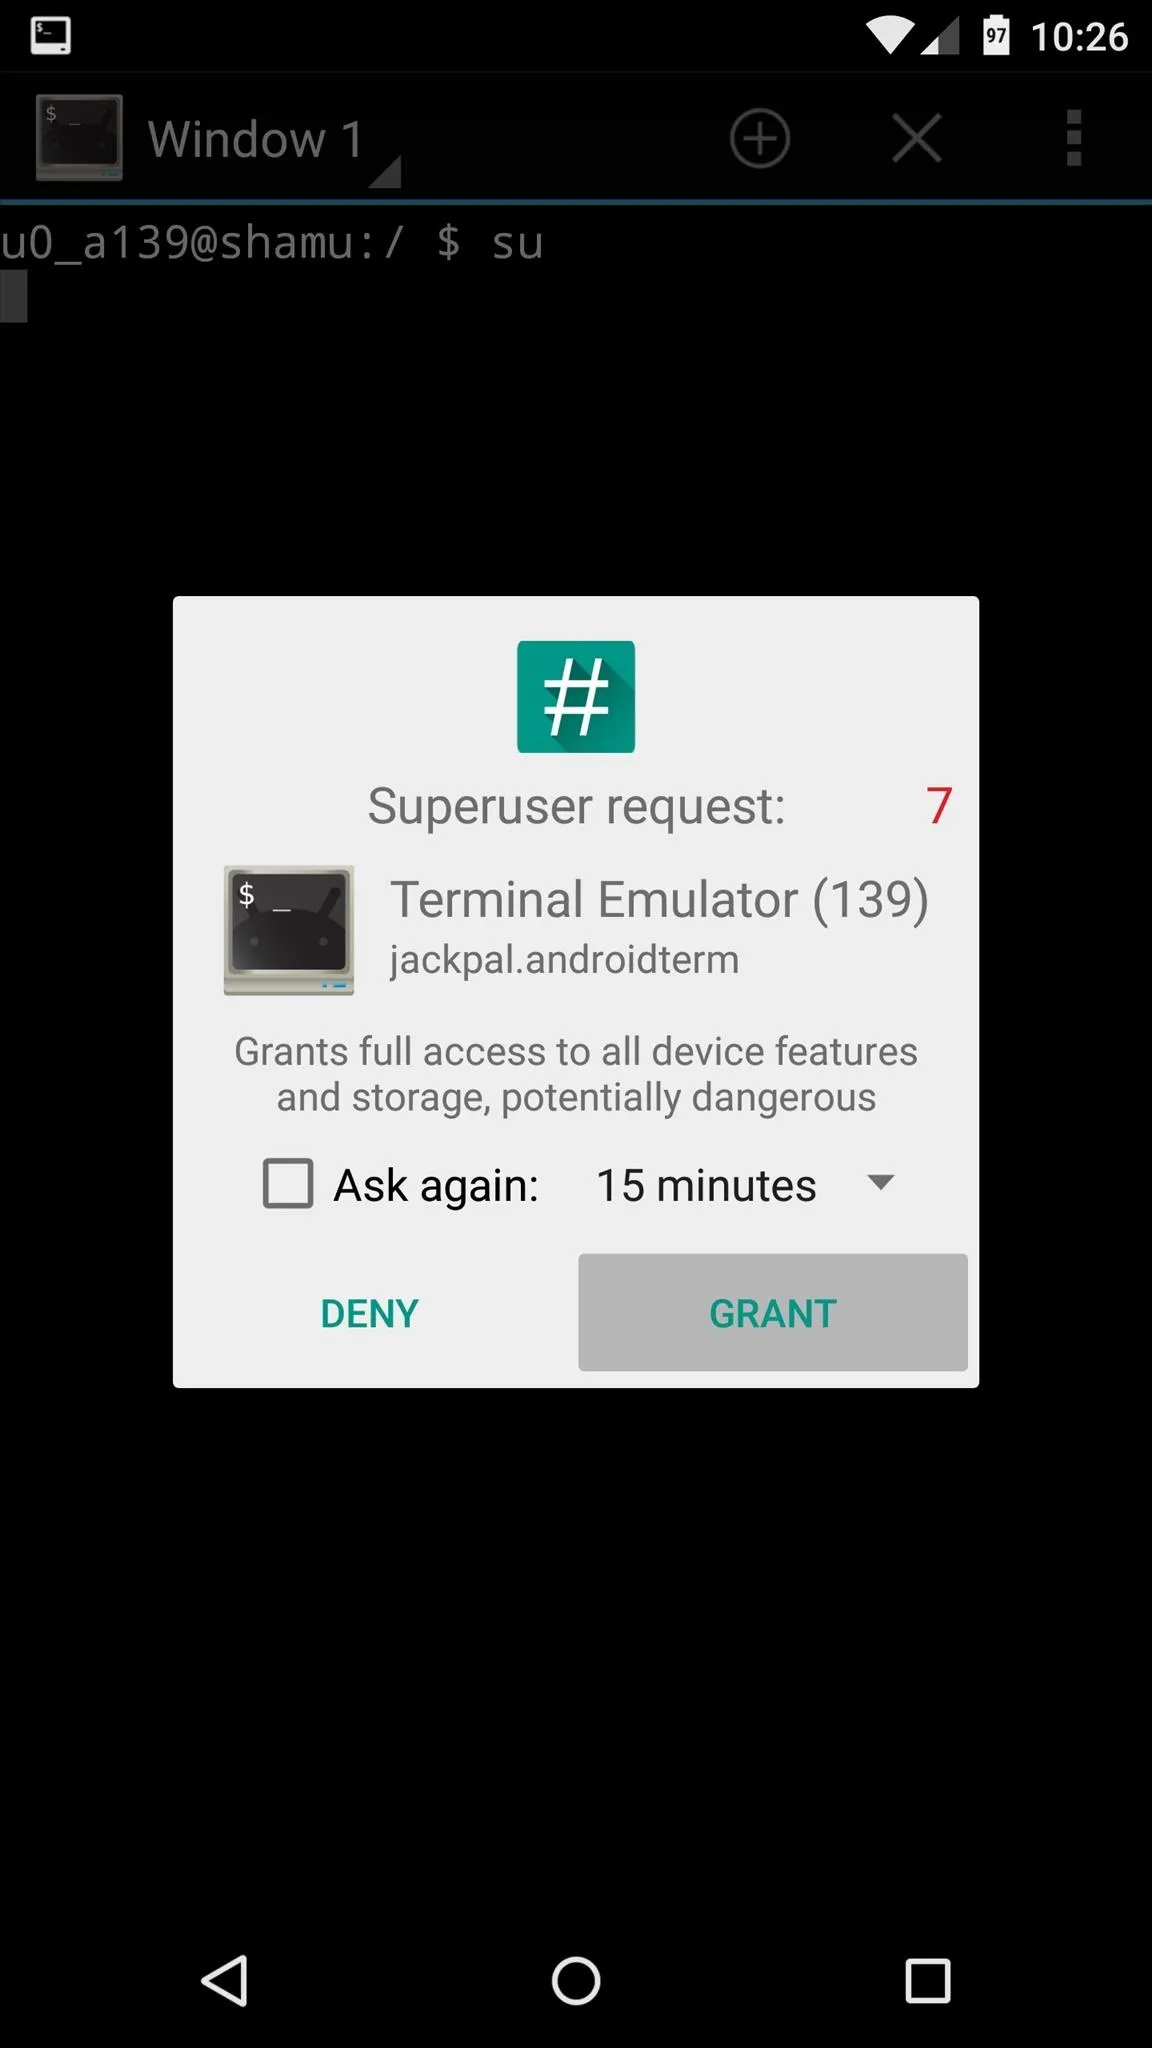
Then hit the "Enter" button on your keyboard. This will make Terminal Emulator ask for Superuser access, so tap "Grant" on the popup that follows.

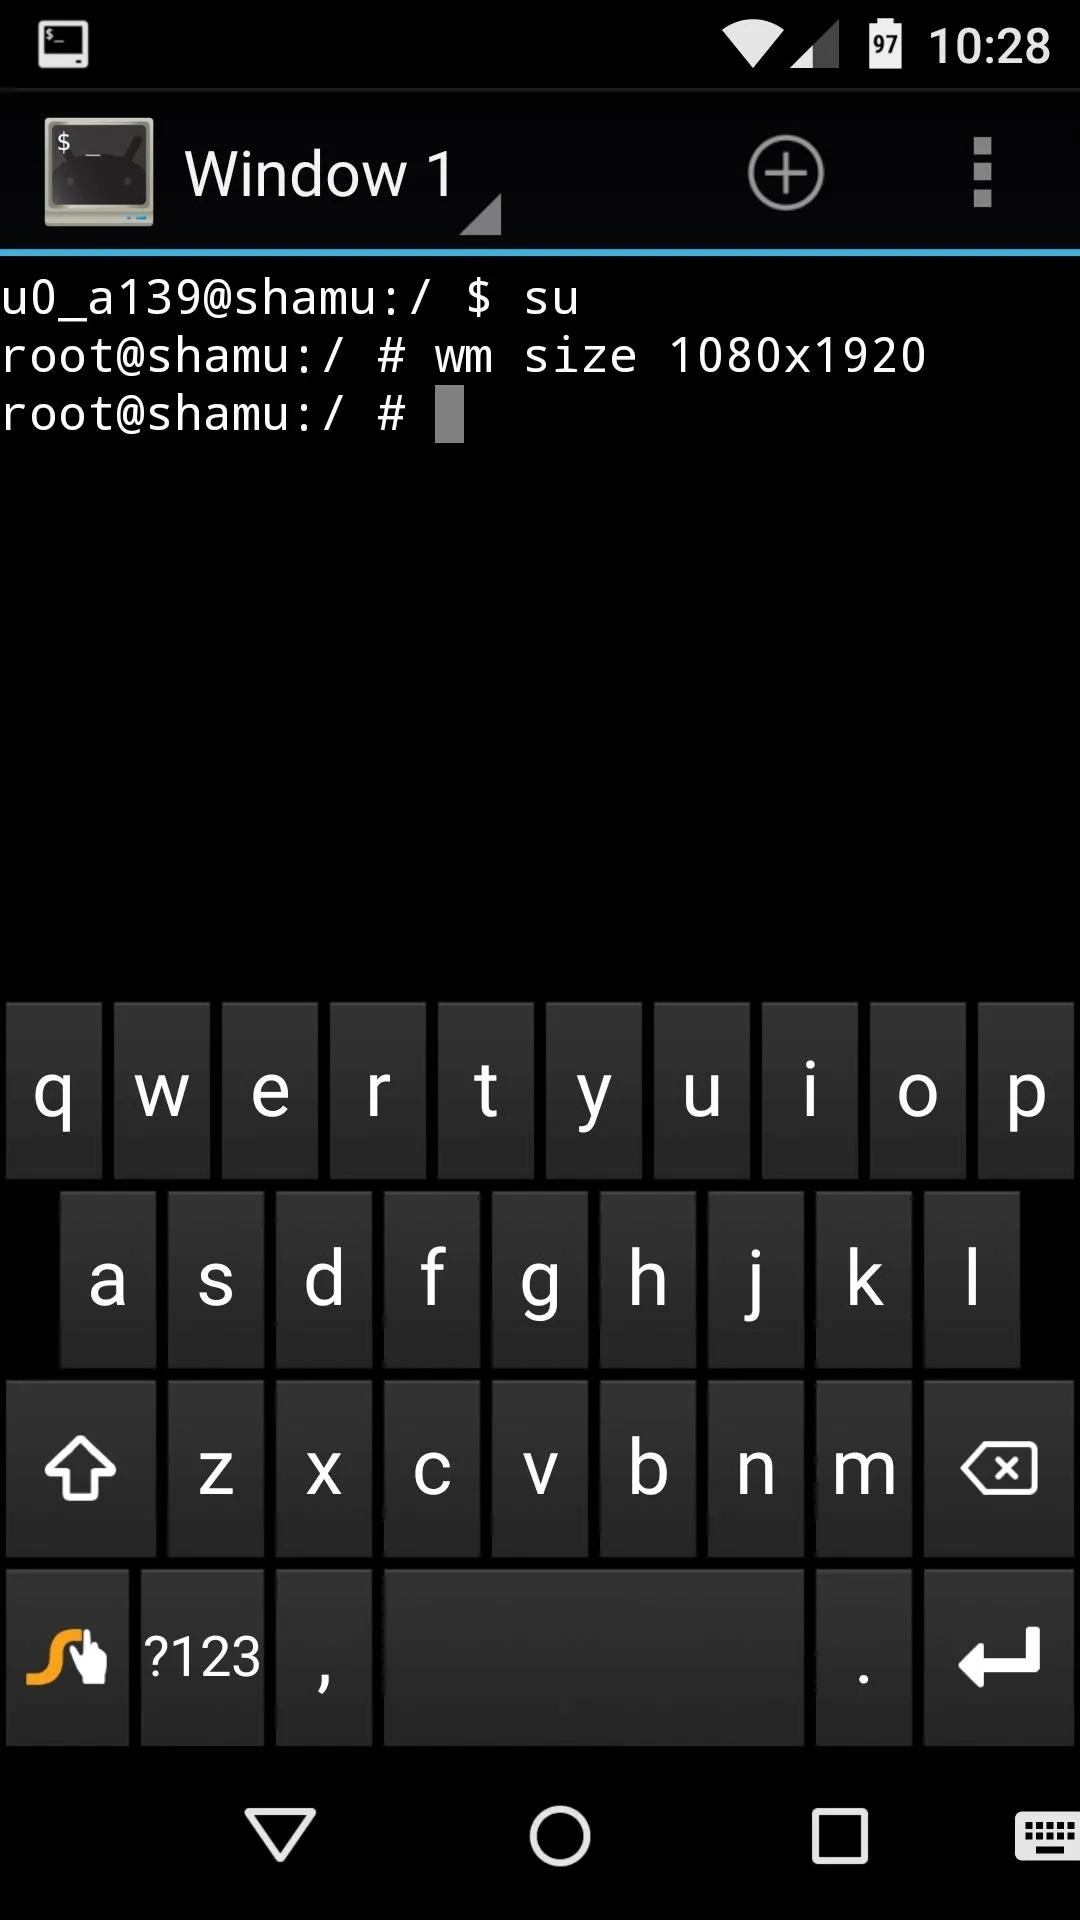
This next command will change your display resolution to 1080p, but it will not change your device's DPI value. Because of this, the visual assets on your screen will temporarily appear larger than normal, but that will be fixed in short order. Type the following command, then hit the "Enter" key:

  • wm size 1080x1920

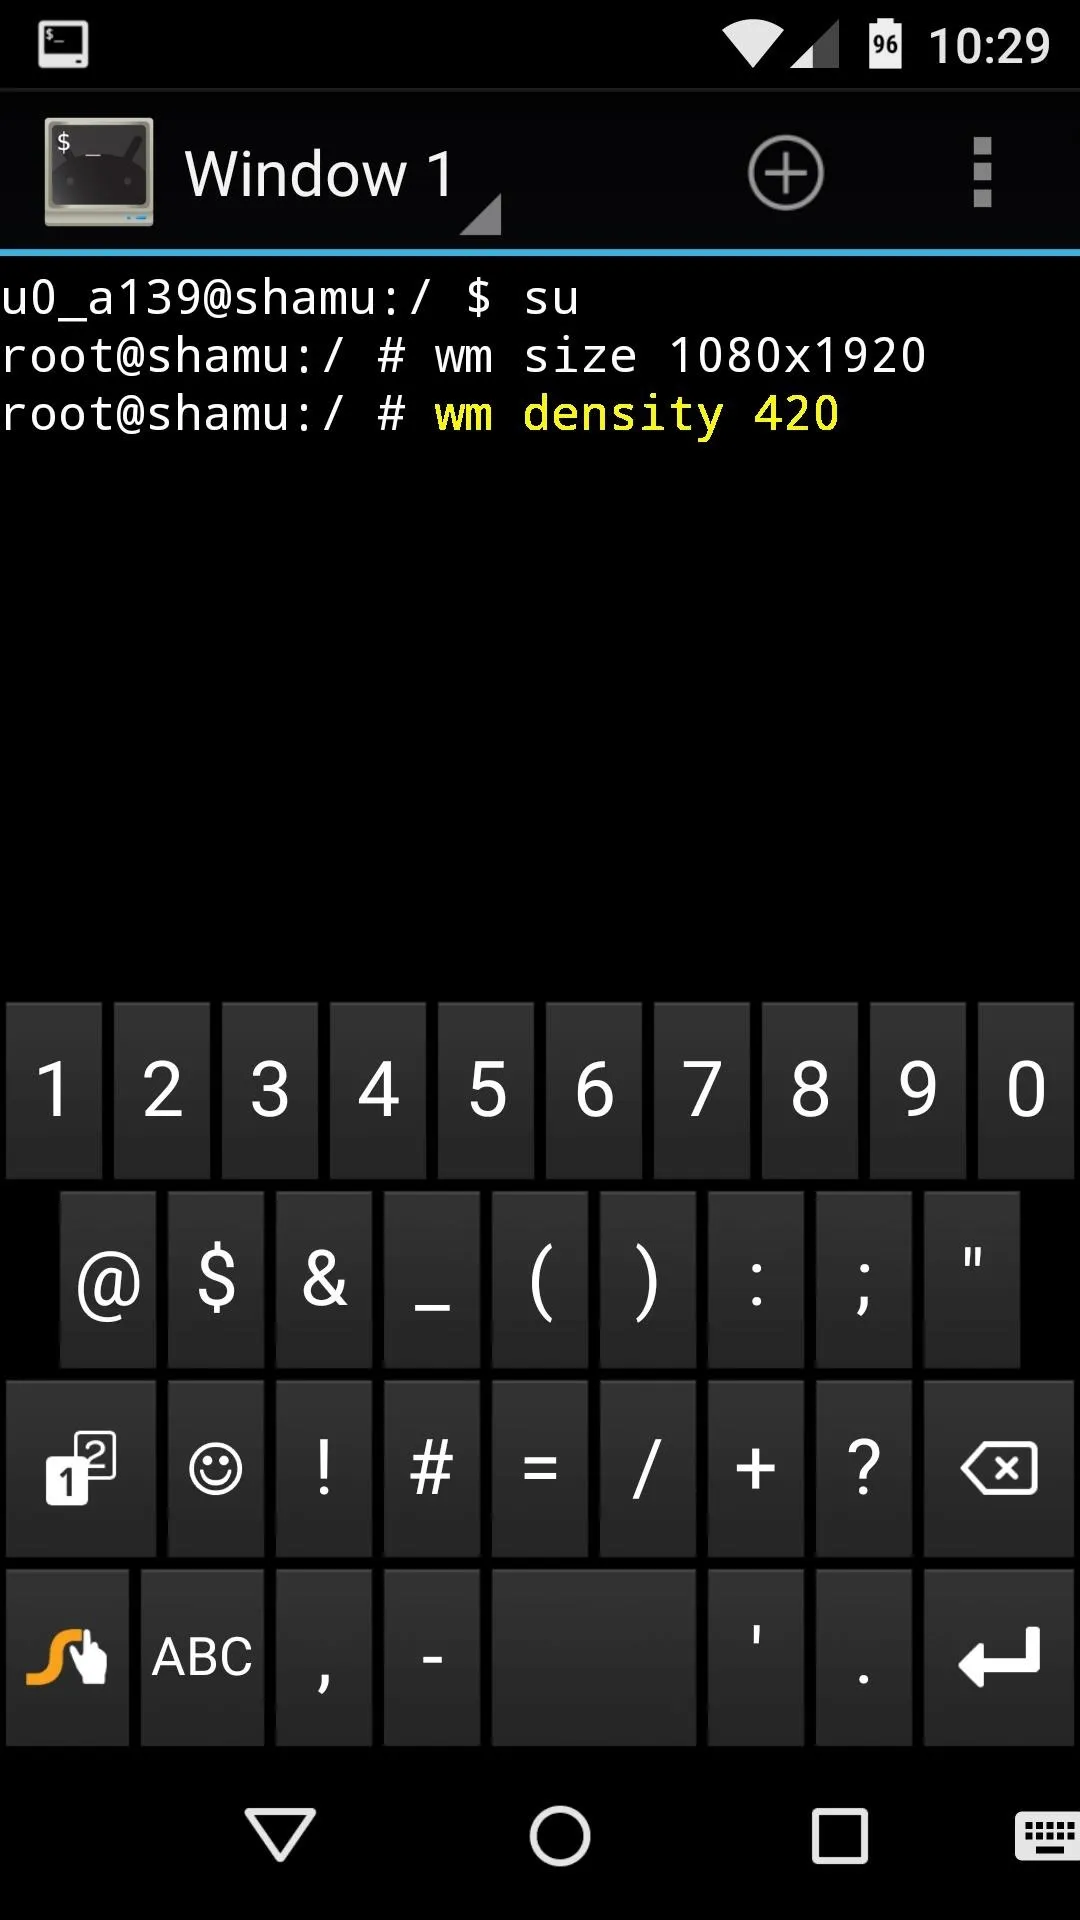
Next, we'll adjust the DPI value to suit the new resolution. To return the visual assets to their normal size, type this command (followed by the "Enter" key):

  • wm density 420

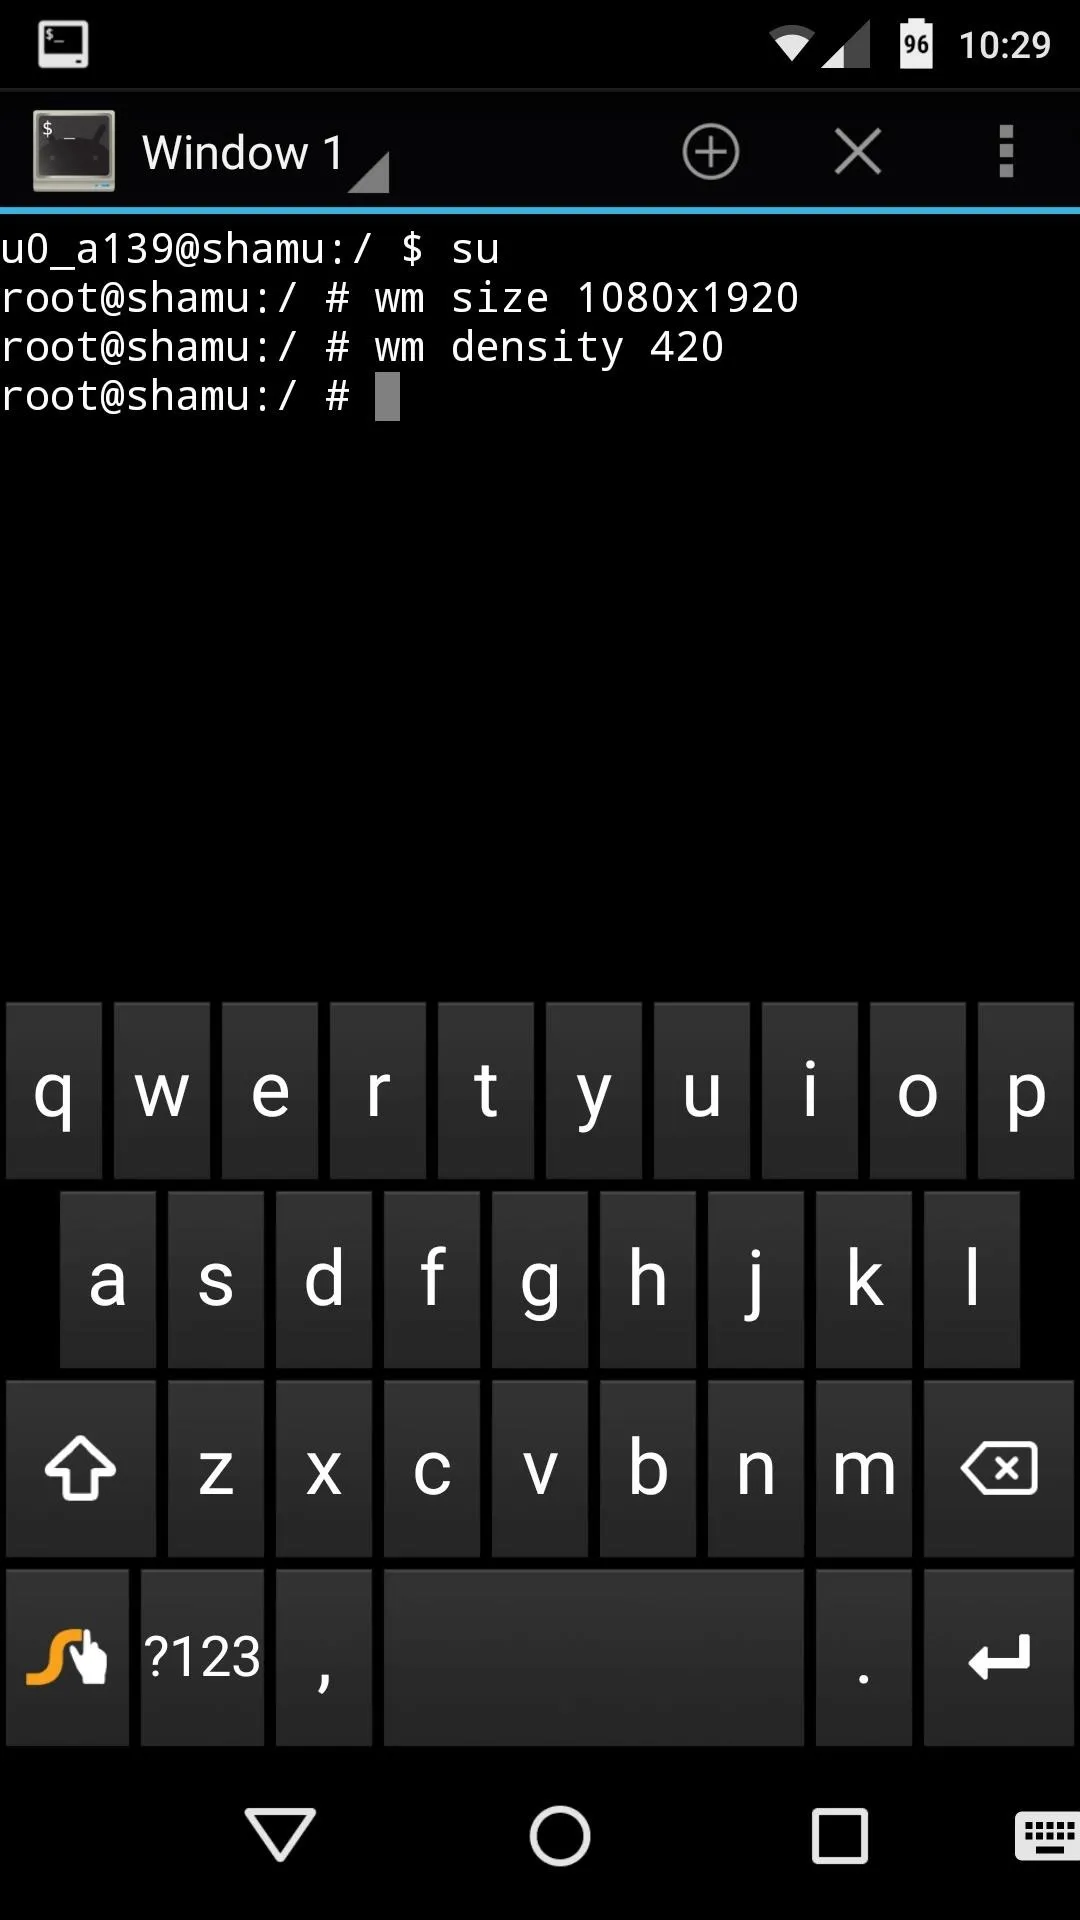
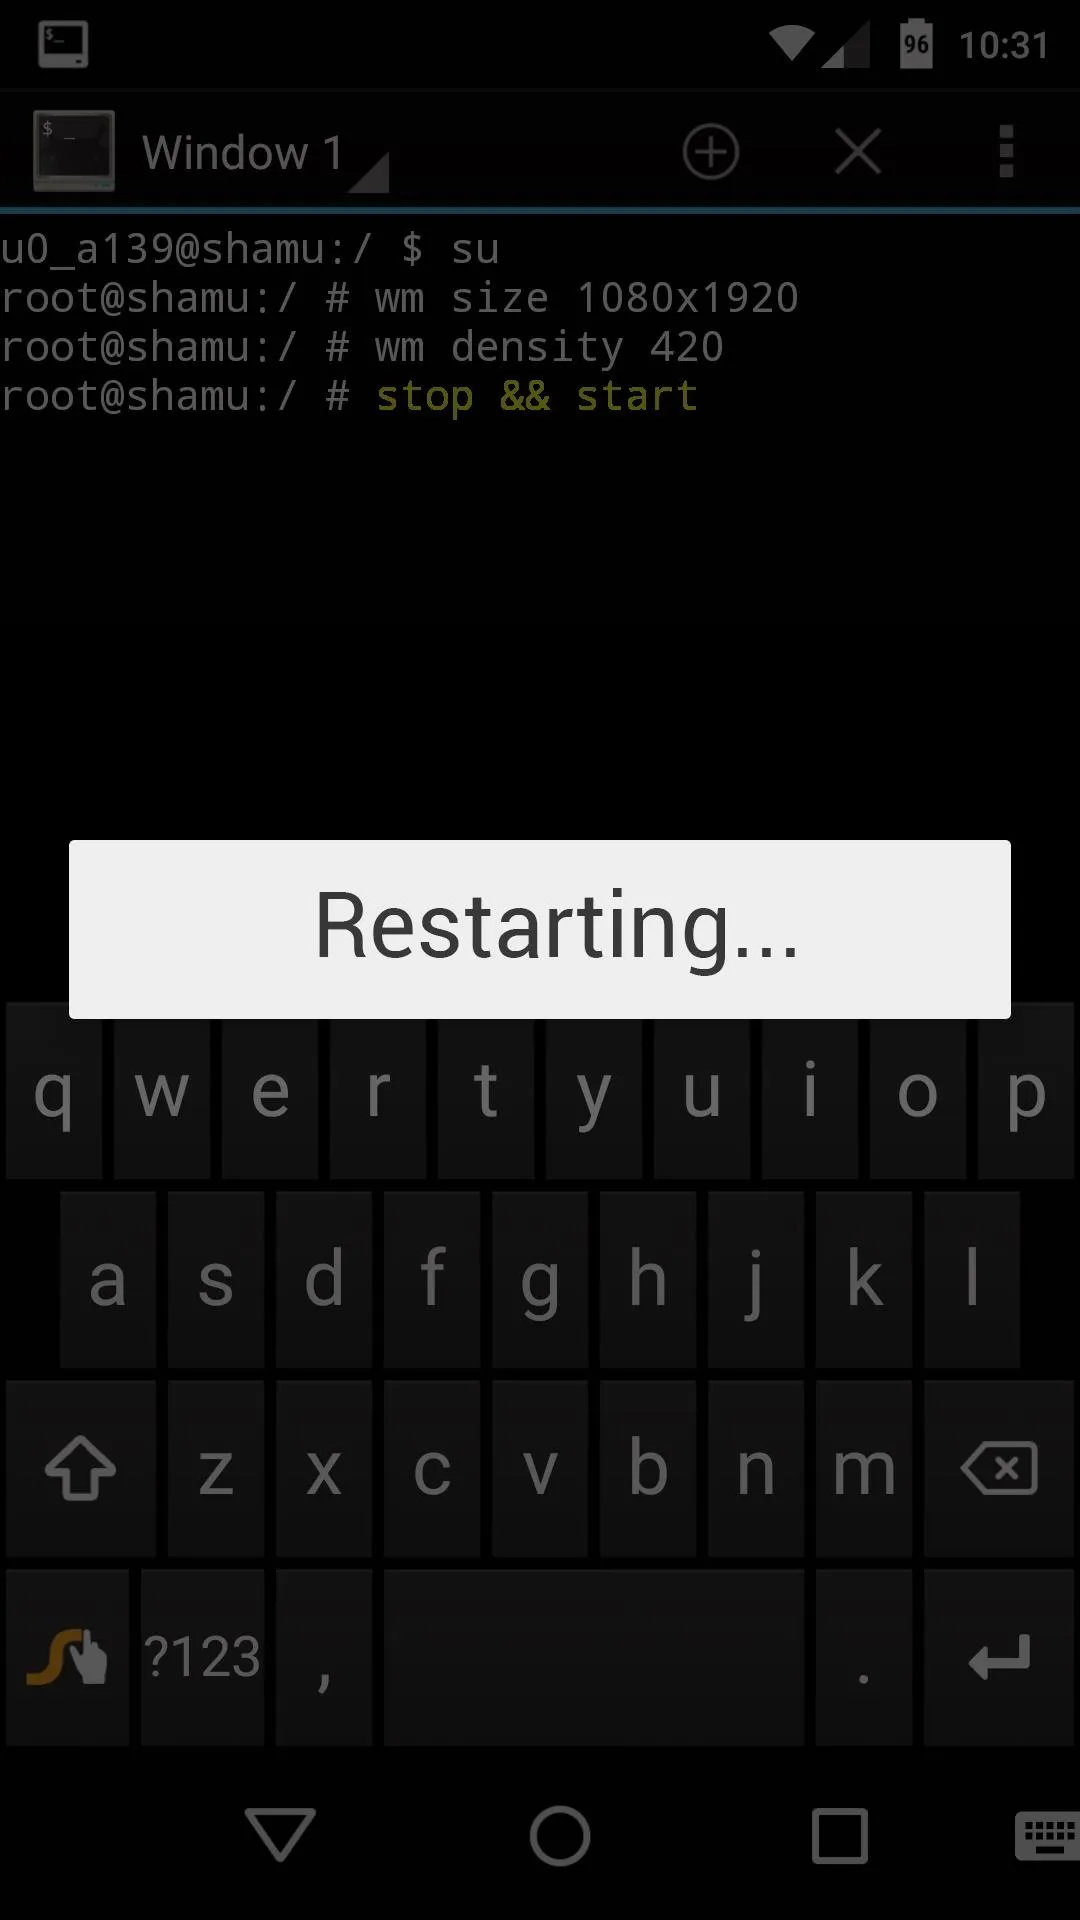
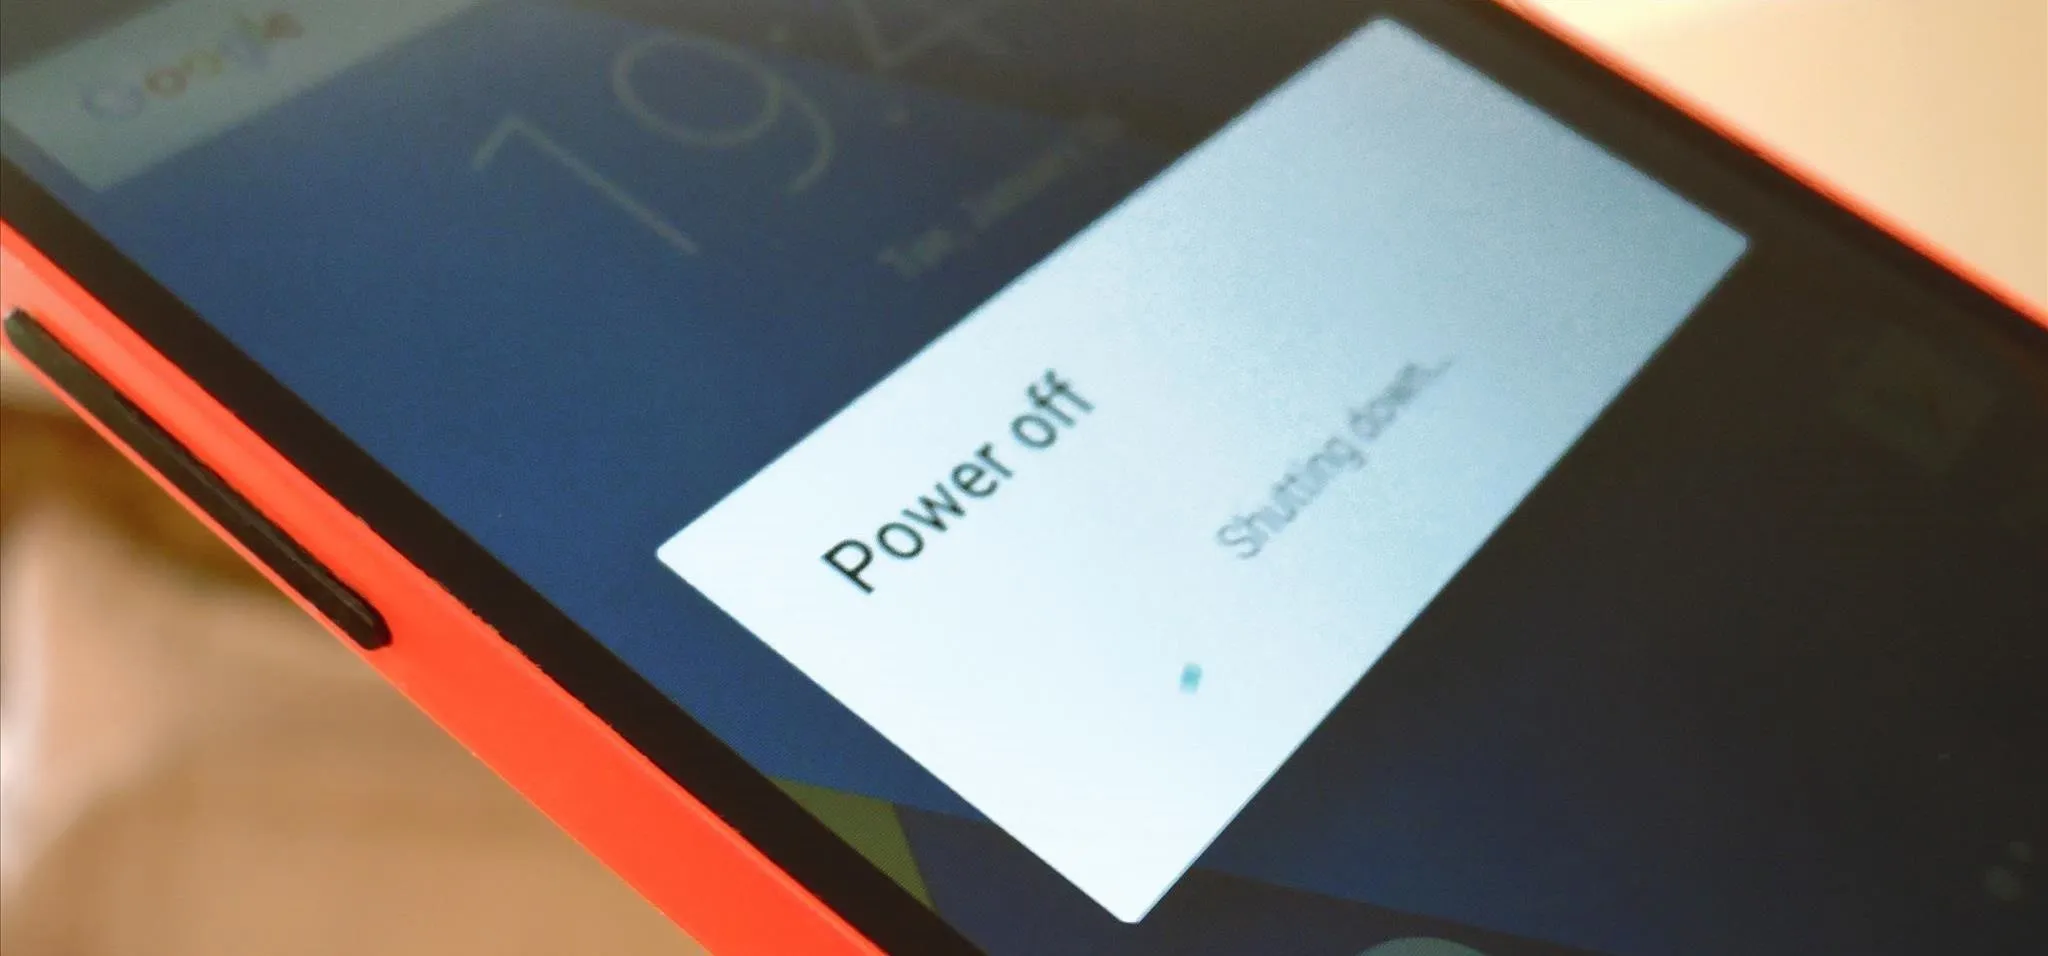
Most of the visual assets will return to their normal size at this point. But some, like the keyboard and on-screen buttons, will require a reboot. To take care of that, type the following command:

  • stop && start

When you hit "Enter" this time, your device will immediately reboot to reset the DPI for any stubborn apps and visual assets.

Step 3: Verify Your Display Resolution

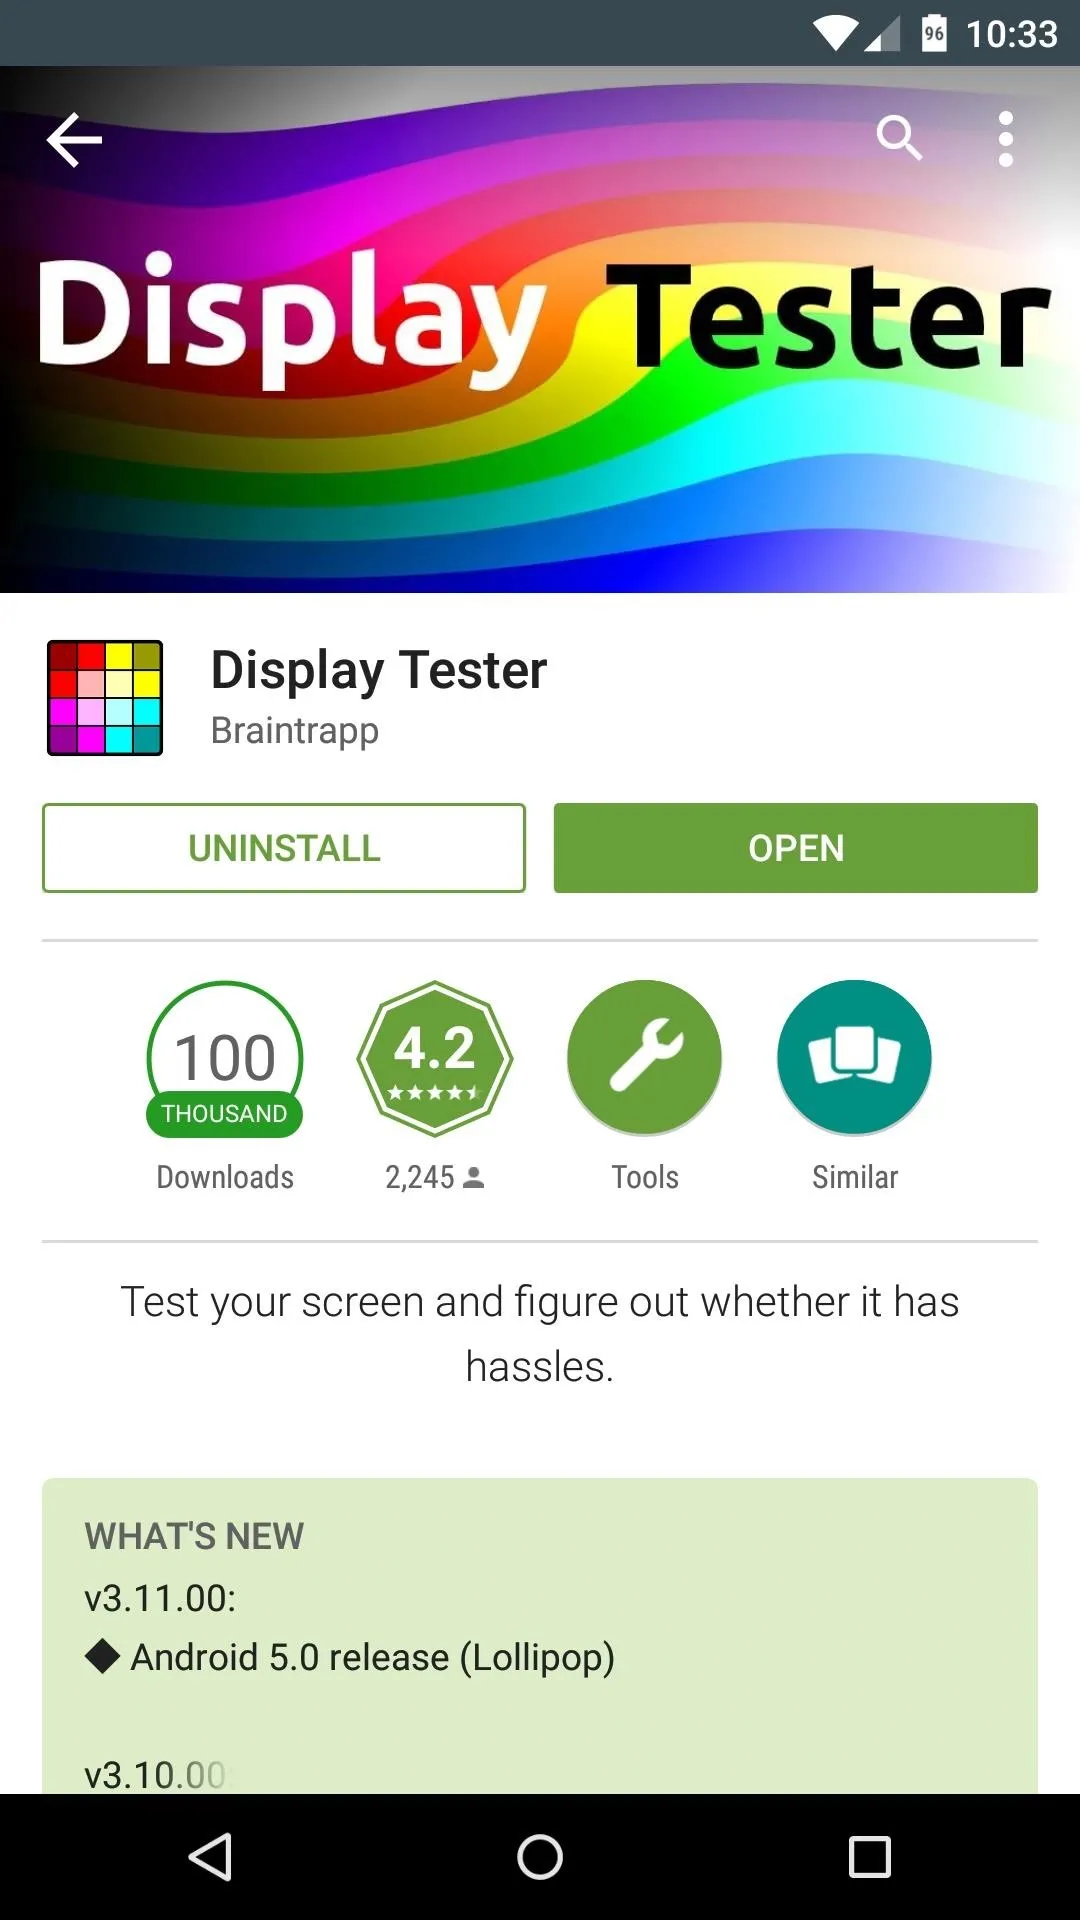
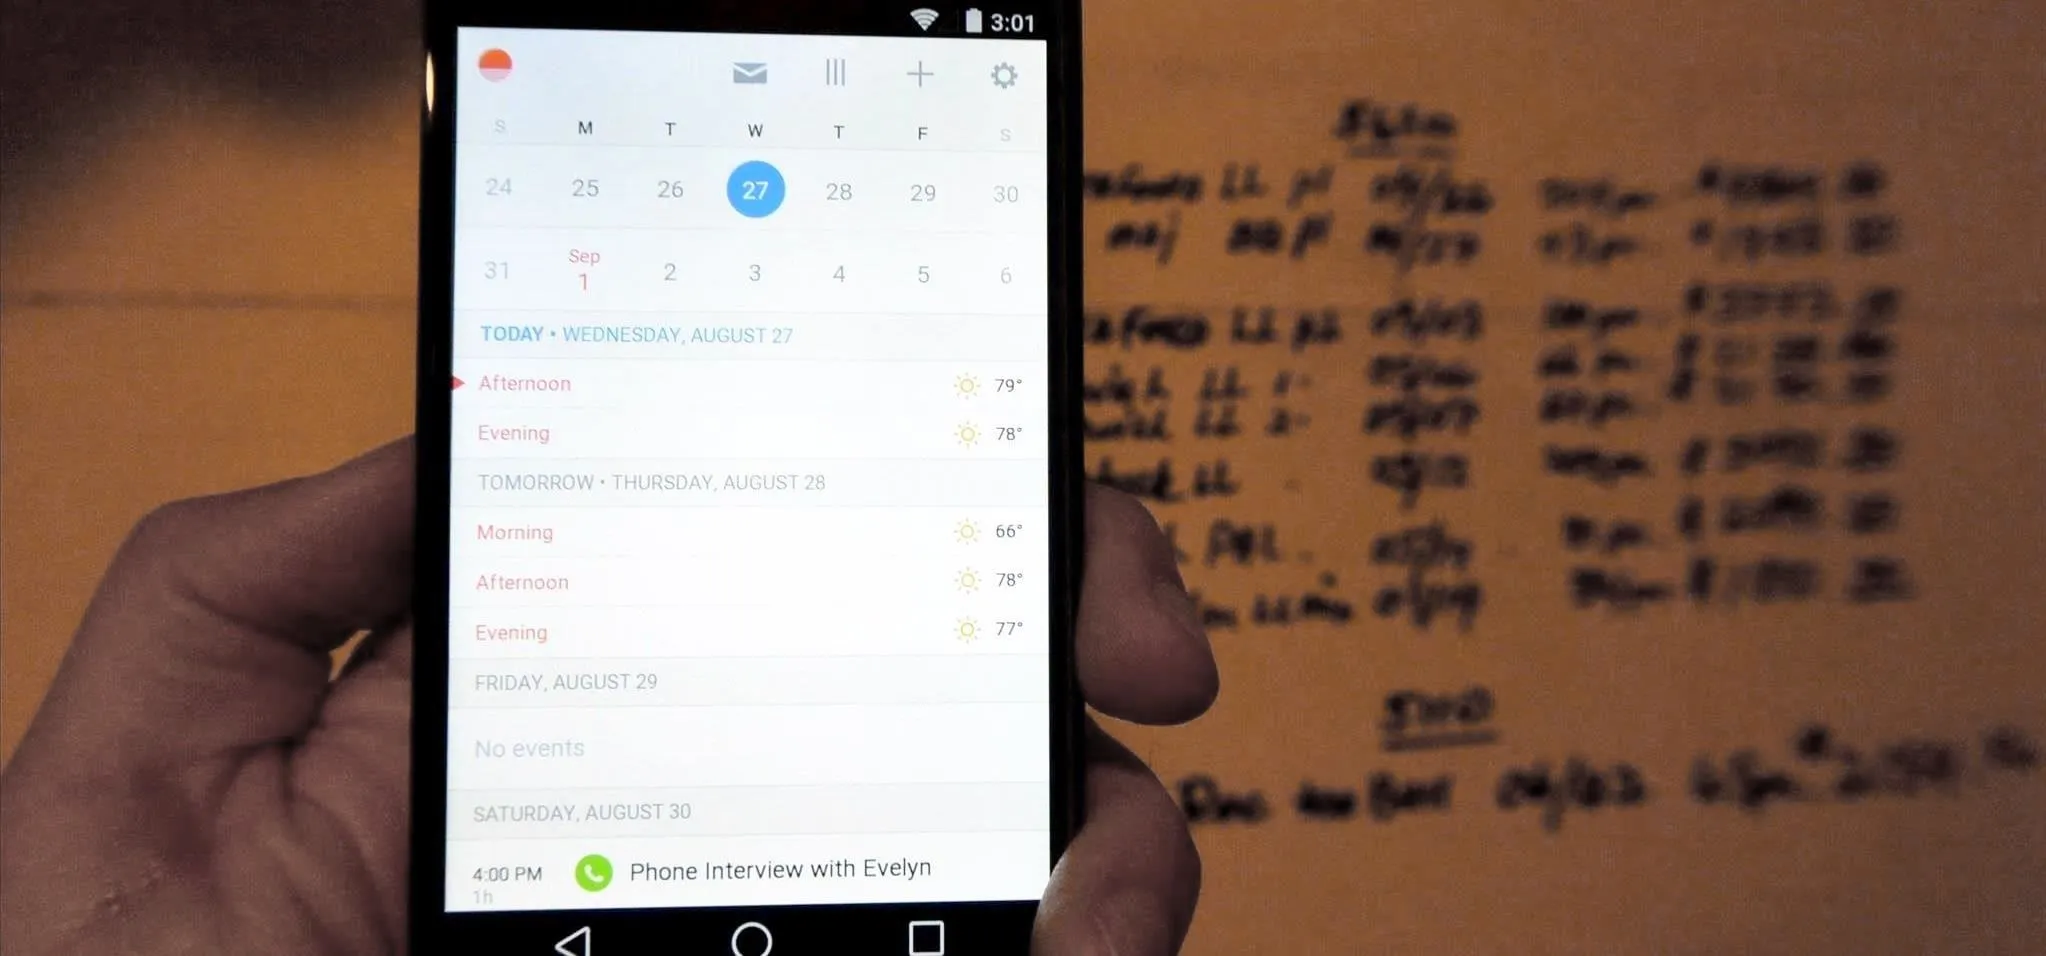
When you get back up, your Nexus 6 should now be sporting a frugal resolution of 1080 by 1920. If you'd like to confirm this, head to the Play Store and search for an app called Display Tester. Install it, then open the app, and your display resolution will be listed right in the middle of the screen.

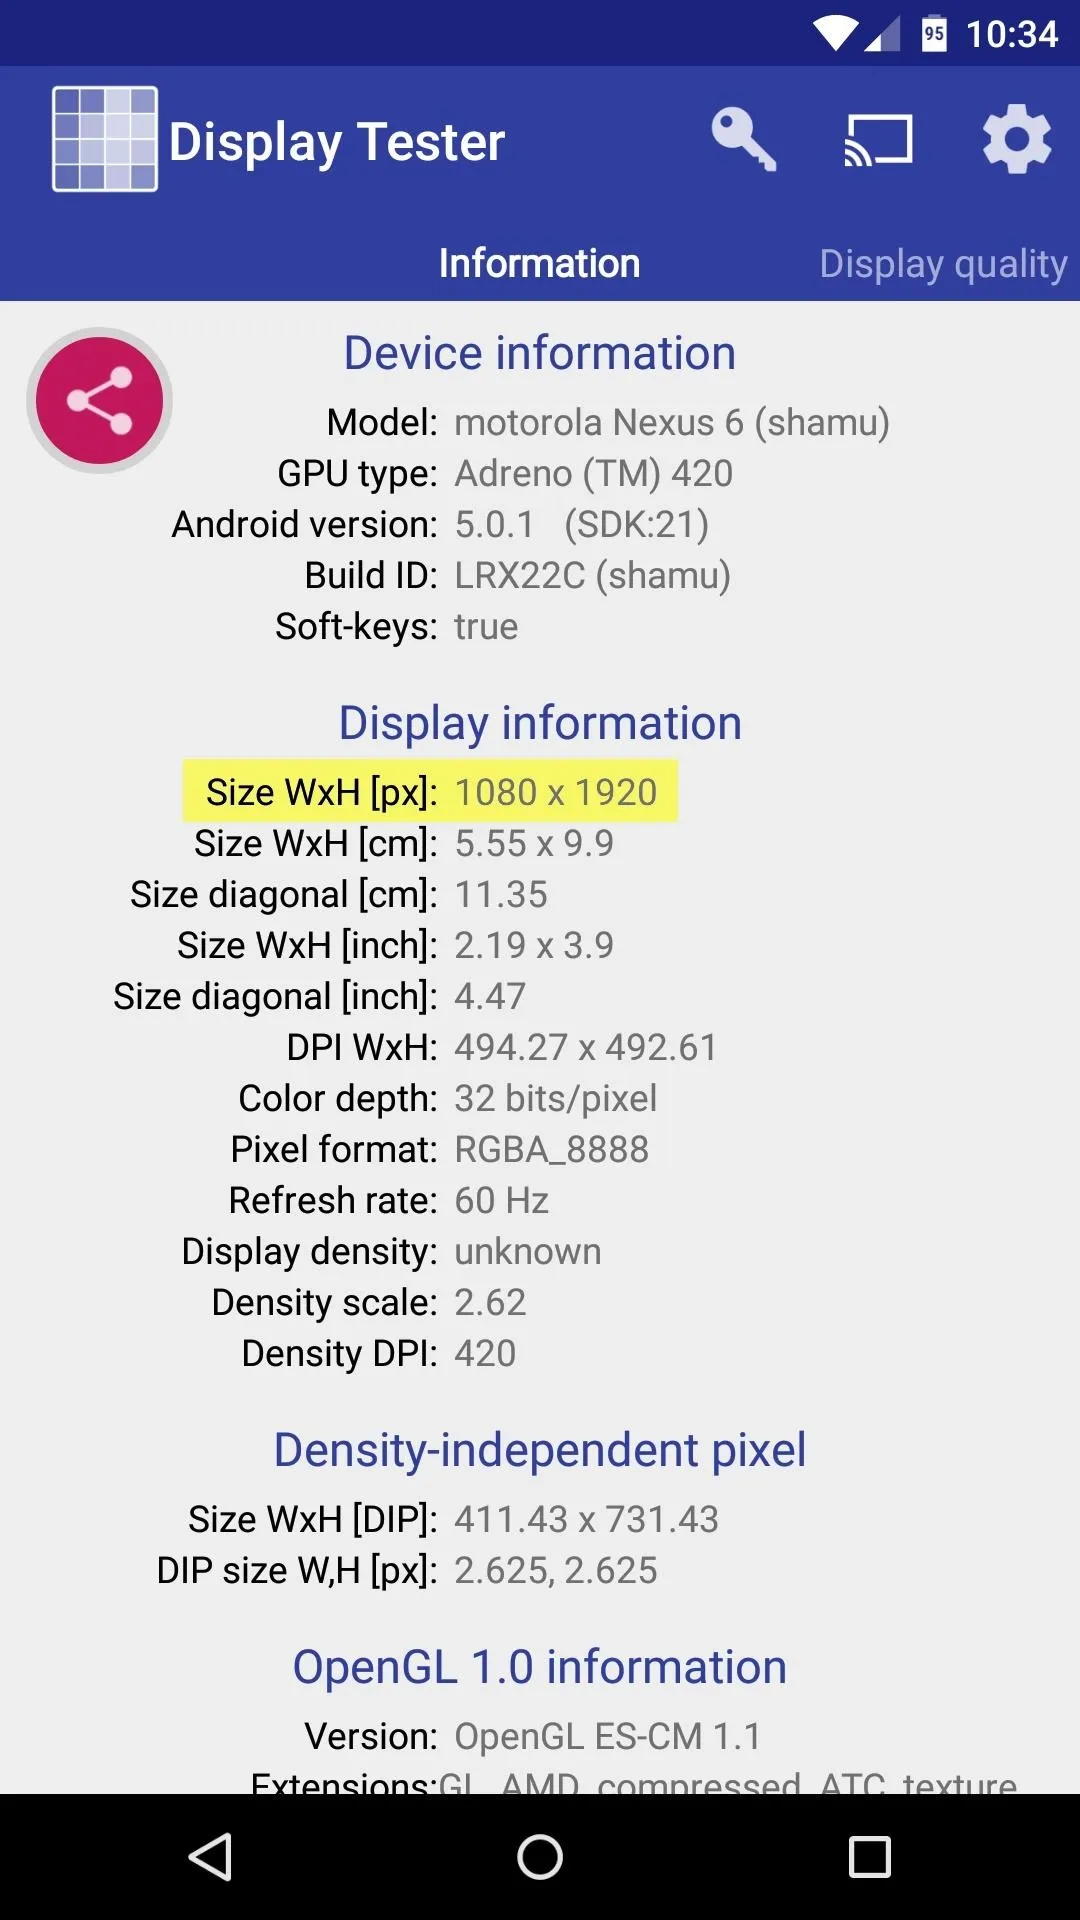
Since the new resolution and the DPI value you've set up are proportionate to their stock numbers, everything should appear exactly the same as before. The only noticeable difference should be a gain in battery life and performance.

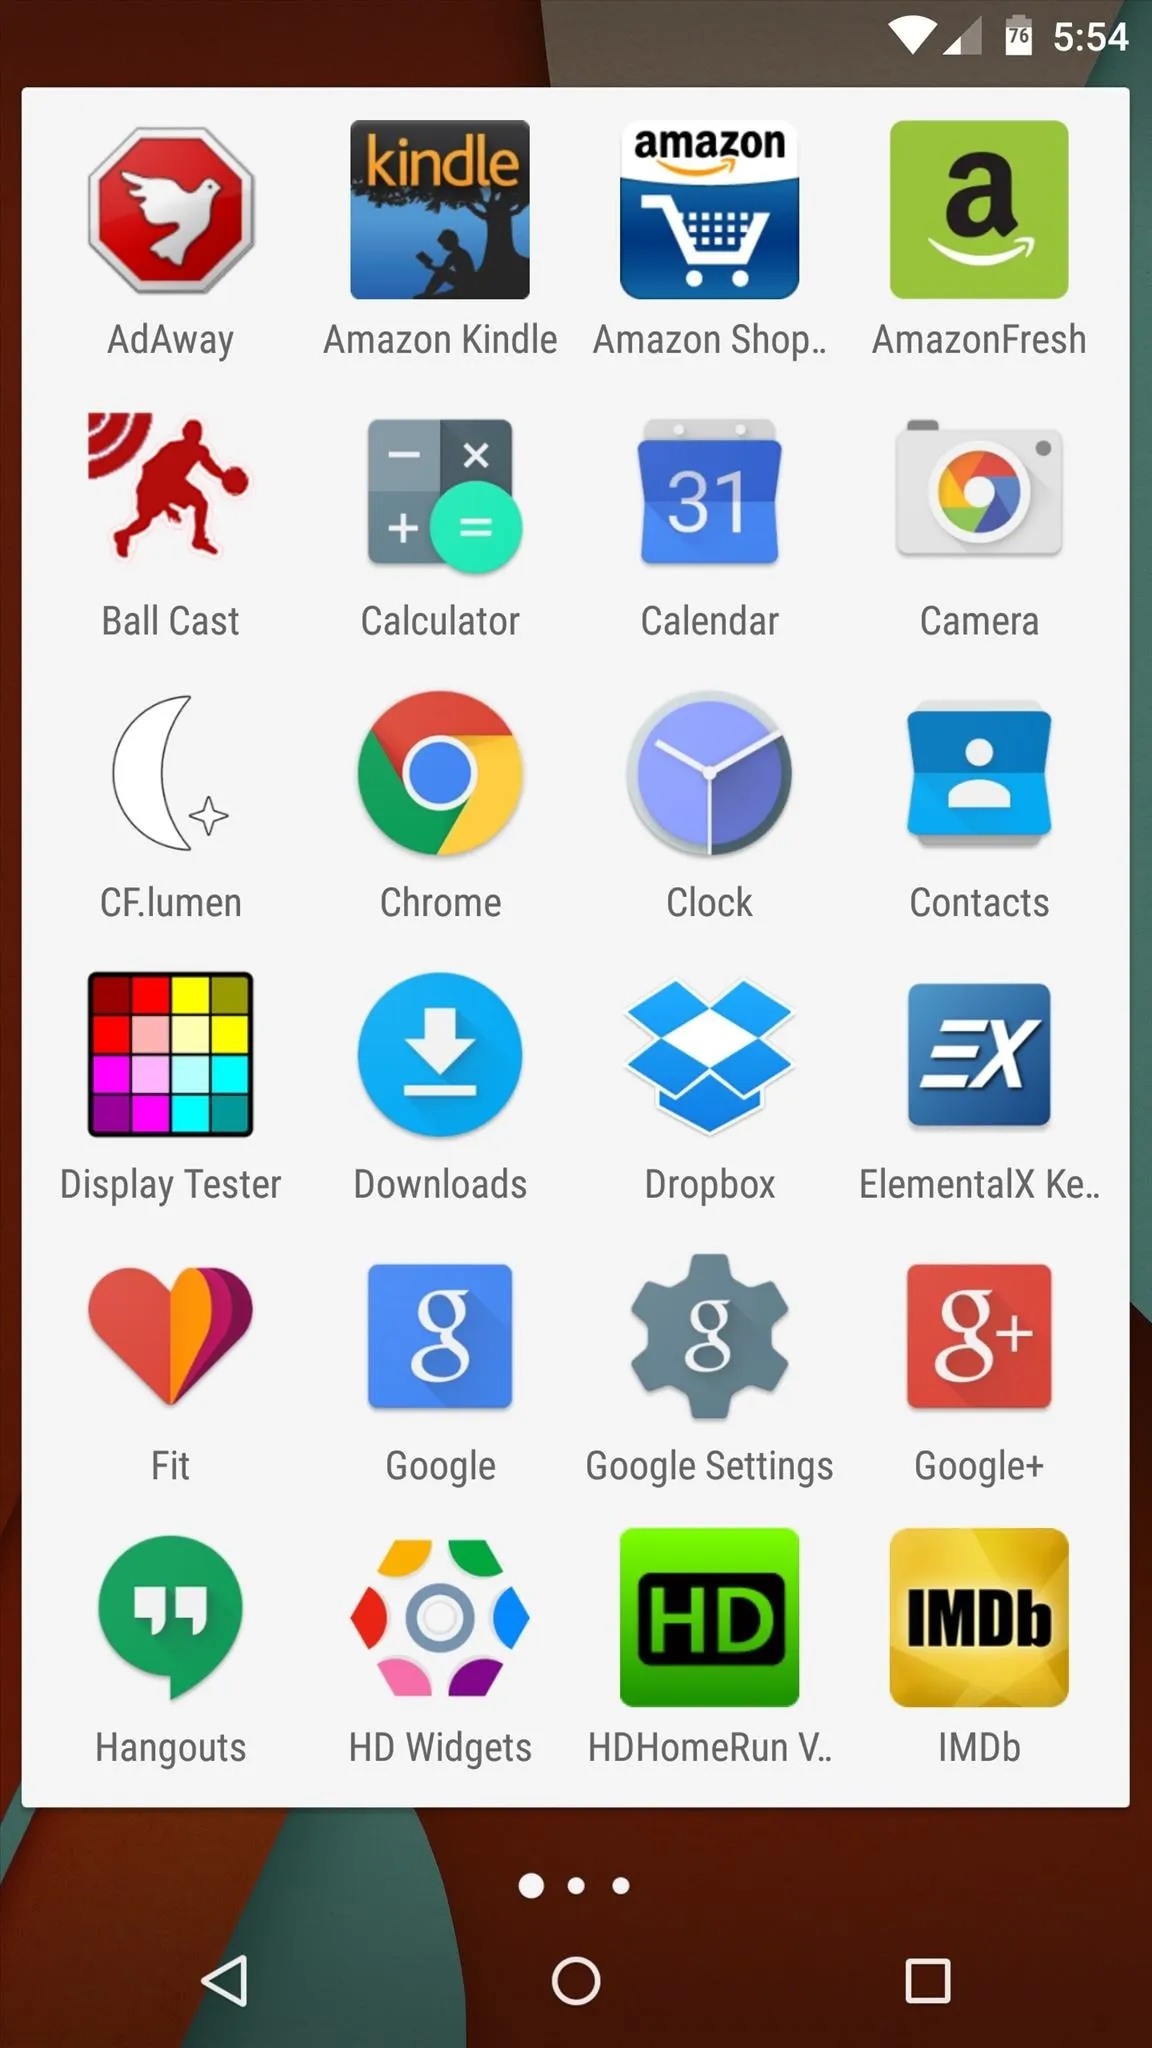
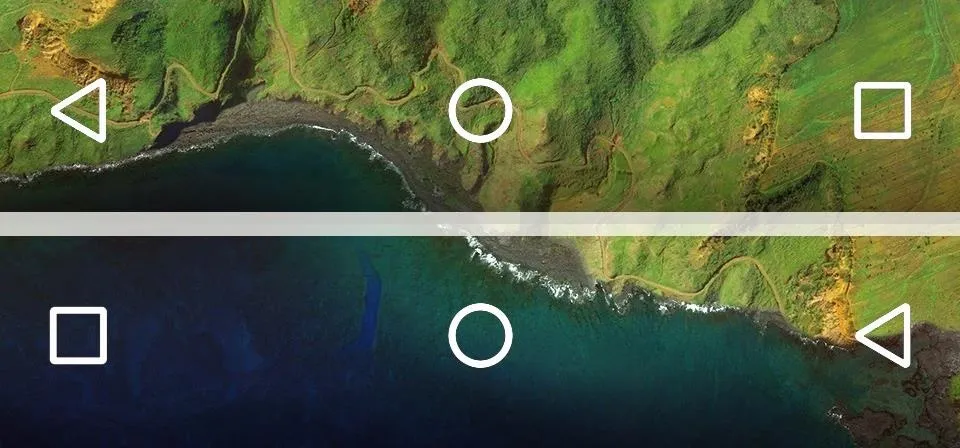
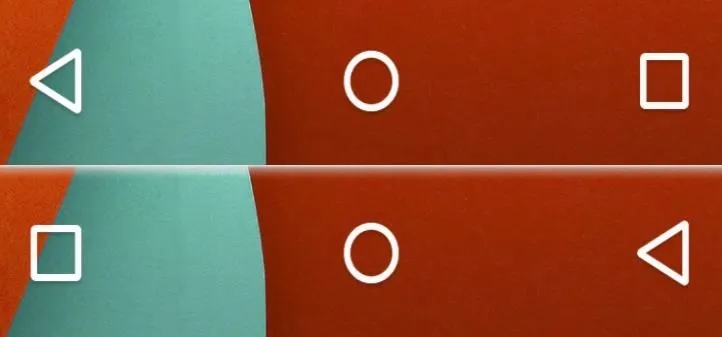
(1) Stock 1440p Resolution
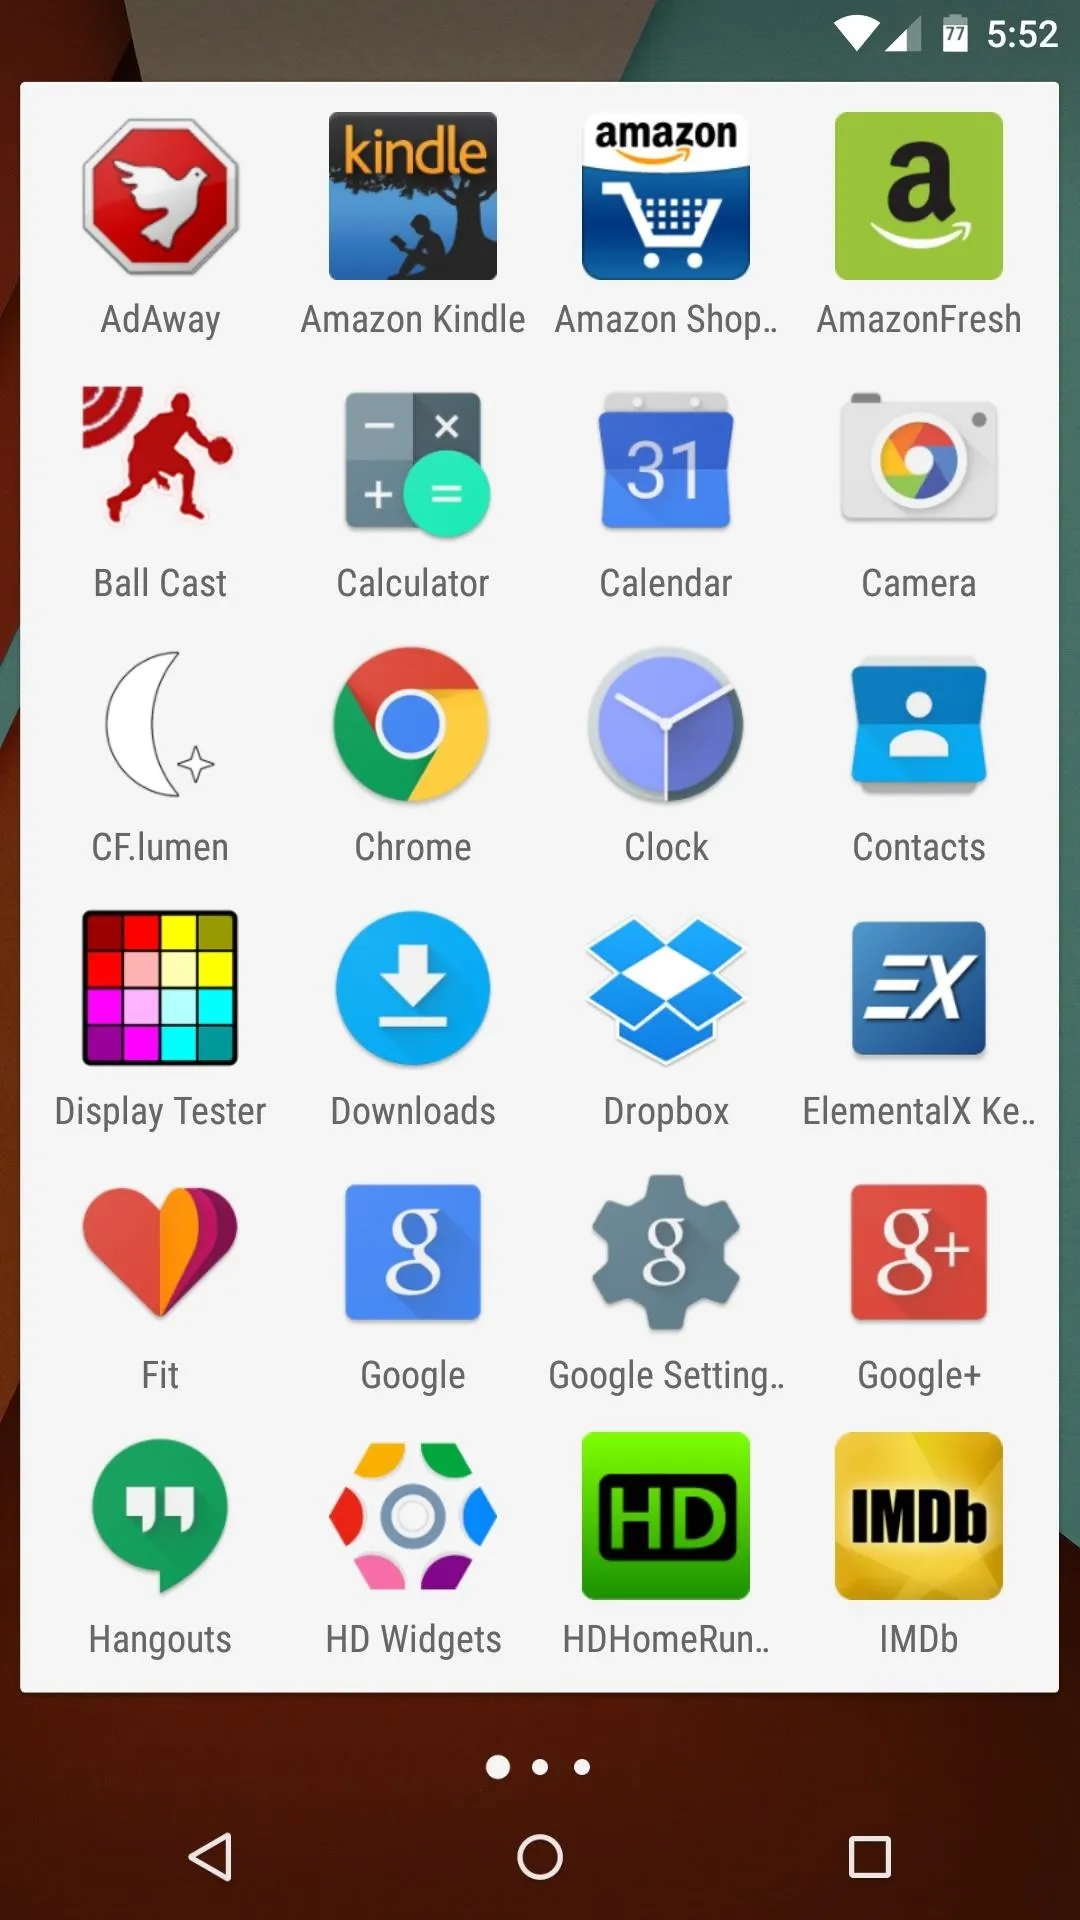
, (2) 1080p Resolution

If you decide you'd like to switch back to 1440p QHD, the process is the same, but the numbers you type into Terminal Emulator will be slightly different. The commands to revert back to stock resolution are as follows:

  • su
  • wm size 1440x2560
  • wm density 560
  • stop && start

Have you noticed any significant performance or battery life gains yet? Let us know in the comments section below, or drop us a line on Facebook, Google+, or Twitter.

Just updated your iPhone? You'll find new emoji, enhanced security, podcast transcripts, Apple Cash virtual numbers, and other useful features. There are even new additions hidden within Safari. Find out what's new and changed on your iPhone with the iOS 17.4 update.

25 Comments

would it work for nexus 5 to lower the res to 720p?

It's a standard Android command, so I don't see why not. Of course the numbers would be a little different, but it should work.

Some app widget are just not getting it right.... Like the starbucks and unified remote widget... They just get very huge. I tried uninstalling and reinstalling but nothing... Restart phone and nothing. Is there any way to fix this???

Can you resize the widgets? Like long-press, then let go and you should see the drag handles to resize. Does that cause any of the widget elements to shrink at all?

If you are running a custom rom, go into "Display & lights." Your rom should have an option for "LCD Density." You will want to set it to 420 DPI. I had this problem for swiftkey being grossly oversized. I hope that helps. If not, feel free to reply because there could be another fix.

what is default value for nexus 5? I accidentally changed it on my device

The stock resolution for the Nexus 5 is 1080x1920 and the density is 480. Sorry for any confusion there.

Pixel density of Nexus 5 is 445 ppi.

That's true, but Android rounds DPI values to nice even numbers that devices with similar densities can share. It makes app development a little easier, since developers don't have to make visual assets for every unique DPI. So in the end, a device with a DPI value in the range of ~400 to ~500 gets lumped in as "XXHDPI", which has that 480 value.

As always, complete guide and clear instructions. One quick question though, noticed that after running all the commands, the ellipsis in the keyboard is noticeably larger, do we have any quick fixes for that? thanks in advance.

BS!!!!!! density 420 does nothing after I change wm size to 1080x1920. I have done this four times to know avail. Please review your work before posting. Thank GOD your screen resolution worked to fix this error.

Great write up. I just used it and definitely thought it was interesting. Besides the battery, there were a couple of other benefits. One of the main ones that I saw was that there was no more random stutters of performance lag anywhere (I get them here and there on the normal resolution). It was smooth throughout the entire OS! Definitely a gain with not having to push as many pixels. The unfortunate side effect of a bunch of elements being the wrong size (Recents view window previews, icons in a number of apps, the ellipsis on the keyboard, etc) was enough to make me switch back, though.

What I really want is for this to be an official, built-on, presented-in-the-settings feature on Android, so that the behavior in the fringe cases is more consistent. The benefits of being able to set the resolution lower than the factory setting looks to be worth it to me.

I've read elsewhere that Android's default DPIs are always 80 multiples, so I tryed 400 instead of 420 and at least the ellipsis and icons became normal. The recents still fell a bit large, but definitely it doesn't botter me at all.

I took some time to benchmark the before and after resolution change. These are the results before/after (Antutu):
Total score: 54576/59843
Multitask: 8190/8846
Single core integer: 2994/3284
3D graphics: 18257/22250

The other parameters kept a <150 difference, so I've considered them as equivalents. Most of them showed a little increase after de change, but with values around 50 points higher.

Awesome stuff! The increase in performance scores isn't gigantic, but it's definitely tangible.

Cool! I have been getting around 4 hrs SOT with rooted stock running gravity box and Franco kernal. Will update when I notice a difference. Thanks for your article!

I followed the directions perfectly and it worked fine, but it really messes with Zooper widgets. None of the hotspots seem to work. Any ideas?

Have you tried re-adding the widgets after you lowered the display resolution? It could be that the widgets are still relying on the old resolution.

You can do this without root using ADB

Just open your terminal or command window and type

adb shell wm size 1080x1920
adb shell wm density 420 && adb reboot

For some weird reason when I type in 'su' and grant it and then do 'wm size 1080x1920' it comes up 'aborted' then on the next line it saids '134' do u know what this mean by ay chance?

Are you getting "root@shamu" as the prompt after granting the app root access? Aside from that, I really don't know why the command would be aborted, so I'm thinking there's something going on with Terminal Emulator not having proper root access for some reason.

What's the 1080p value of a 5.4 inch screen do u know (I have a moto x force and my original resolution is 2560x1440 and the density is 540) thanks in advance. This method isn't working for me so I'm using a method to decrease screen resolution without root.

The resolution number would still be 1080x1920, but the DPI/'wm density' number might be a little different. The DPI multiplier for downgrading from 1440p to 1080p is 0.75, which is how we arrived at 420 for the Nexus 6 with its stock DPI of 560. So using that ratio, 540 would convert to 405, meaning the second command would be 'wm density 405'.

Its not taking the × sign when i type the command wm size 1080×1920. So im trying to use the asterisk instead but it says error: bad command! HELP!

Share Your Thoughts

  • Hot
  • Latest