Unless you've been living under a rock for the past few weeks, you're probably well aware that the Android world has been buzzing with excitement over the recently debuted Android L preview build that was released for the Nexus 5 and Nexus 7 at Google's I/O conference.
This is the first time that Google has offered developers an early access preview along with a significant portion of the source code for the newest iteration of their mobile OS.
Feeling left out of all the Android L fun, a group of developers over at XDA's Nexus 4 forums decided to crash the party, cobbling together a port from the published source code for the Nexus 4, and I'm going to show you how to install it.
Prerequisites
- A rooted Nexus 4
- Custom recovery (like TWRP)
- A fresh backup of your data (just in case)
Download Android L
The Nexus 4 port of Android L is being hosted at GitHub, so head on over to their Releases Page and download the latest build to the root of your phone's SD card. At the time of this writing, the latest build is Beta 4.
Wipe Your Nexus 4
While wiping your phone before flashing a new ROM is almost always a good idea, it is especially important here, as we are loading a major update to the Android OS.
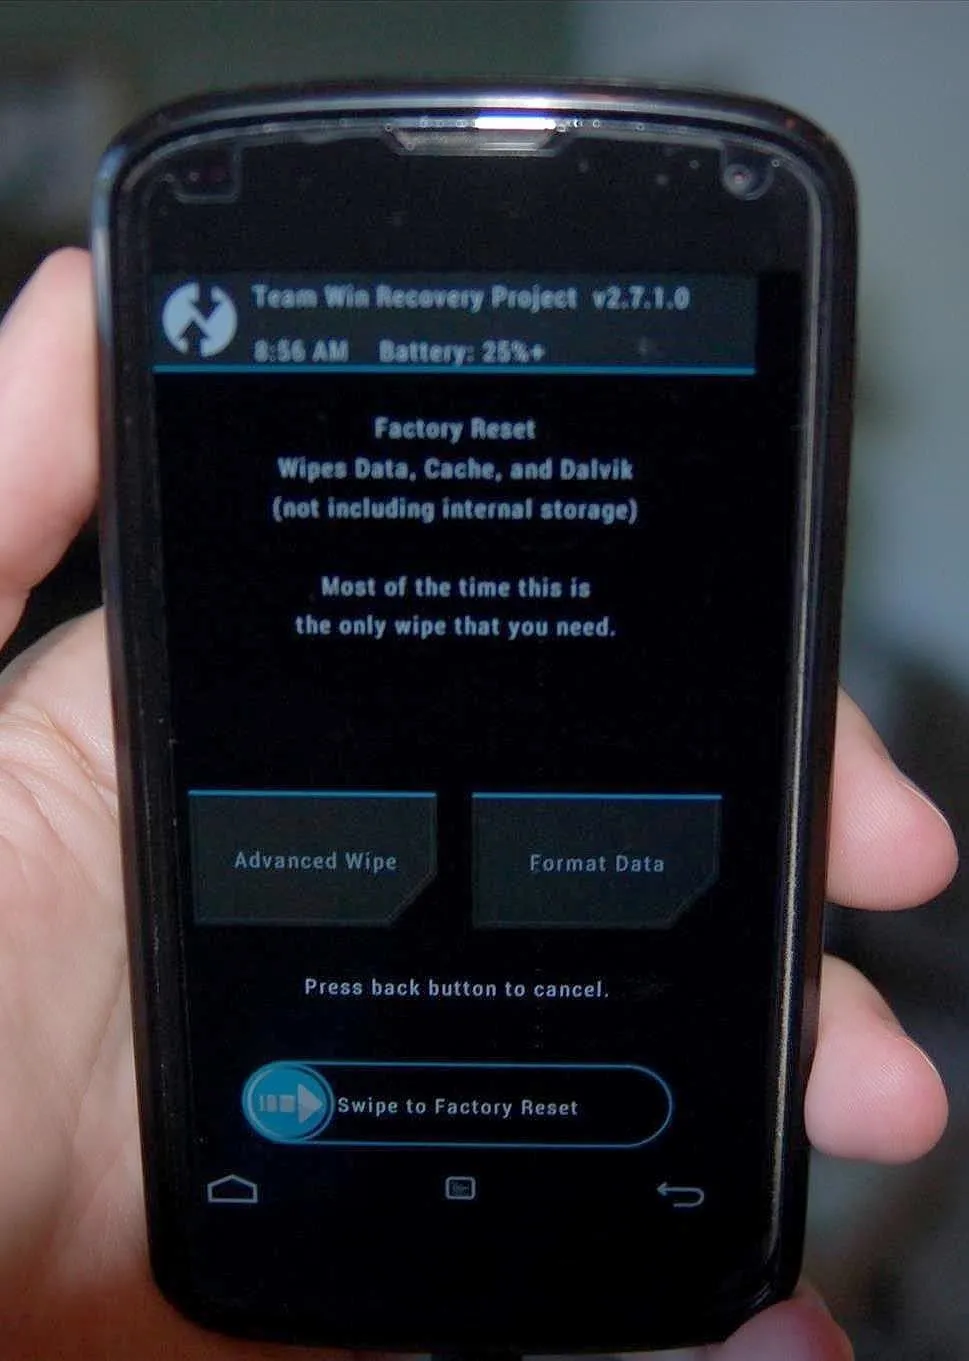
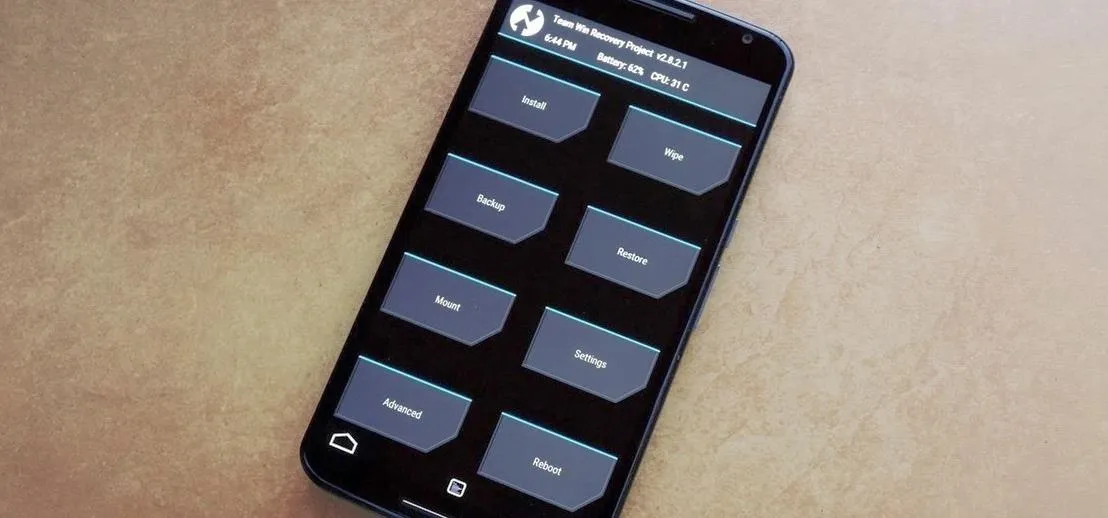
Boot your device into its recovery so we can wipe the slate clean. If you're using TWRP, tap on Wipe, and on the next screen you'll be asked if you want to perform a factory reset. Swipe to Factory Reset.
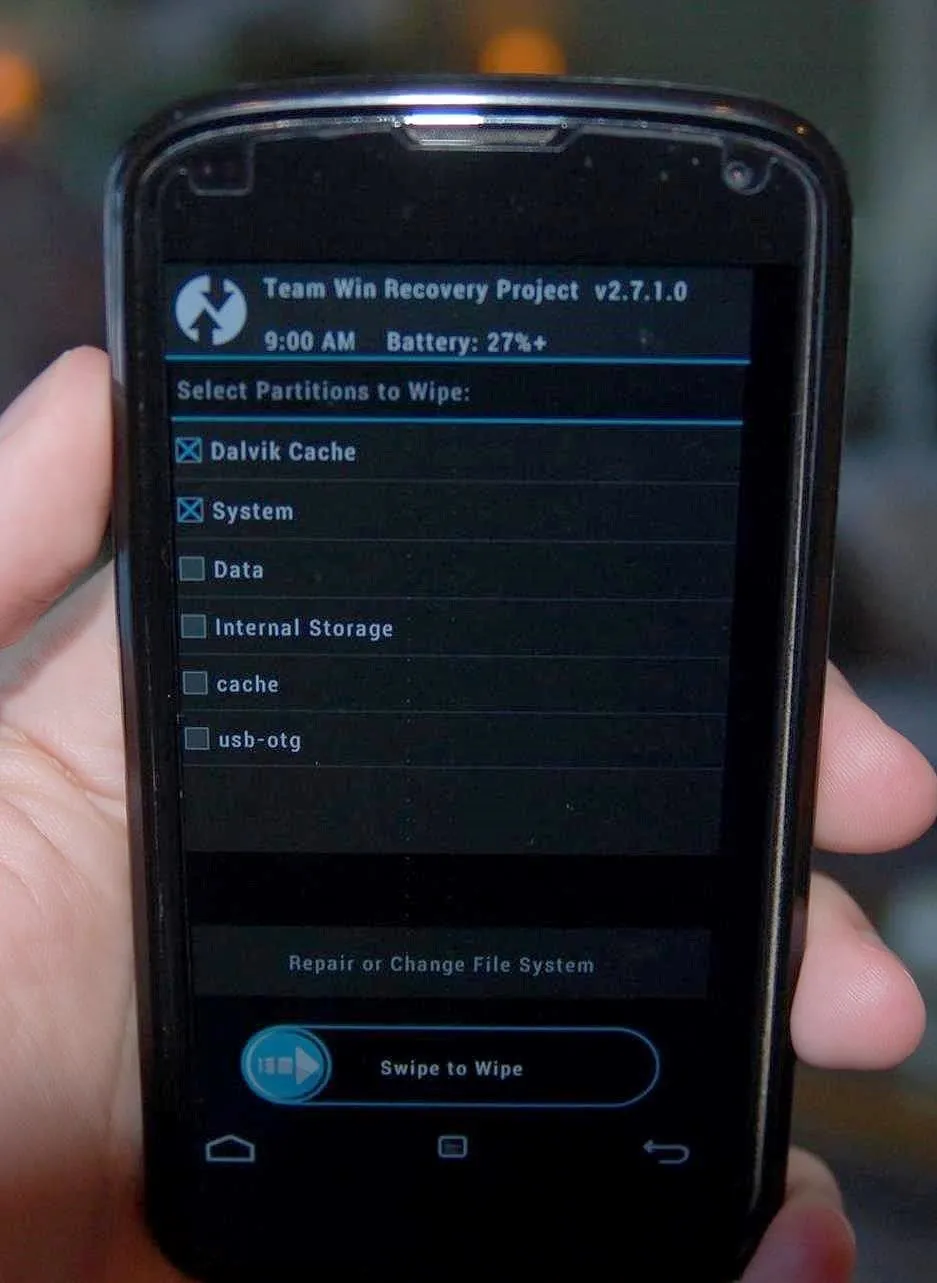
Once that is complete, enter the Advanced Wipe menu and tick the Dalvik Cache (wiping twice for good measure) and System checkboxes, then Swipe to Wipe.


Install Android L
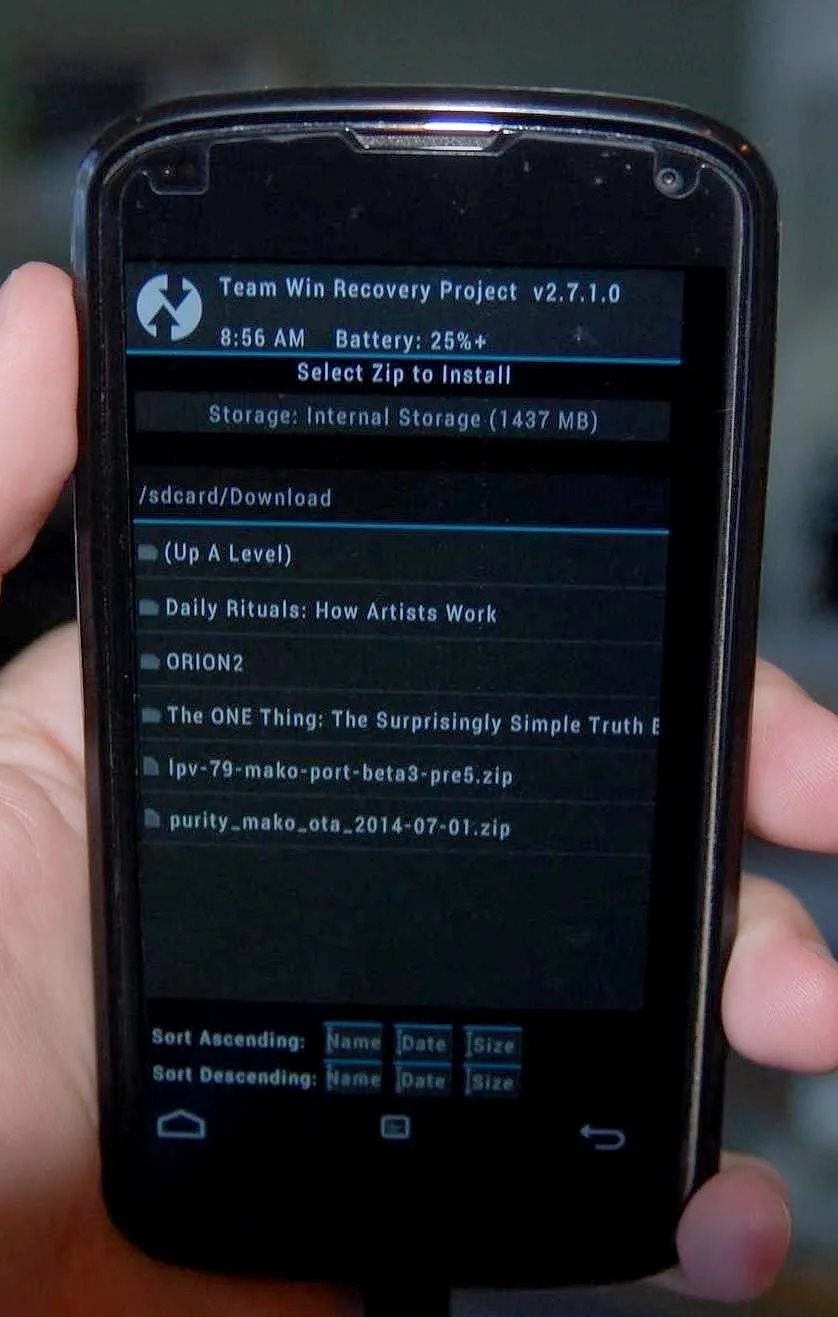
Android L installs just like any other ROM. From your recovery, tap Install and select the file that you downloaded to your SD card in Step 1.
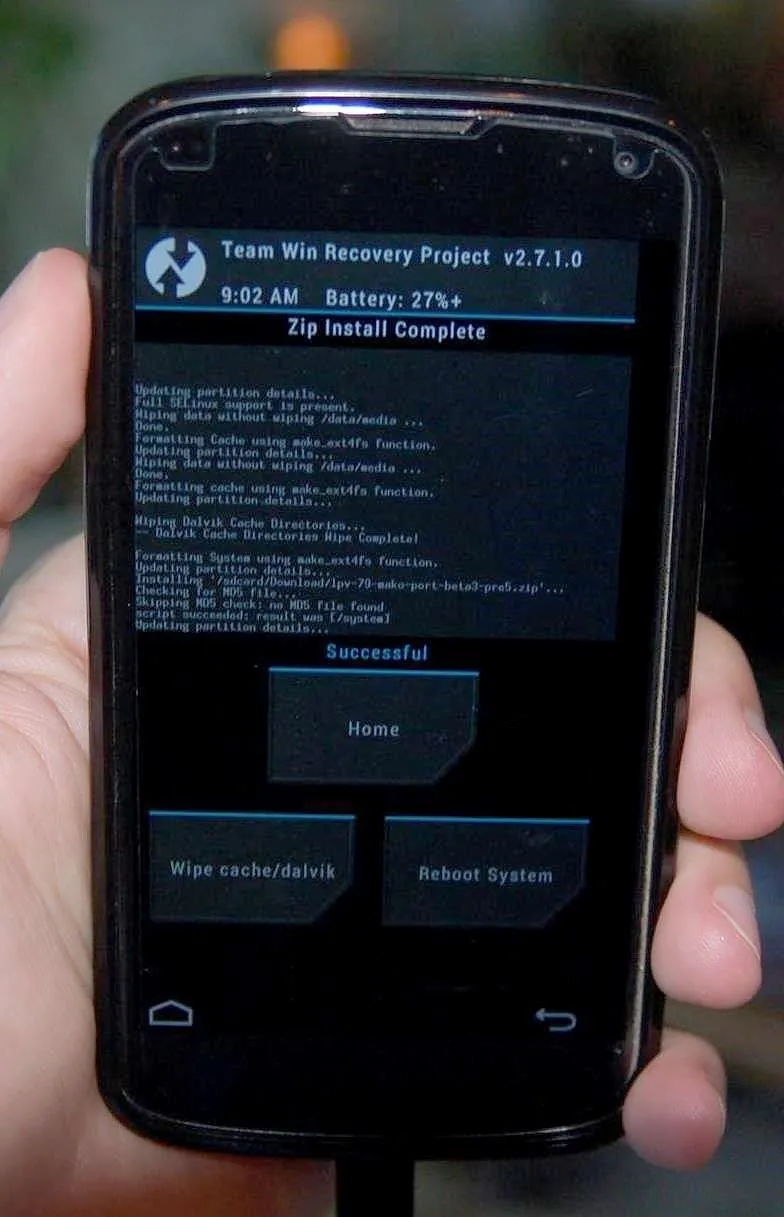


Once the installation completes successfully, be sure to Wipe Cache/Dalvik one more time. If you are using TWRP, you can do this with one tap from the successful installation screen. Once wiped, reboot your device.
First Impressions of L for Nexus 4
Android L takes about 10 minutes to boot up for the first time, as it completes the installation, so be patient. Before being allowed to complete the usual phone setup steps (which now include enabling Google Now), you are shown a warning message, letting you know that you are running preview software.
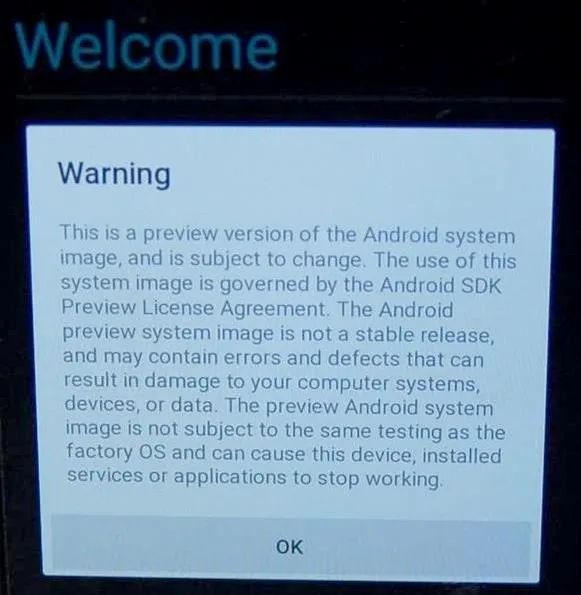
Despite the fact that this is an unofficial port of a developer preview of an unfinished OS, it works very well on the Nexus 4. In fact, this is my current daily driver.
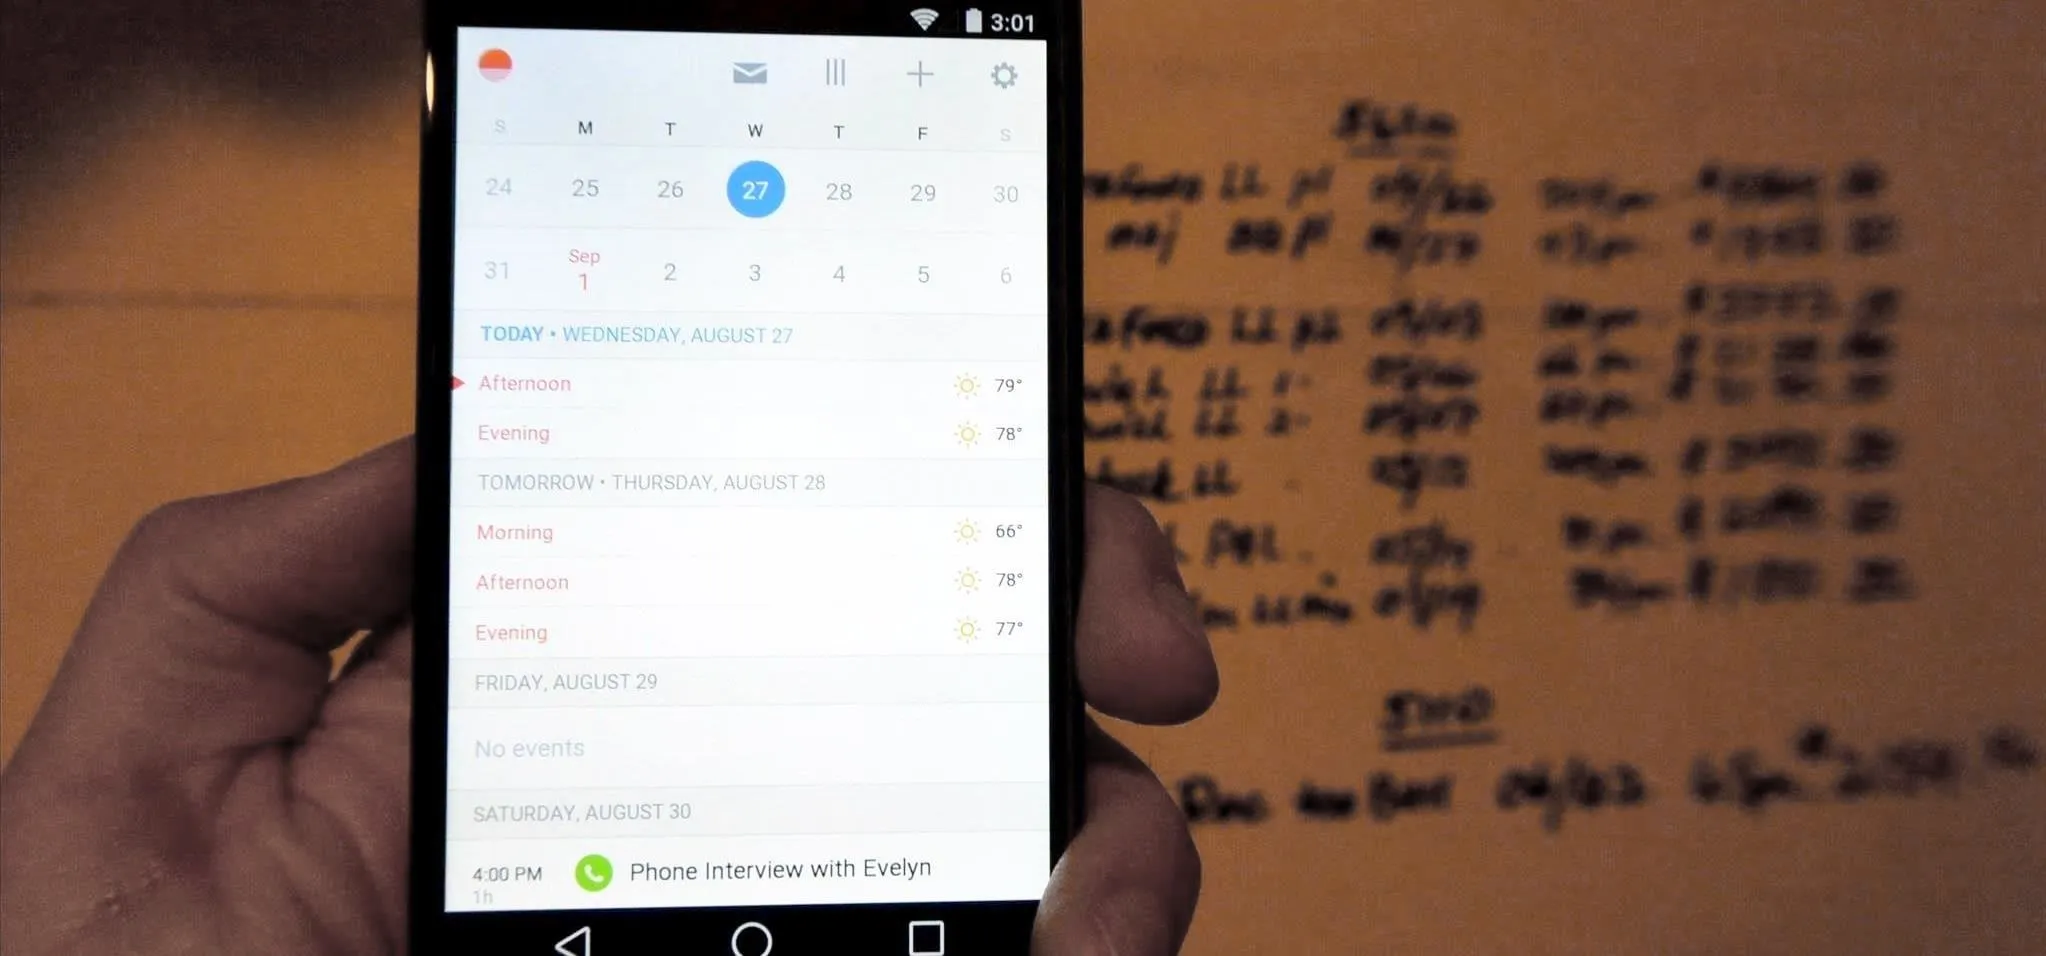
All of the essentials (Wi-Fi, Cellular, Bluetooth, Sound, Camera, etc...) work, for the most part, as they should. The new Material Design UI feels responsive and looks fantastic. Due to the inclusion of Google's Project Volta, battery life in Android L is noticeably improved.
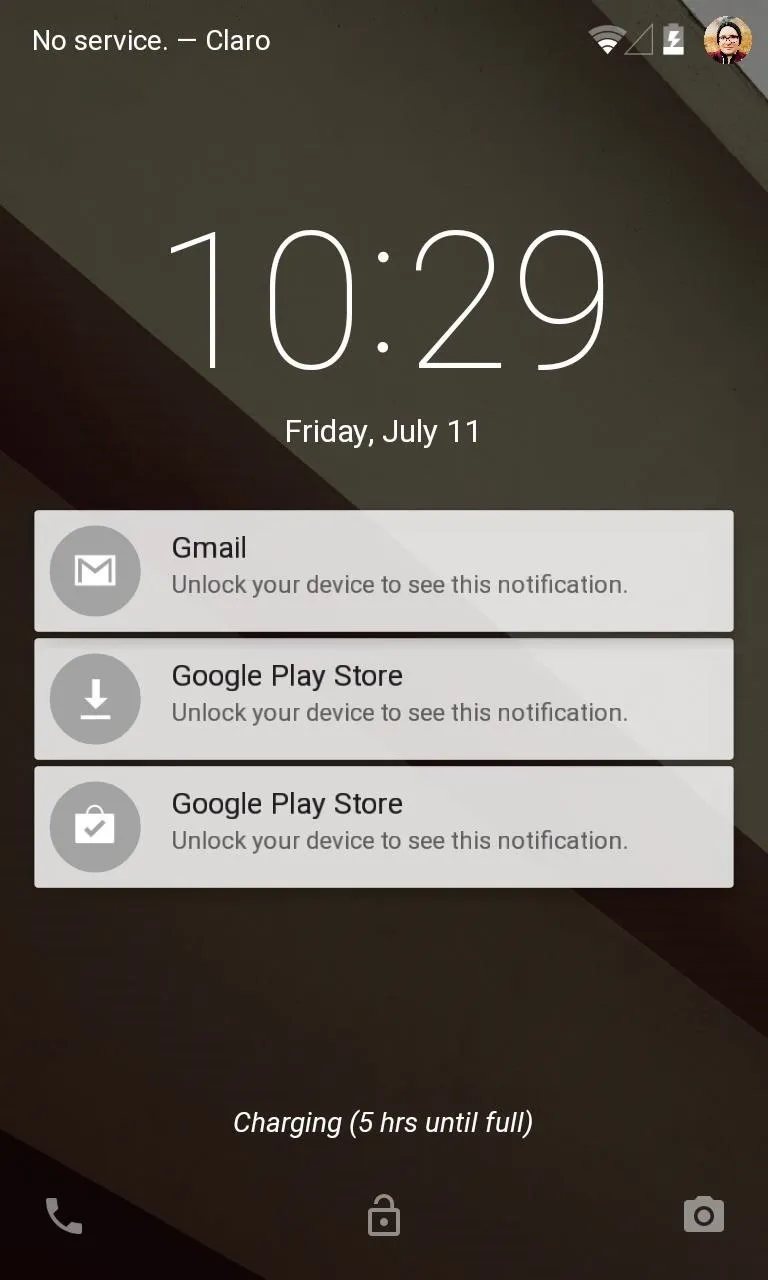
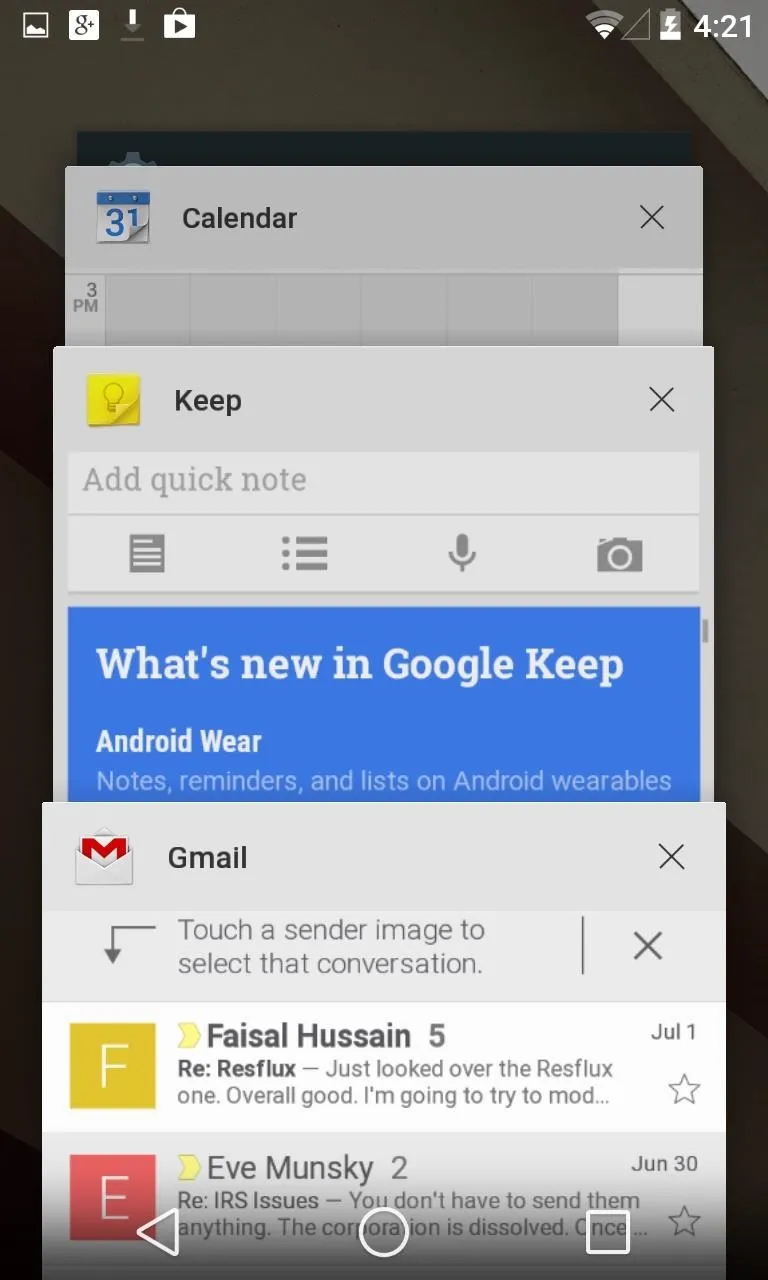
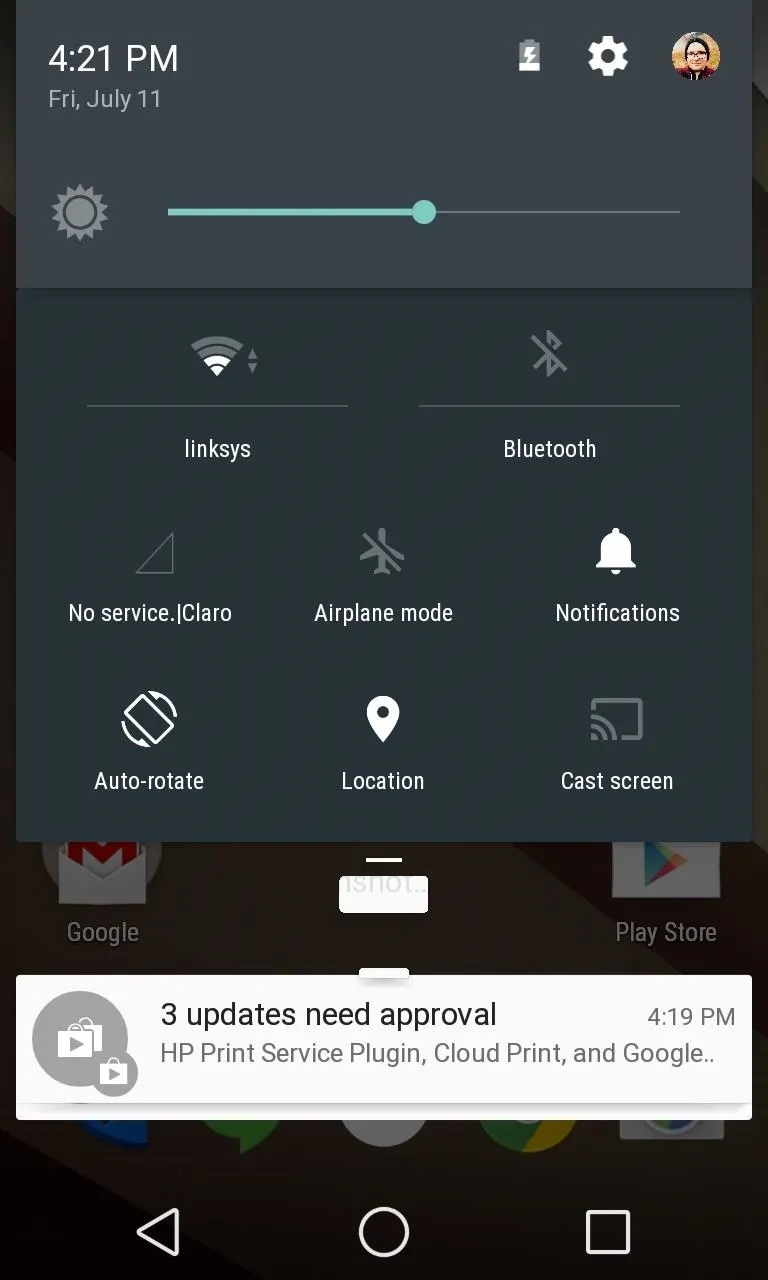


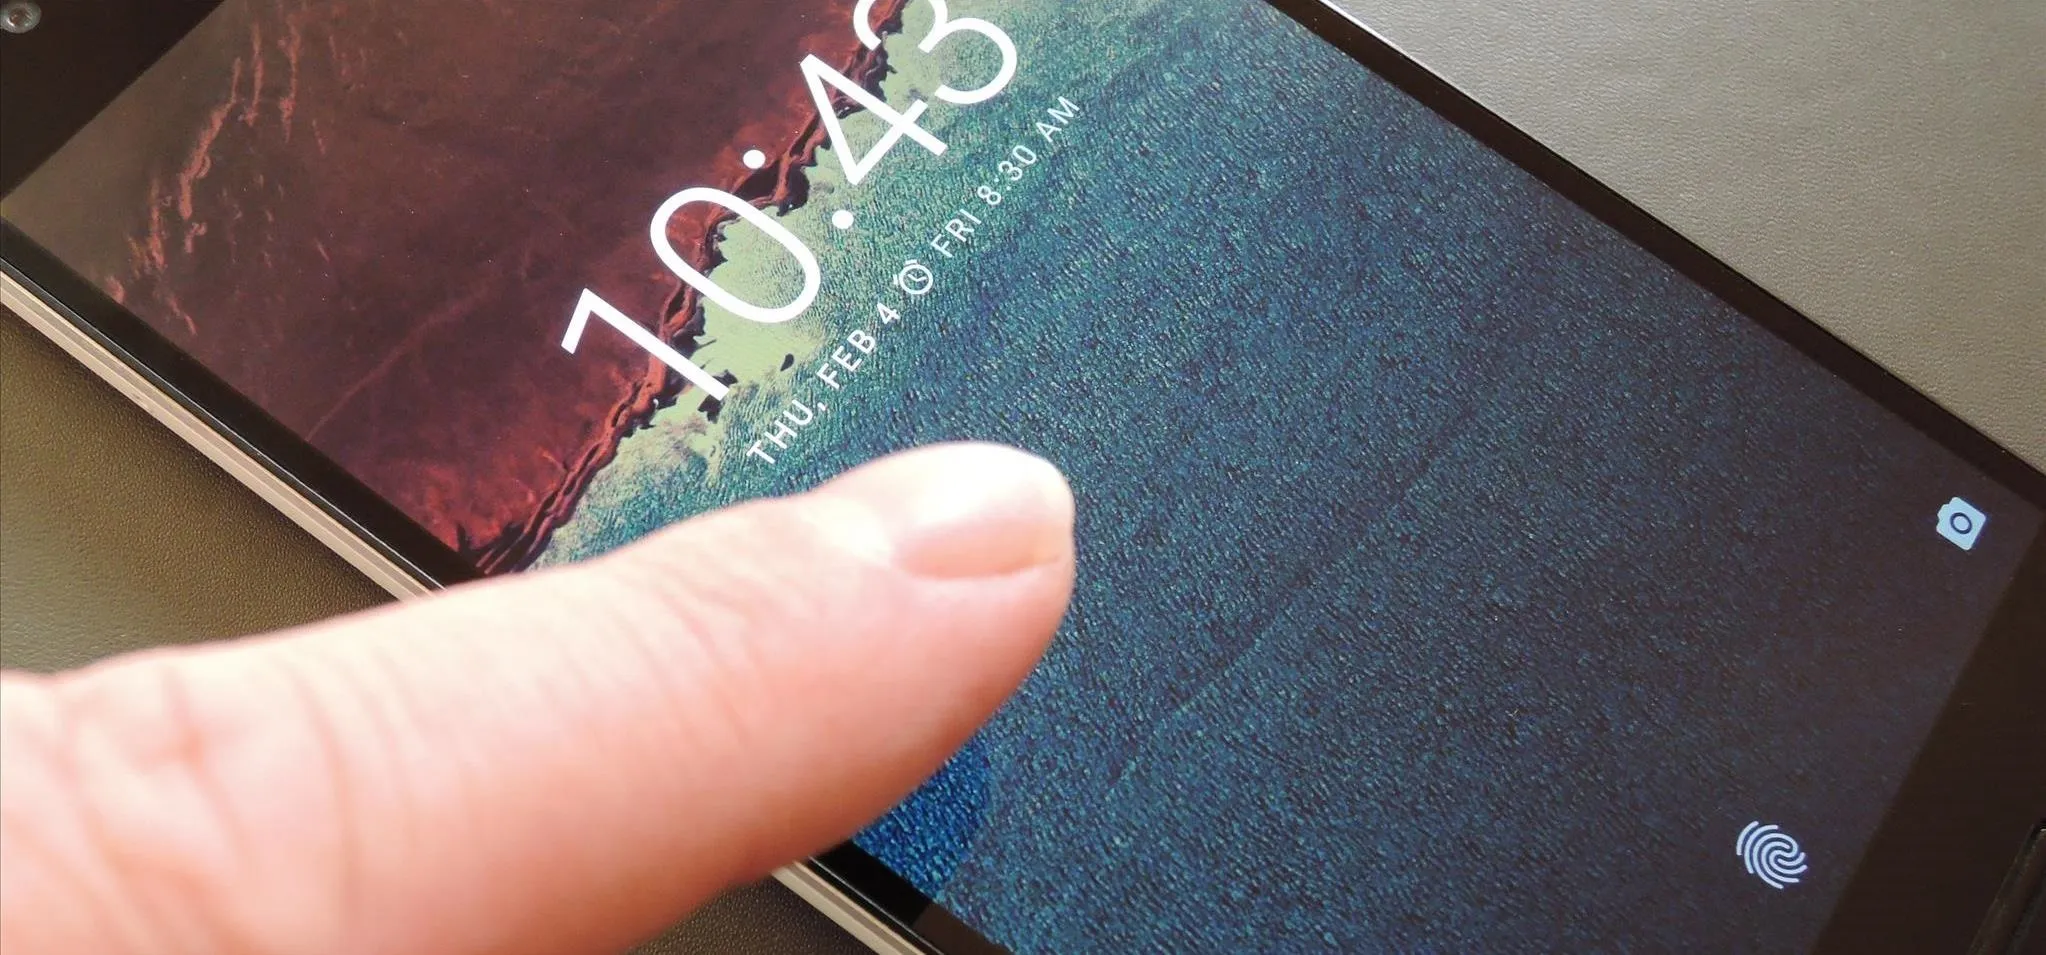
That said, Android L on the Nexus 4 is not entirely without its issues. In my experience, there was occasional choppiness in the UI, notifications did not always show up on the lock screen, and sometimes I noticed a delay between hitting the power button and the screen coming on.
In addition to this, there are apps that do not yet work in Android L, a growing list of which can be found here.
Personally, I think Android L is, from what we have seen so far, a big step forward for Android. How does it run on your Nexus 4? Let us know what you think in the comments.







Comments
Be the first, drop a comment!