If you're anything like me, you rely heavily on your calendar to keep on track throughout the week, month, and year. While Android's built-in Google Calendar provides an excellent cloud-based solution for keeping our schedules properly maintained, it's not perfect.
If you want to beautify your calendar experience on Android while simultaneously adding some neat features like a hybrid calendar/agenda view, Exchange support, and Facebook events integration, check out Sunrise Calendar.
UPDATE: Sunrise has been removed from the Google Play Store, and will shortly stop working altogether worldwide on August 31st, according to the developers. Sunrise is now pretty much baked into Microsoft Outlook, so if you have an Outlook account, you may want to check that app out instead.
Install Sunrise Calendar
Head on over to the Google Play Store and install Sunrise Calendar for free on your Android phone or tablet.

Configure Your Calendar & Add All Your Accounts
Upon opening Sunrise for the first time, you will be asked to connect with either a Google, Facebook, or email account. Connecting with Google allows Sunrise to completely sync with your existing Google Calendar.
Once you connect an account to Sunrise, you will next be given the option to add more accounts. In addition to Google Calendar, it can sync with iCloud and Exchange (added in the most recent update), allowing you to easily merge your personal and work calendars from the most widely used platforms.
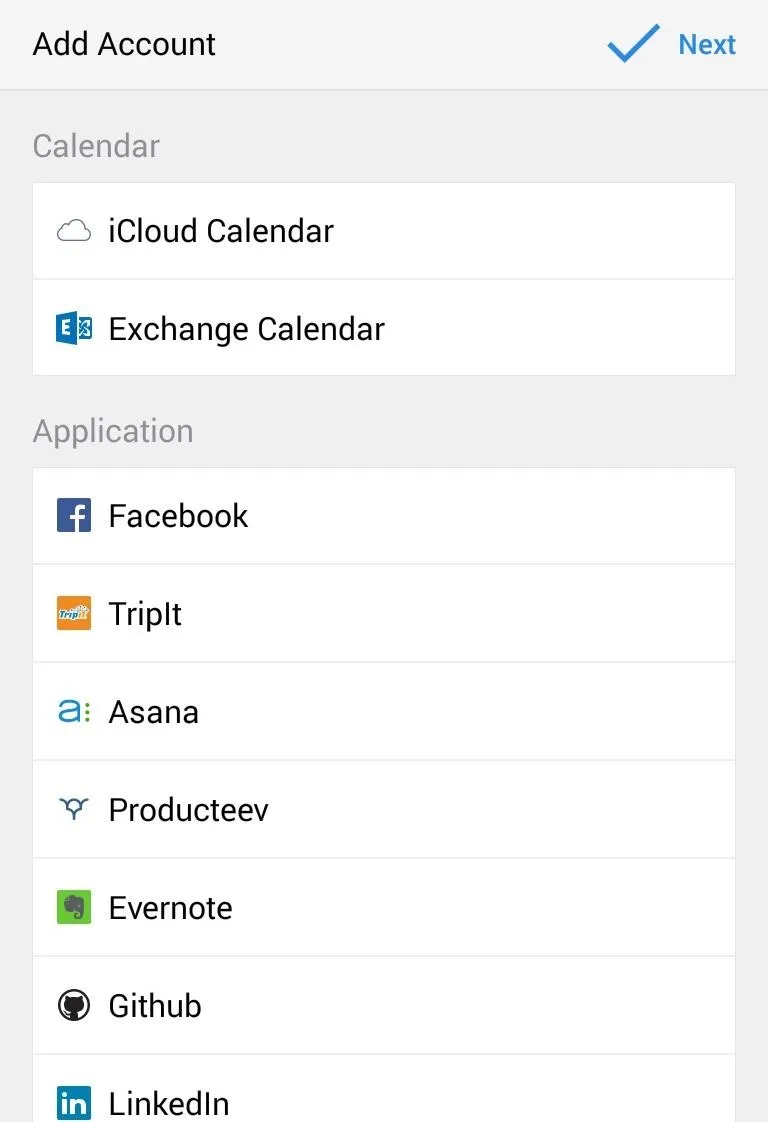
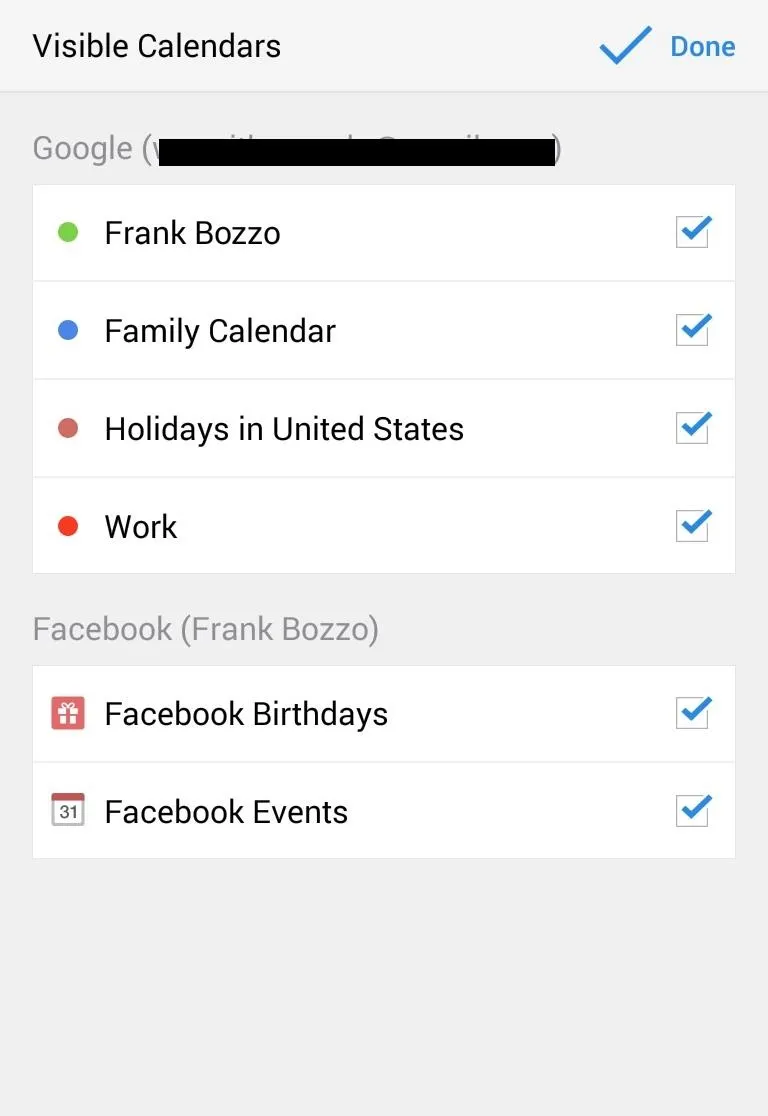


In addition to adding Calendar accounts, you can integrate Sunrise with a number of applications, including Facebook, Evernote, GitHub, LinkedIn, Twitter, and more. Adding these accounts to your calendar will enable you to automatically import events from these services and make it easier to share the events you create with your friends on social media networks.
Get to Know the Sunrise Interface
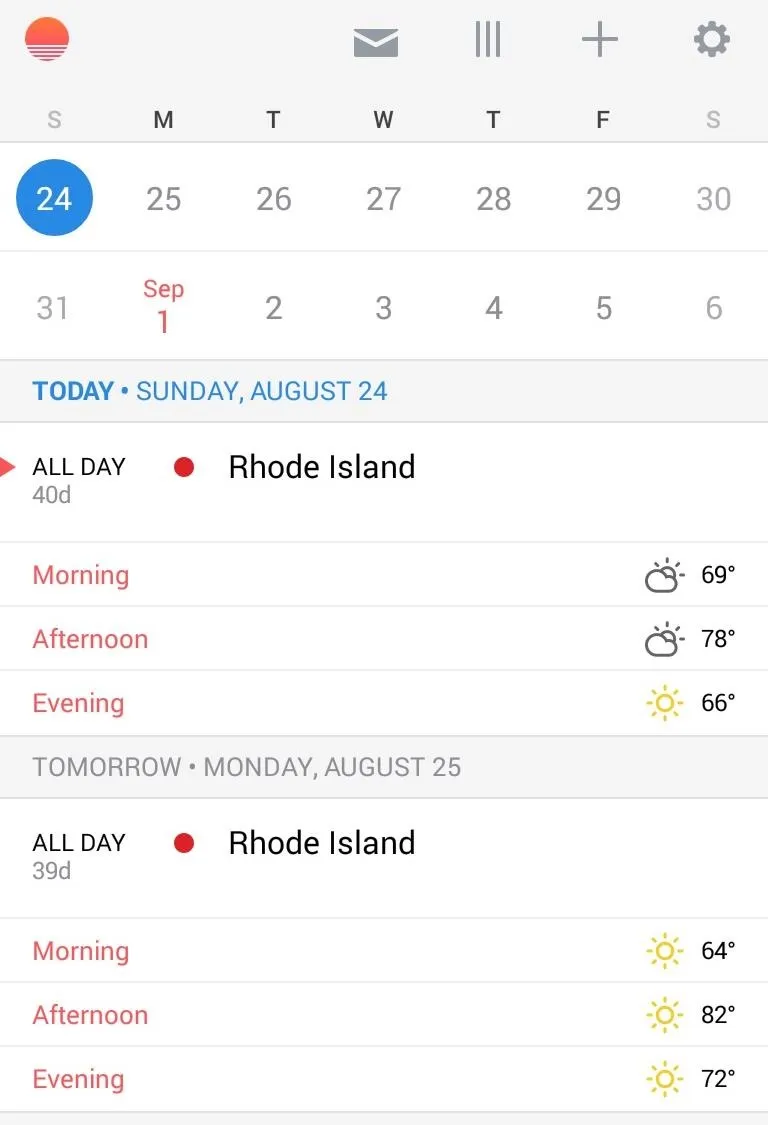
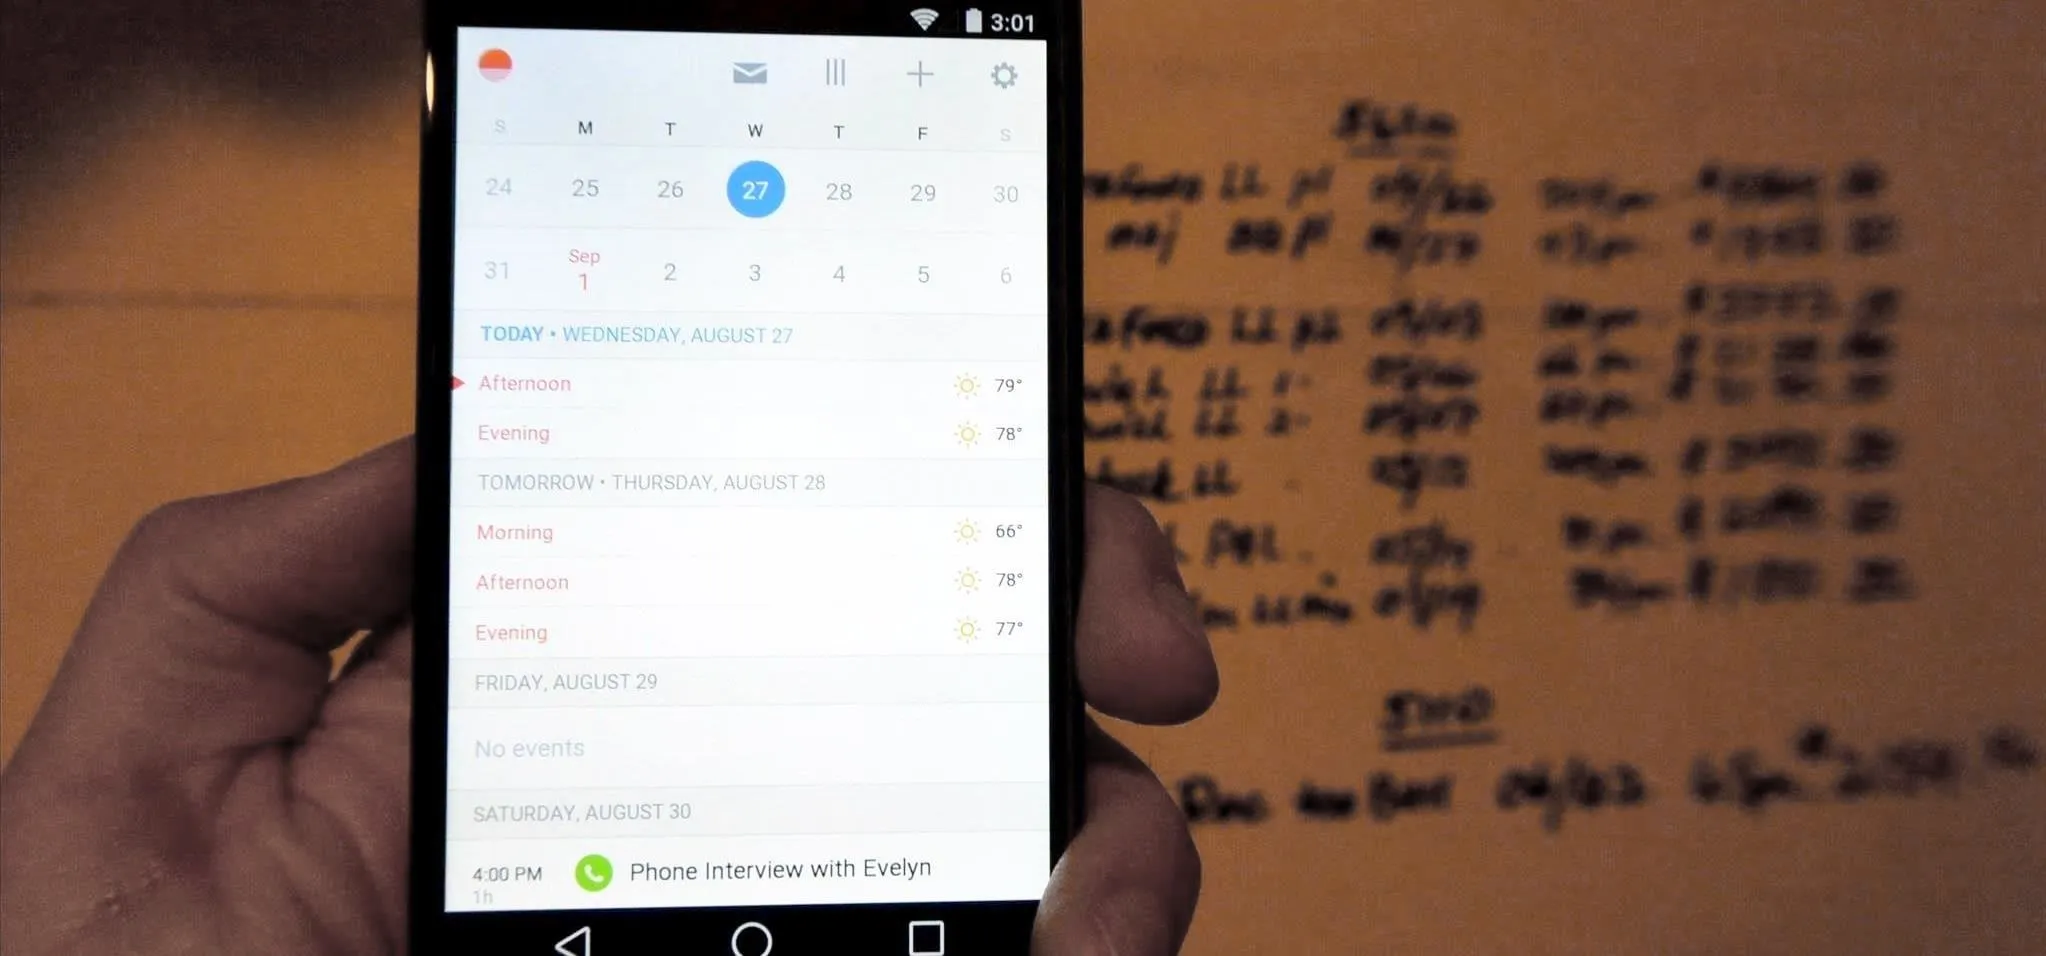
By default, Sunrise displays your calendar(s) in a hybrid view that shows you a two-week calendar at the top with a scrollable agenda view below it. The weather forecast for the next two days is integrated directly into this view.
Agenda view.
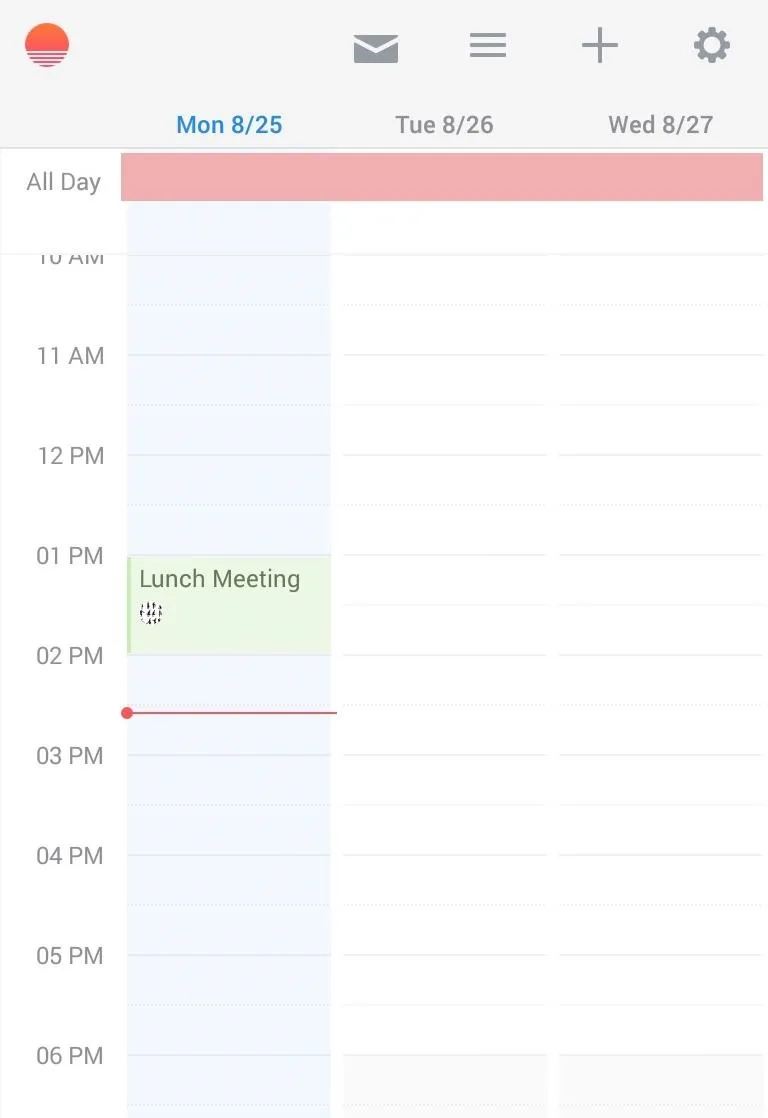
Planner view.

Agenda view.

Planner view.
Tapping the three-lined icon at the top of the screen, or swiping from right to left, will switch the calendar to a three-day planner-style view.
Add & Share New Events
Tapping the plus icon at the top of the screen predictably allows you to create a new event.
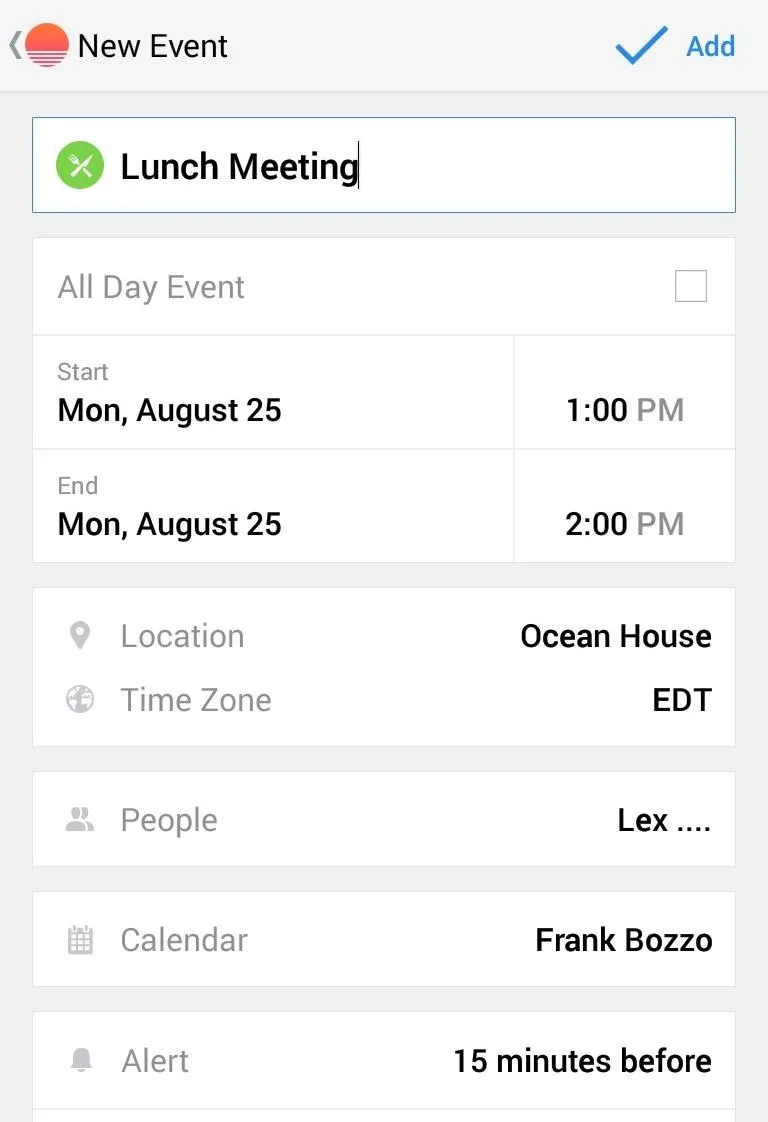
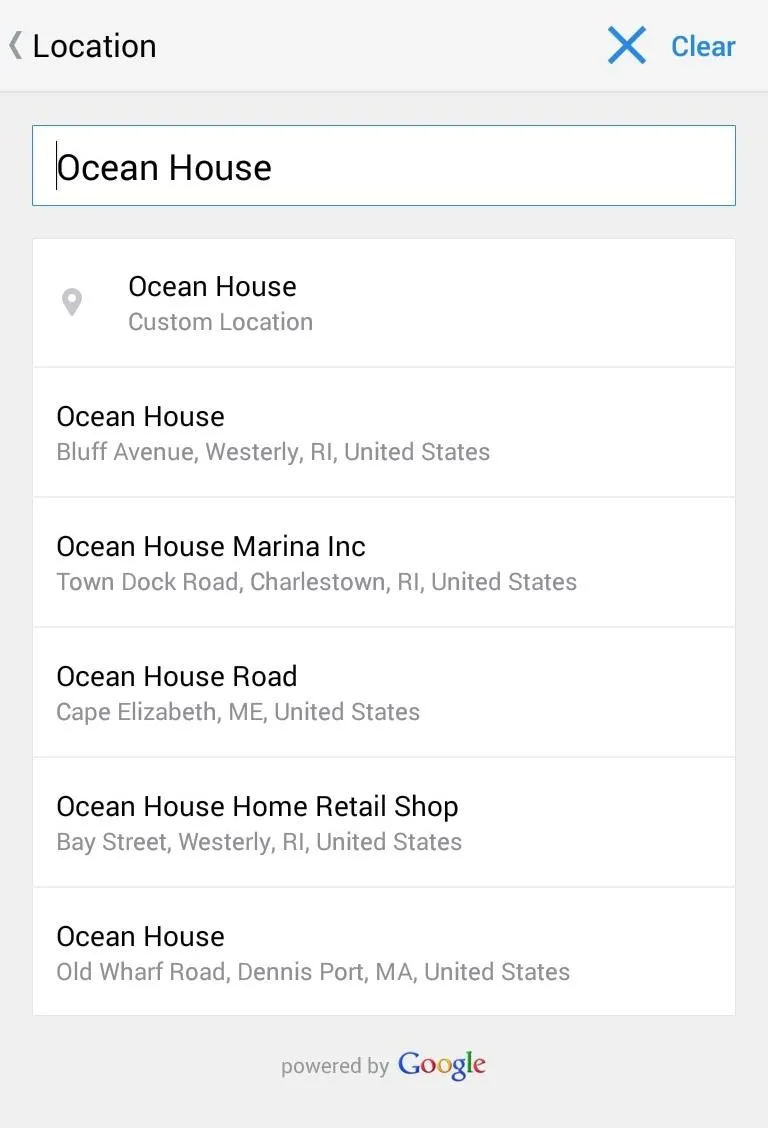
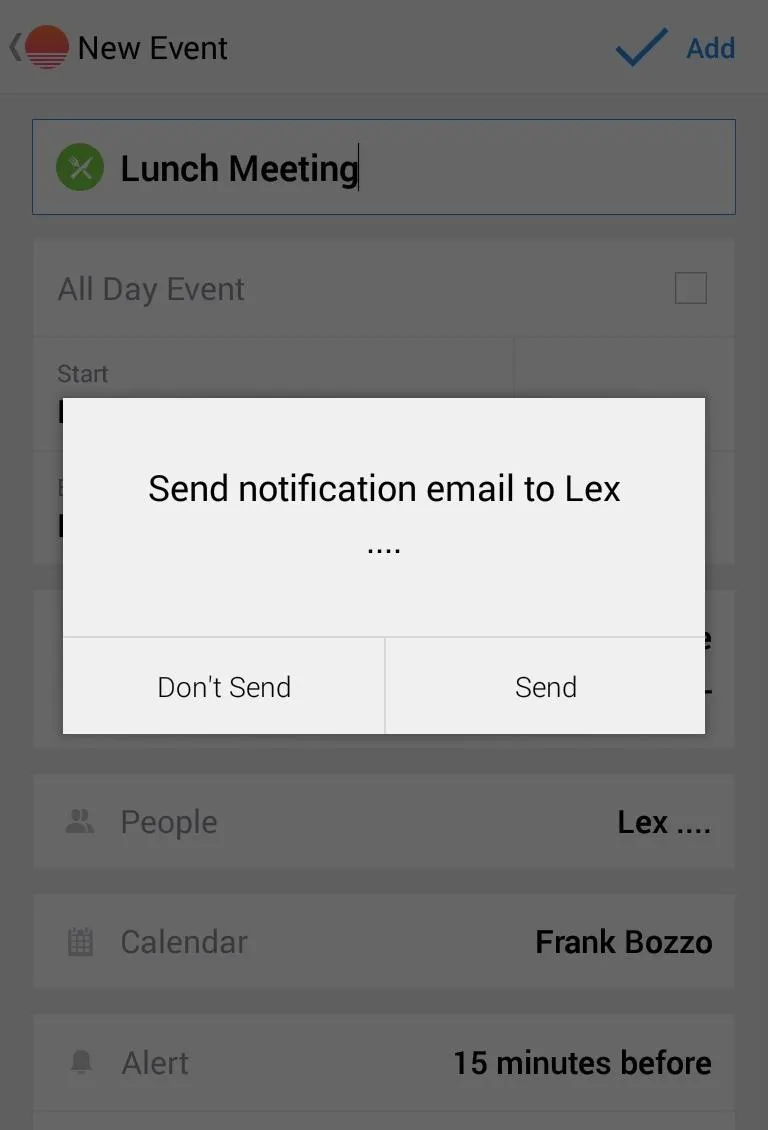


From the event creation page, you can set all the standard details for your event, including setting a location in Google maps, creating alerts, and inviting friends or colleagues. Sunrise gives you the option to easily send a notification email to those that you invited, and can also let them know if you edit, reschedule, or cancel the event.
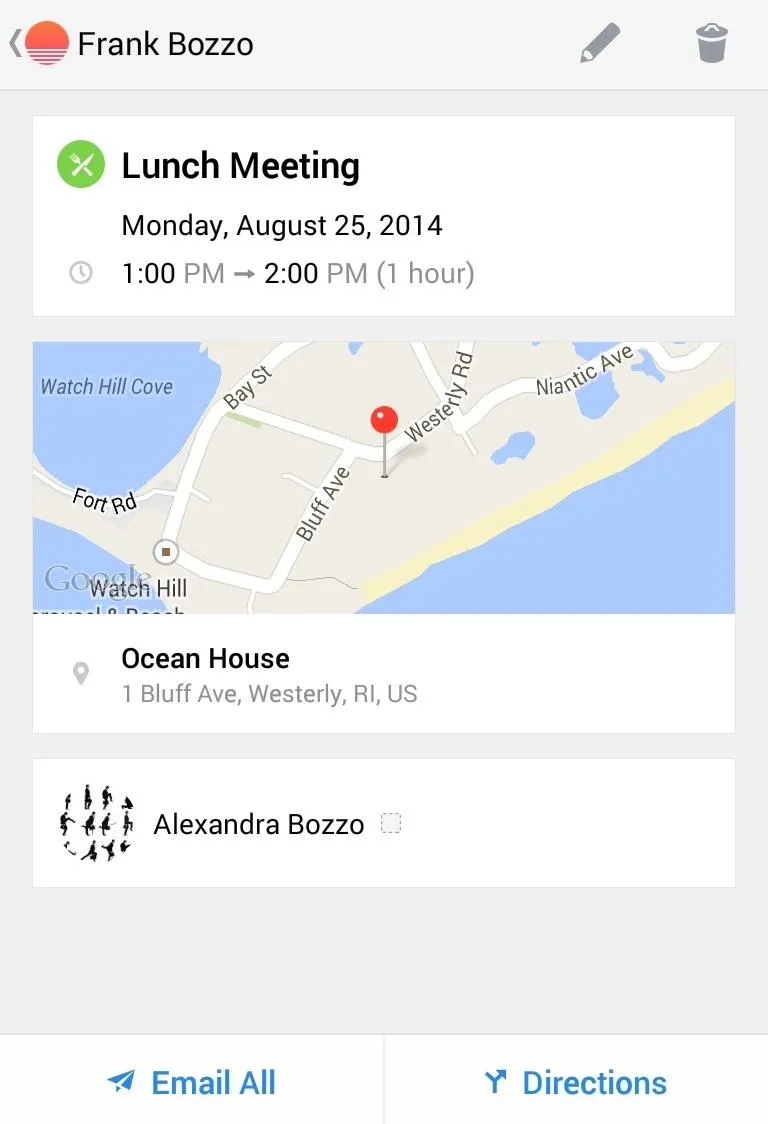
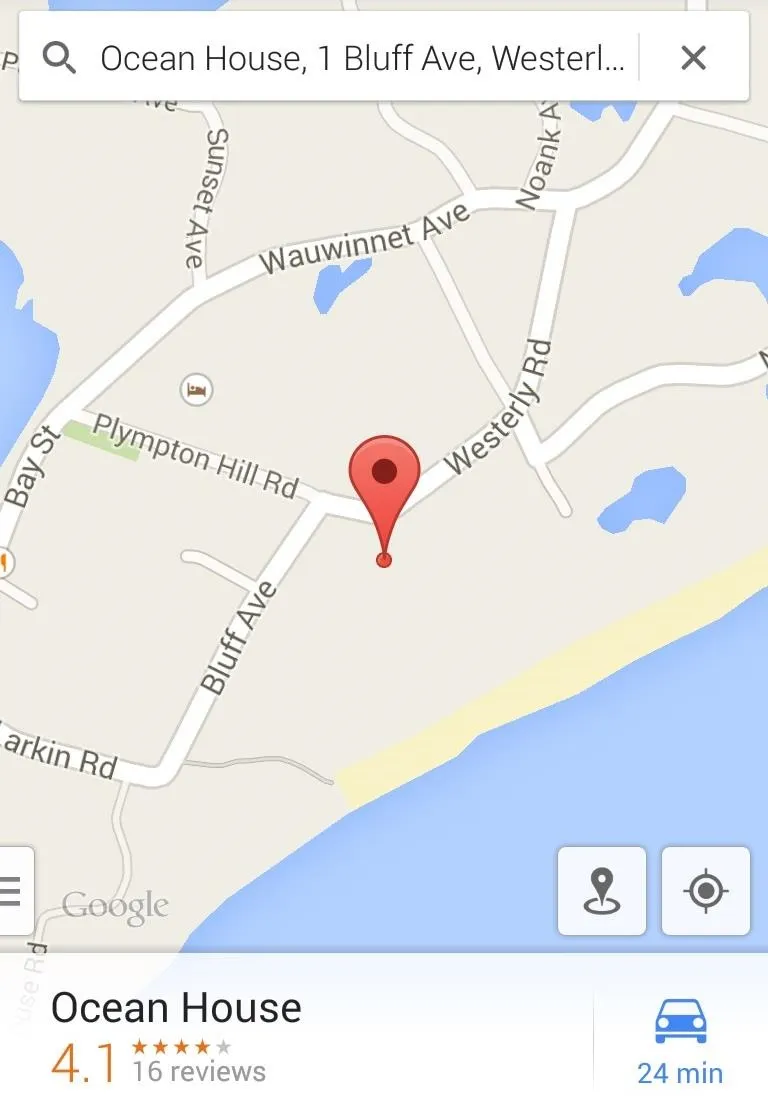


From the event view page, you can easily shoot an email all those invited and get directions to the location via Google Maps.
Set Up the Widget
If you're a fan of convenient home screen shortcuts, be sure to add the Sunrise widget.
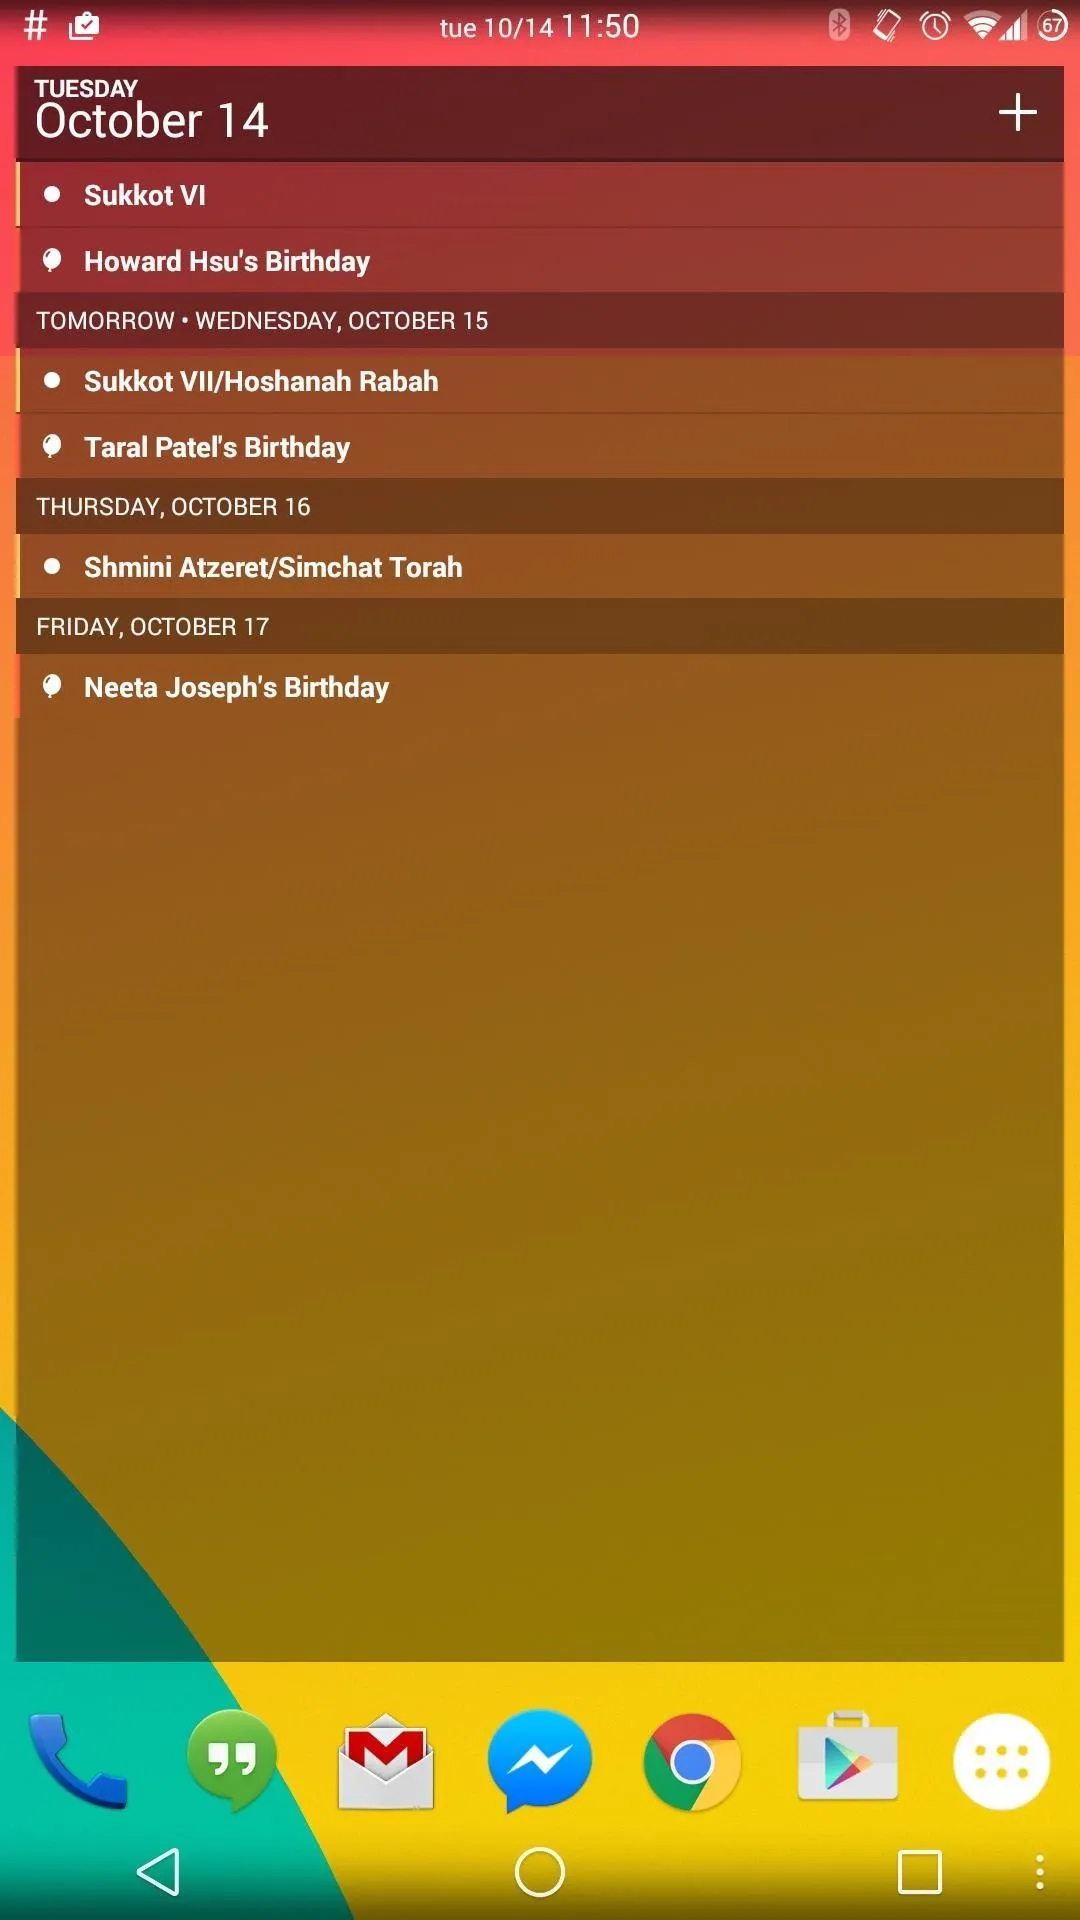
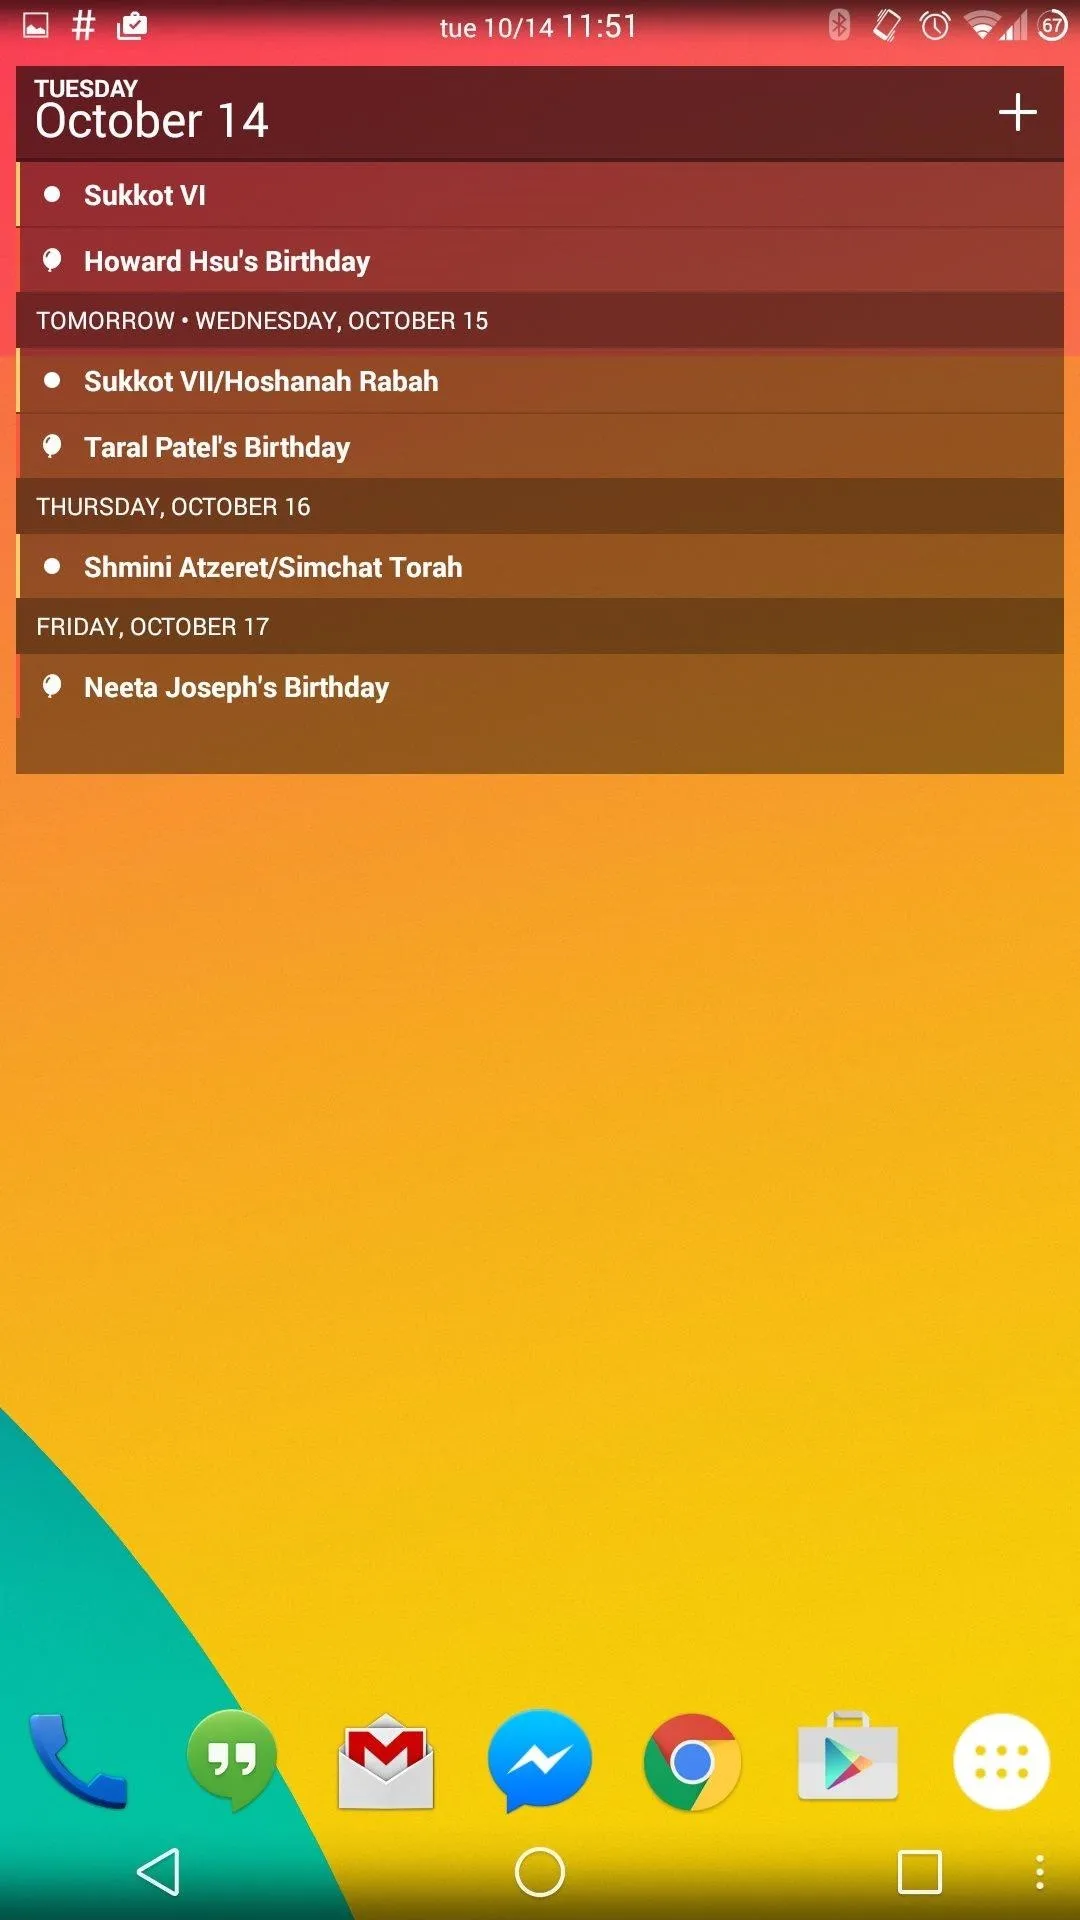


The widget is resizable and scrollable, allowing you to customize it while still retaining its utility. Aside from seeing your upcoming appointments, you can easily add new events by tapping the plus side on the top right of the widget.
Use the Web App When Needed
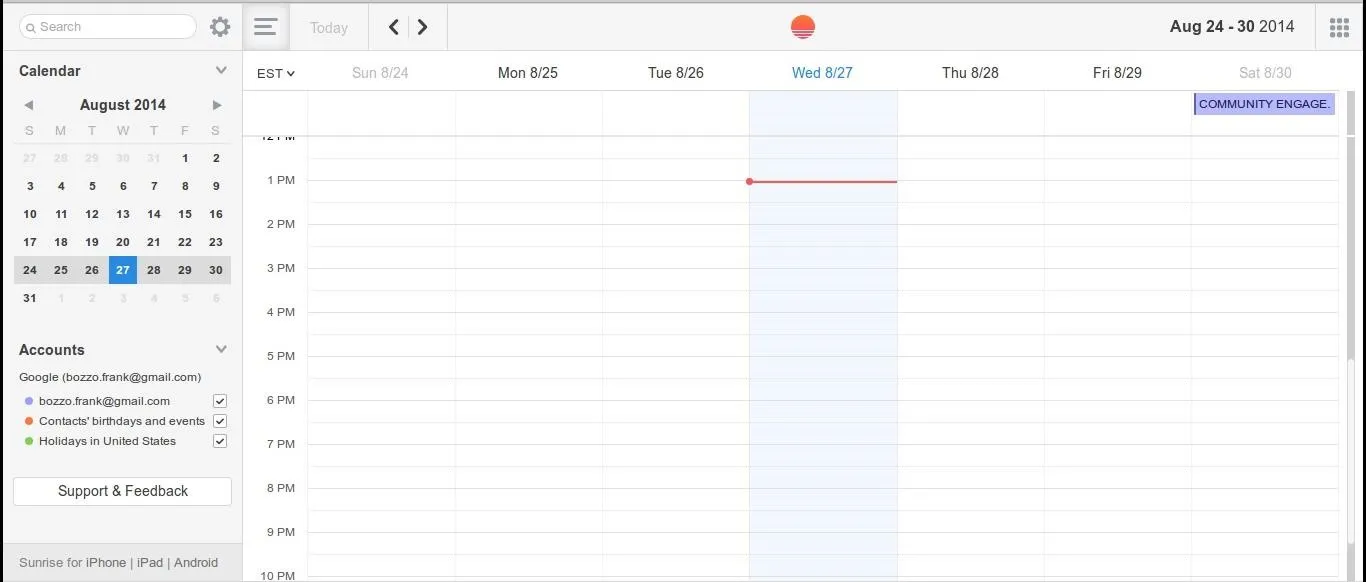
In addition to Sunrise's Android app, there is also a convenient web app accessible through their site that allows you to still use the pretty Sunrise interface from your desktop.
All of the above features make Sunrise my favorite calendar app on Android... what's yours? Let us know in the comments below, or over on our Facebook and Twitter feeds.








Comments
Be the first, drop a comment!