Google's latest Nexus device is big, bold, and beautiful—and now it's got root. Thanks to some quick work by legendary Android developer Chainfire, the Nexus 6 already had a clear-cut root method before most stores even had it in stock.
CF Auto Root is a wonderful tool that has already helped root thousands of devices in one simple click. And since the utility works on Windows, Mac, and Linux, almost any Nexus 6 owner can have Superuser privileges in just a few minutes.
Put Your Phone into Bootloader Mode
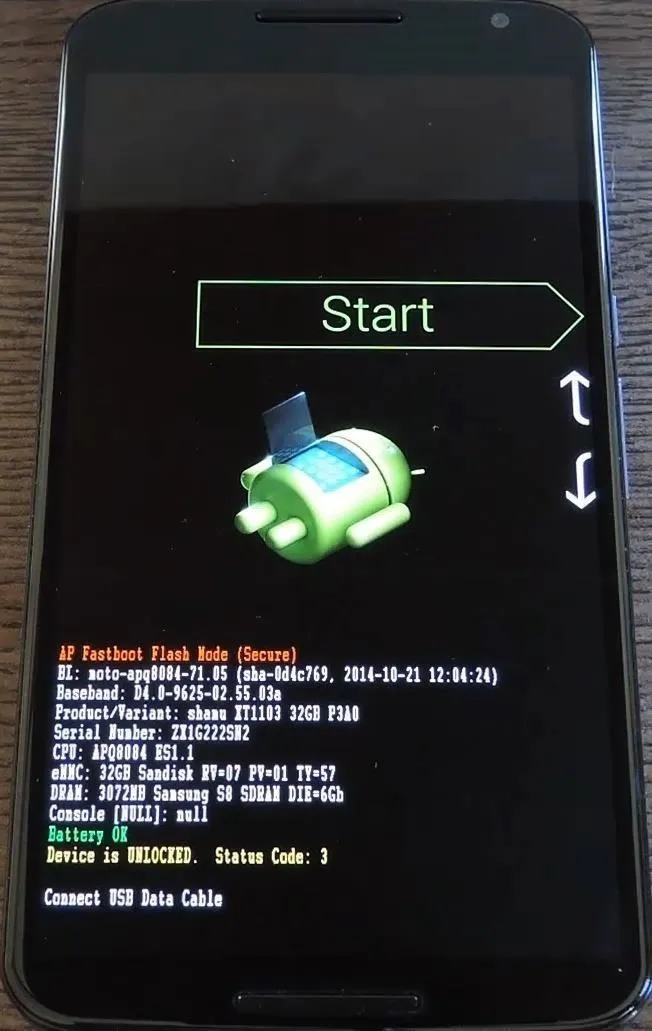
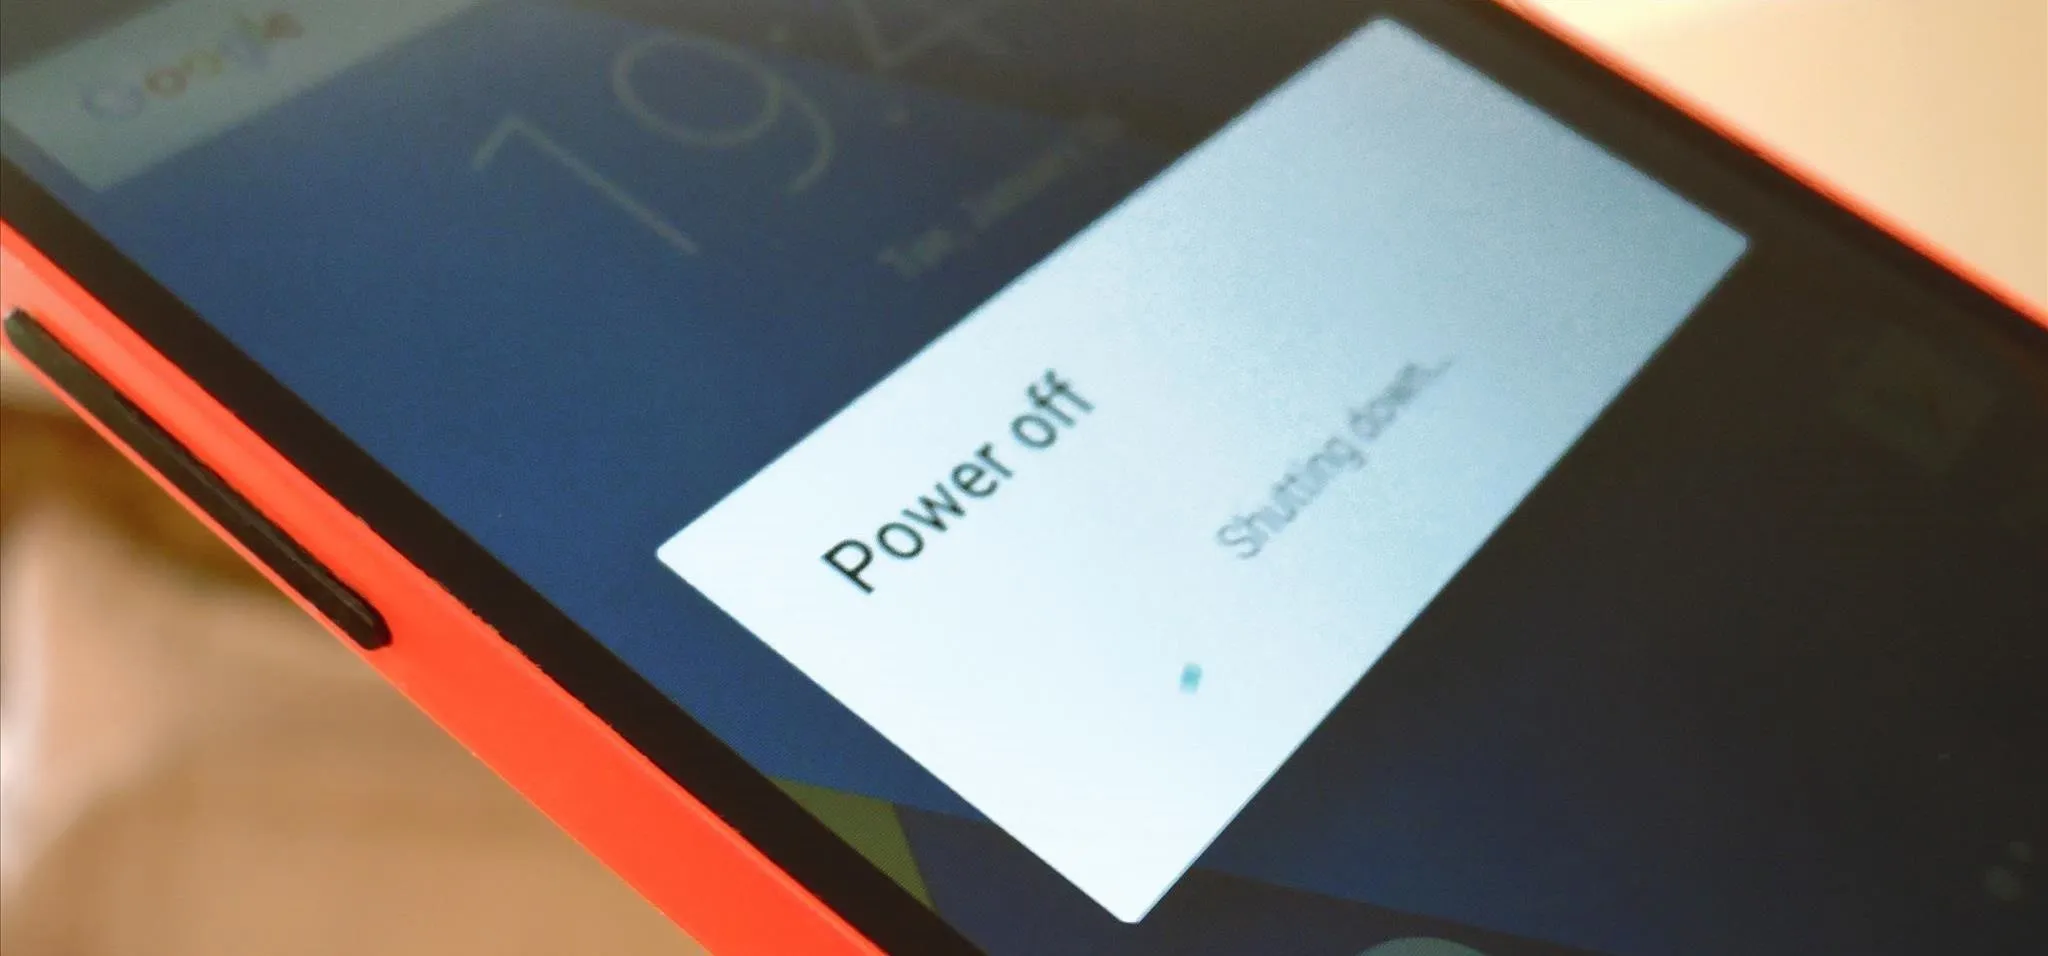
To begin, power your Nexus 6 completely off. When the screen goes black, press and hold the Volume Down and Power buttons simultaneously. This will bring up Android's Bootloader menu, and at this point, you should connect your phone to your computer with a USB data cable.


Ensure That You Have the Proper Drivers Installed
In order for CF Auto Root to work its magic, your computer and your Nexus 6 need to be able to communicate properly. Most systems will automatically download the necessary device drivers to make this happen, but others will require that you do this manually. If you're not sure if you have the proper drivers installed already, I'd advise that you install them yourself.
If you own a Windows PC, you can download the proper drivers at this link. Simply run the file, then follow the prompts, and you'll be all set up.
If you're a Linux user, download and extract this ZIP file, then run the script with Terminal.
For Mac users, the process of installing the proper drivers is a bit more involved. Refer to our guide on the topic for more information.
Download & Extract CF Auto Root
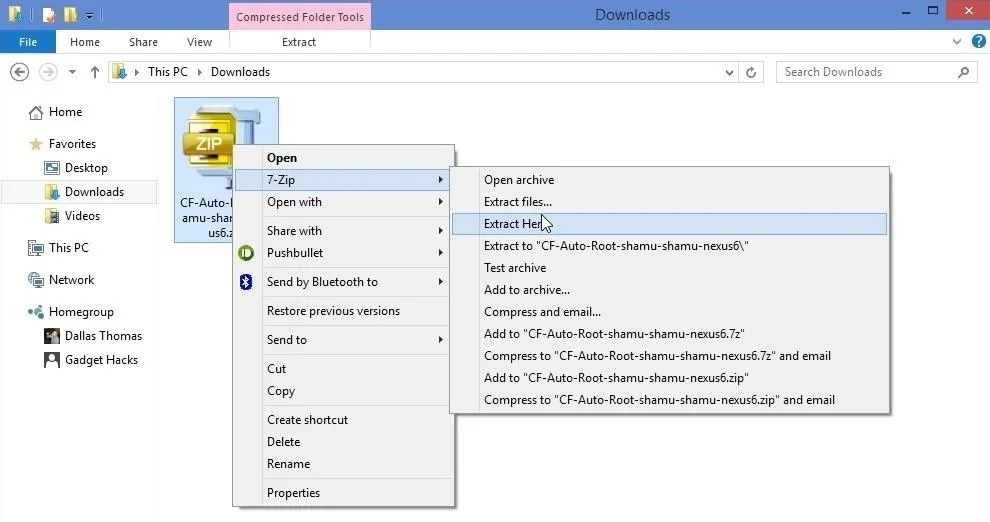
Chainfire's awesome root tool can be downloaded at this link. Once you have the ZIP file saved to your computer, extract its contents to any folder on your system.
Run CF Auto Root
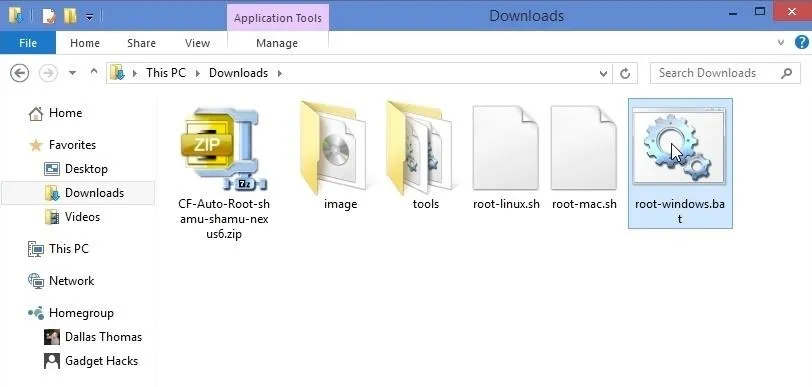
With the ZIP extracted, you'll find 2 folders and 3 files—root-linux.sh, root-mac.sh, and root-windows.bat. Double-click the file that corresponds to your computer's operating system to begin.
From here, a command prompt window will inform you that CF Auto Root will unlock your device's bootloader before it performs the rooting procedure. If your bootloader is not already unlocked, this process will wipe your device, so make sure you have everything backed up.
When you're ready, press any key on your keyboard to execute the script.
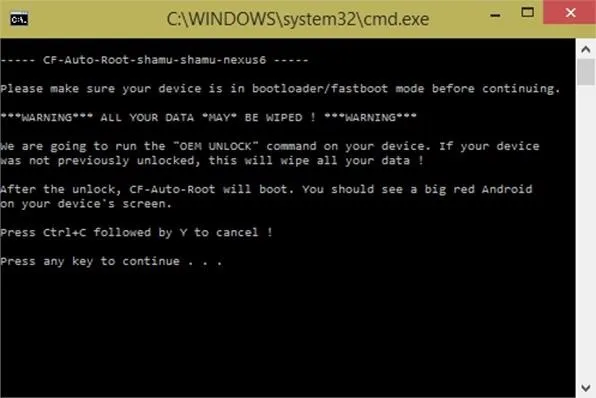
If your bootloader was previously locked, you should see a red Android logo on your phone's screen for about a minute. Otherwise, CF Auto Root will skip directly to the rooting process, and you'll see a wall of text scrolling by on your phone's screen for about 10 seconds.
When the process is complete, your phone will automatically reboot, and you'll be rooted. At this point, it's safe to unplug your Nexus 6 from your computer.
Verify Root
To verify that your Nexus 6 is indeed rooted, download Root Checker from the Google Play Store for free.

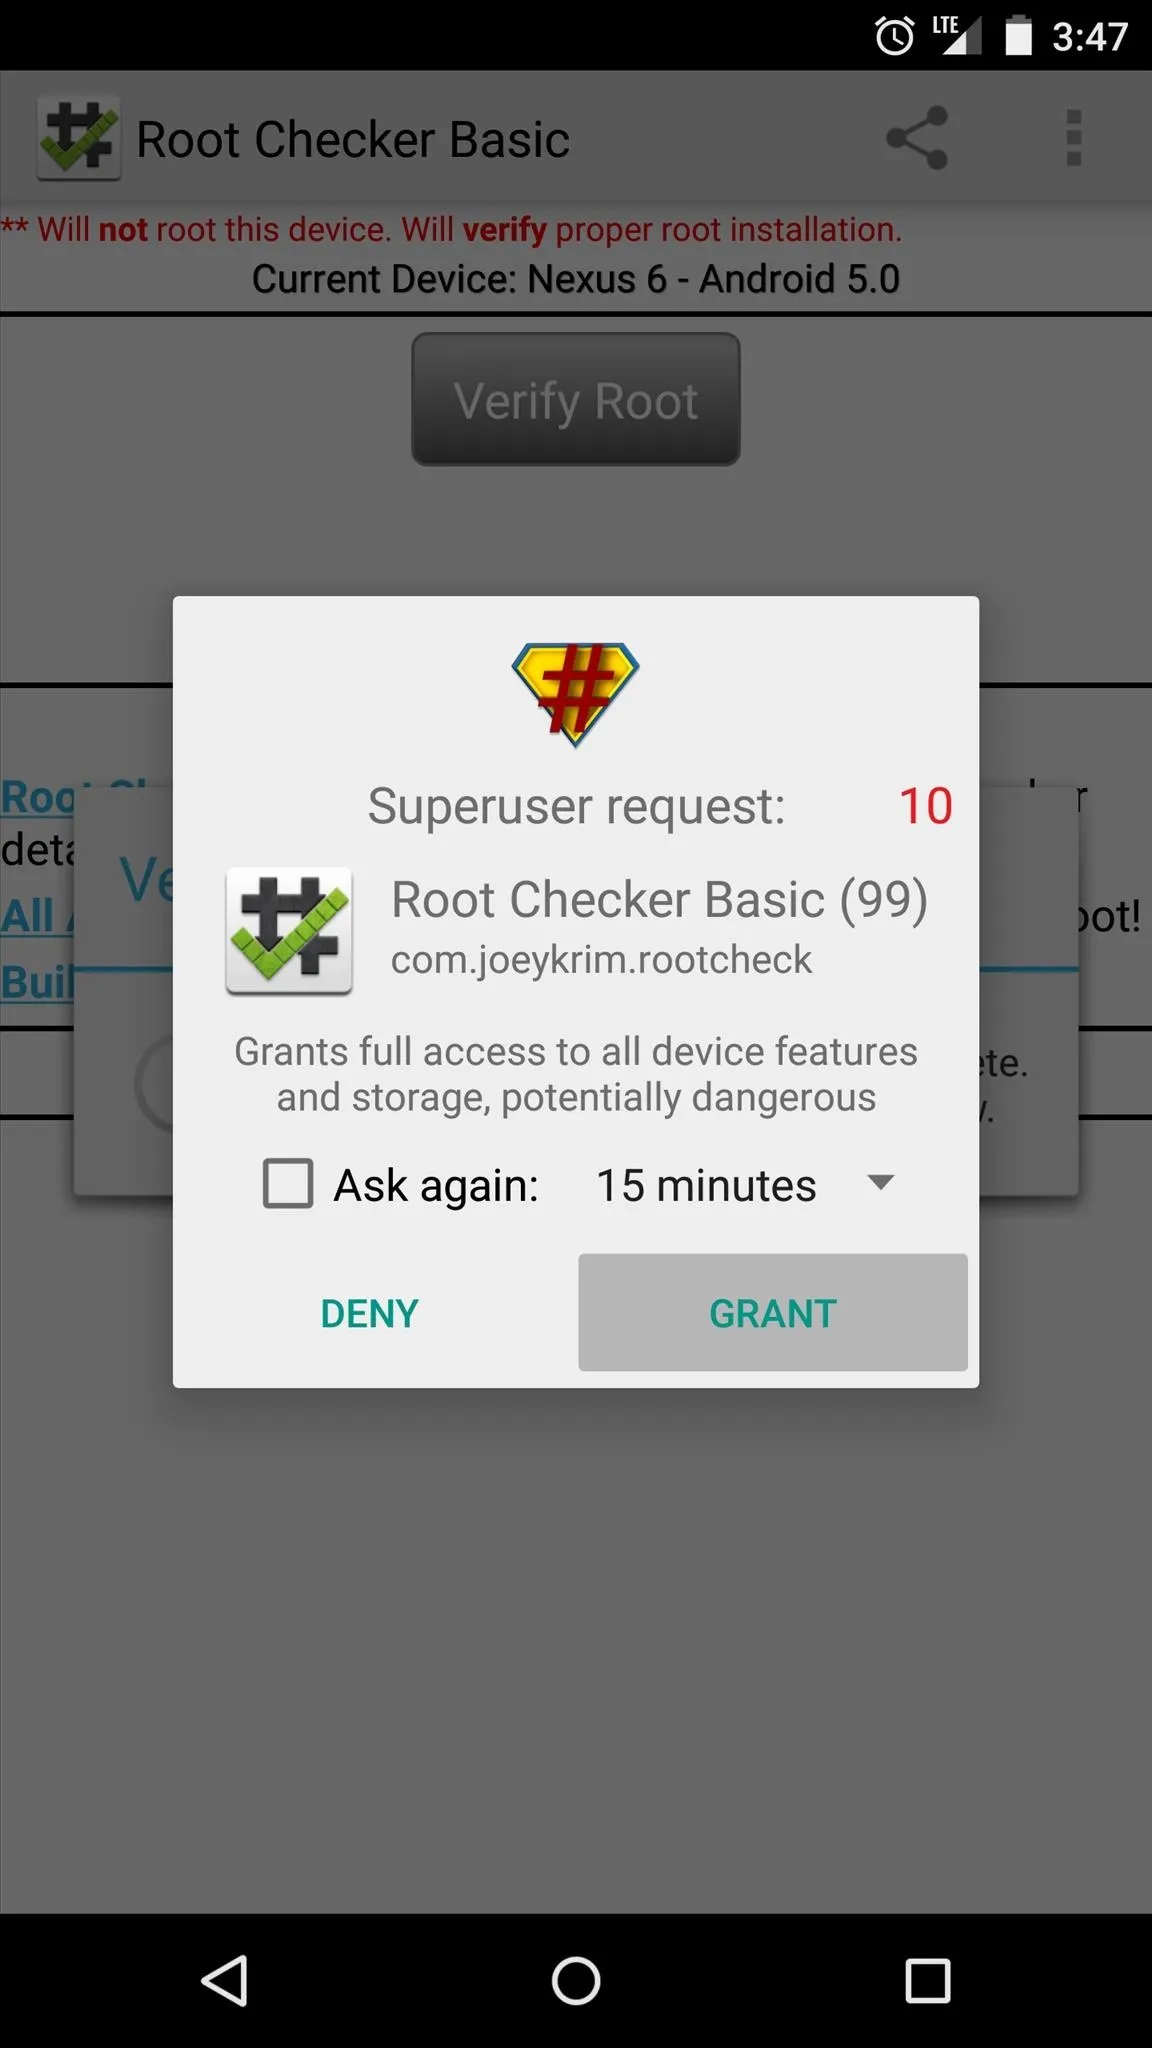
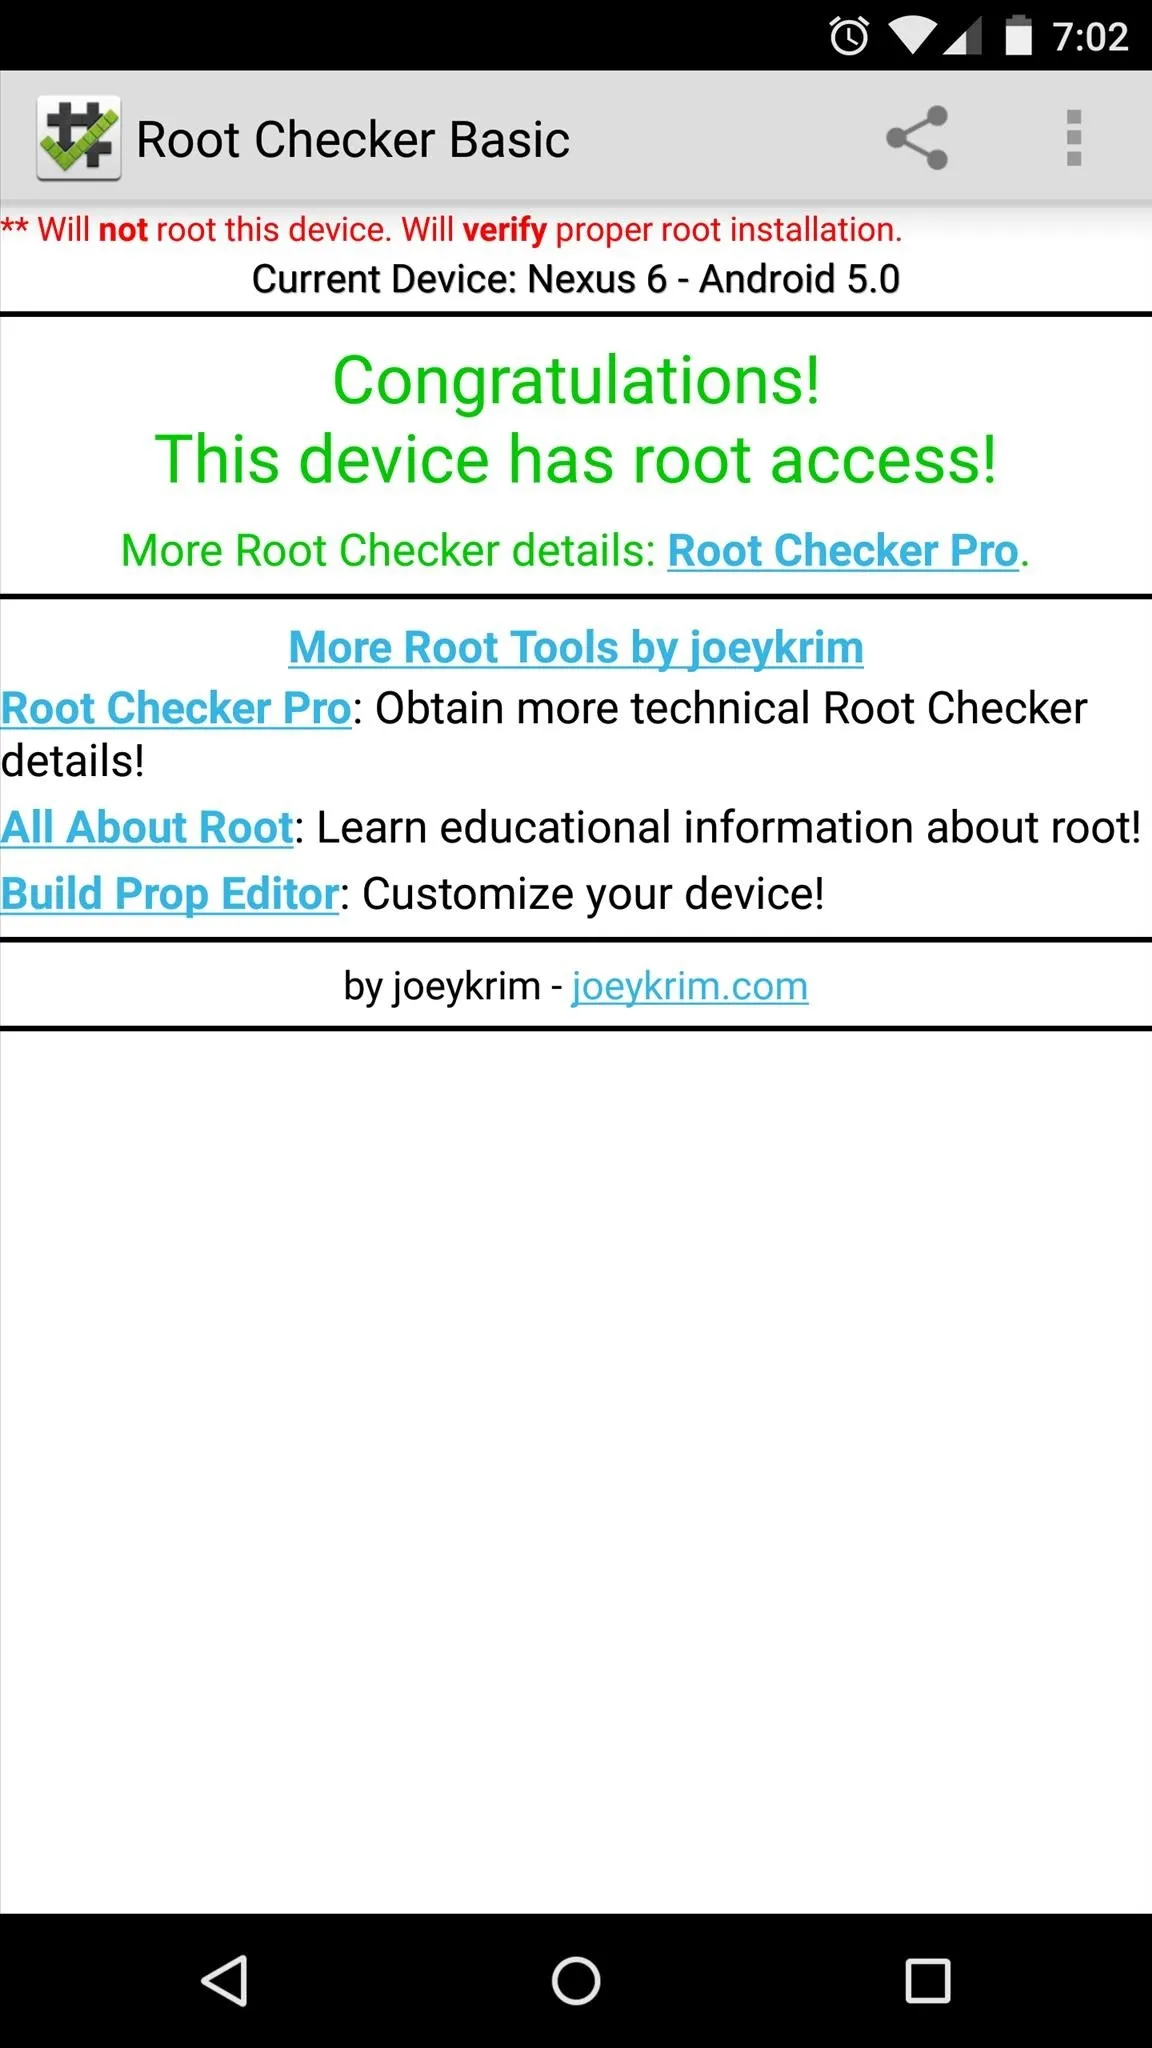
From there, simply run the app, then tap Grant on the Superuser request popup. If everything went off without a hitch, Root Checker will give you a message that says Congratulations! This device has root access!


Thanks to an incredible development community, the Nexus 6 is one of the easiest devices to root. What root apps did you install first? Let us know in the comment section below, or drop us a line on our Facebook or Twitter feeds.








Comments
Be the first, drop a comment!