


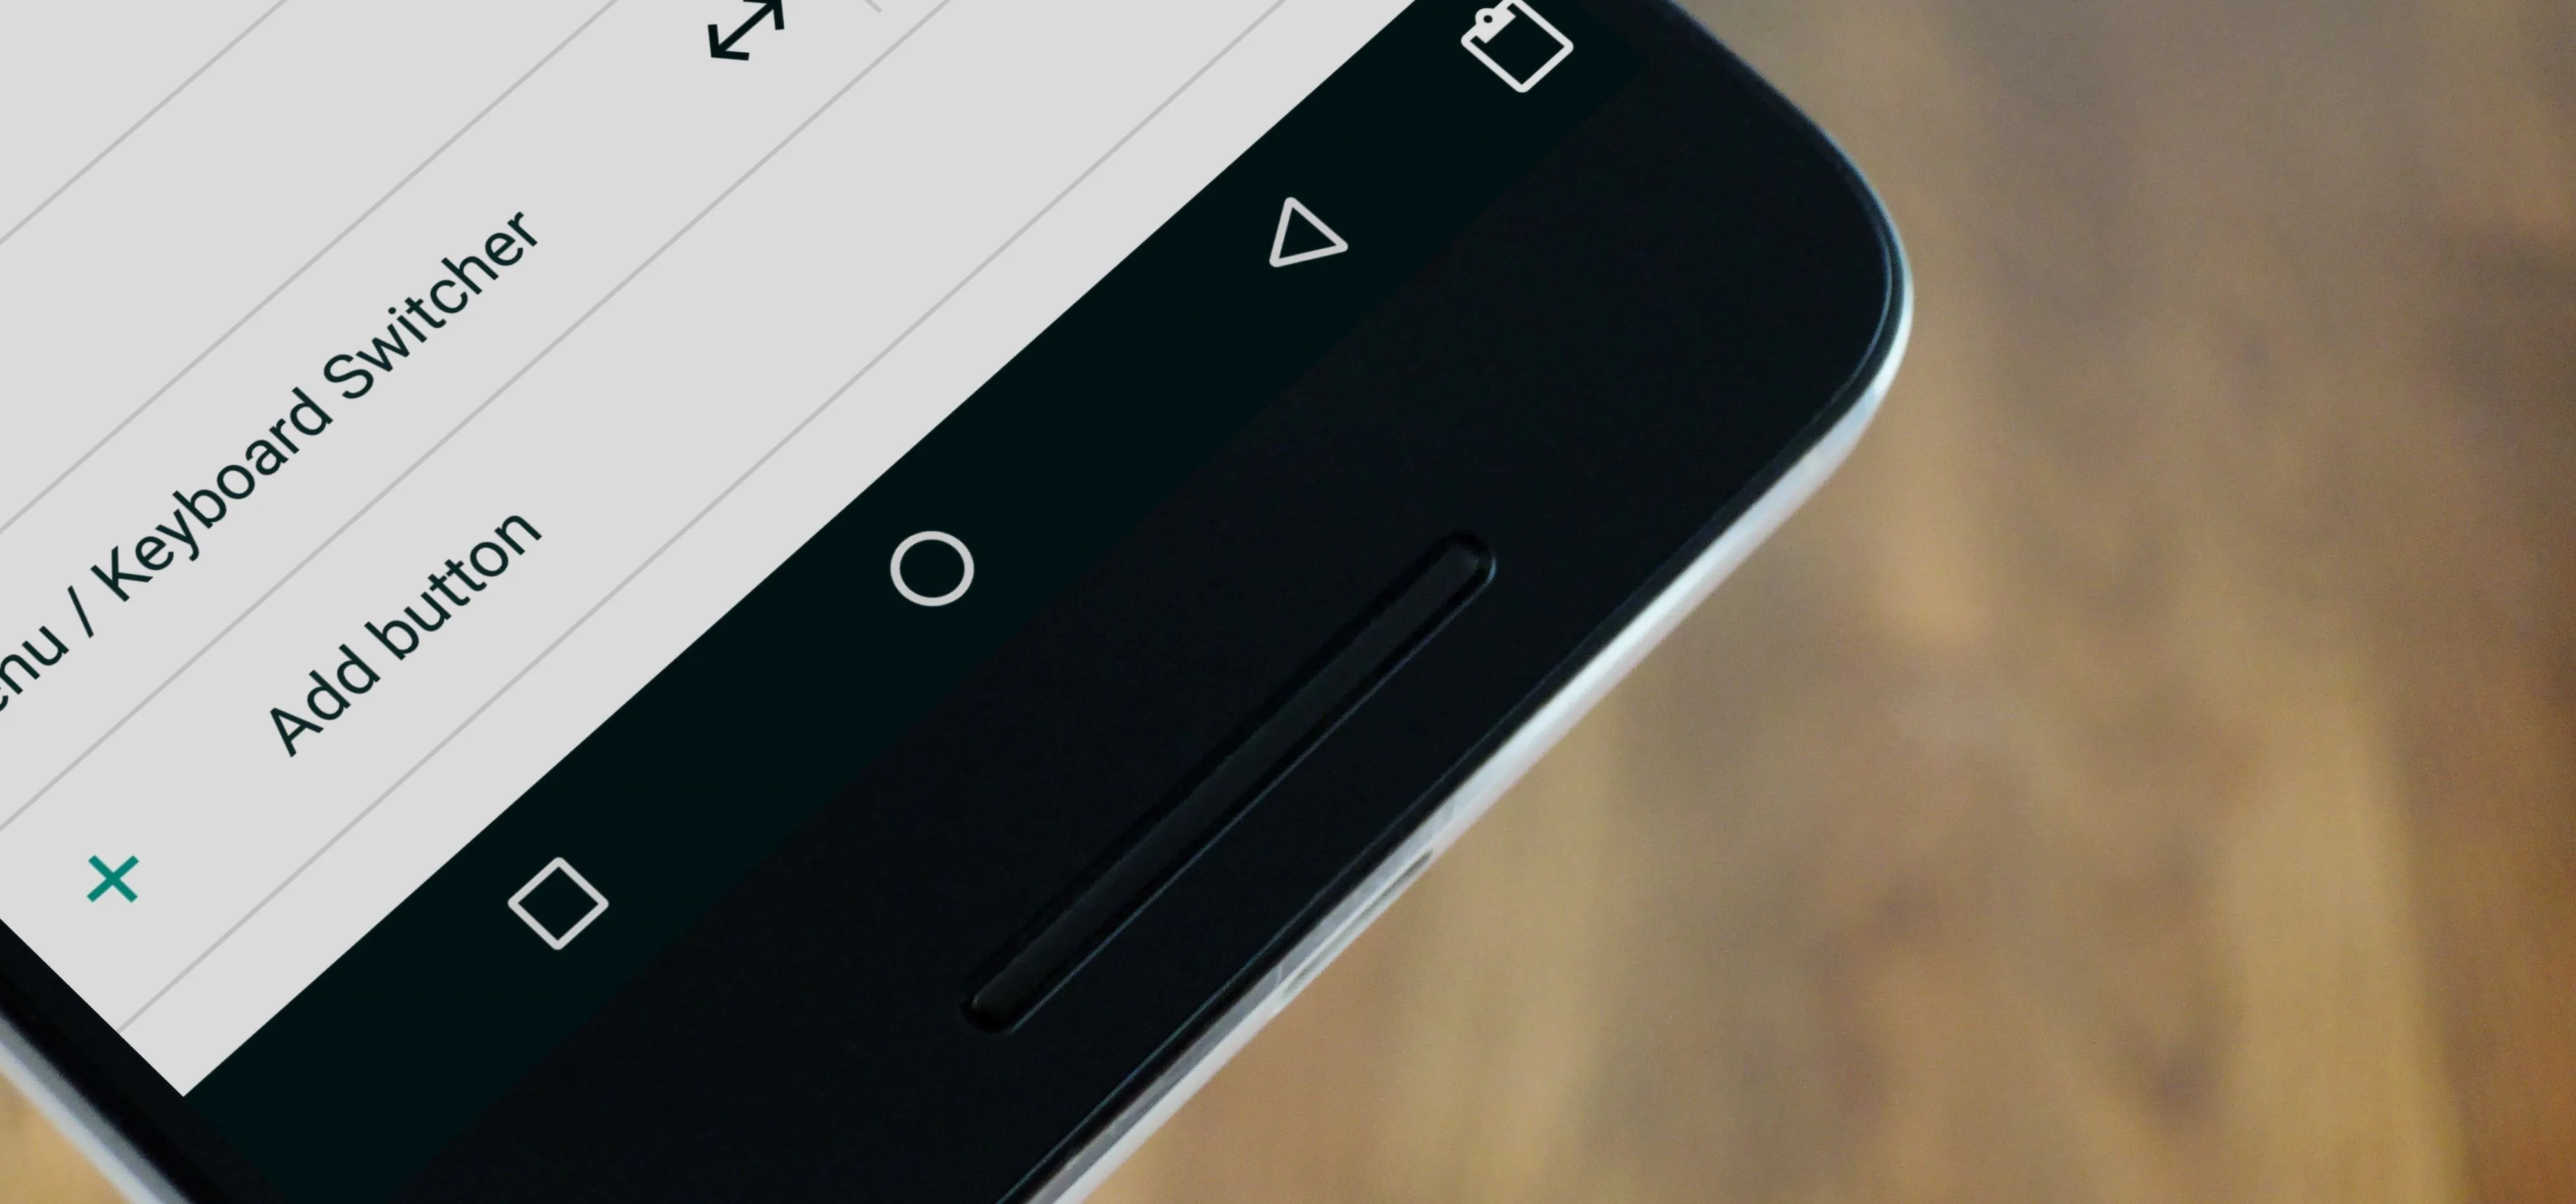
It didn't take long at all for developer Chainfire to sort out a root method for the new Android 5.0 Lollipop. After handling a few issues with changes to the SELinux kernel module, Chainfire pushed out an update to his popular SuperSU root app.
Nexus Root Toolkit developer Wugfresh took the ball and ran with it from there, incorporating Chainfire's updates into his powerful Windows tool. In the end, both developers have made it as easy as ever to root the new version of Android, and I'll walk you through the process below.
Requirements
Enable USB Debugging
For your PC to interact with your Nexus properly, you'll need to make sure USB Debugging is enabled on your device.
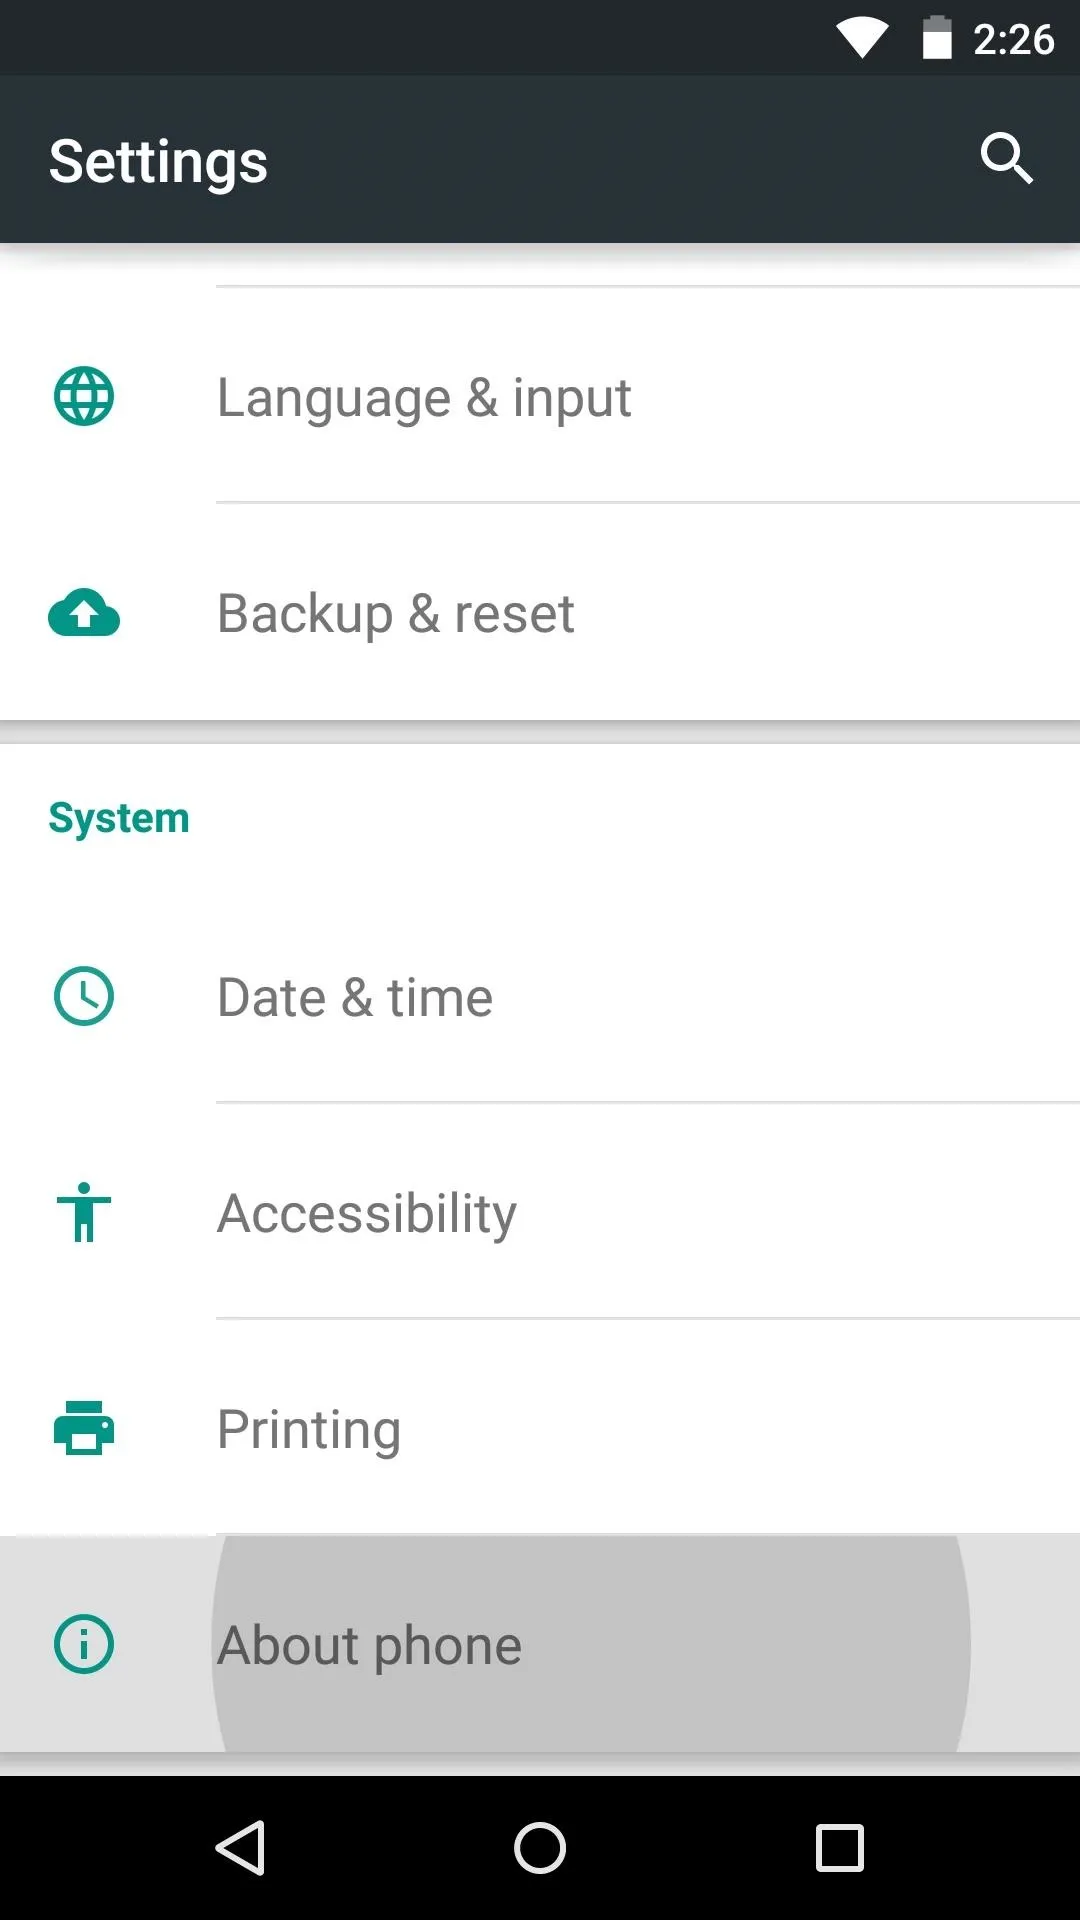
Head to the main Settings on your Nexus, then scroll all the way to the bottom and select About Phone or About Tablet. From here, scroll down to the bottom of the list again, then tap the Build Number entry 7 times in rapid succession.
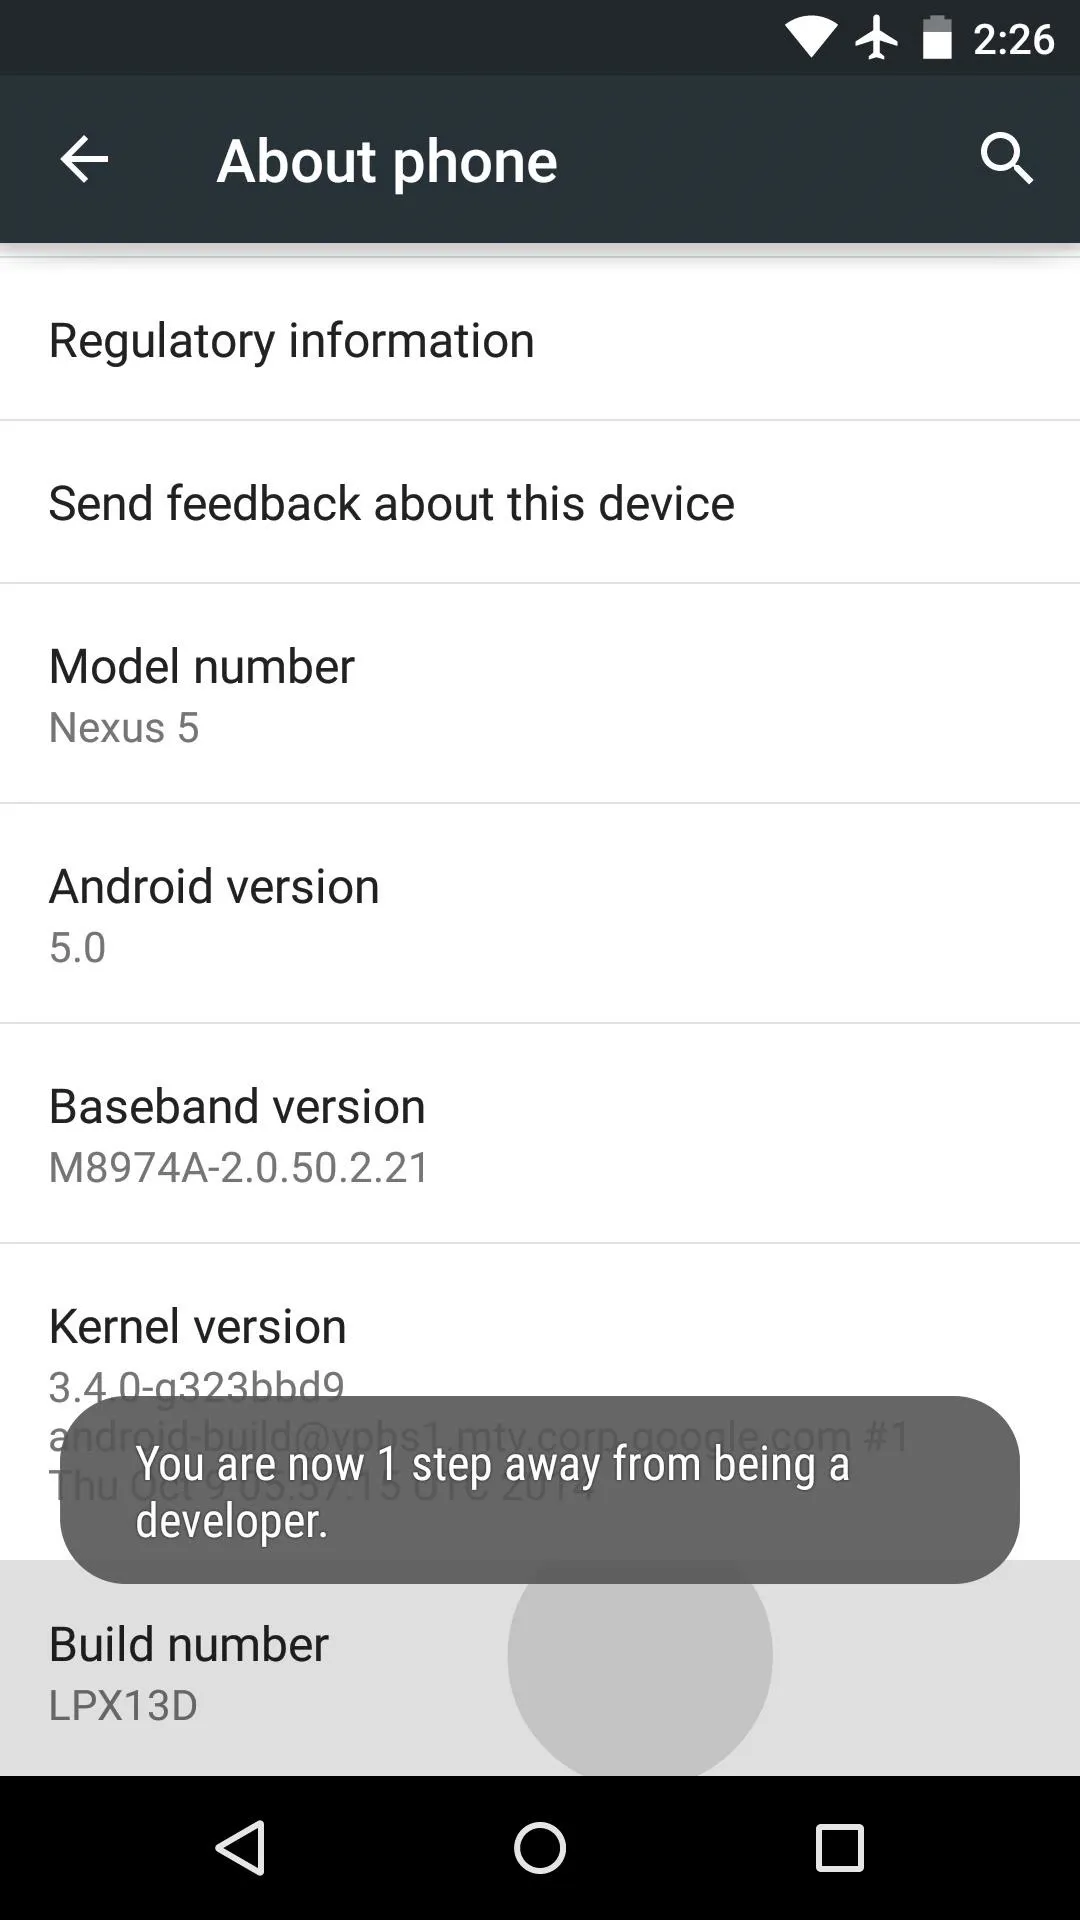
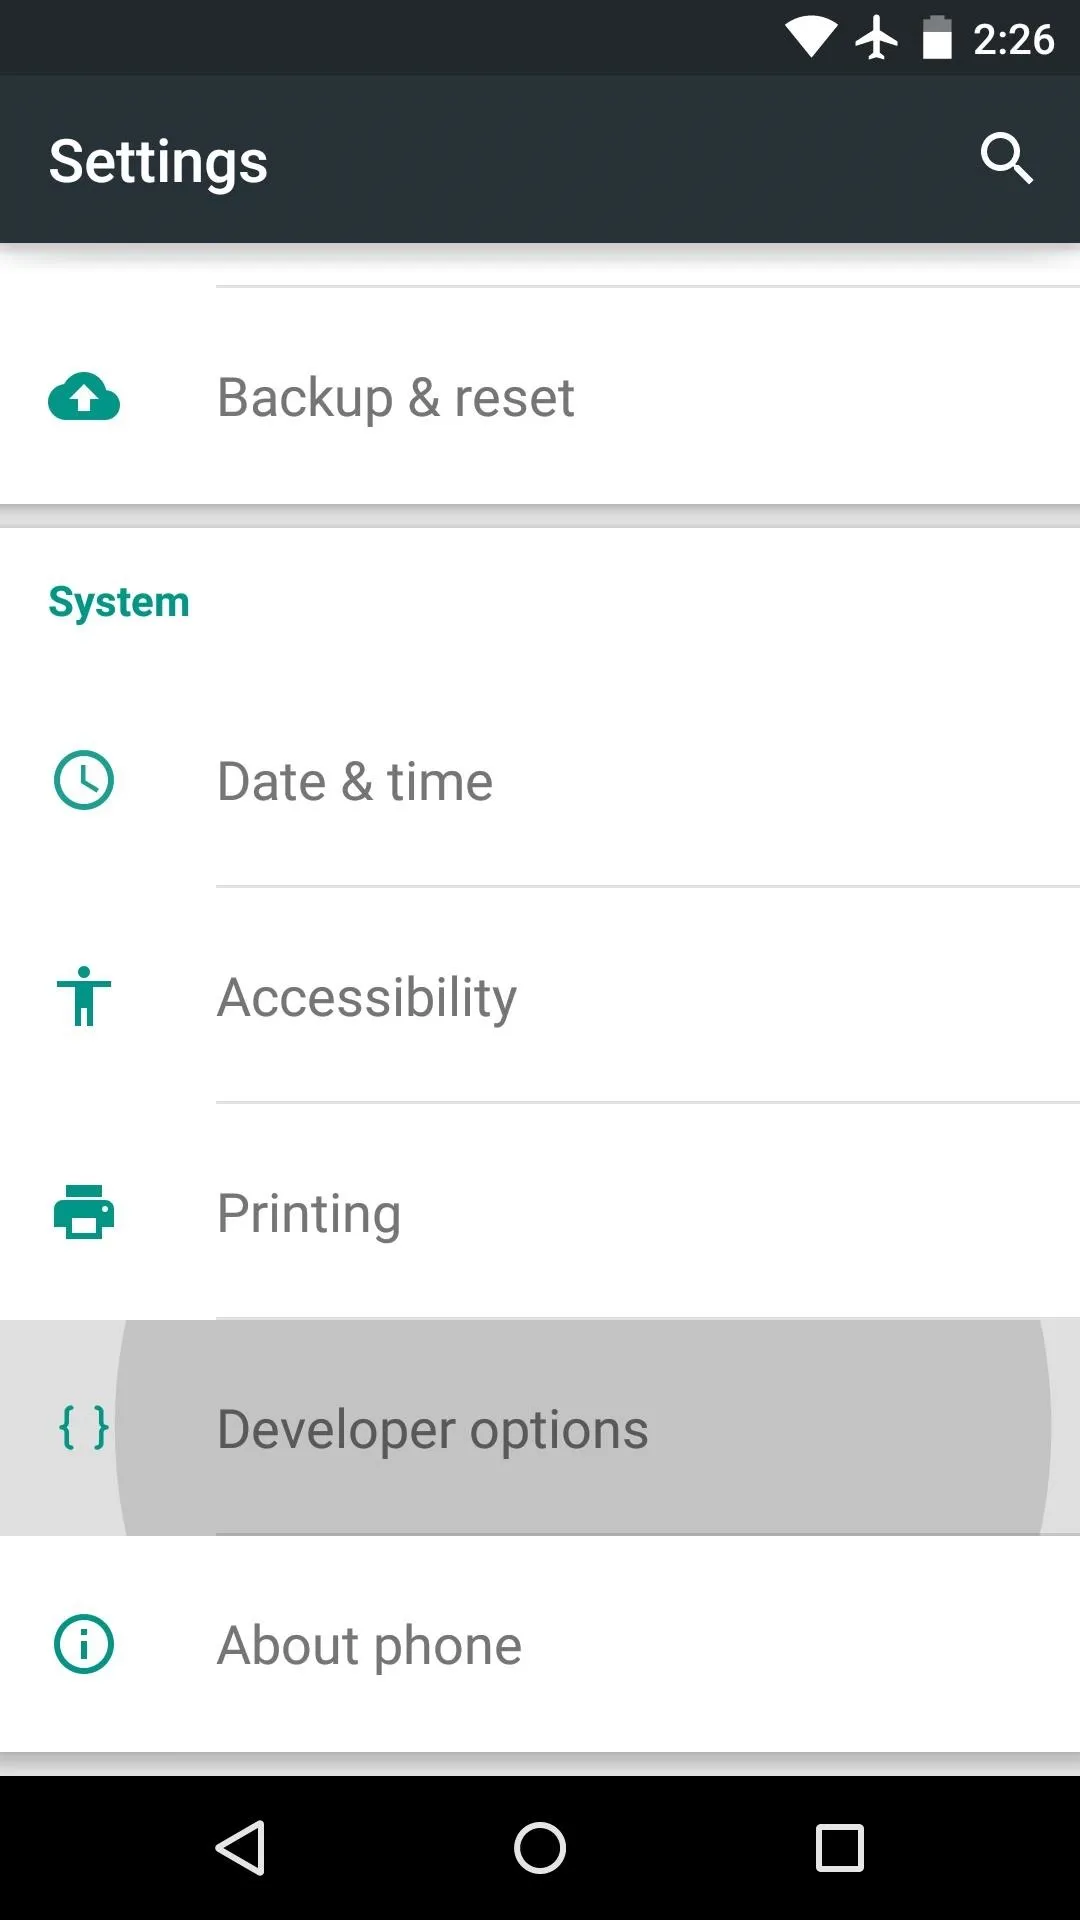
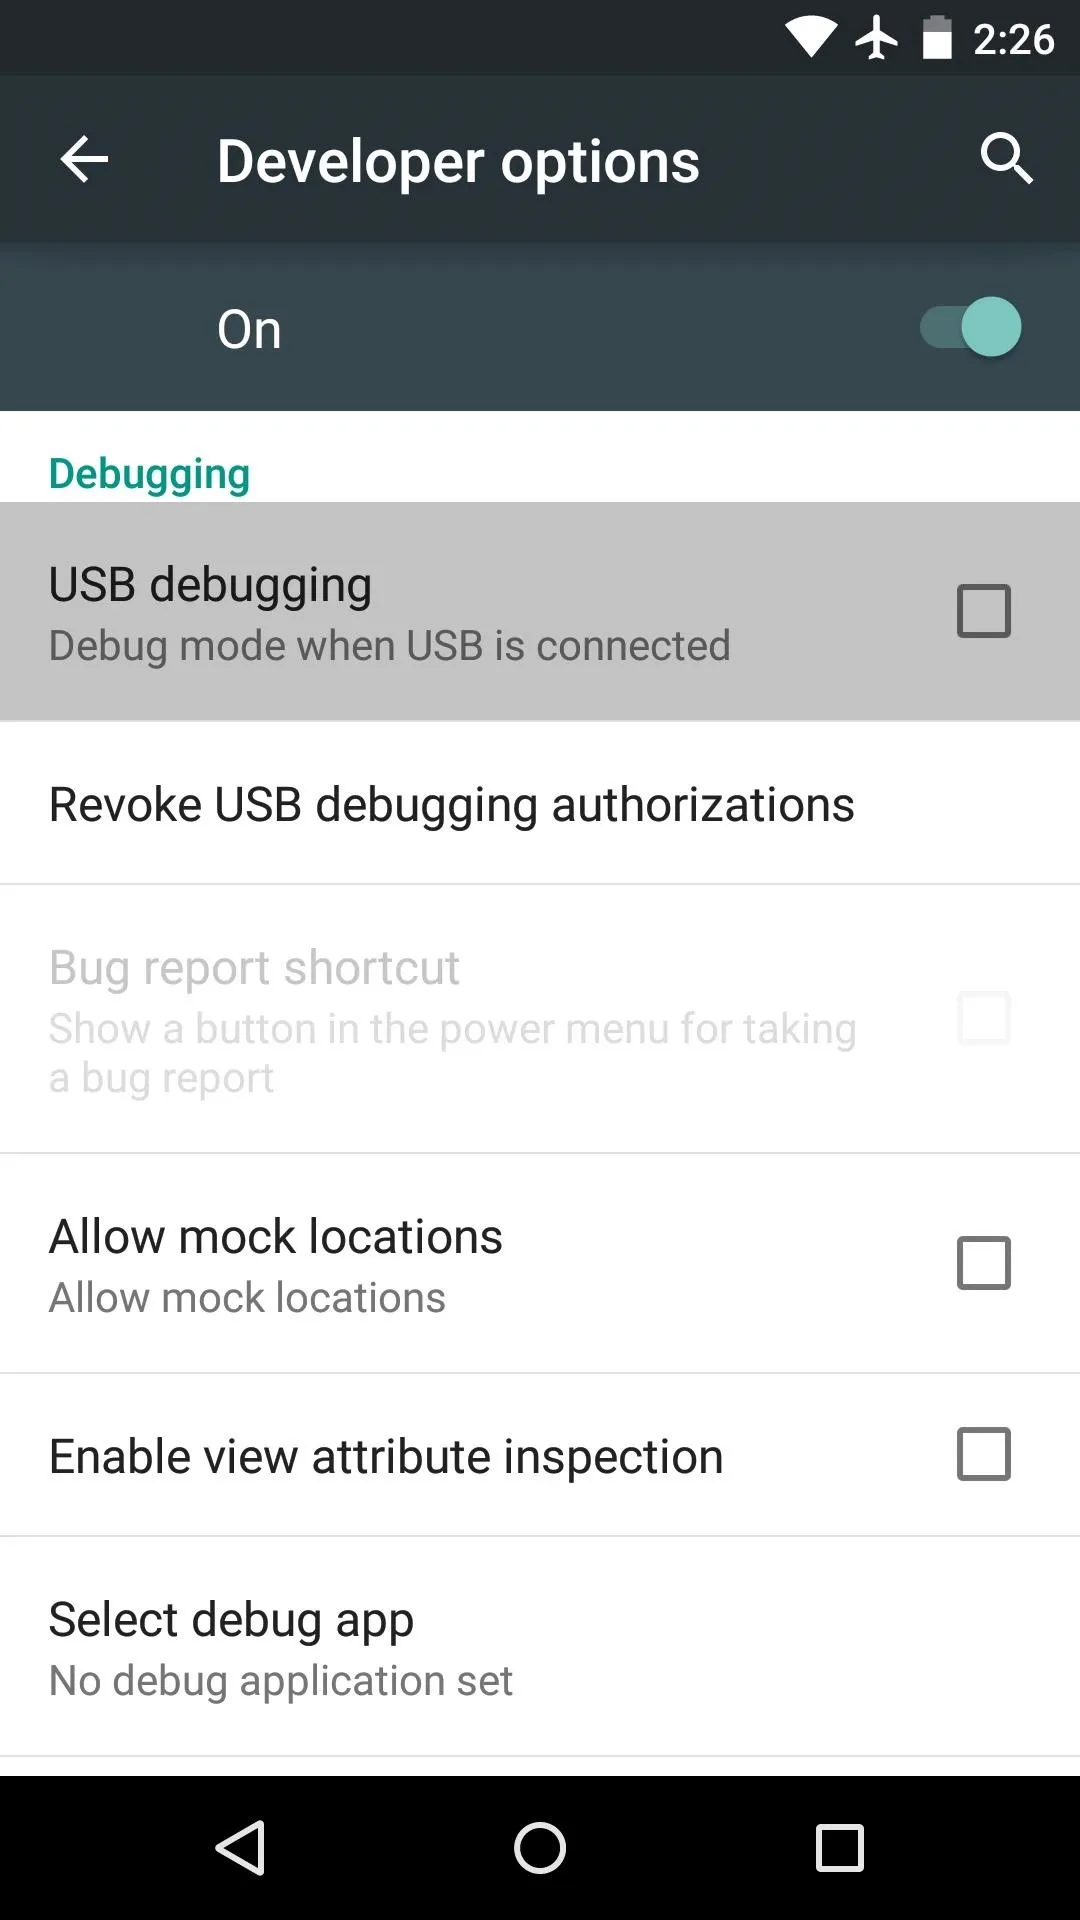
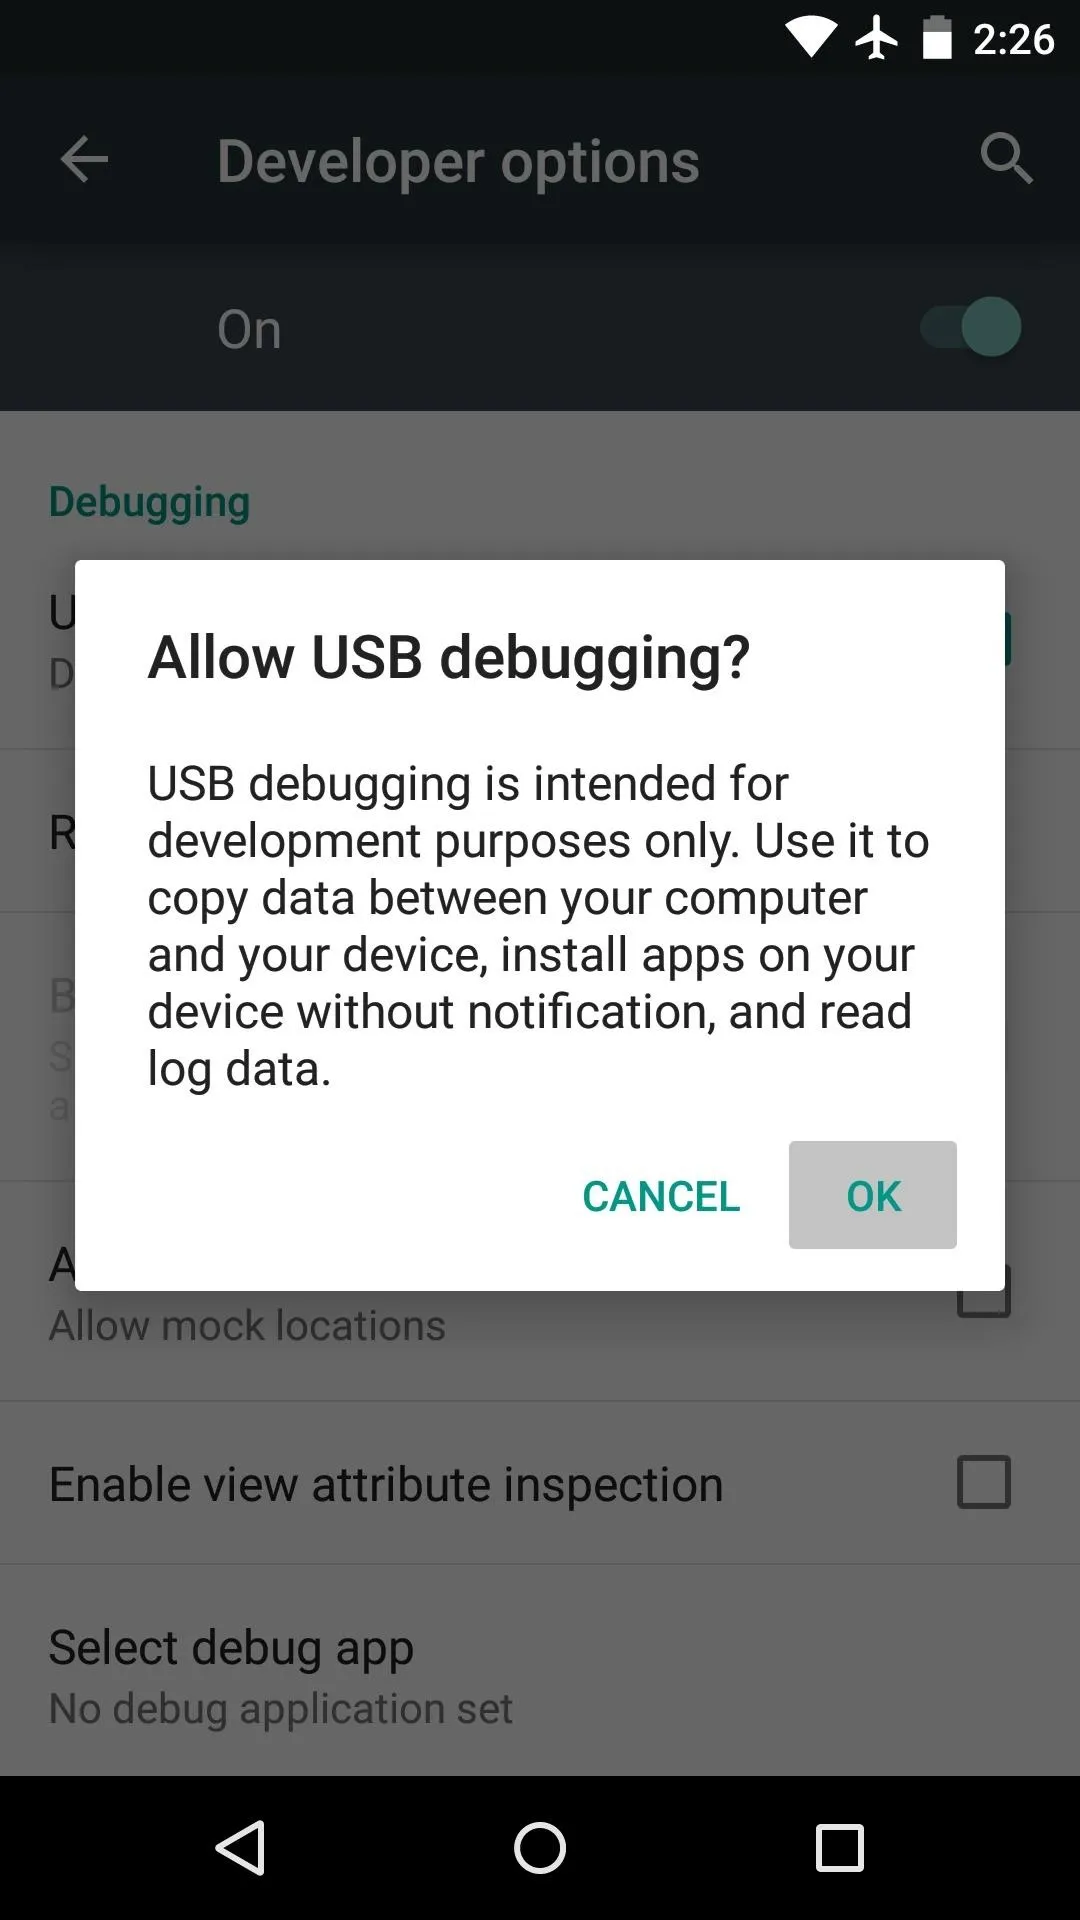
At this point, you should see a toast message informing you that You are now a developer, so back out one level and select Developer Options. Then, simply tick the box next to USB Debugging and press OK on the popup.
Connect Your Nexus to Your PC
Next, go ahead and connect your Nexus to your PC using a good quality USB cable. At this point, you should see a dialog box on your Nexus asking if you'd like to allow this PC to access USB Debugging.
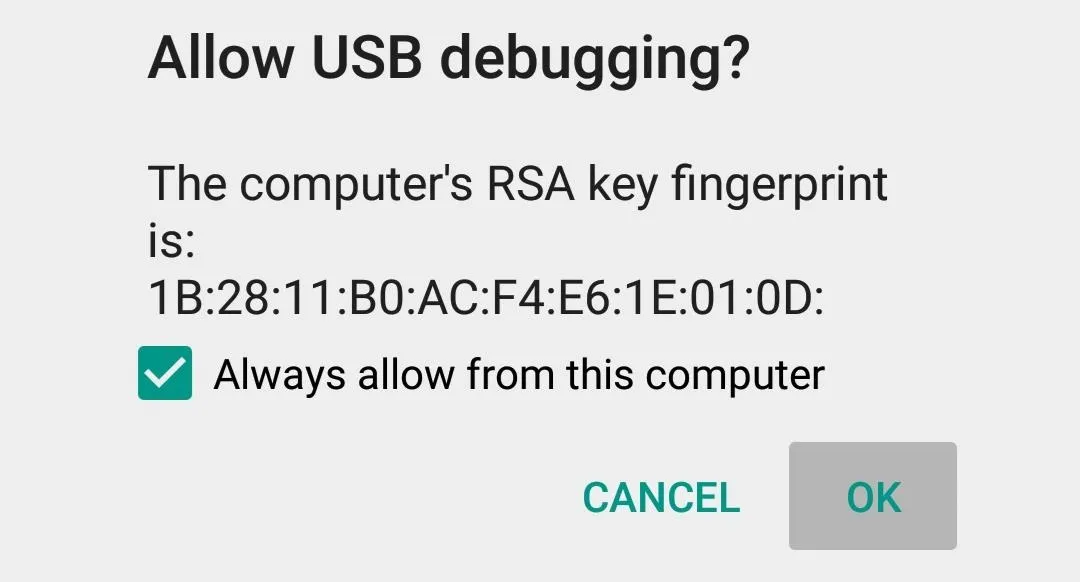
Tick the box next to Always allow from this computer, then press OK on this message. If you don't see this message directly after plugging your Nexus into your PC, simply keep an eye out for it, as it will pop up at some point during the process.
Update Nexus Root Toolkit
If you used my guide to install the "Lollipop" preview on your Nexus device, you should already have Wugfresh's Nexus Root Toolkit (NRT) installed on your PC. If not, the tool can be downloaded from its website.
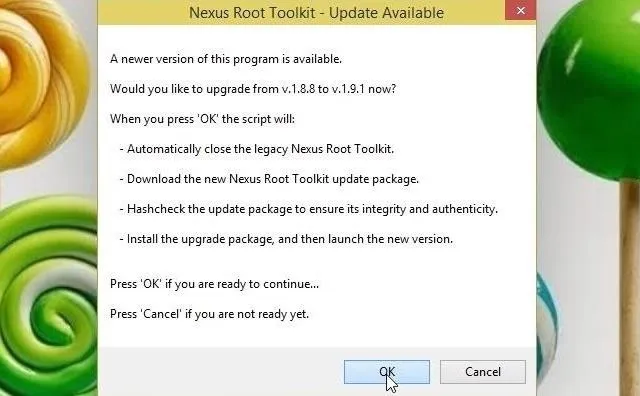
NRT recently received an update to account for changes made to the SuperSU binaries. When you launch NRT, it will ask if you'd like to install this update—click OK on this message.
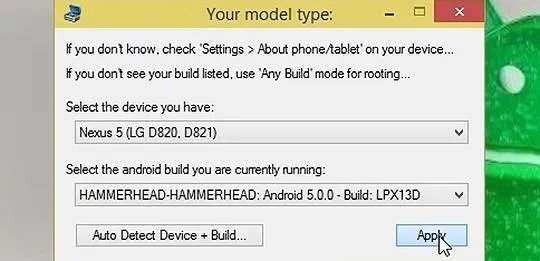
Next, the Nexus Root Toolkit will ask you what device you have and what Android version it's running. Use the first drop-menu to select your device type, then select Android 5.0 from the second menu. Click Apply, then if you didn't receive the "Allow USB Debugging?" message earlier, check for this popup again on your Nexus.
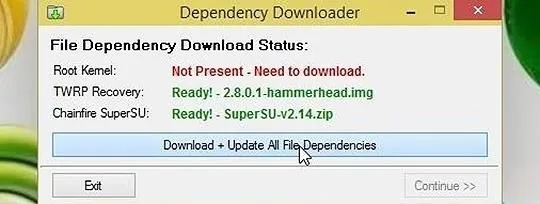
At this point, Nexus Root Toolkit will offer to download a few extra files. Click Download + Update All File Dependencies on this message to finish updating NRT.
If this is your first time installing Nexus Root Toolkit, use the Full Driver Installation Guide button at the top of the toolkit to get all of your ADB and device drivers installed.
Unlock Your Bootloader
The new Android 5.0 root method requires that your device's bootloader is unlocked. If you're unsure whether or not your bootloader is already unlocked, simply reboot your phone. When the Google splash screen shows up, look for an unlocked icon at the bottom of the screen. If this icon is present, you can skip this step. Otherwise, read on.

Locked Bootloader

Unlocked Bootloader
Locked Bootloader
Unlocked Bootloader
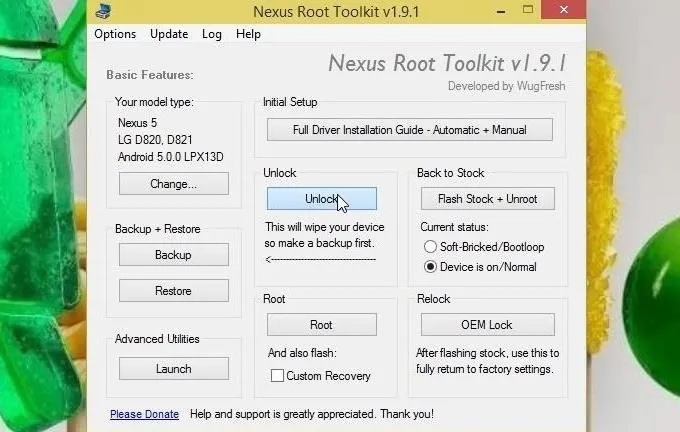
The process of unlocking your bootloader will wipe all data from your device. Before you proceed, make sure that you back up all important data. When you're ready, simply click the Unlock button in the middle of the screen to unlock your device's bootloader.
Root Your Device
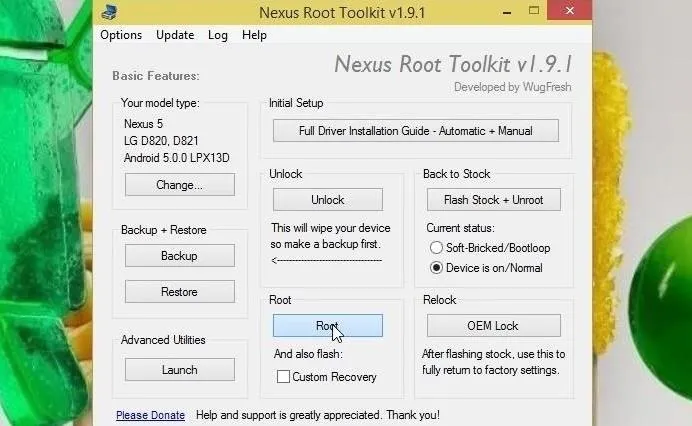
With all of the initial setup taken care of, it's time to get down to business. Click the Root button (optionally, tick the Custom Recovery option below it to install TWRP), and the process will be underway.
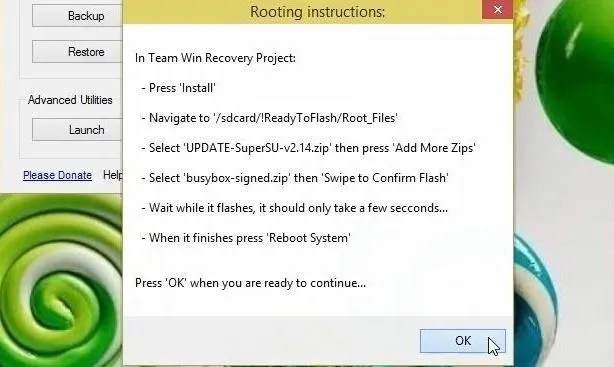
After a few minutes, Nexus Root Toolkit will inform you that a pair of files need to be installed on your device. The program gives simple instructions on how to proceed.

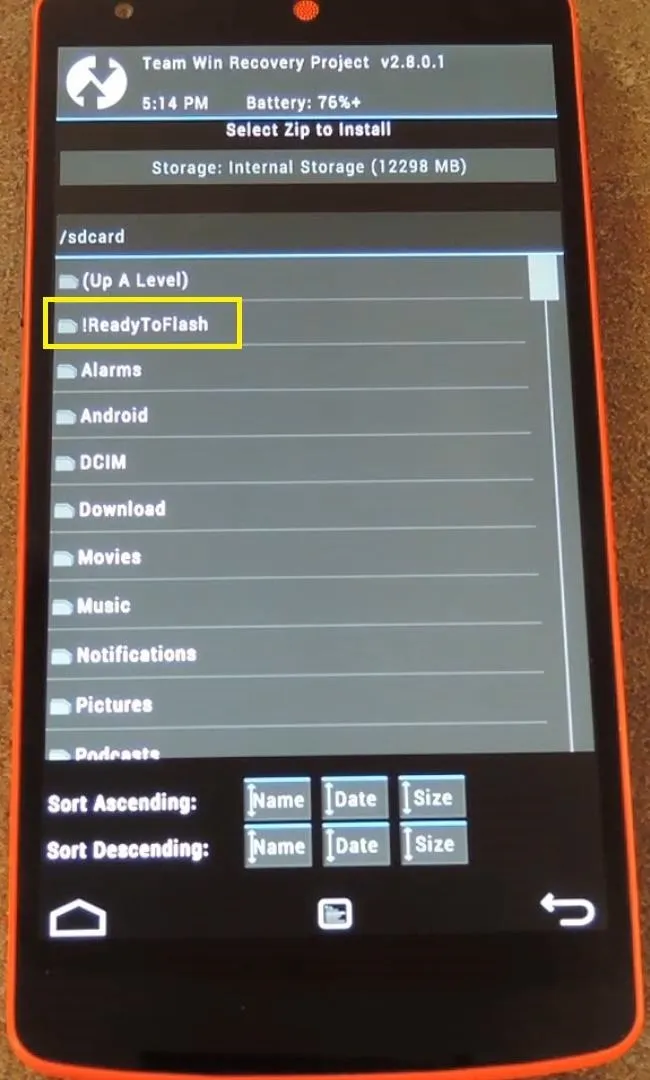
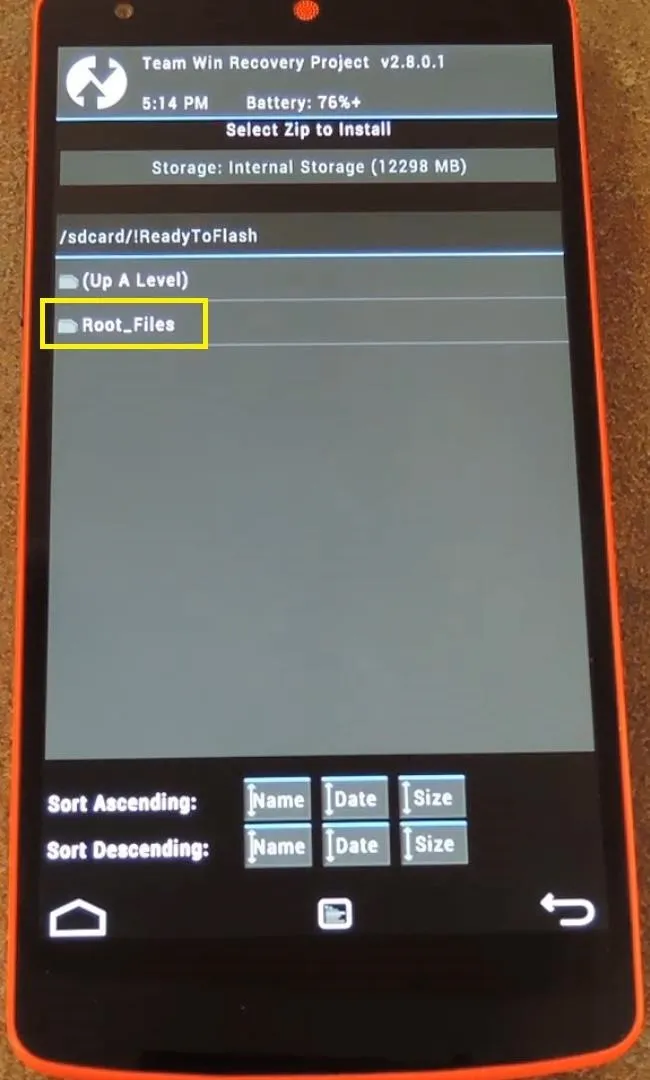
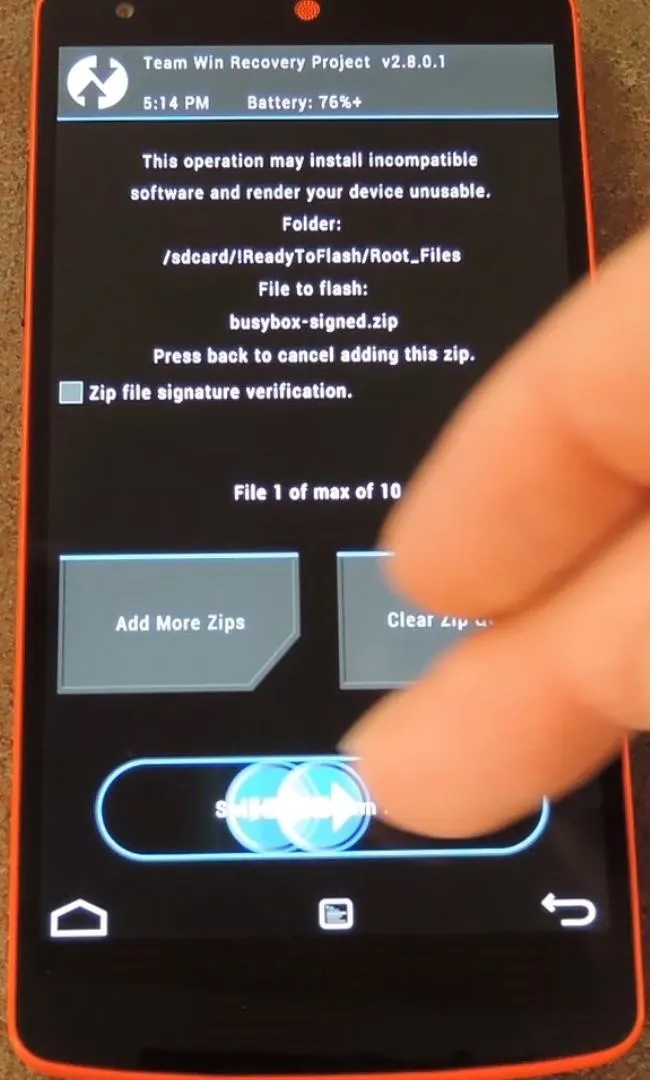
Back on your Nexus (without disconnecting the USB cable), press the Install button, then navigate to the !ReadyToFlash folder. After that, head into the root_files folder.

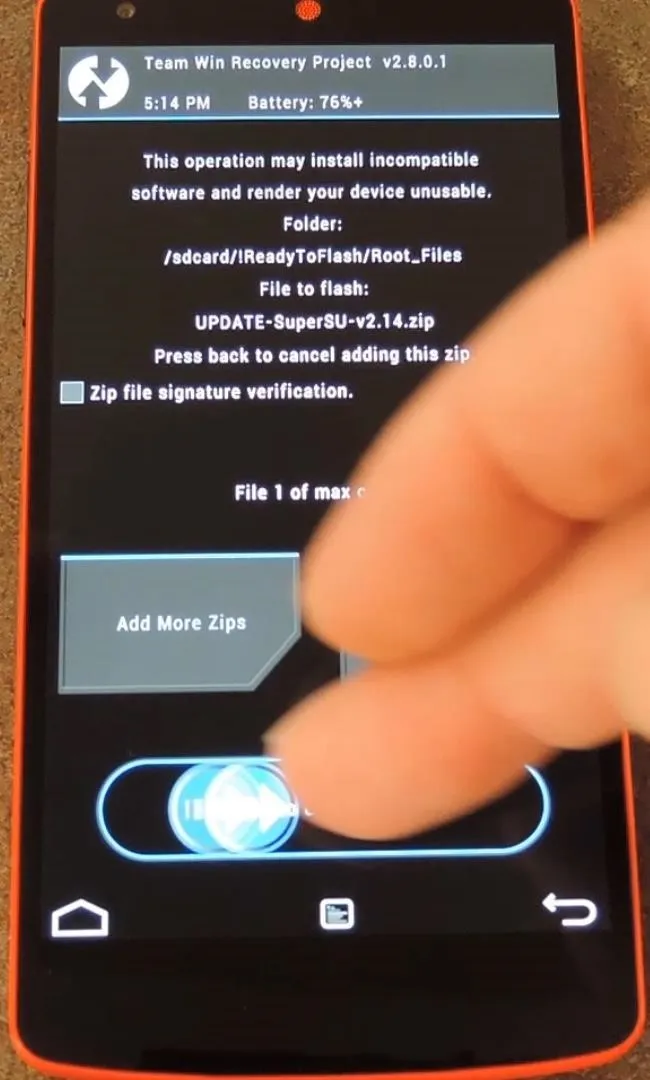
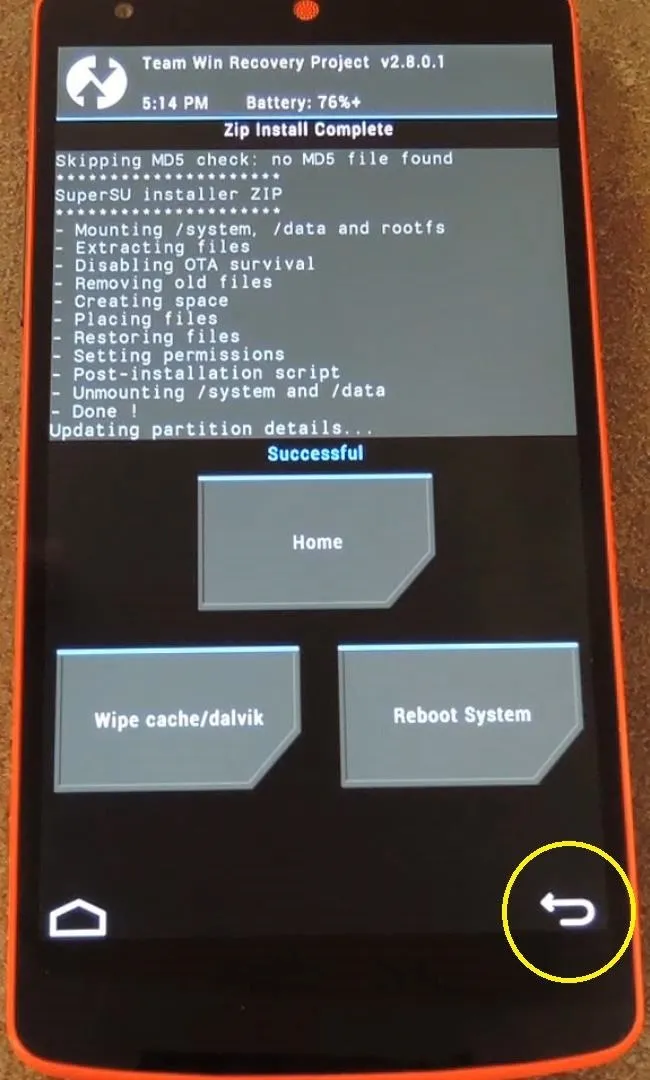
Next, select the Update-SuperSU.zip file, then swipe the slider at the bottom of the screen to install it. When that's done, tap the Back button in the bottom-right corner.

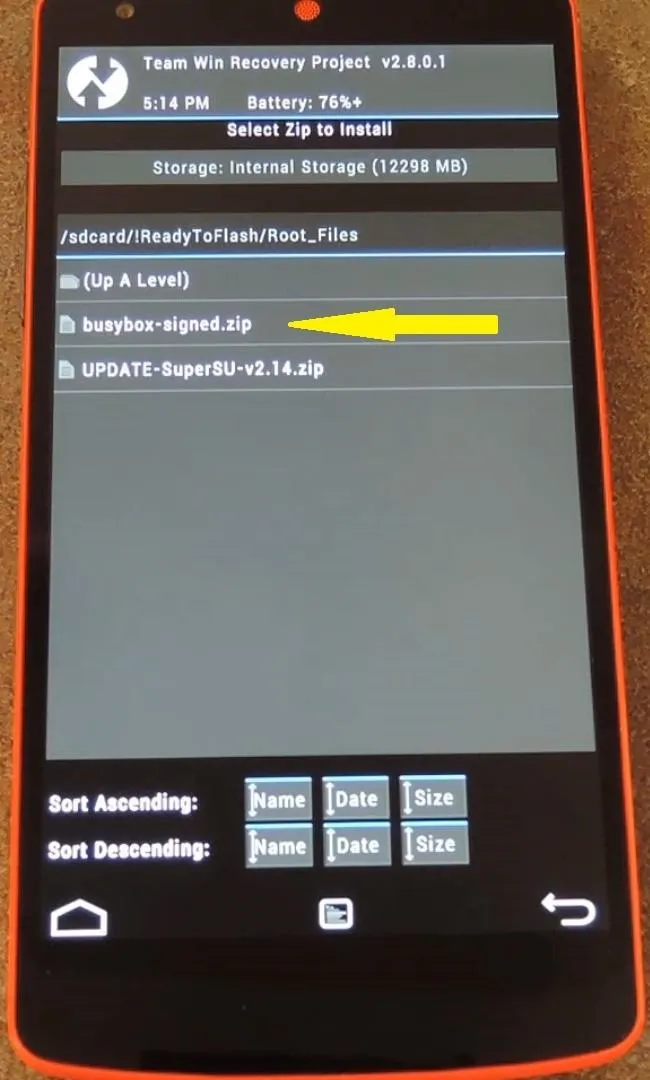
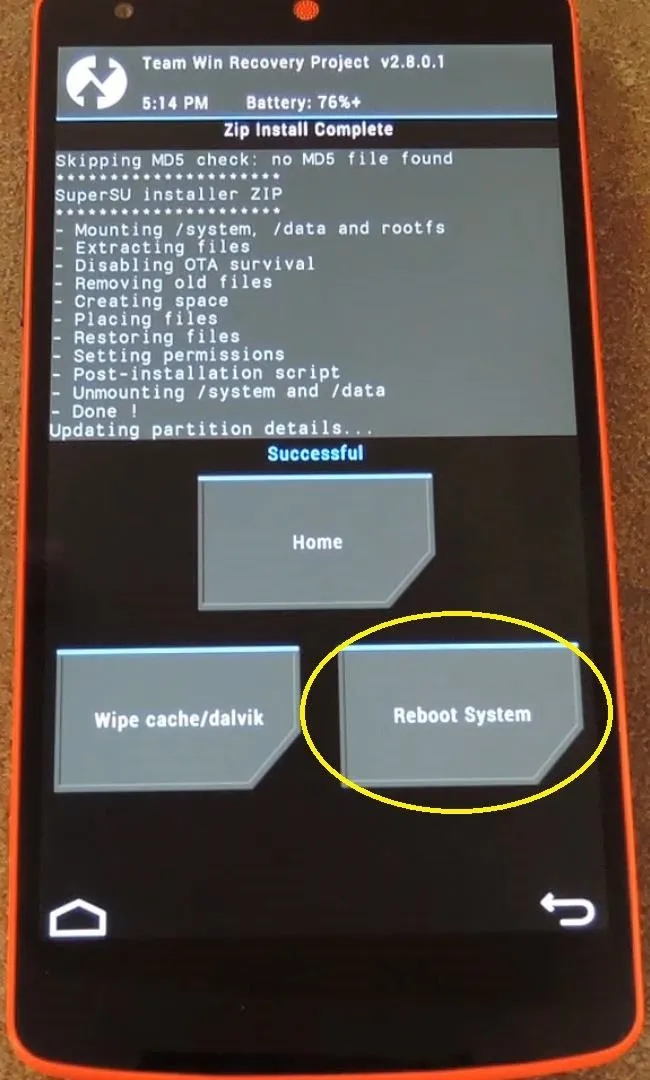
From here, select the busybox.zip file, then swipe the slider again to install it. When this one is finished, tap Reboot System.
From your PC, click OK on the message to allow the Nexus Root Toolkit to finish a few tasks.
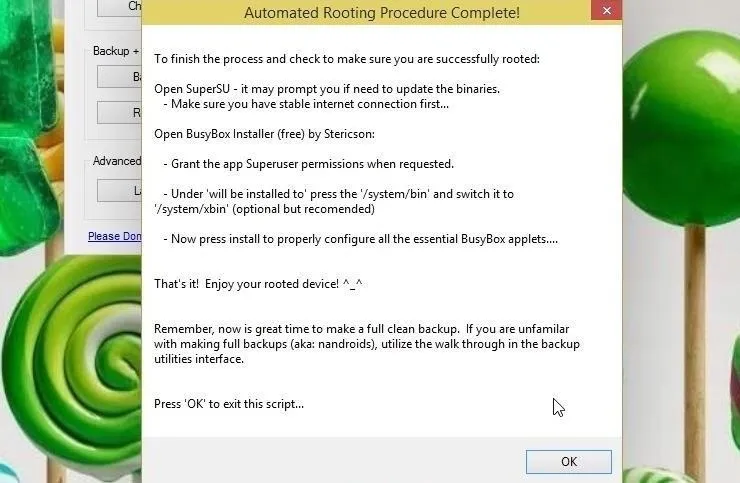
After a few more moments, NRT should let you know that the root process has completed. At this point, it's safe to disconnect your Nexus from your PC and give the device a few minutes to finish booting.
Verify Root
To verify that the process went off without a hitch, download an app called Root Checker from the Play Store.
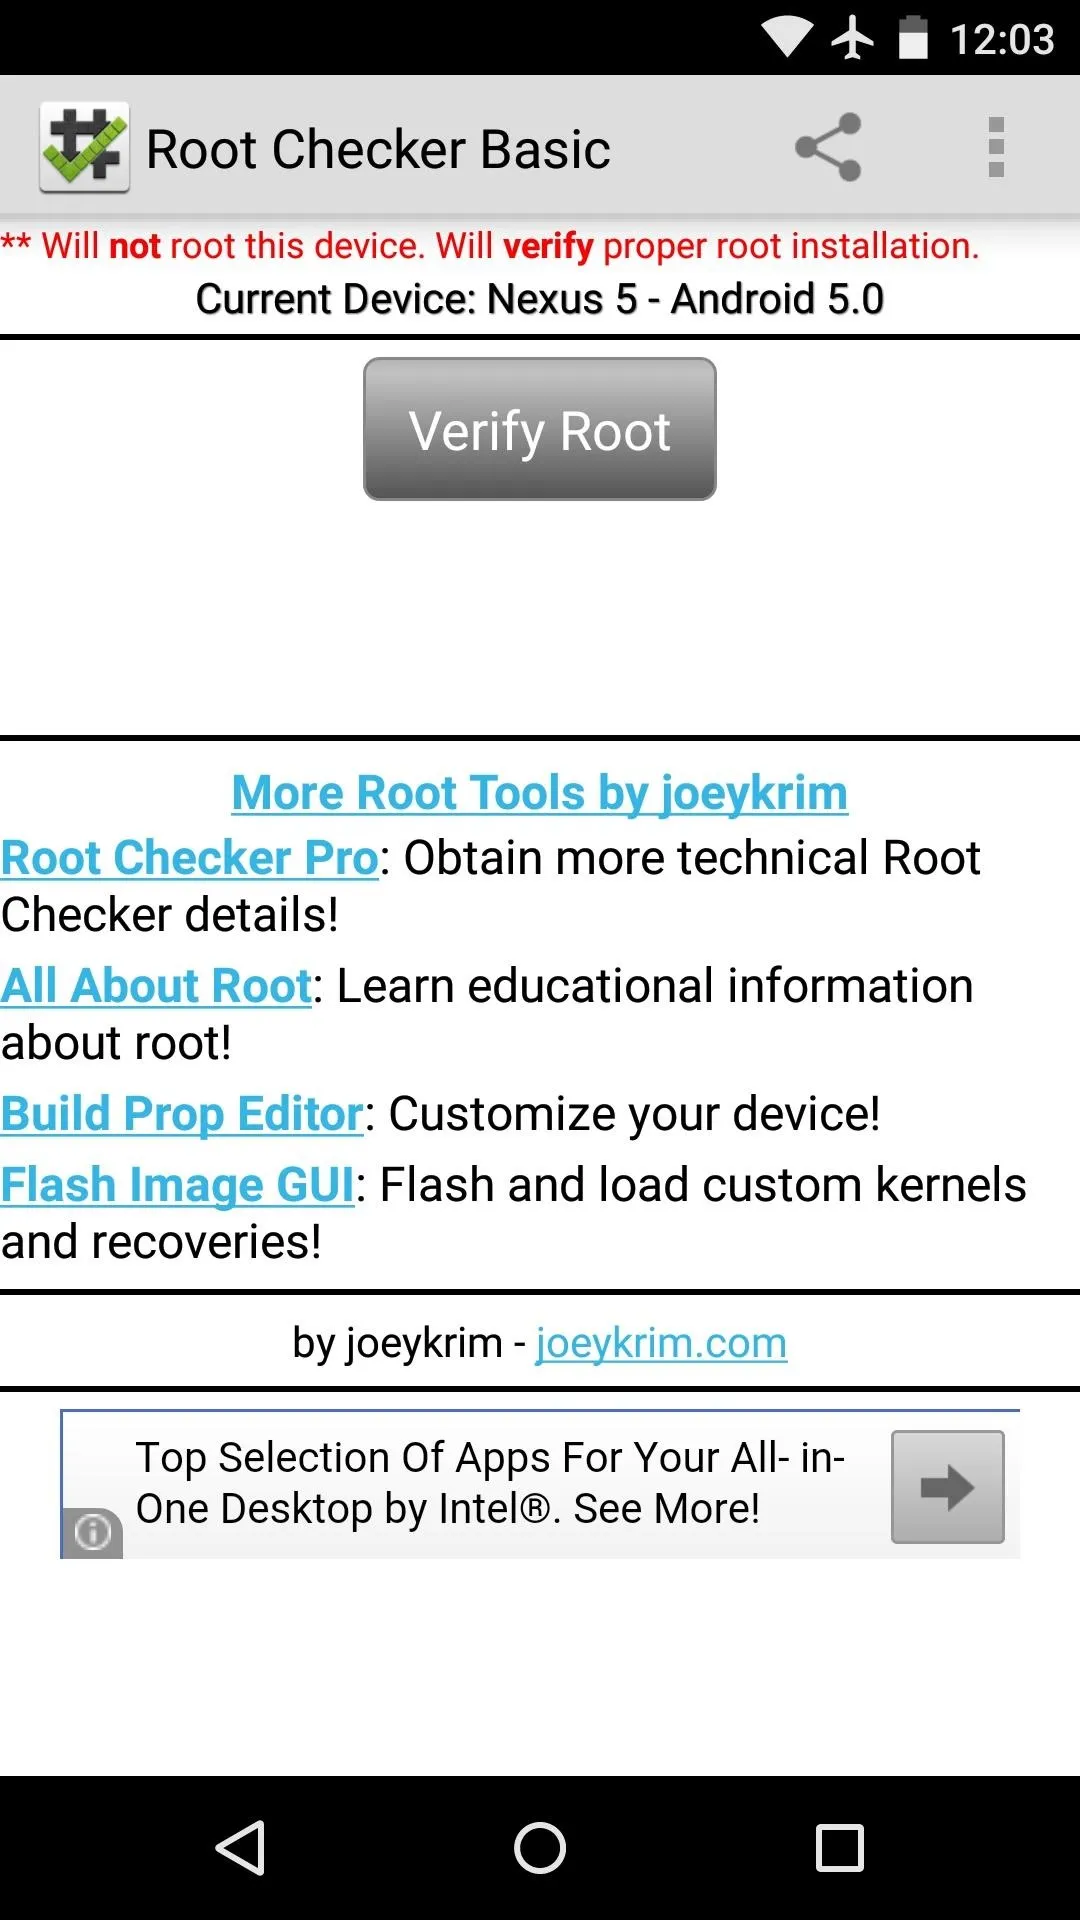
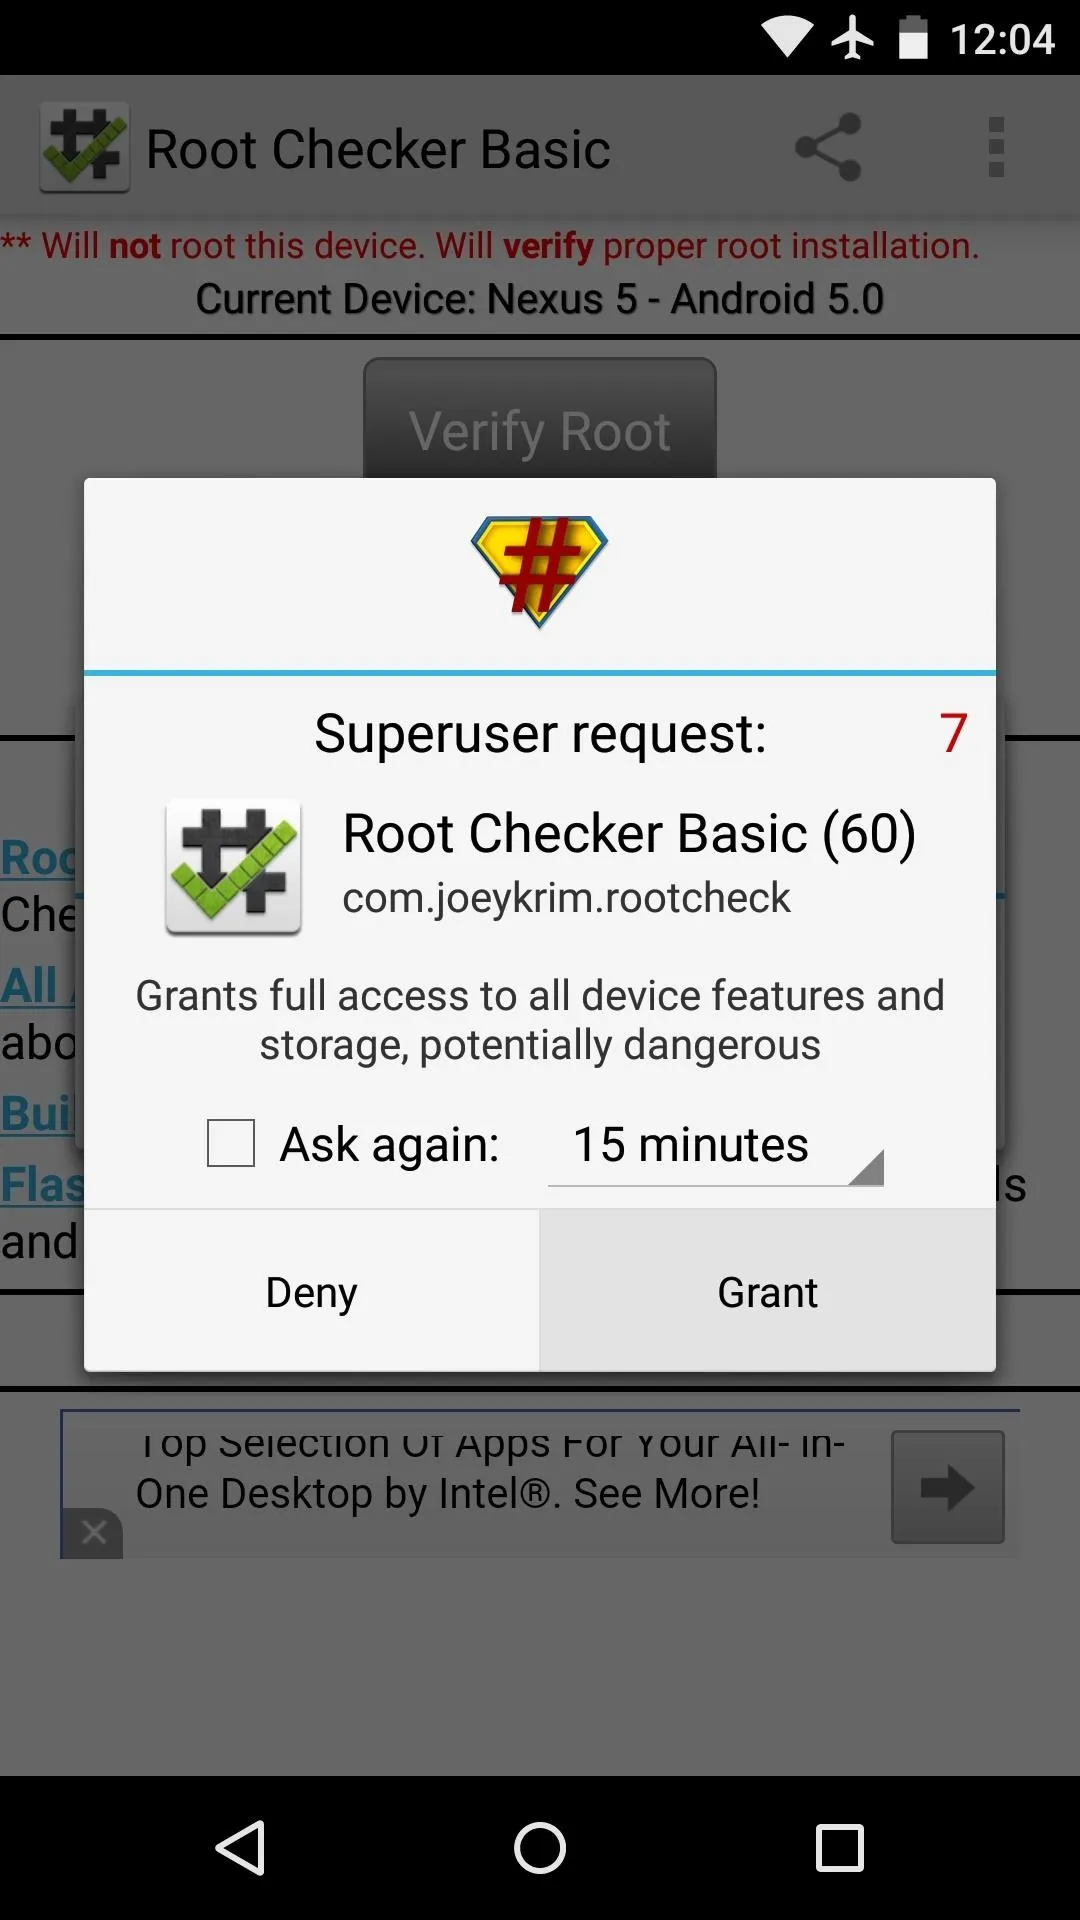
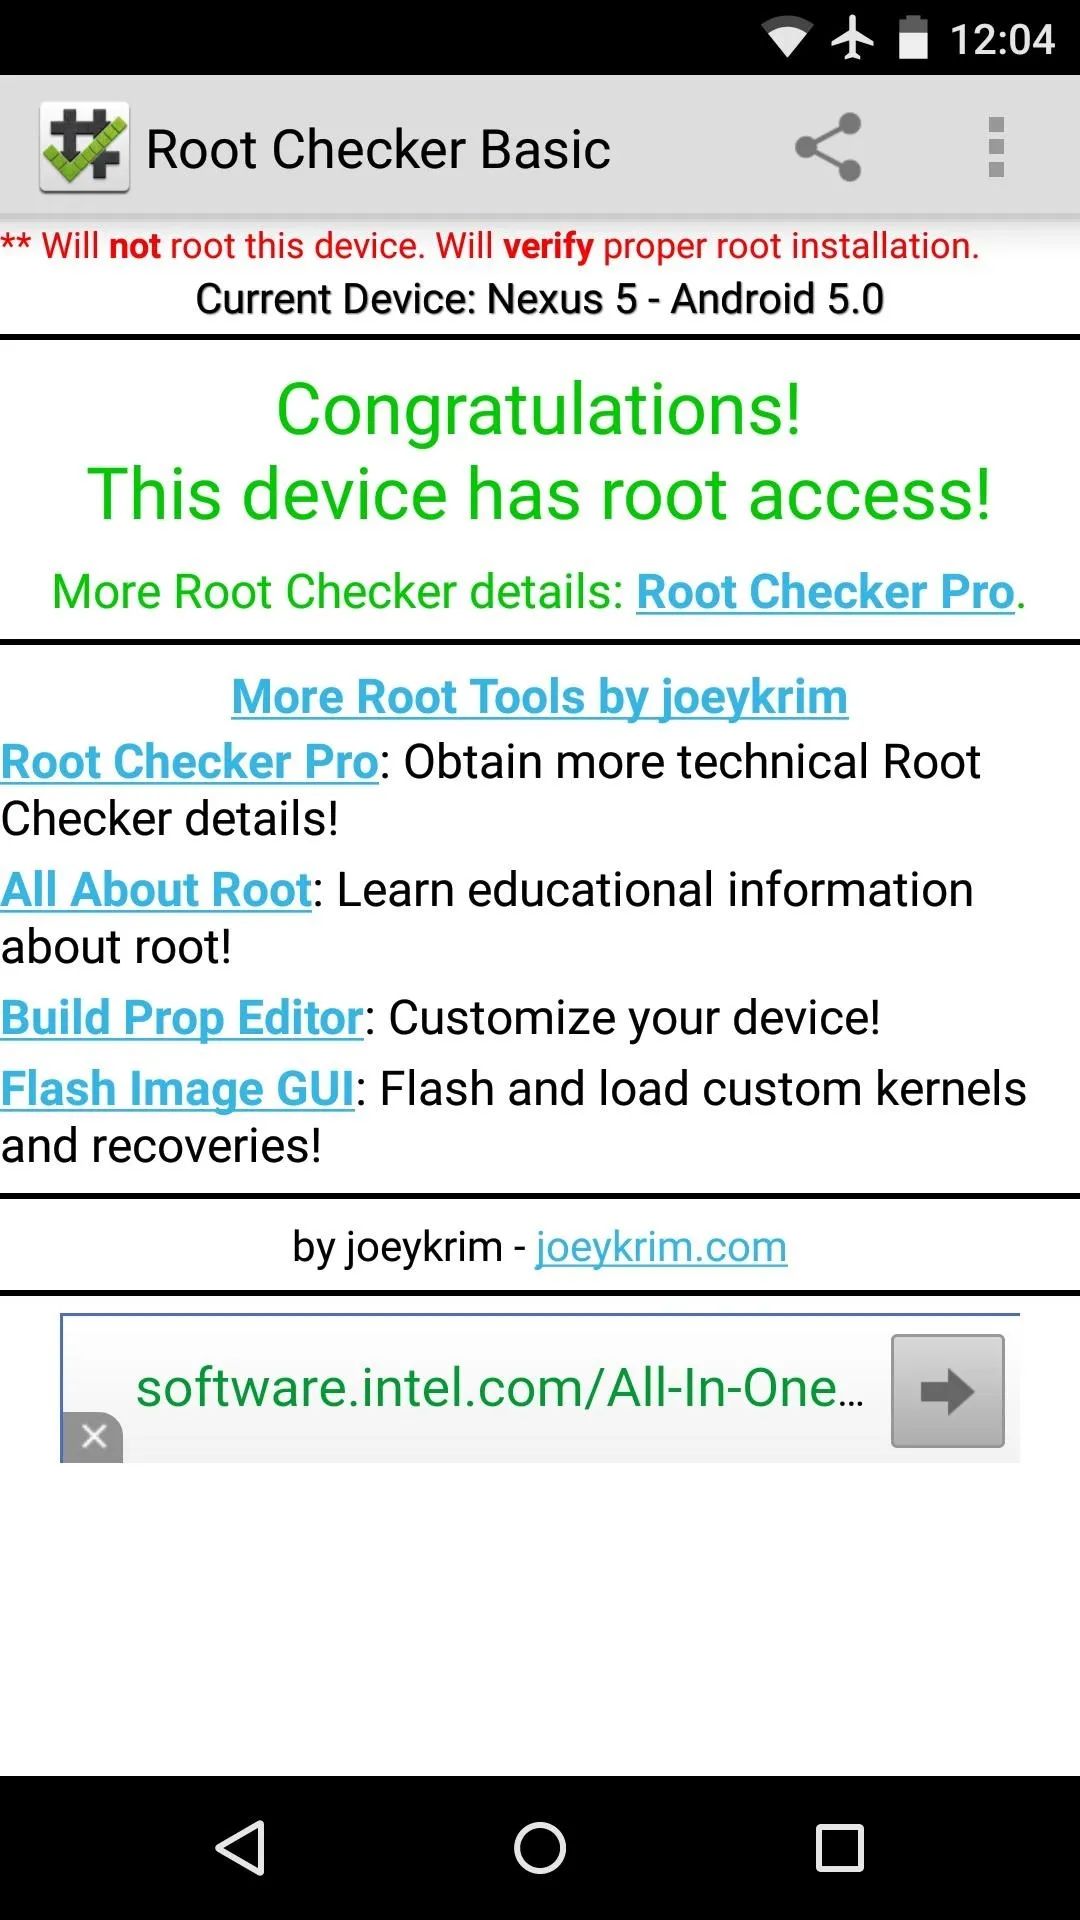
Run the app, then press Verify Root and hit Grant on the following pop-up. If you are indeed rooted, Root Checker will let you know immediately.
Although Xposed does not work on Android 5.0 just yet, root access should open up a lot of tweaks on your Lollipop device. What root apps did you install on Android 5.0? Let us know in the comments section below, as well as on Facebook and Twitter.


Comments
Be the first, drop a comment!