All Android web browsers are not created equal. Some, like Chrome, have slick interfaces and quick rendering, but are not very robust. Others, like Firefox, boast tons of functionality and support add-ons, but are lacking in the interface department and could use a boost in performance.
This is why many Android users have multiple browsers installed on their devices. I, for one, use Chrome to browse the mobile web, then switch to Firefox when I need to watch Flash-based content.
If you're in the same boat, developer Snaikdev has the perfect app for you. By allowing you to open links in different browsers with an easy gesture, LinkSwipe simplifies web browsing on Android like never before.
Install LinkSwipe
LinkSwipe can be installed from the Google Play Store for free. Search it by name, or head to this link to get the app on your device.

Calibrate LinkSwipe
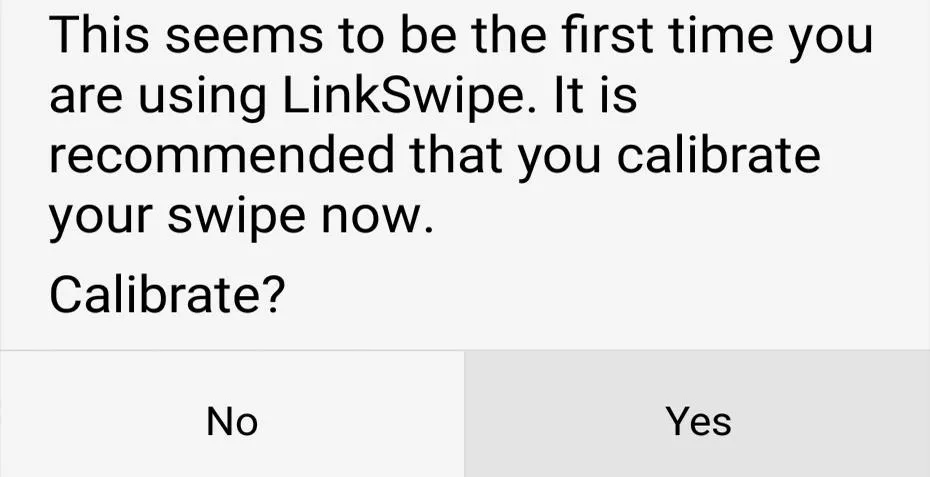
When you first launch LinkSwipe, you'll be offered a chance to go through a mini setup wizard. Tap Yes on the popup message to do just that.
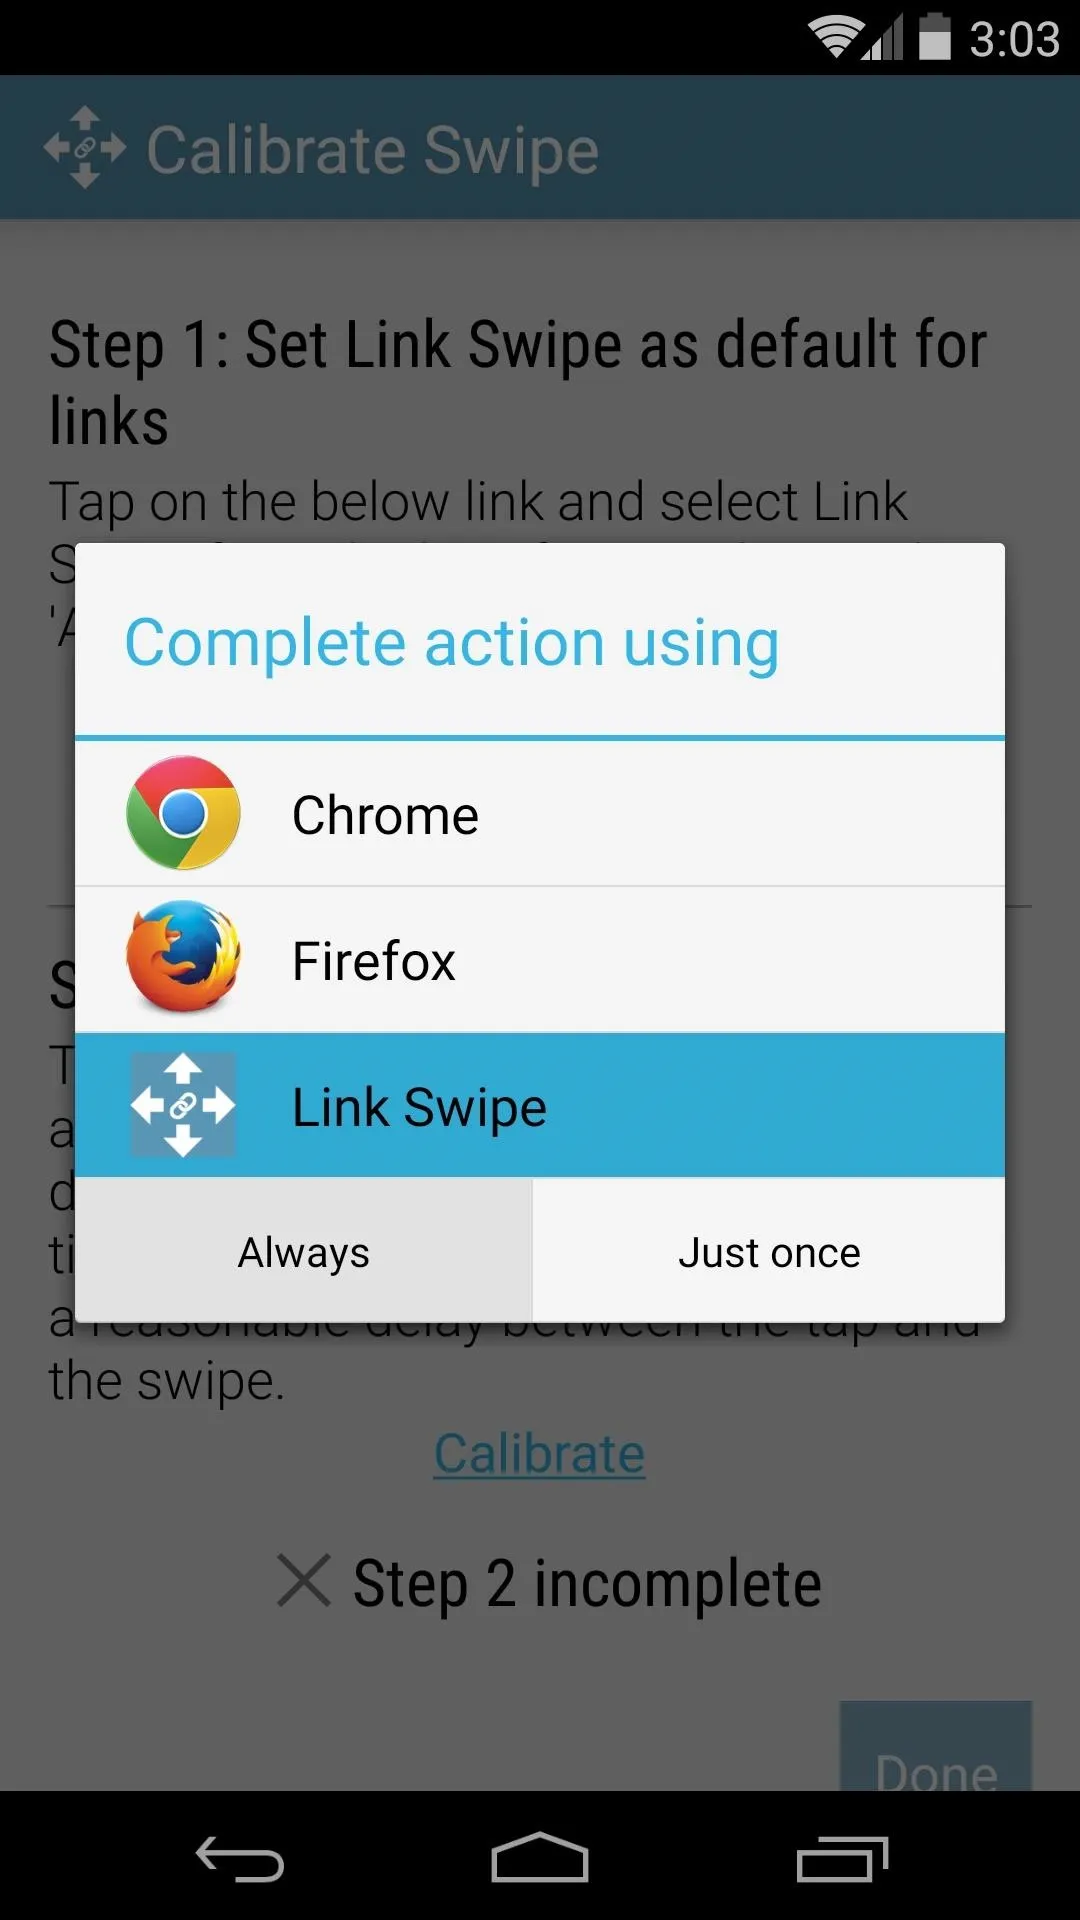
Under the Step 1 category, tap Set Default and a dialog box will appear. Select LinkSwipe from this list, then choose Always.
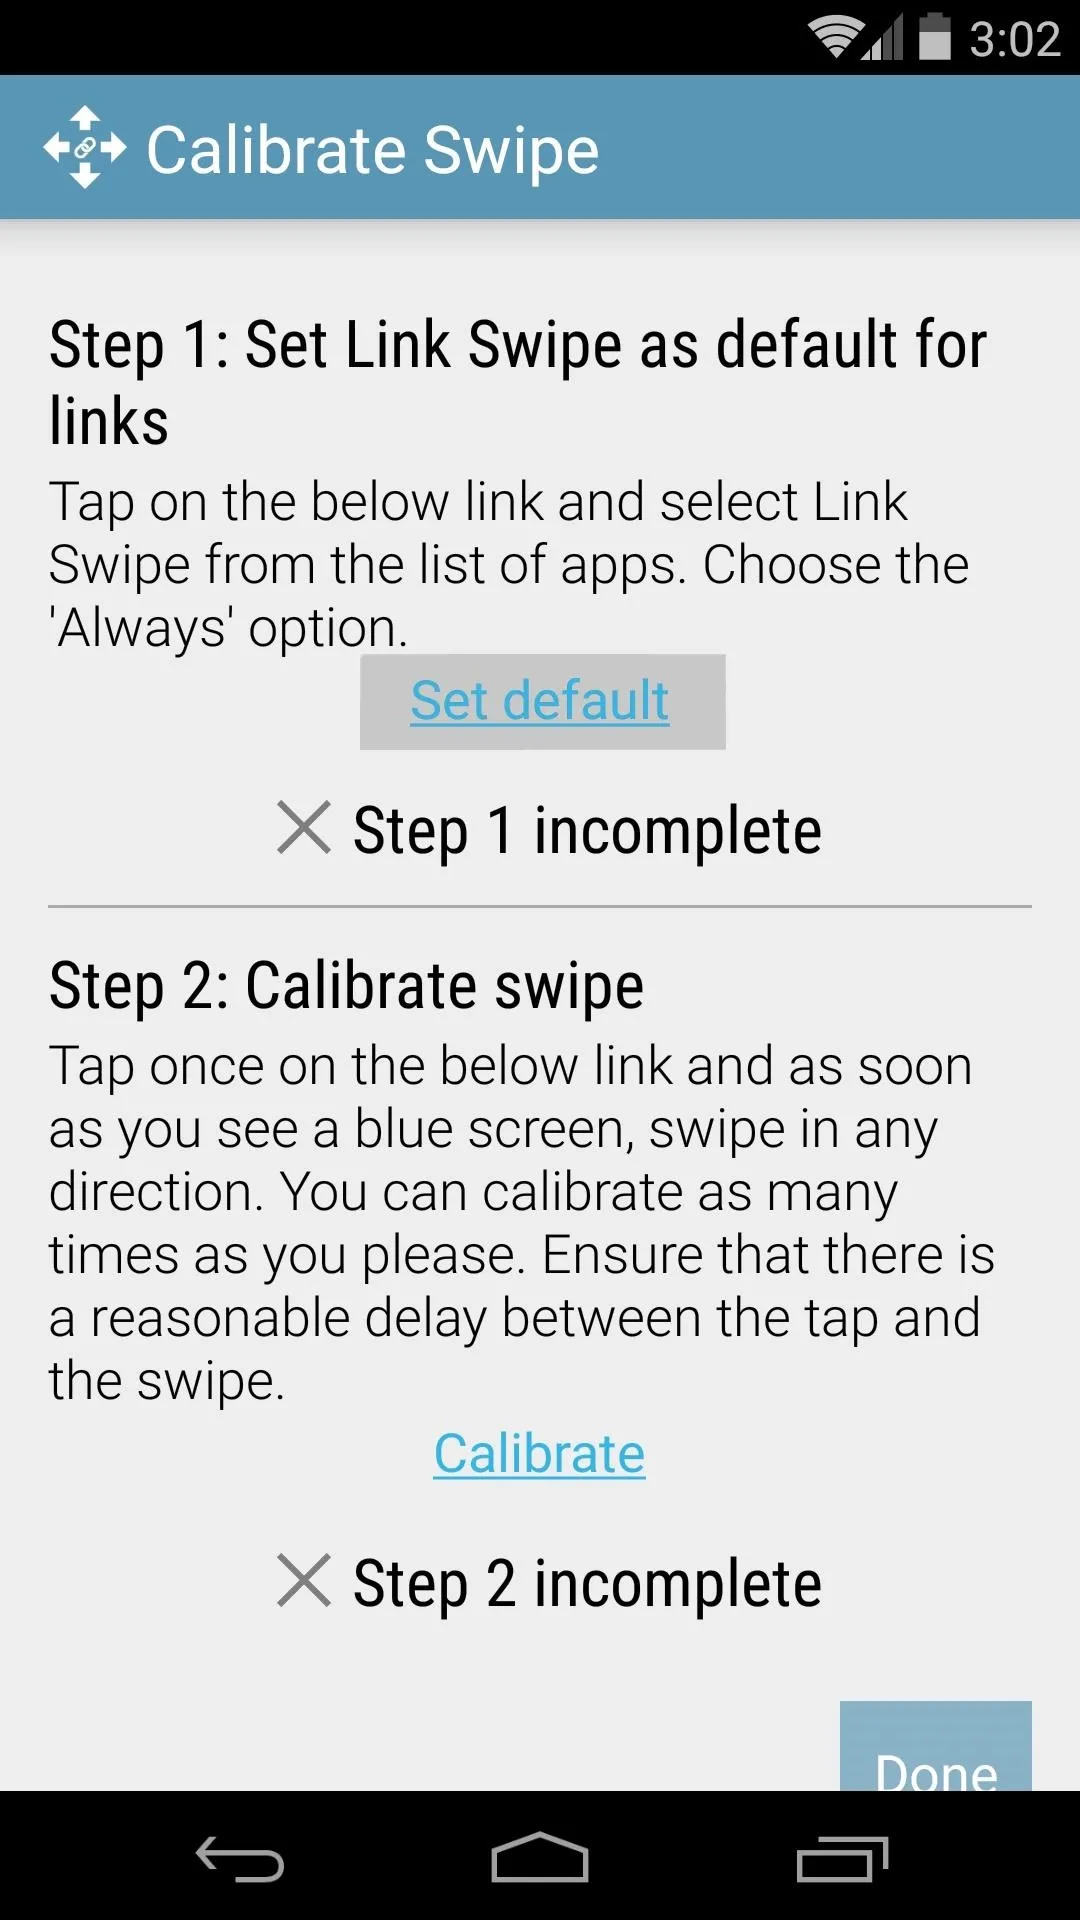


The Step 2 category is used to calibrate your swipe gesture. The swipe gesture is done after tapping a link, and this calibration process essentially determines the length of time that should pass between a tap and the swipe that follows it.
So treat the Calibrate button as if it were a link. Tap it, then when the screen turns blue, swipe in any direction. The time that passes between when you hit the Calibrate button and when you swipe the screen will be used as a baseline in determining how long your future tap-swipe gestures should take.
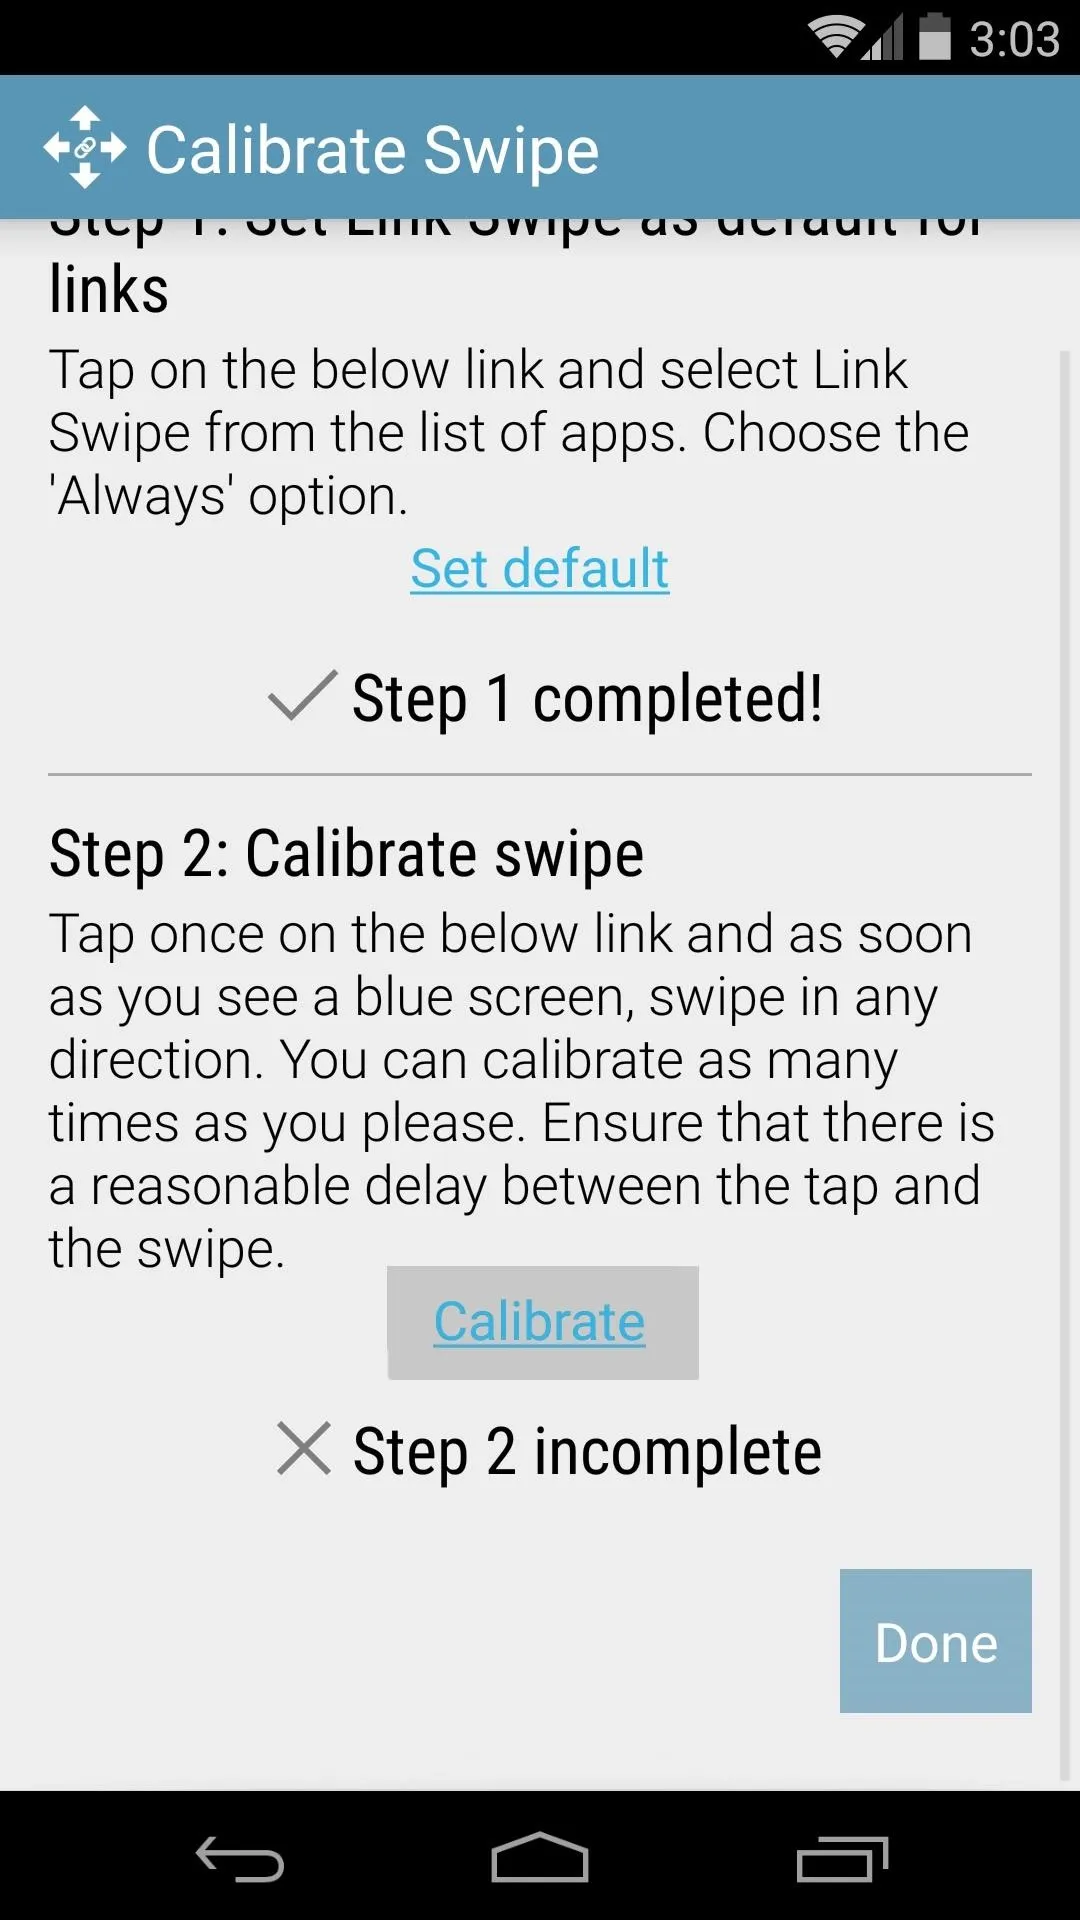
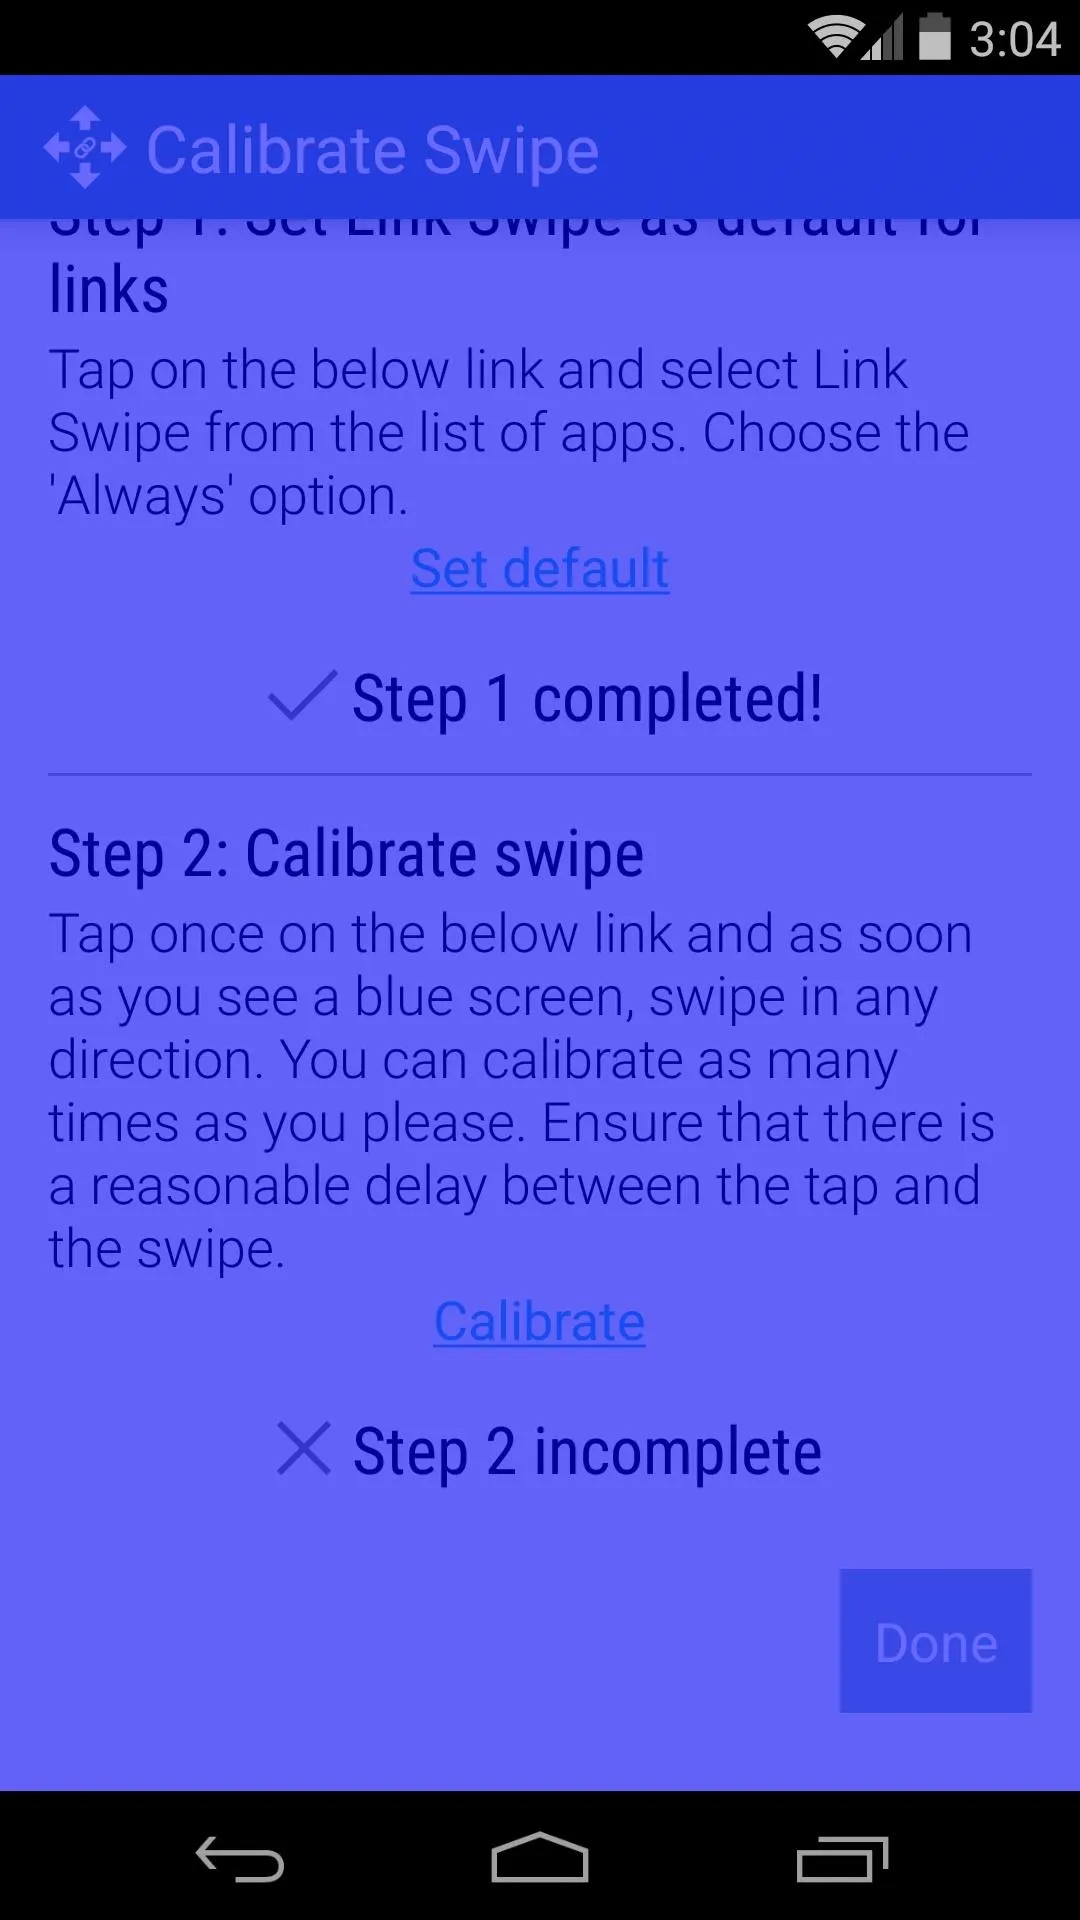


After calibrating your swipe gesture, tap the Done button to finish setup.
Configure LinkSwipe
LinkSwipe's main screen shows you all of the gestures it is capable of recognizing. There's Tap, which is the normal method of opening links that you're already used to. Then there are four Tap and Swipe gestures, where you tap a link, then swipe either Left, Right, Up, or Down.
Only Tap and Tap and Swipe Left gestures are available in the free version of LinkSwipe, but the pro version (available here) unlocks all 5 gestures for a purchase of 99 cents.
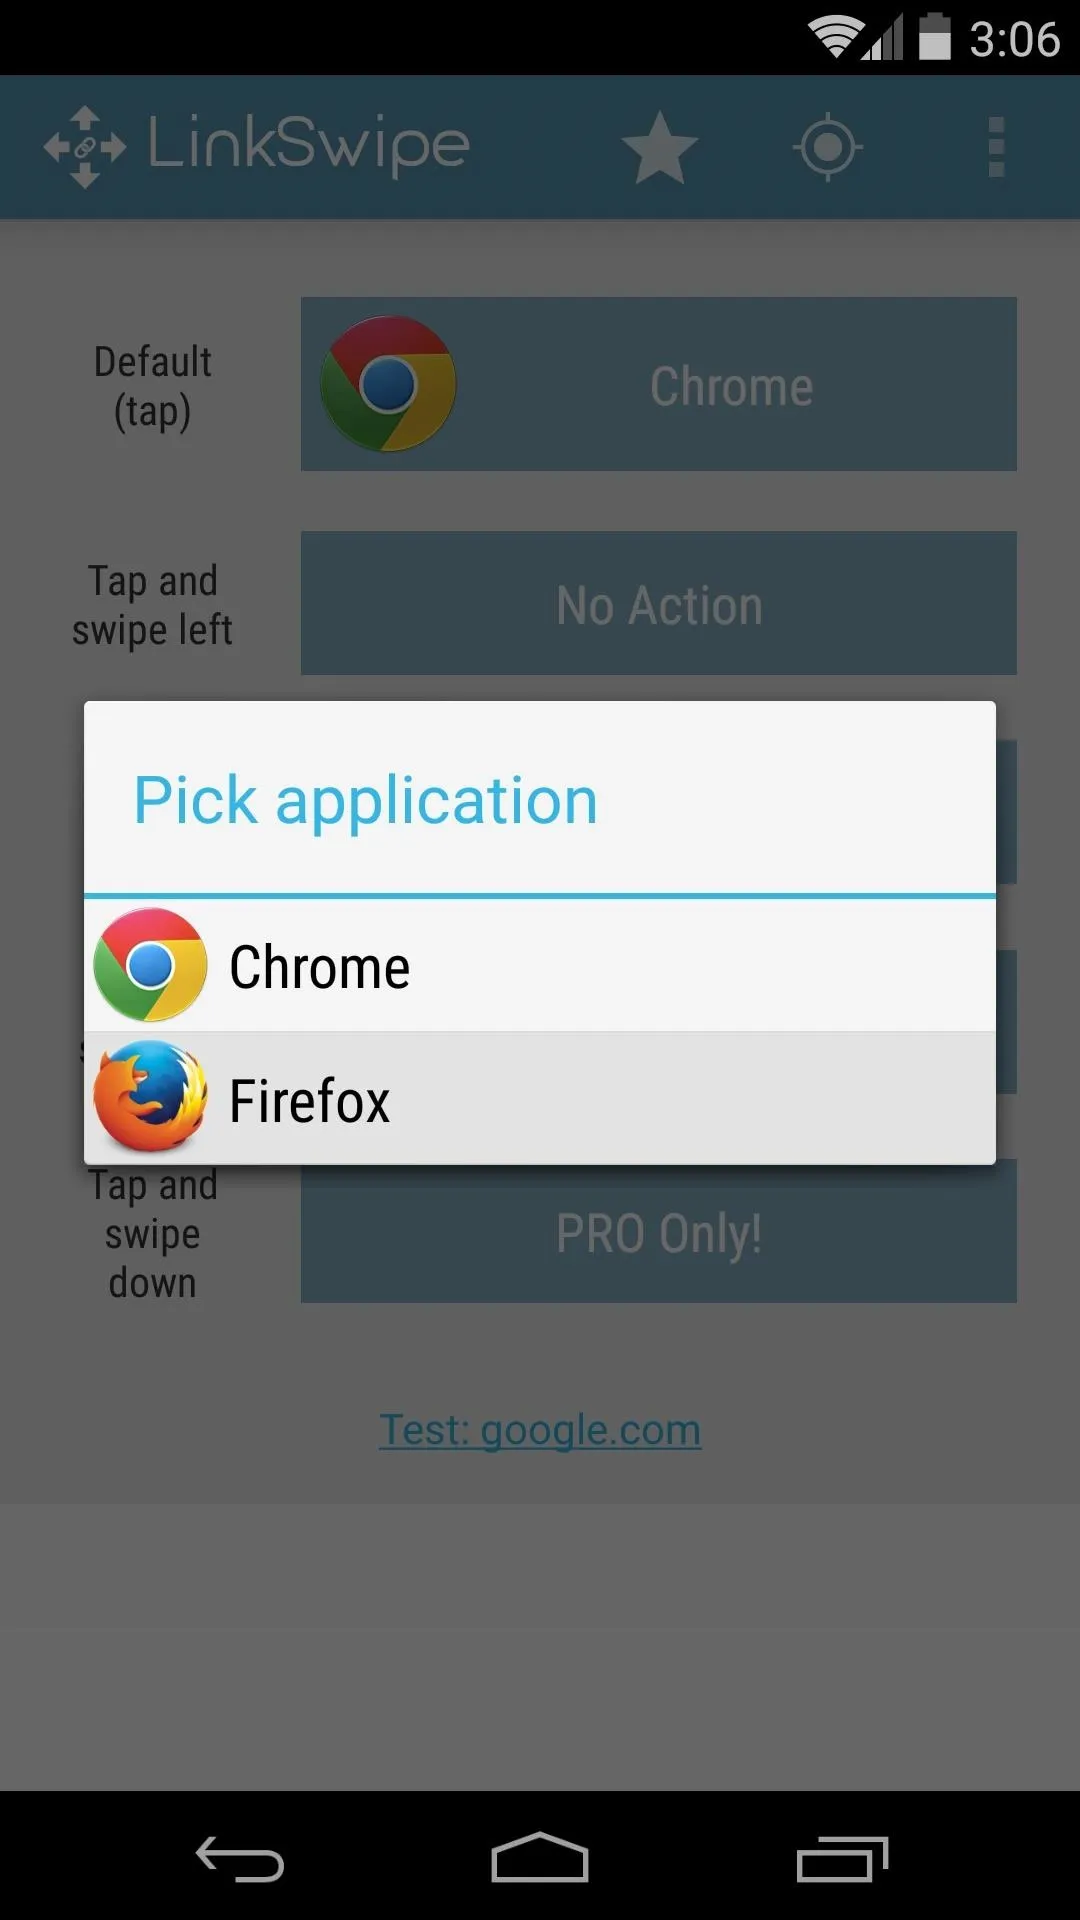
If you stick with the free version, start by setting up the Default (Tap) gesture. Hit the button directly to the right of this entry to choose your go-to web browser.
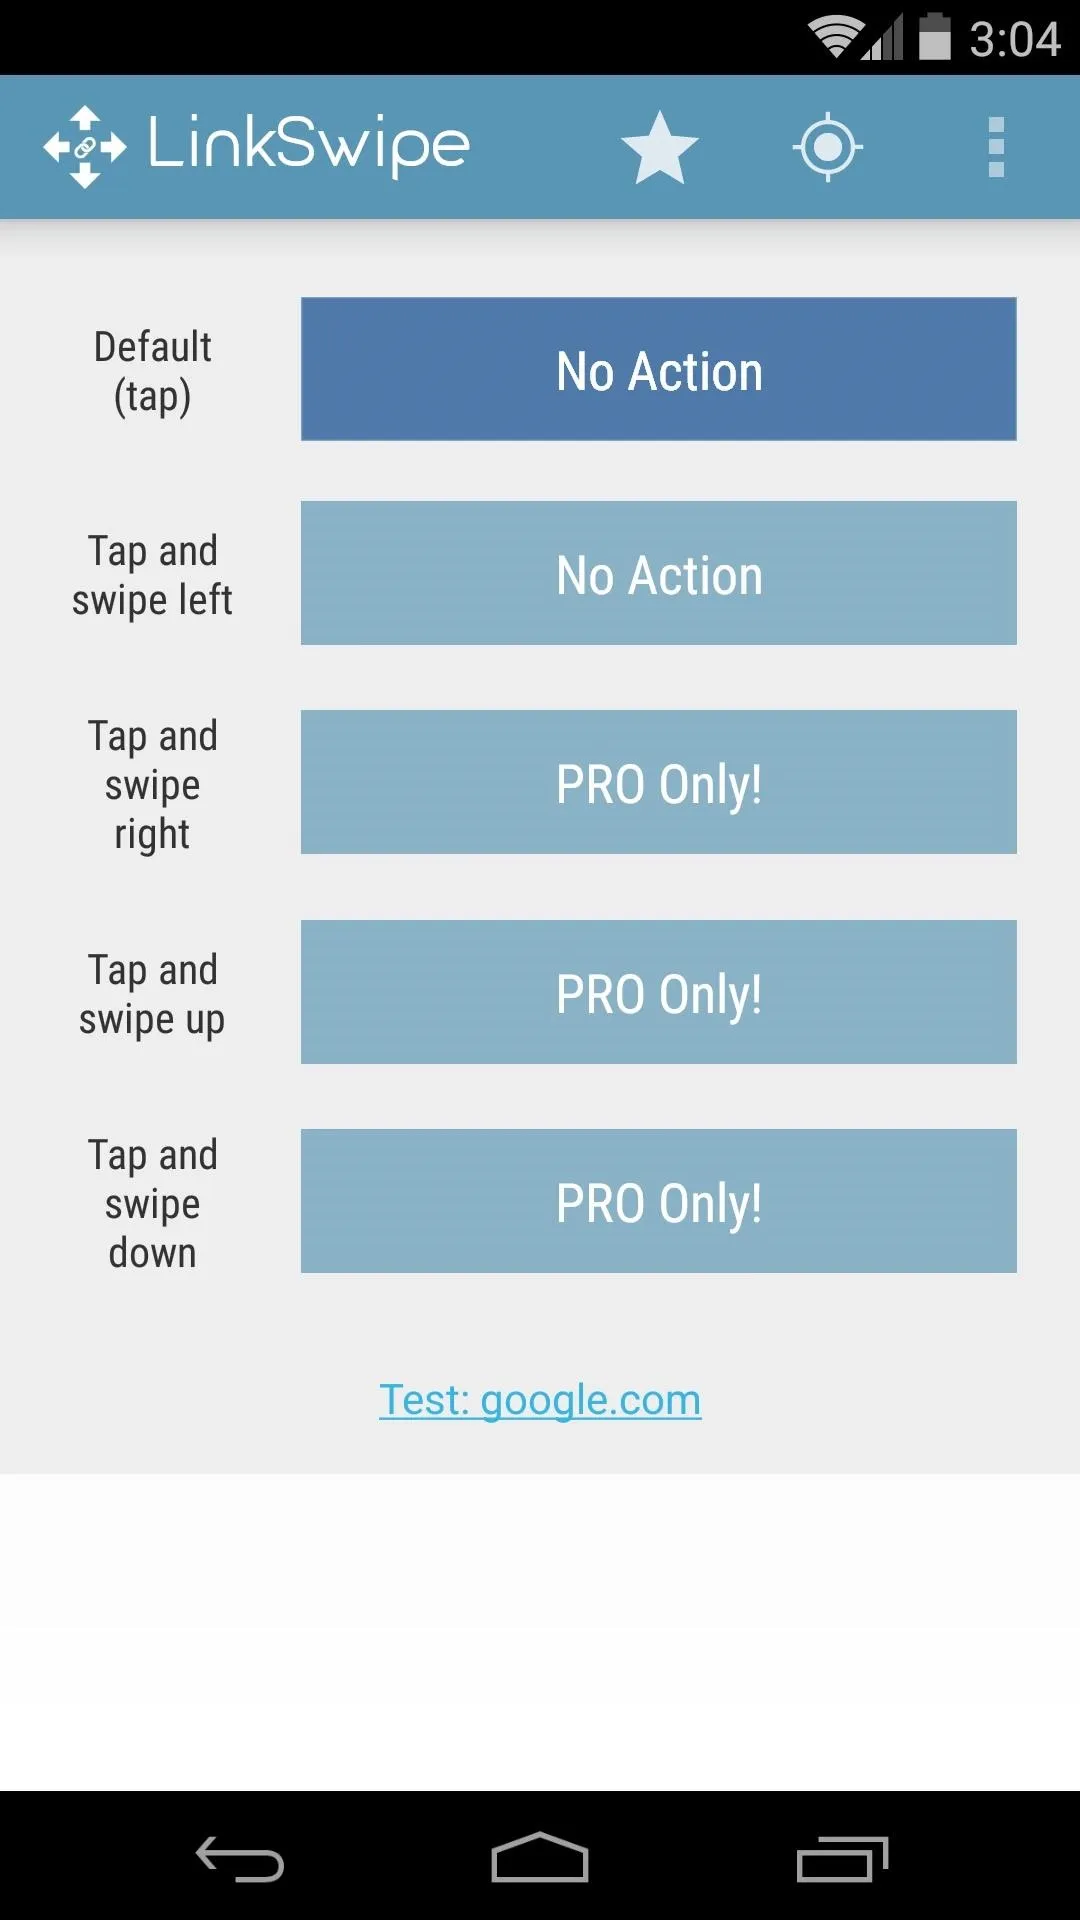
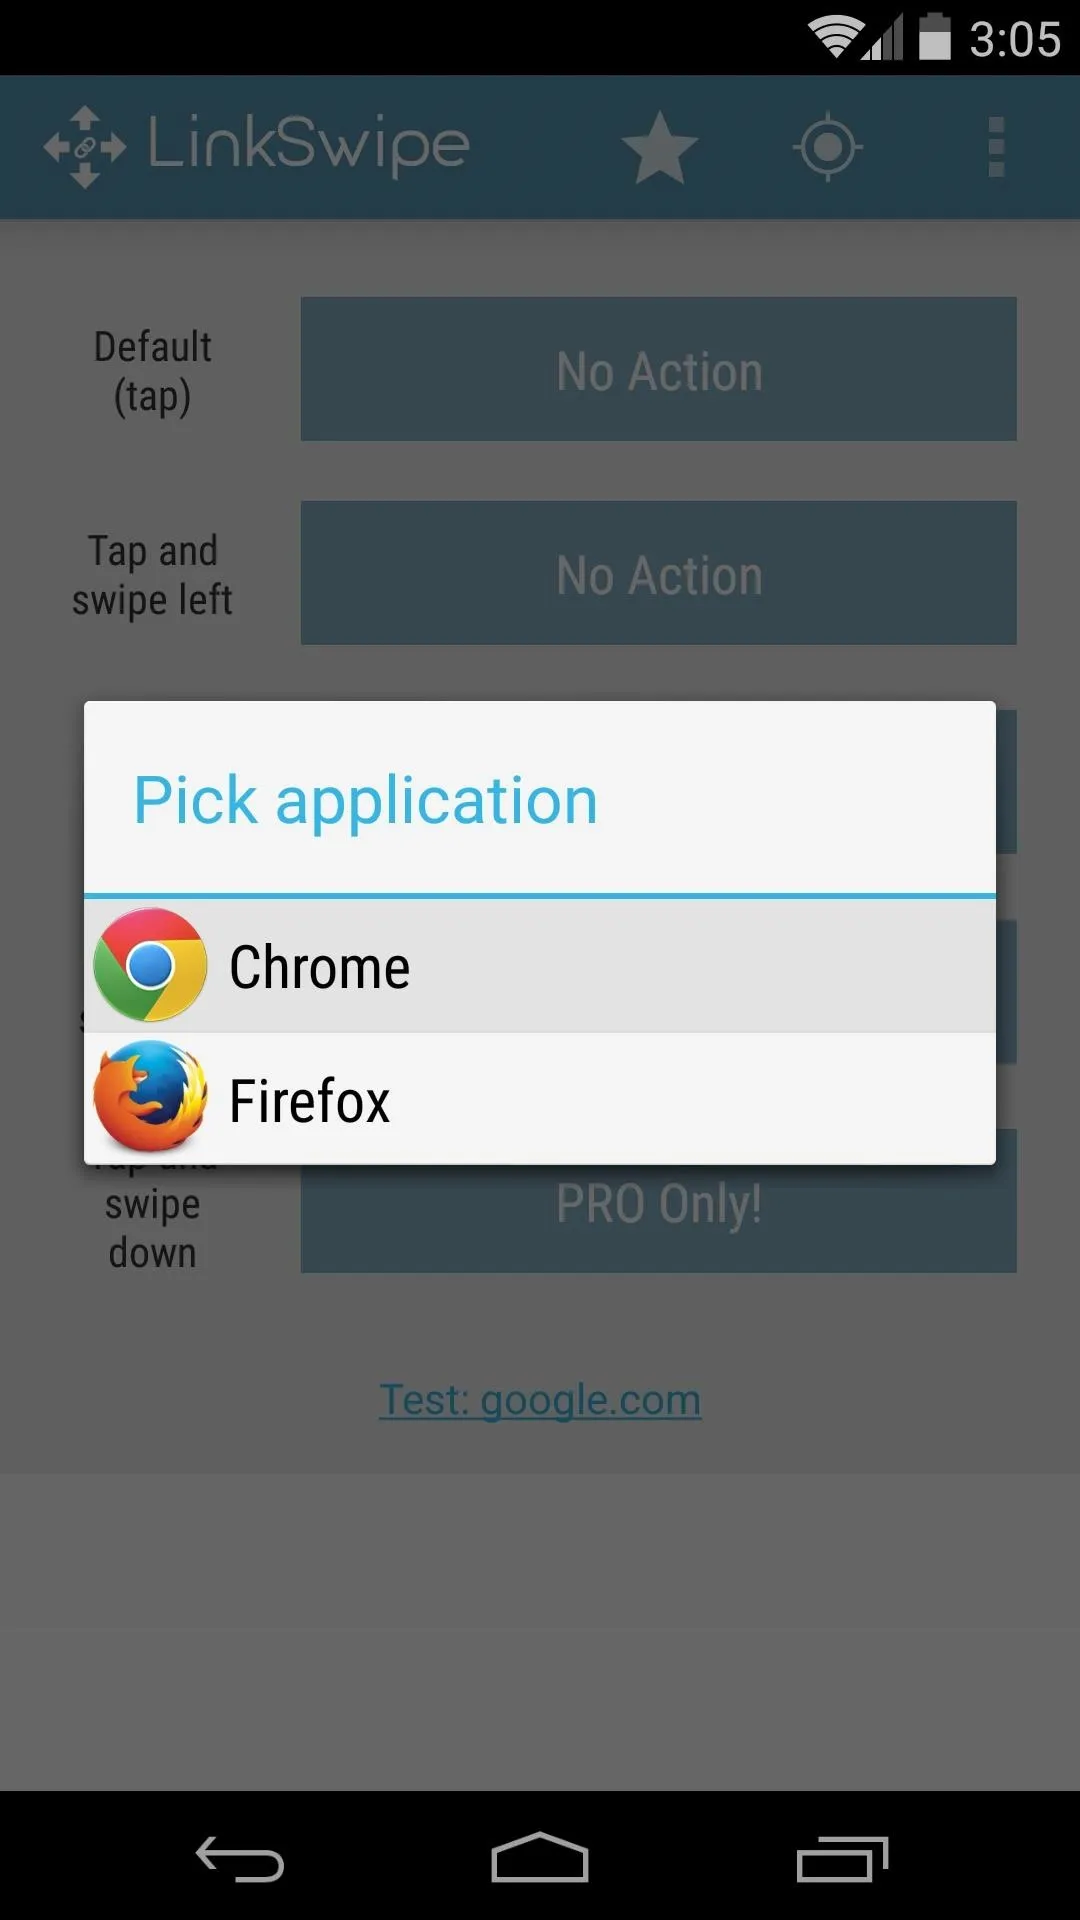


Next, press the button to the right of the Tap and swipe left entry. From here, you'll see a few additional options. You can set this gesture to Open in browser (which would be perfect if you'd like to use an alternative browser sometimes), or you can assign more advanced actions to this gesture.
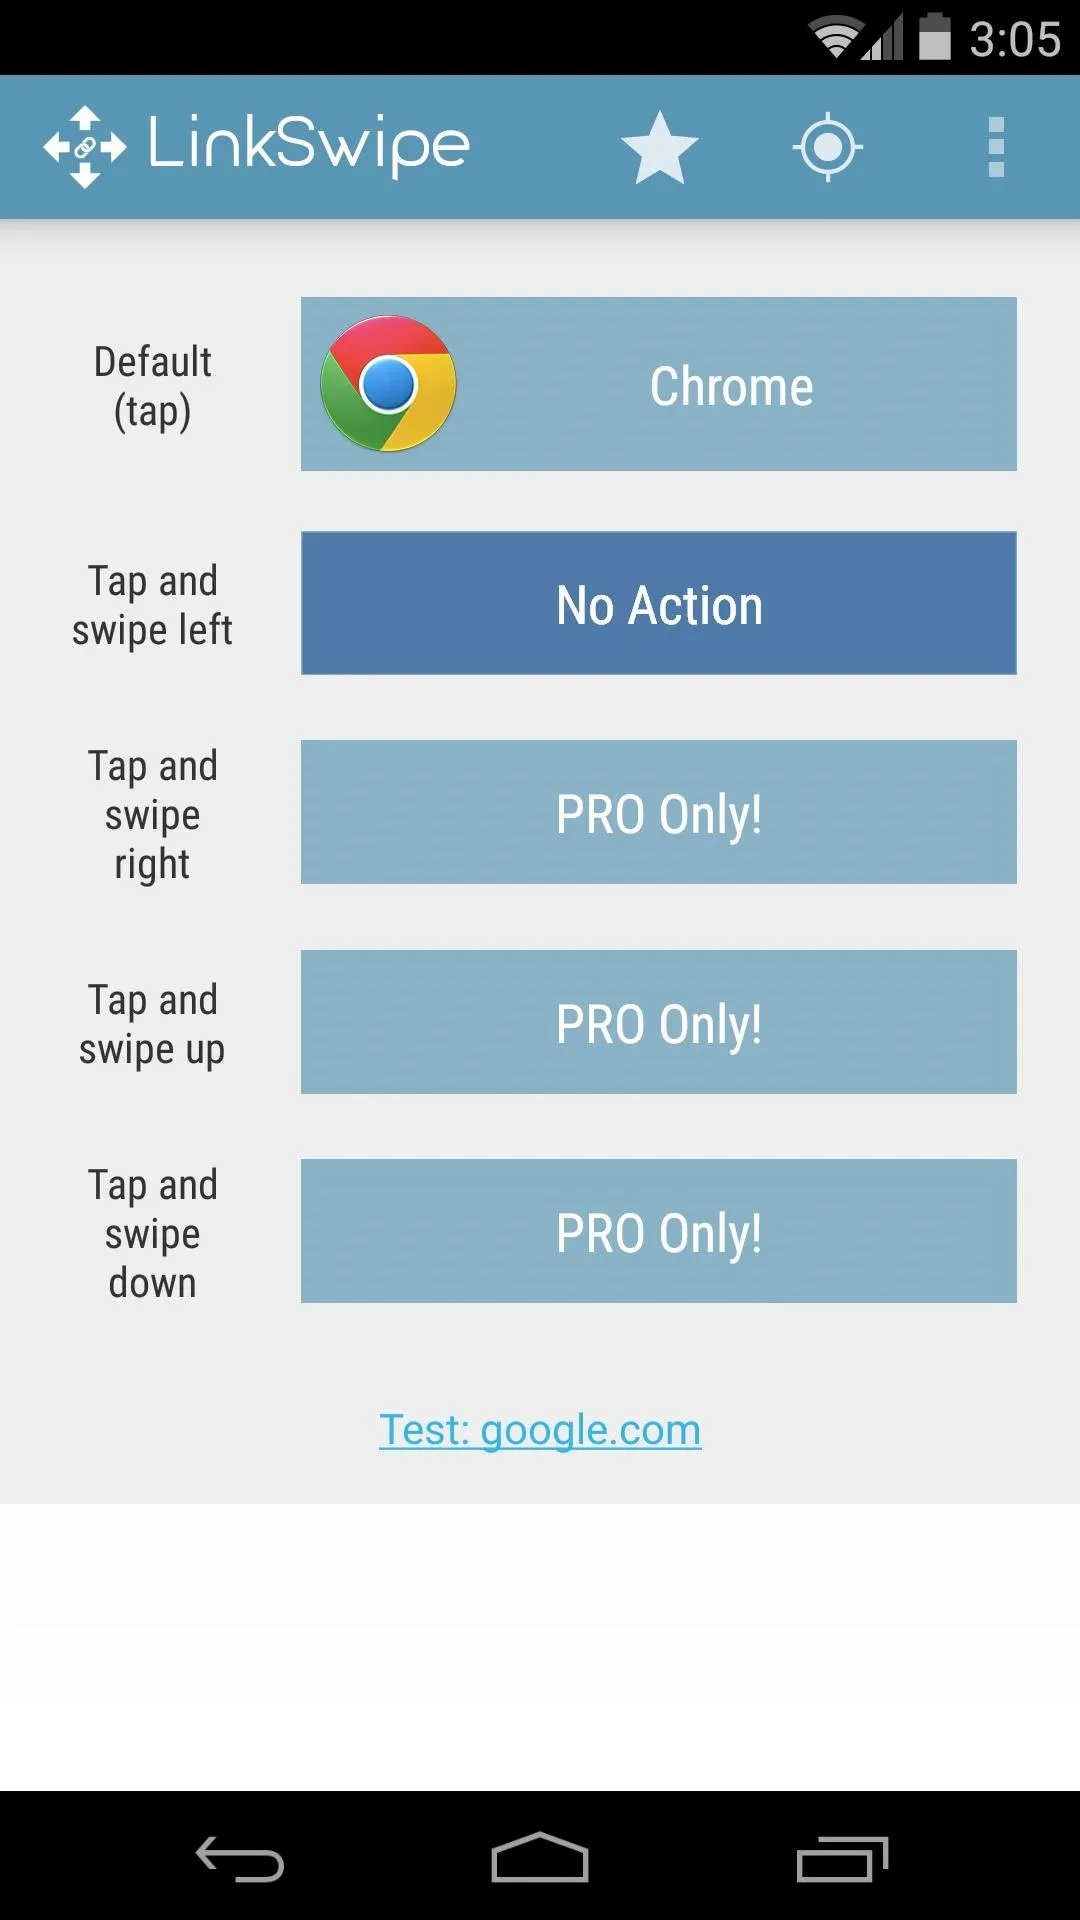
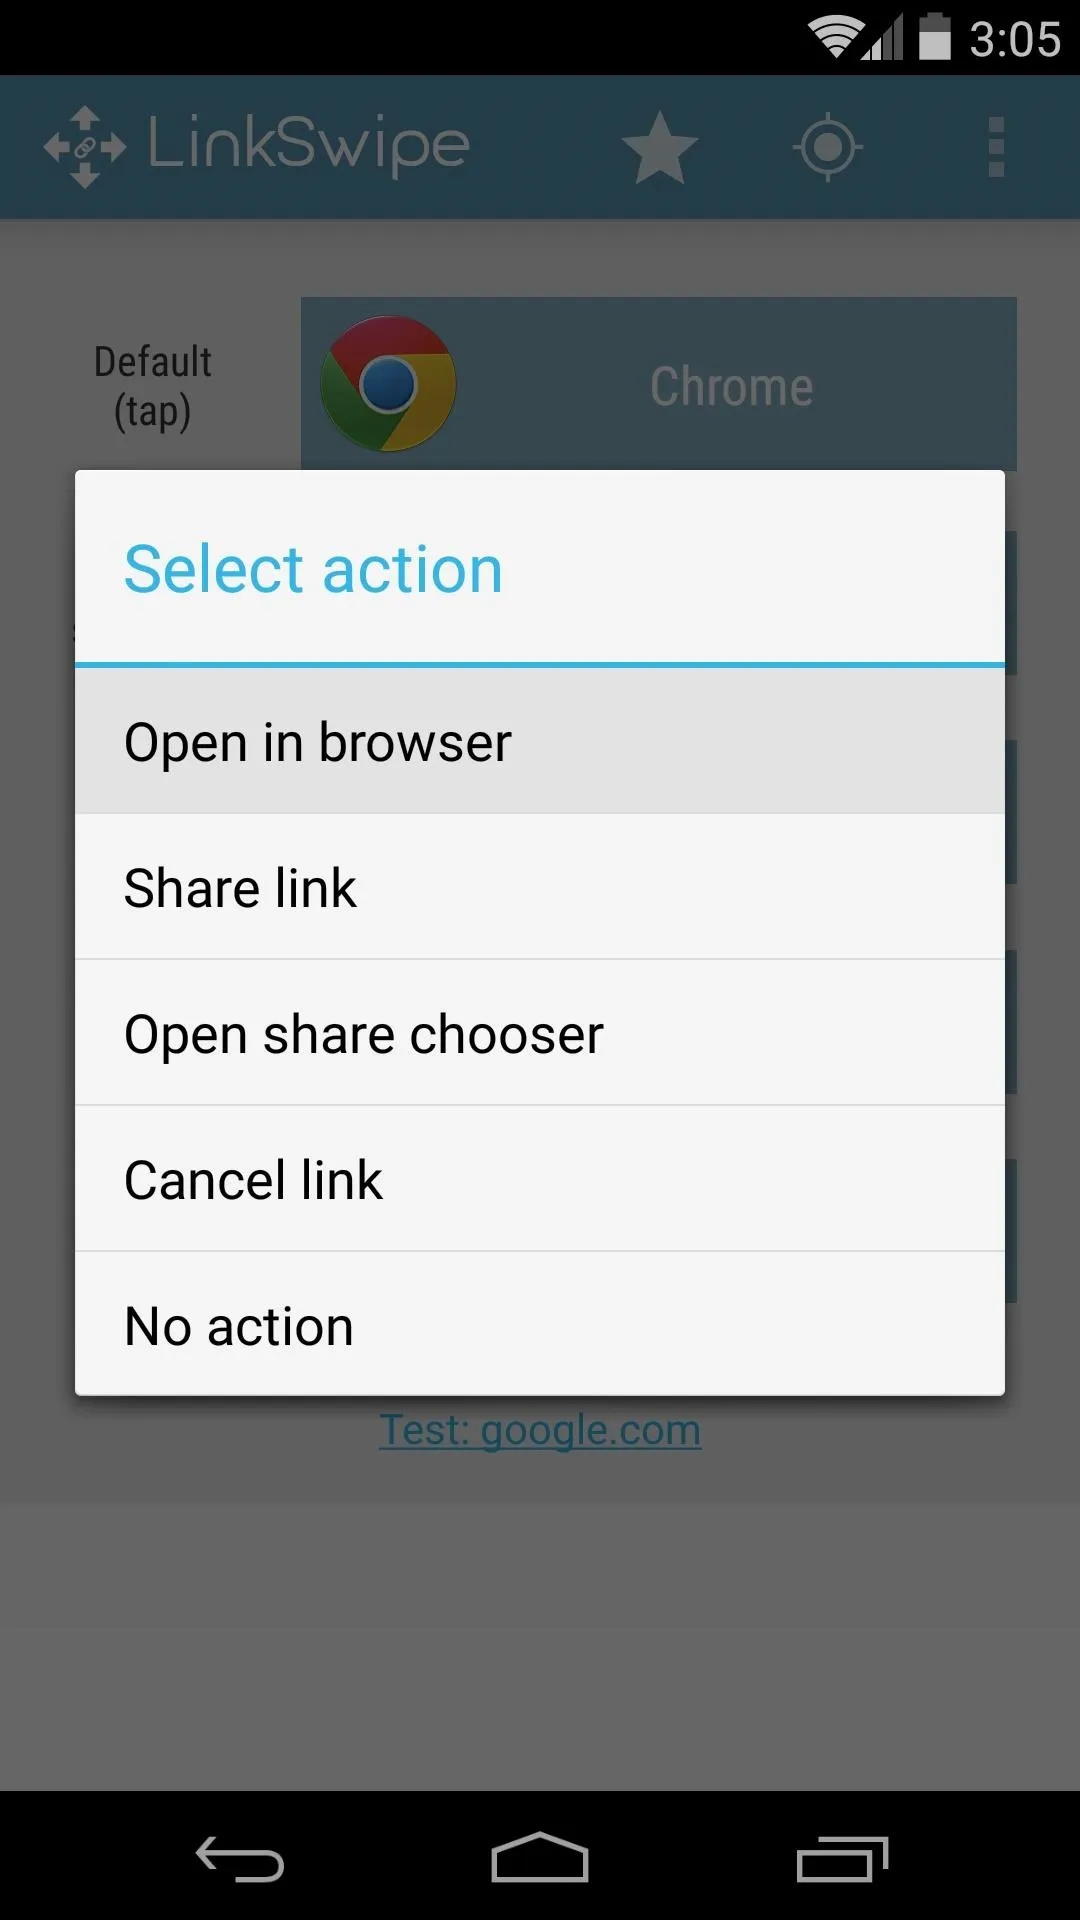


Other options include using the Tap and swipe left gesture to share the link or canceling out your initial tap so that the link doesn't open in the case of an accidental tap.
Using LinkSwipe
LinkSwipe can be used on any link in any app, system-wide. If you simply tap a link, it will be opened in your preferred browser automatically.

Single-tapped link
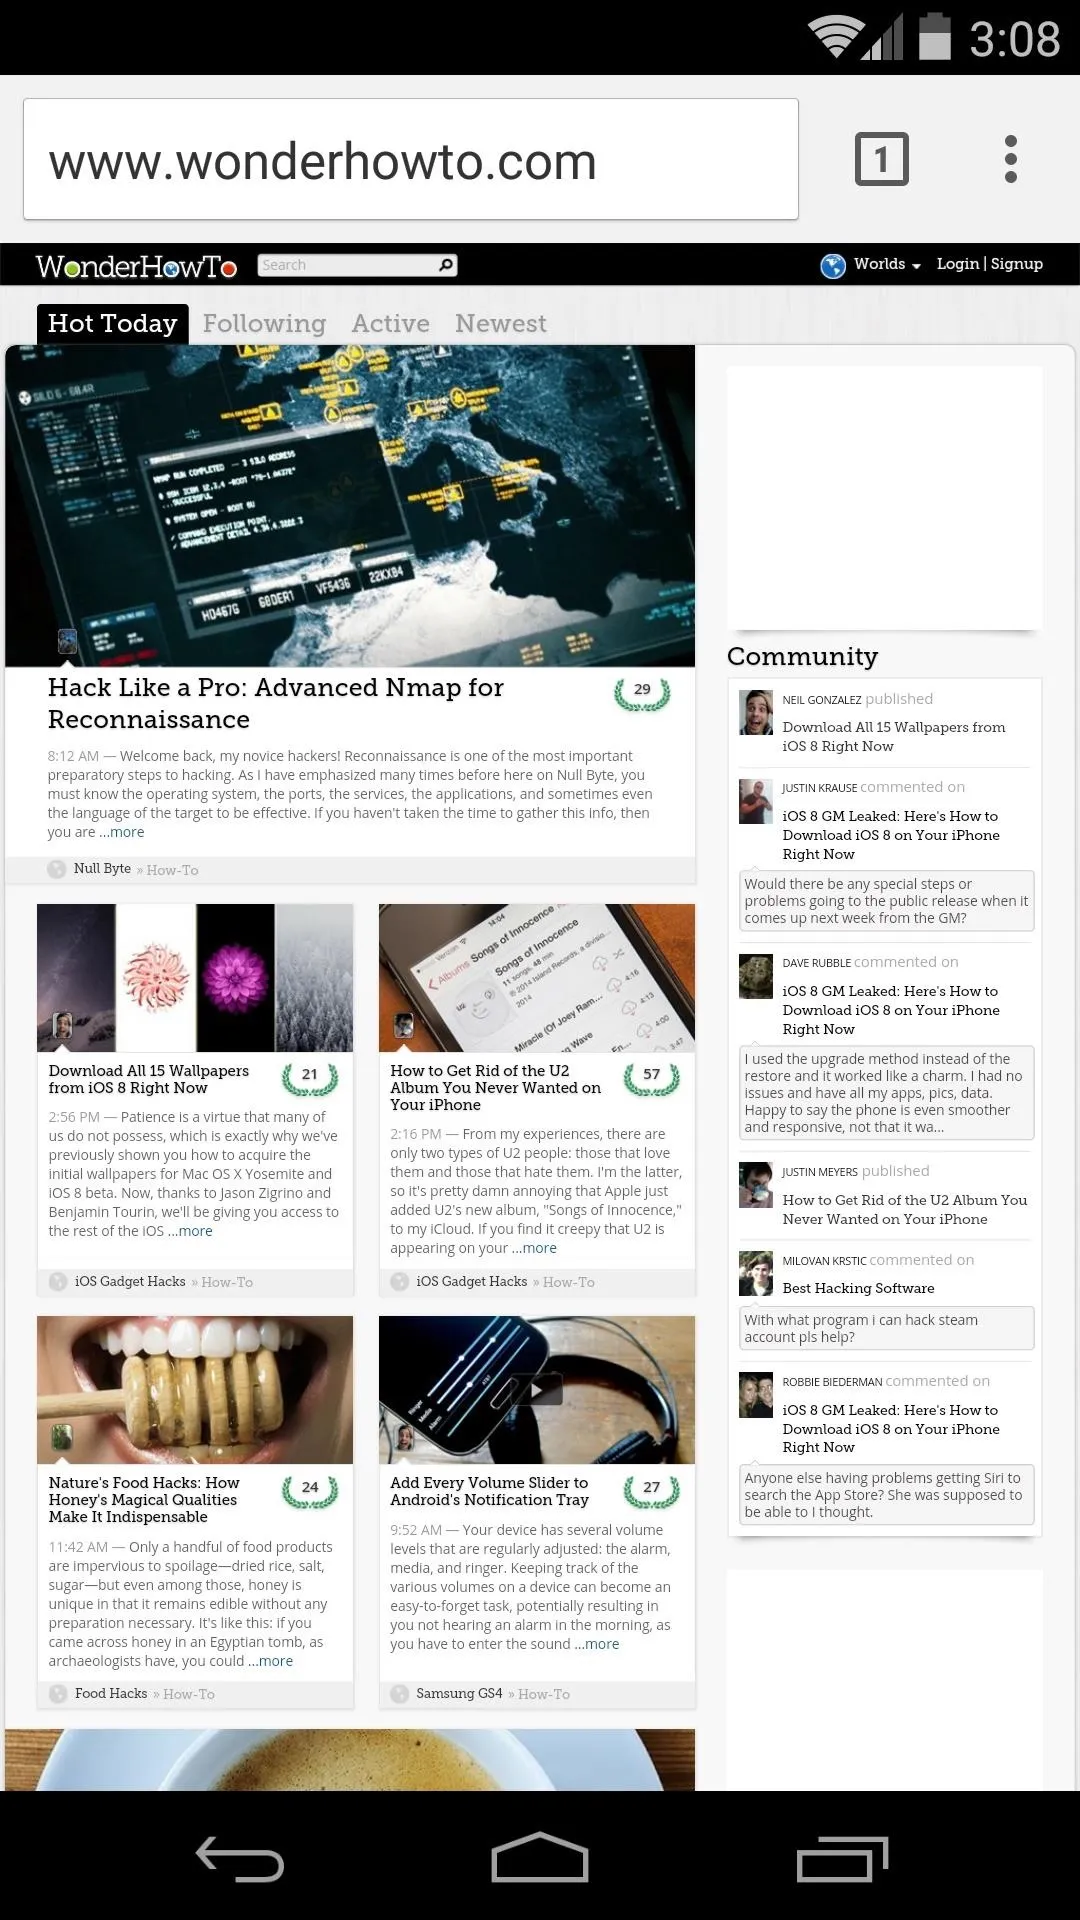
Opened in preferred browser

Single-tapped link

Opened in preferred browser
If you tap the same link, but this time swipe to the left immediately afterwards, your secondary browser (or action) will be opened.

Tap Link and Swipe Left
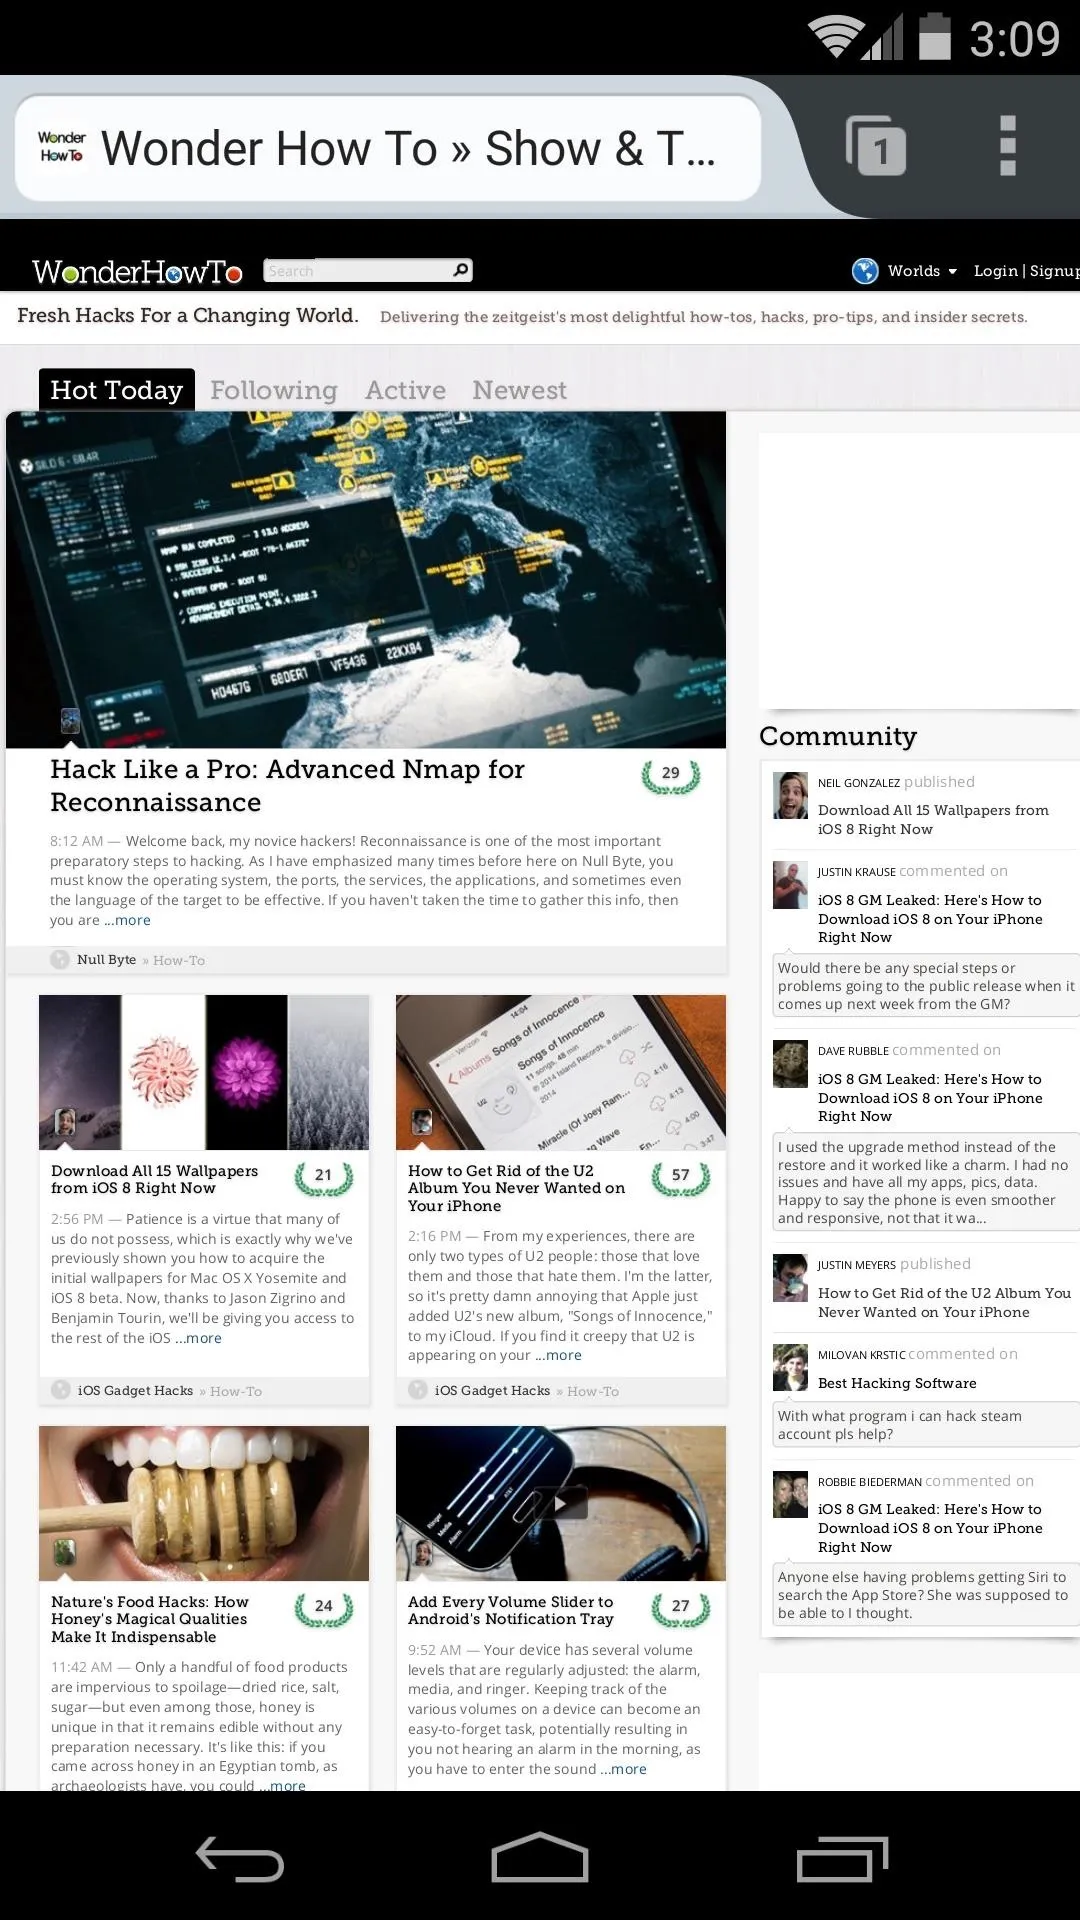
Opened in secondary browser

Tap Link and Swipe Left

Opened in secondary browser
This is a wonderful app that adds an extra layer of functionality to a common task. I like it so much that I purchased the pro version even though I didn't need the extra gestures.
What about you? Has LinkSwipe made your everyday browsing any easier? Let us know in the comment section below, as well as on Facebook and Twitter.









Comments
Be the first, drop a comment!