


It seems like custom Google Now commands are a dime a dozen these days. With Commandr for Google Now giving non-rooted users their first taste of custom voice commands just a couple weeks ago, you may wonder why we're covering this subject again.
Unlike Commandr, the app AutoVoice allows you to enter any command that you'd like to use, and have it execute almost any function that your phone is capable of by way of Tasker.
I've covered this combination of apps to some extent in the past, but a recent update to AutoVoice removes the root requirement that it had before, opening up the limitless custom voice commands it offers to far more users.
Install AutoVoice
Developer João Dias has made a free version of his app, AutoVoice, available on Google Play, so search it by name to get it installed. If you're reading this from your Android device, you can head to this link to jump directly to the install page.

Configure AutoVoice
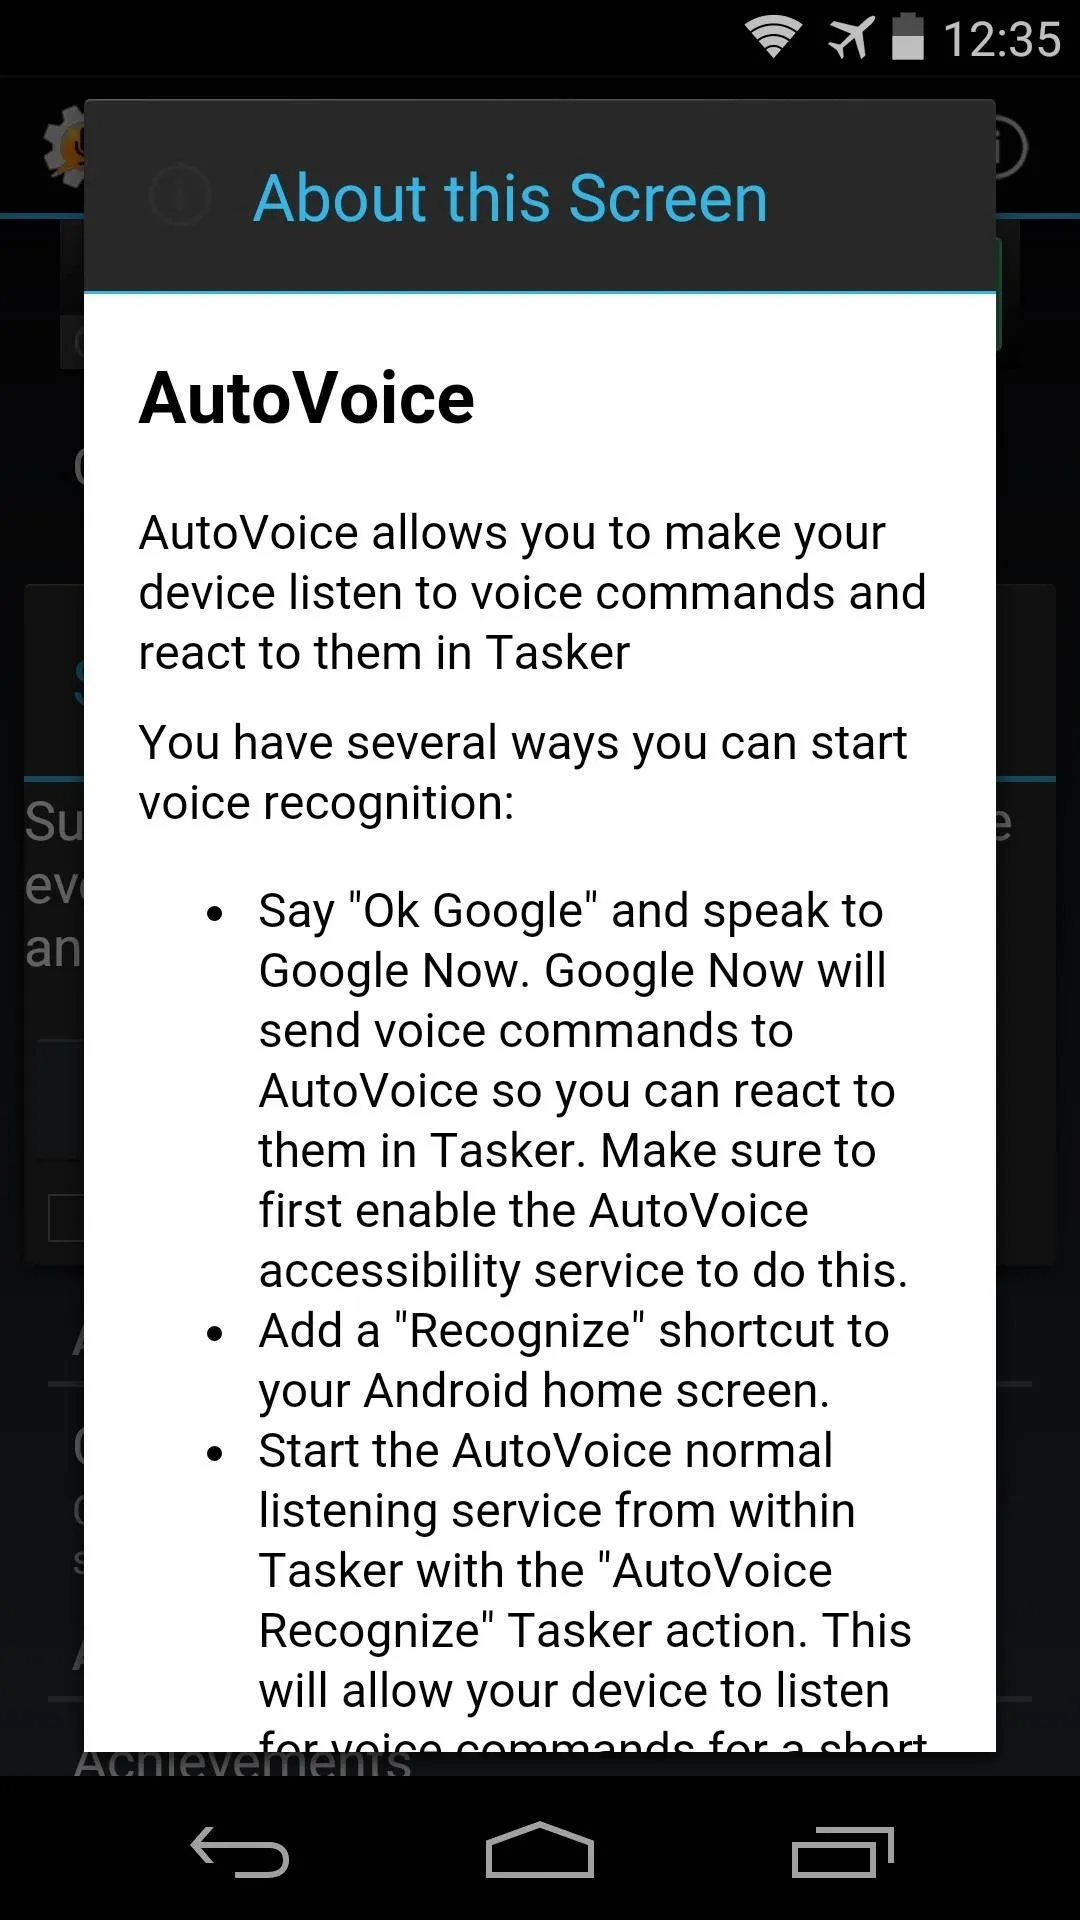
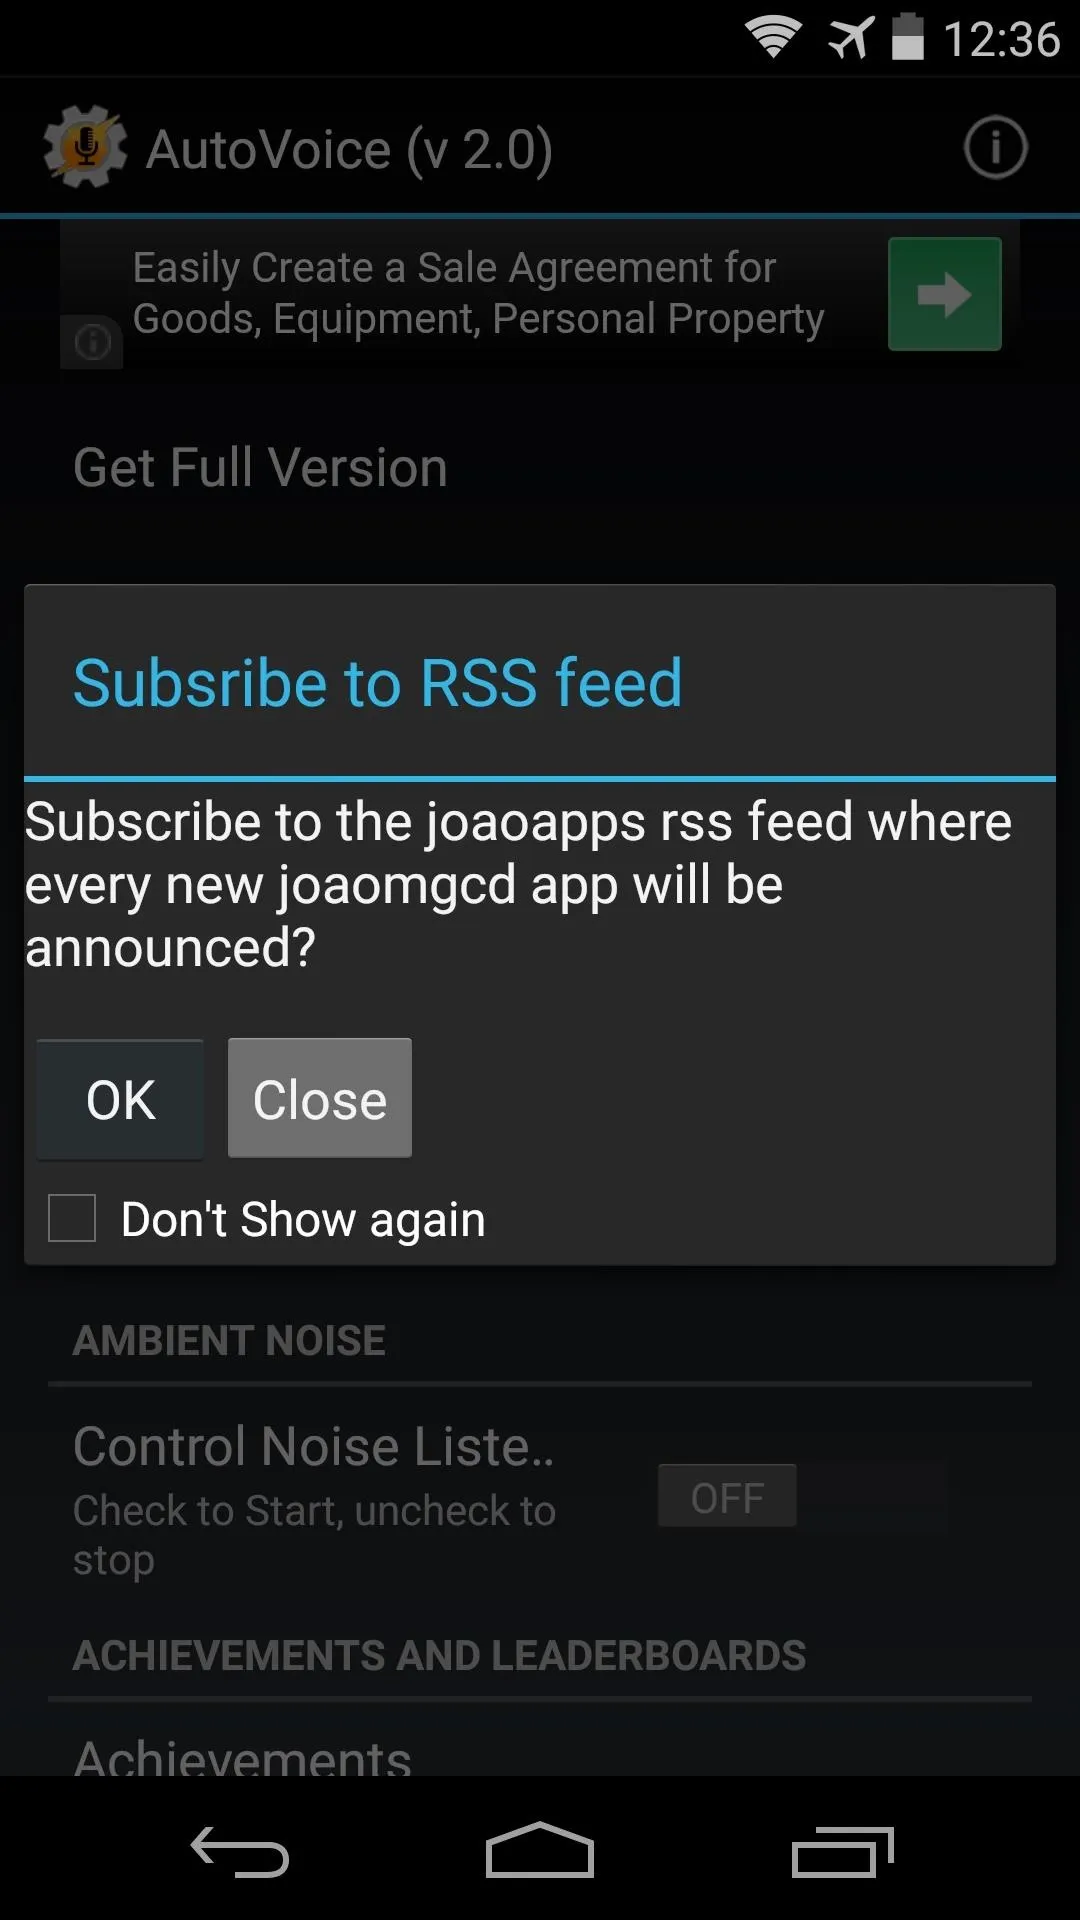
With the app installed, go ahead and launch AutoVoice. There's a tiny bit of initial setup that's needed in order to make the service work on a non-rooted device. First up, close out any messages that the free version of this app shows you.
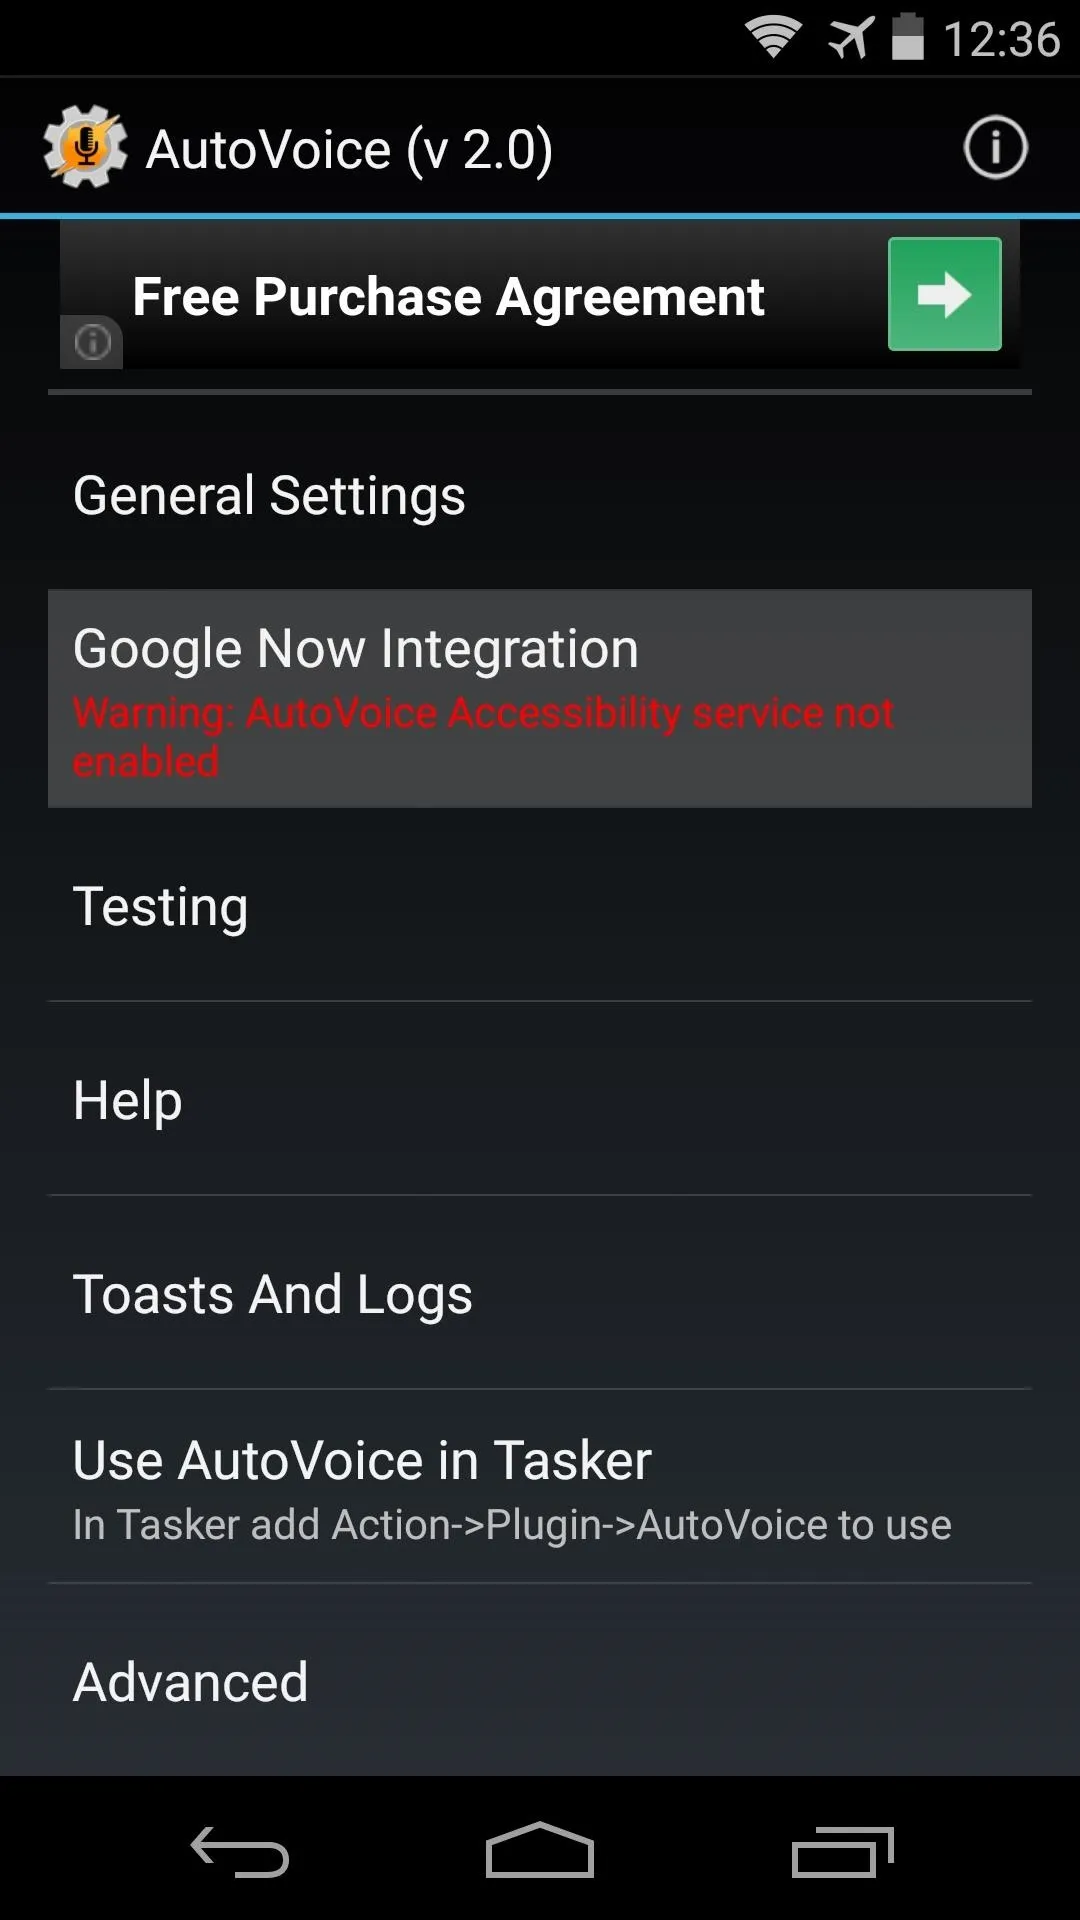
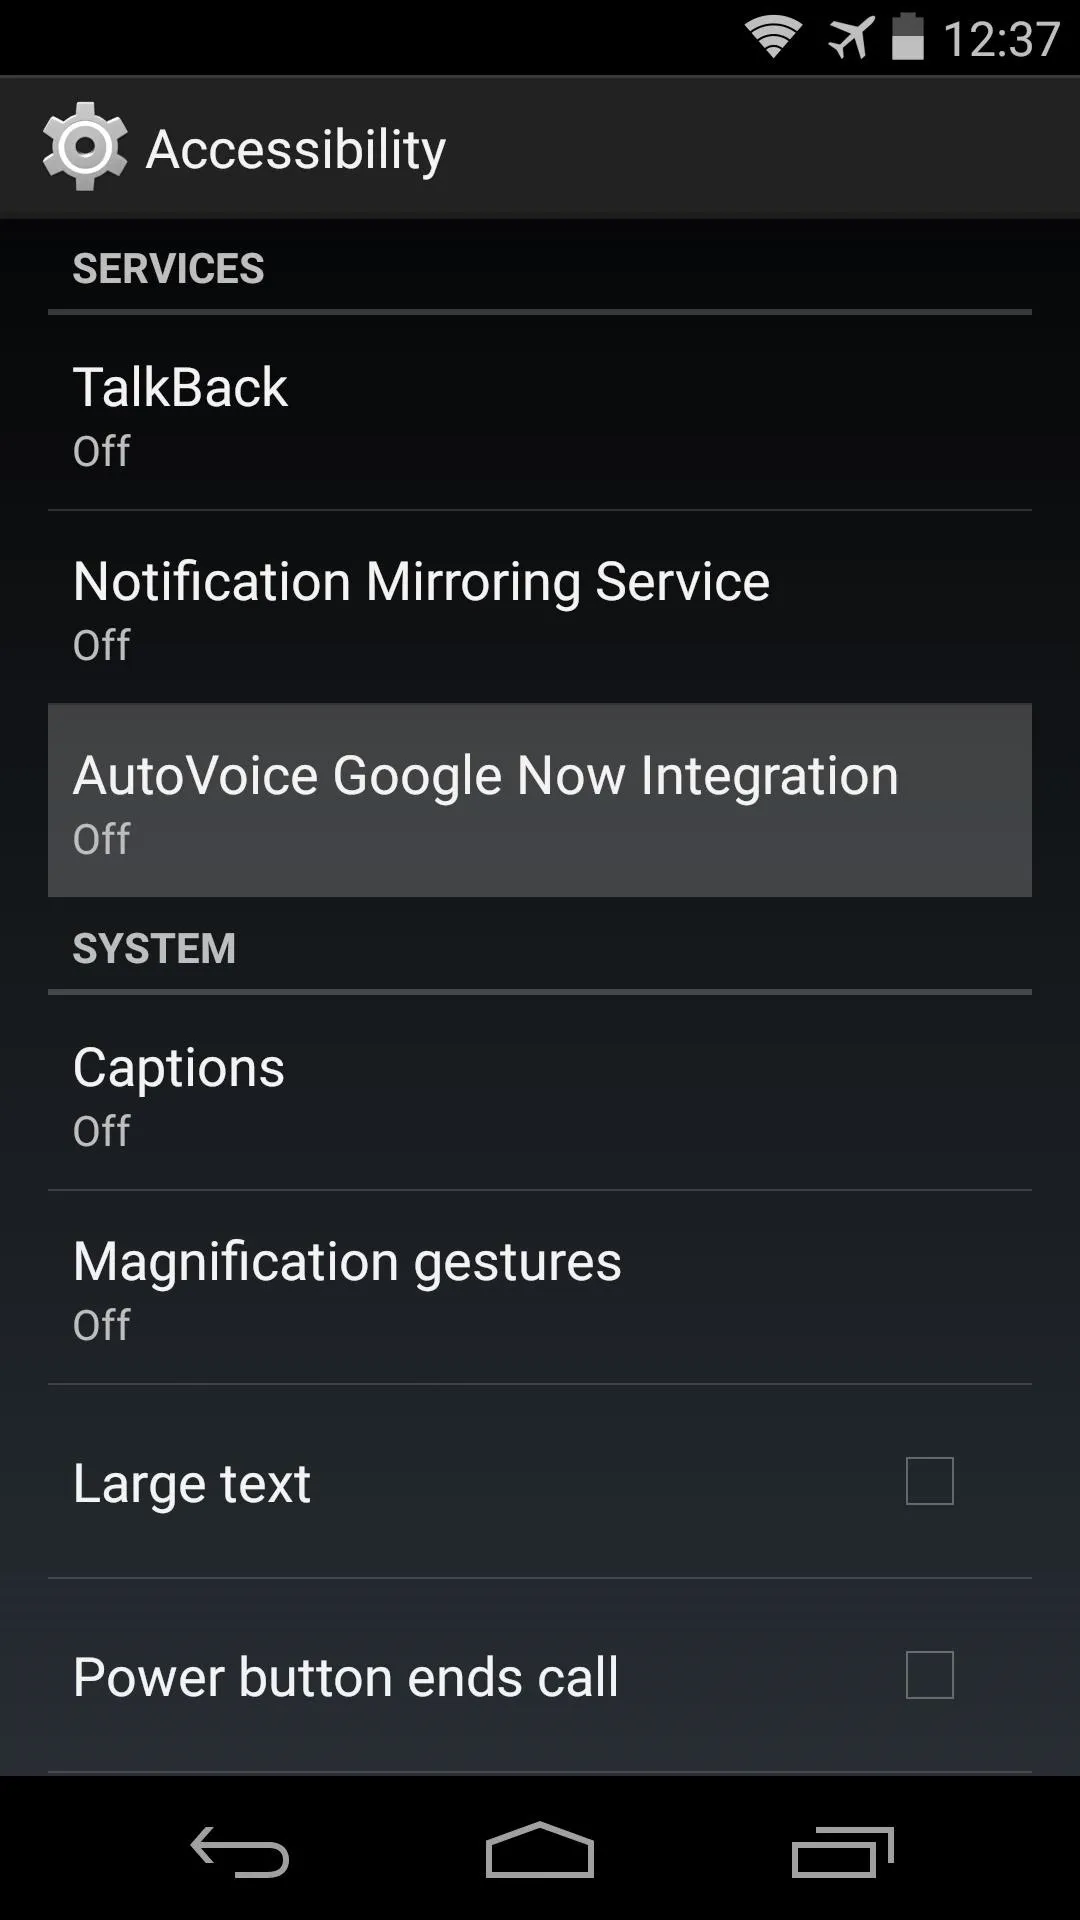
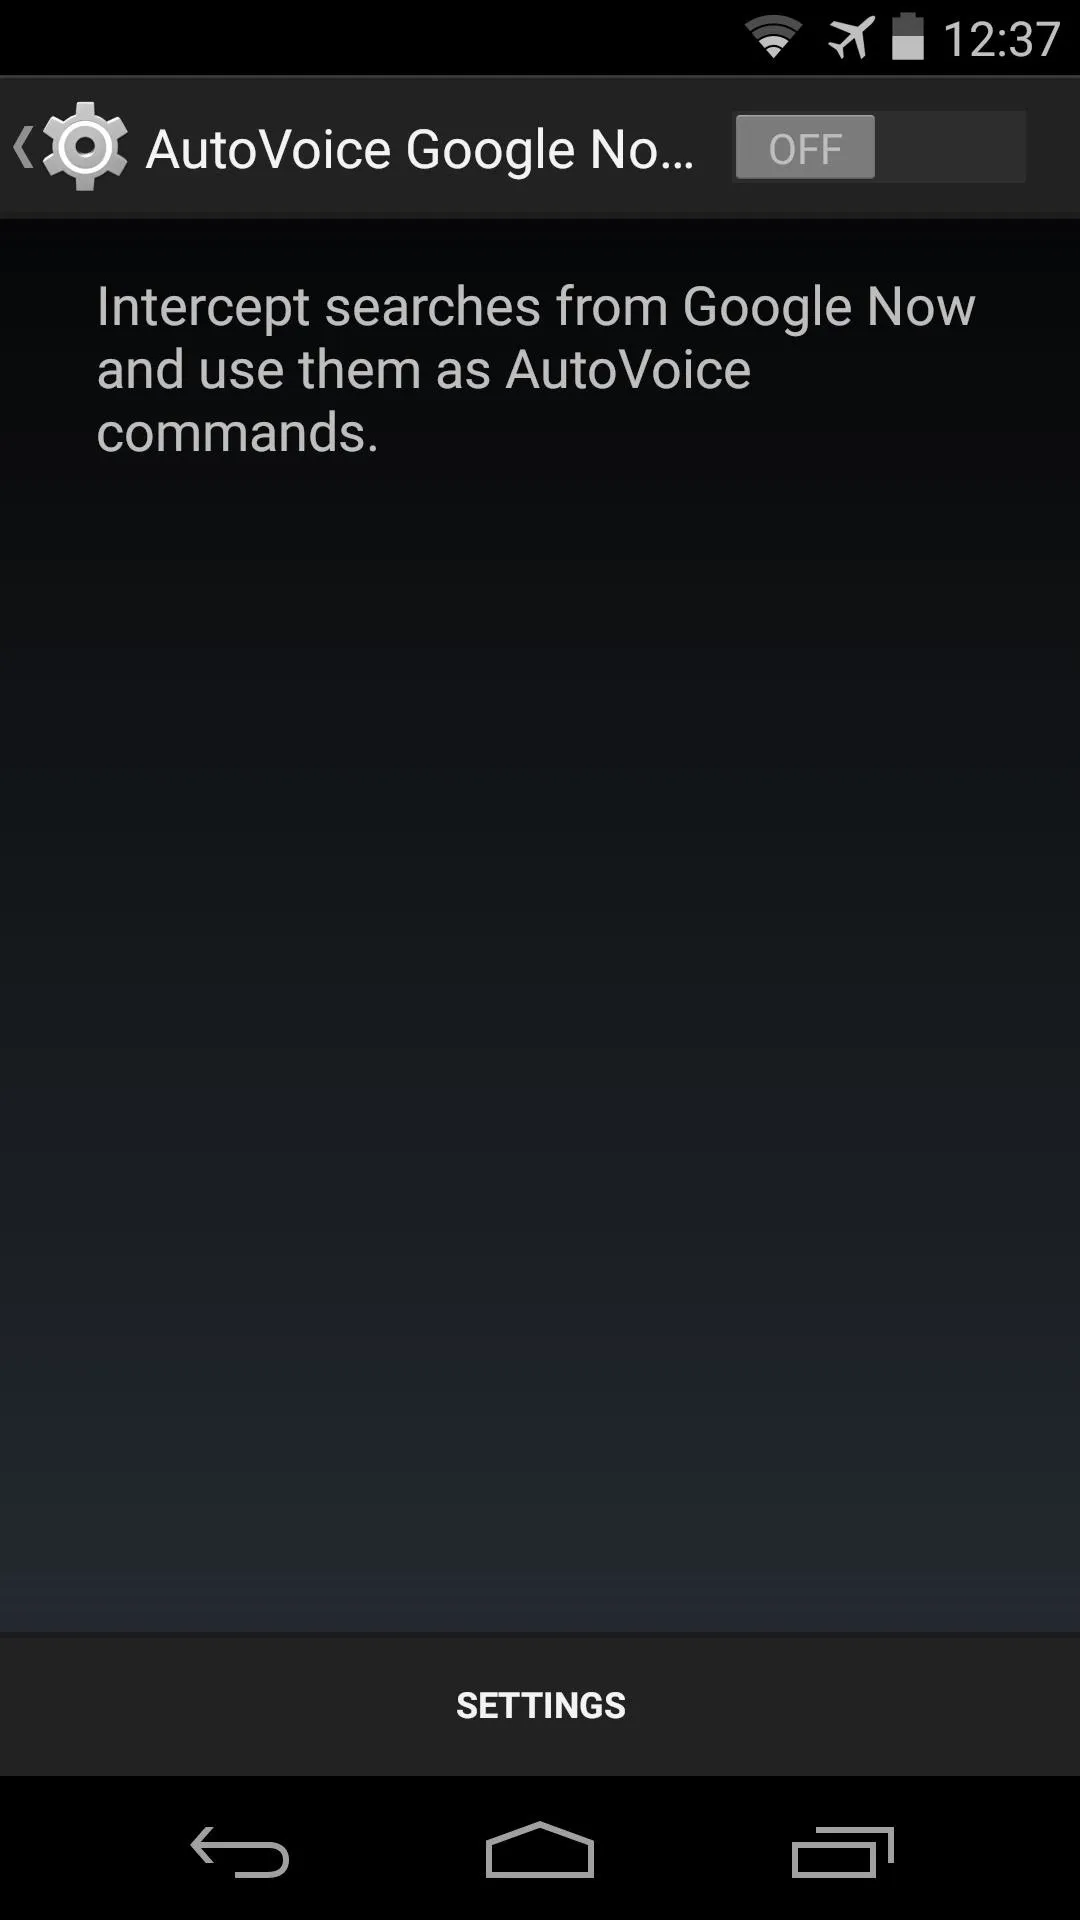
Next up, scroll down a bit and tap the Google Now Integration menu entry. From here, hit the Not Enabled button, and you'll be taken into your device's Accessibility menu.
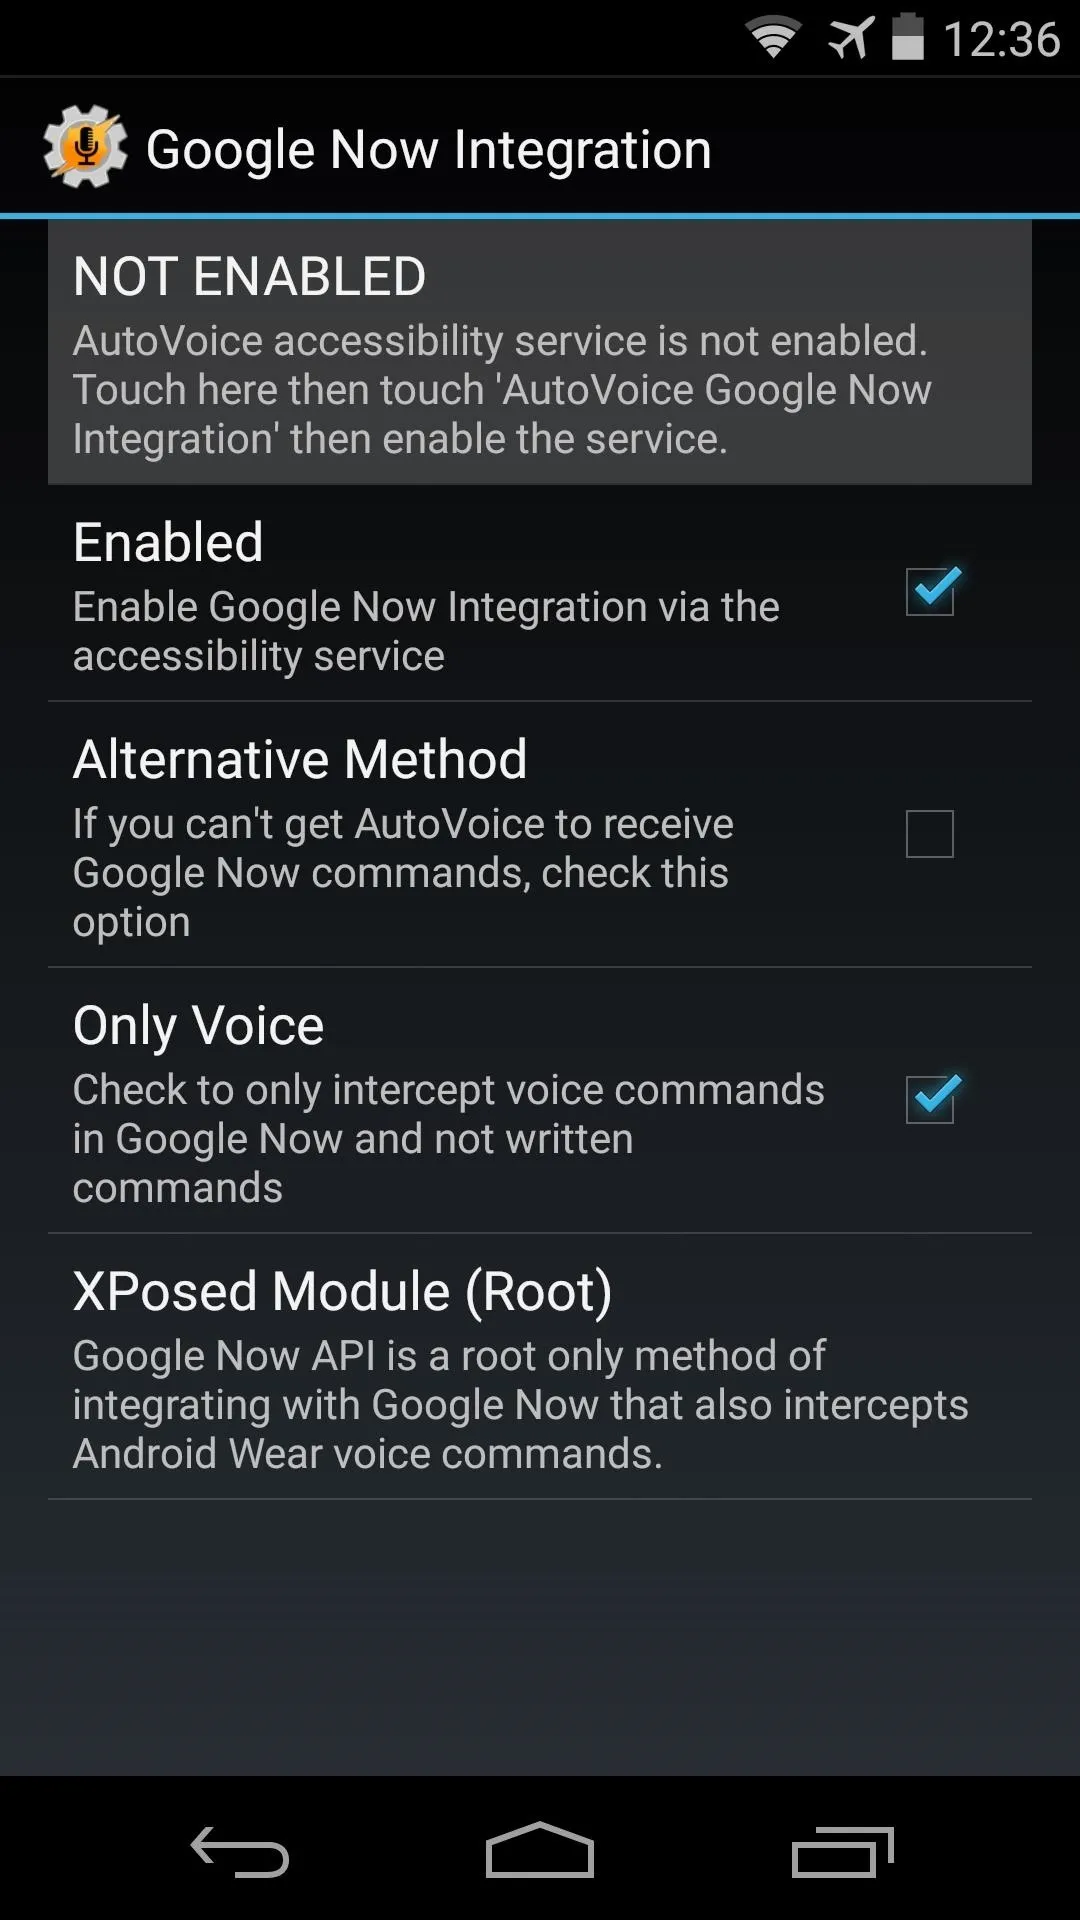
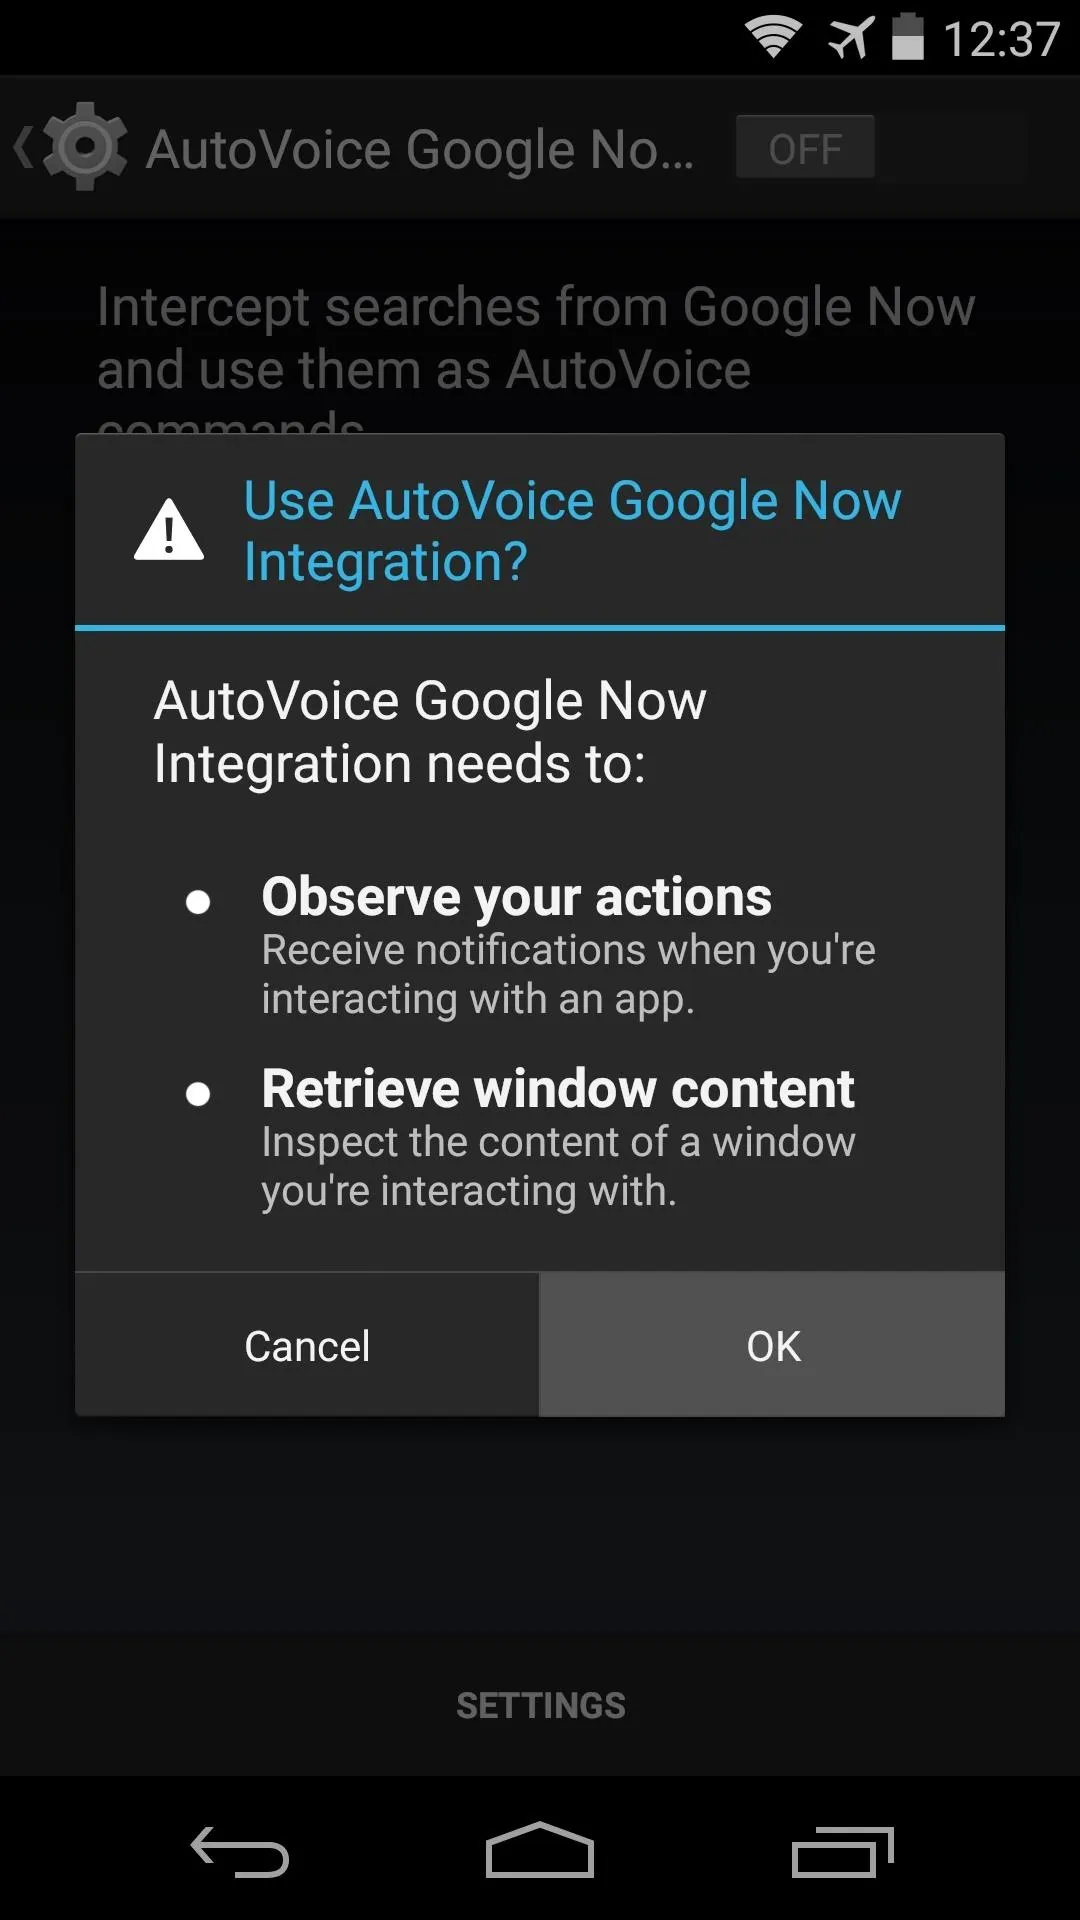
Next, just select the AutoVoice entry on the following screen, then toggle the switch at the top-right to ON. Afterwards, press OK on the dialog box that comes up.
When you're done with that, you're done with AutoVoice's initial setup.
Install Tasker
AutoVoice serves as a plugin to the infinitely-powerful automation app Tasker. The only version of Tasker that's available on the Play Store is a paid app, so if you want to go that route, I'd certainly recommend it.
But if you'd rather try before you buy, Tasker's developer has made a free 7-day trial available on his website. Just use your Android device to navigate to this link and the installer file will immediately begin downloading.

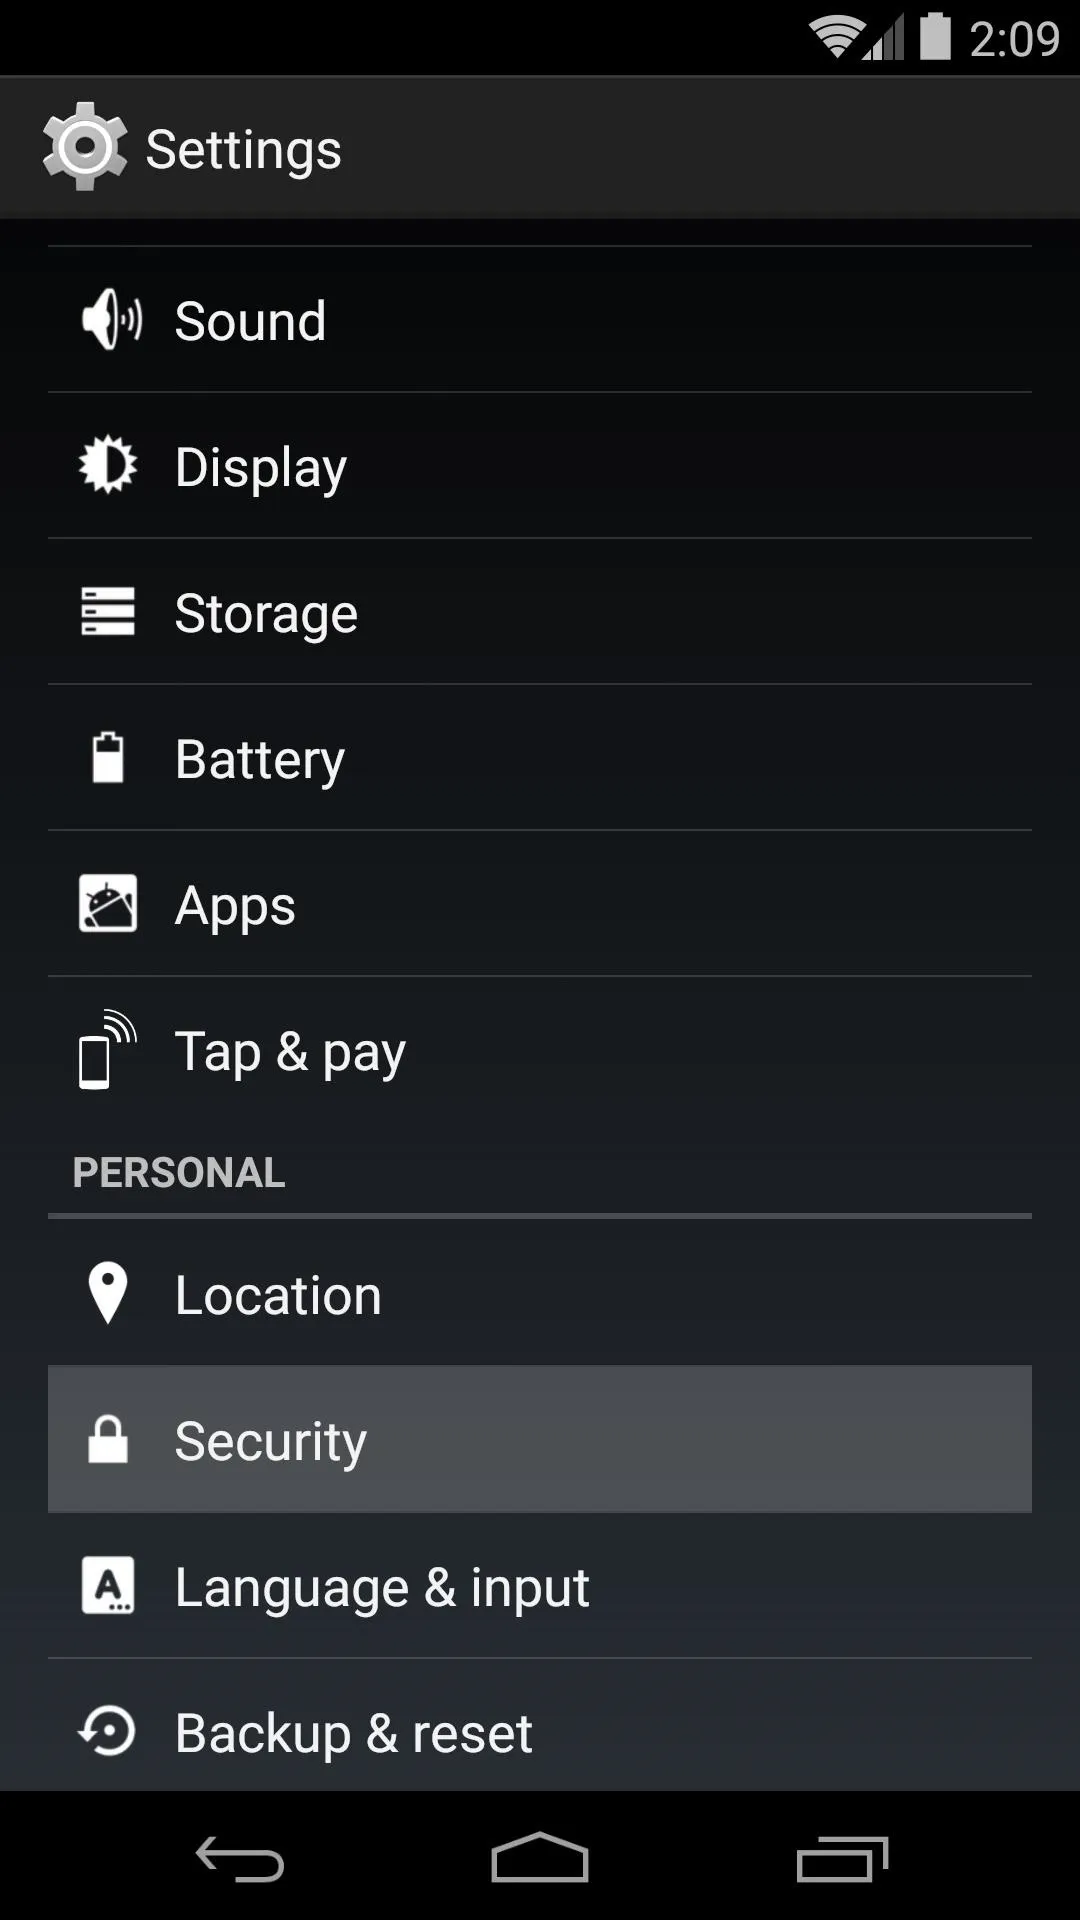
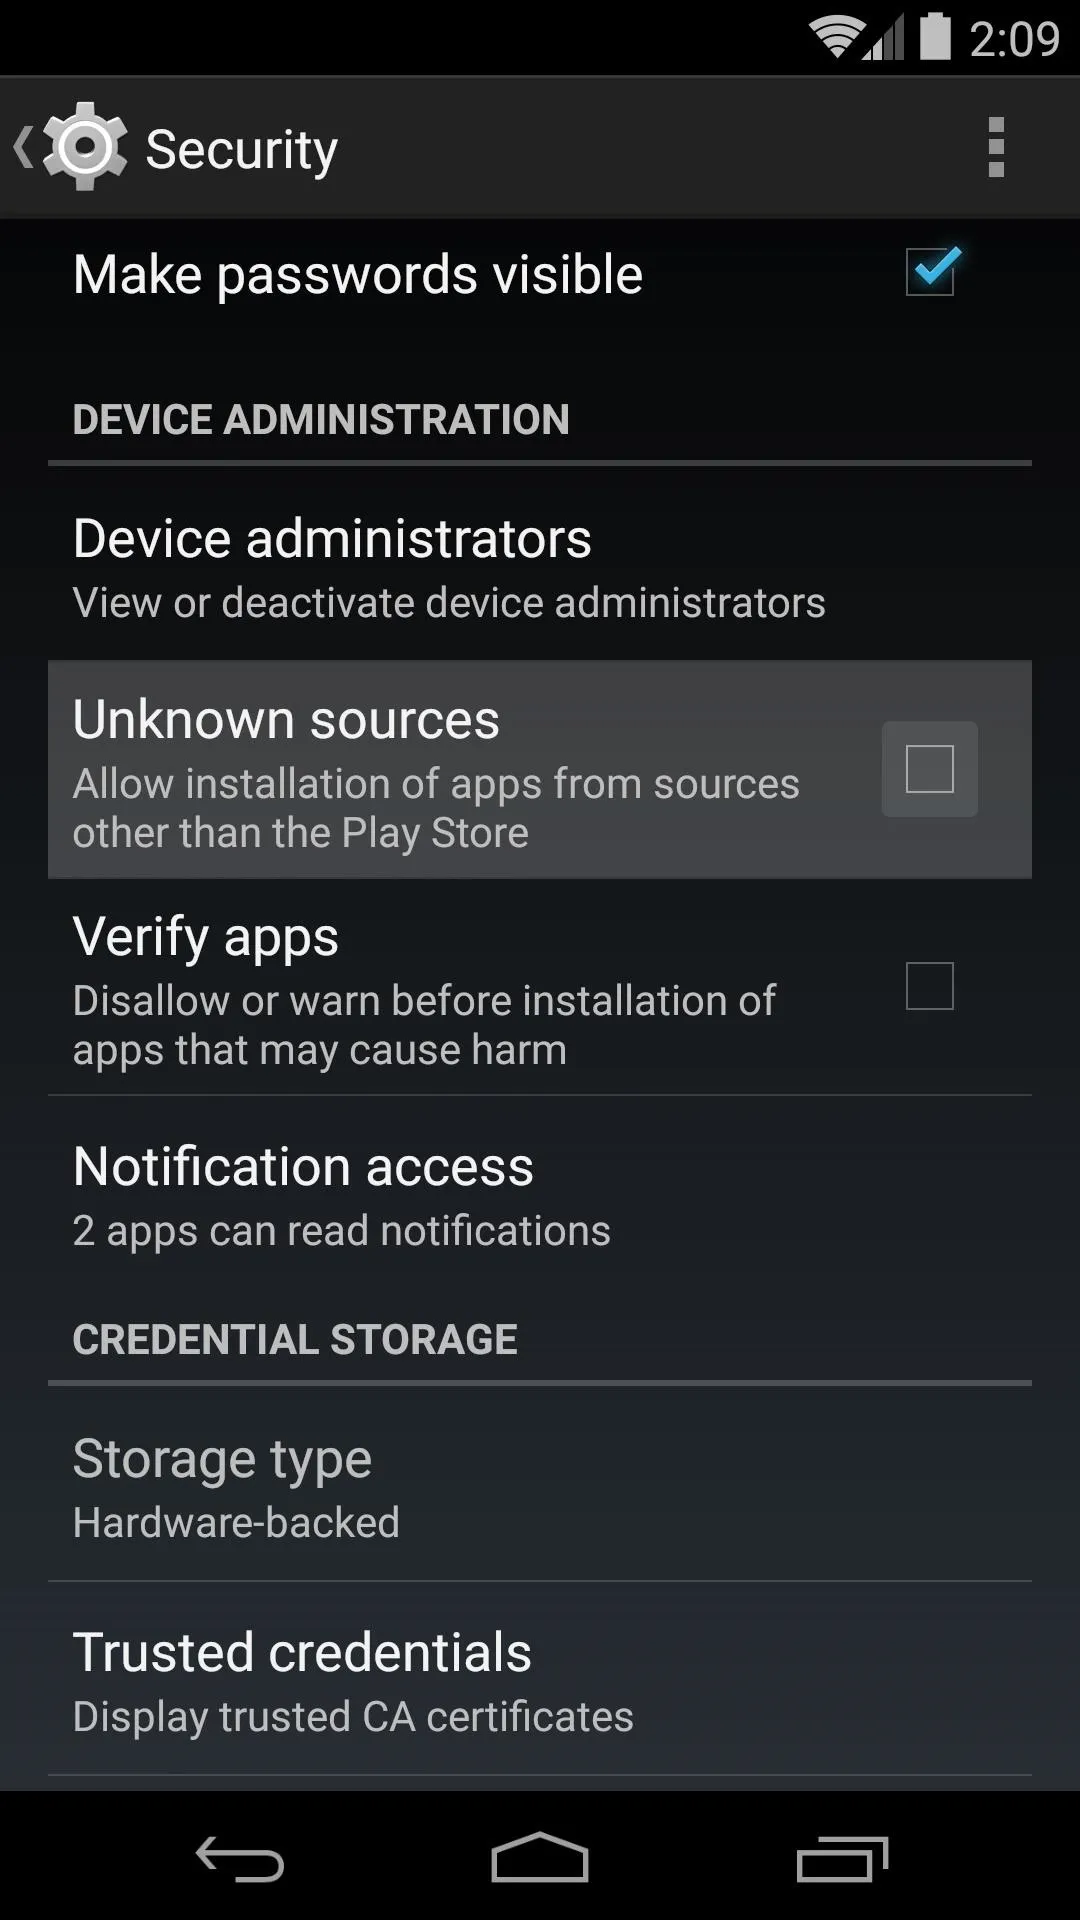
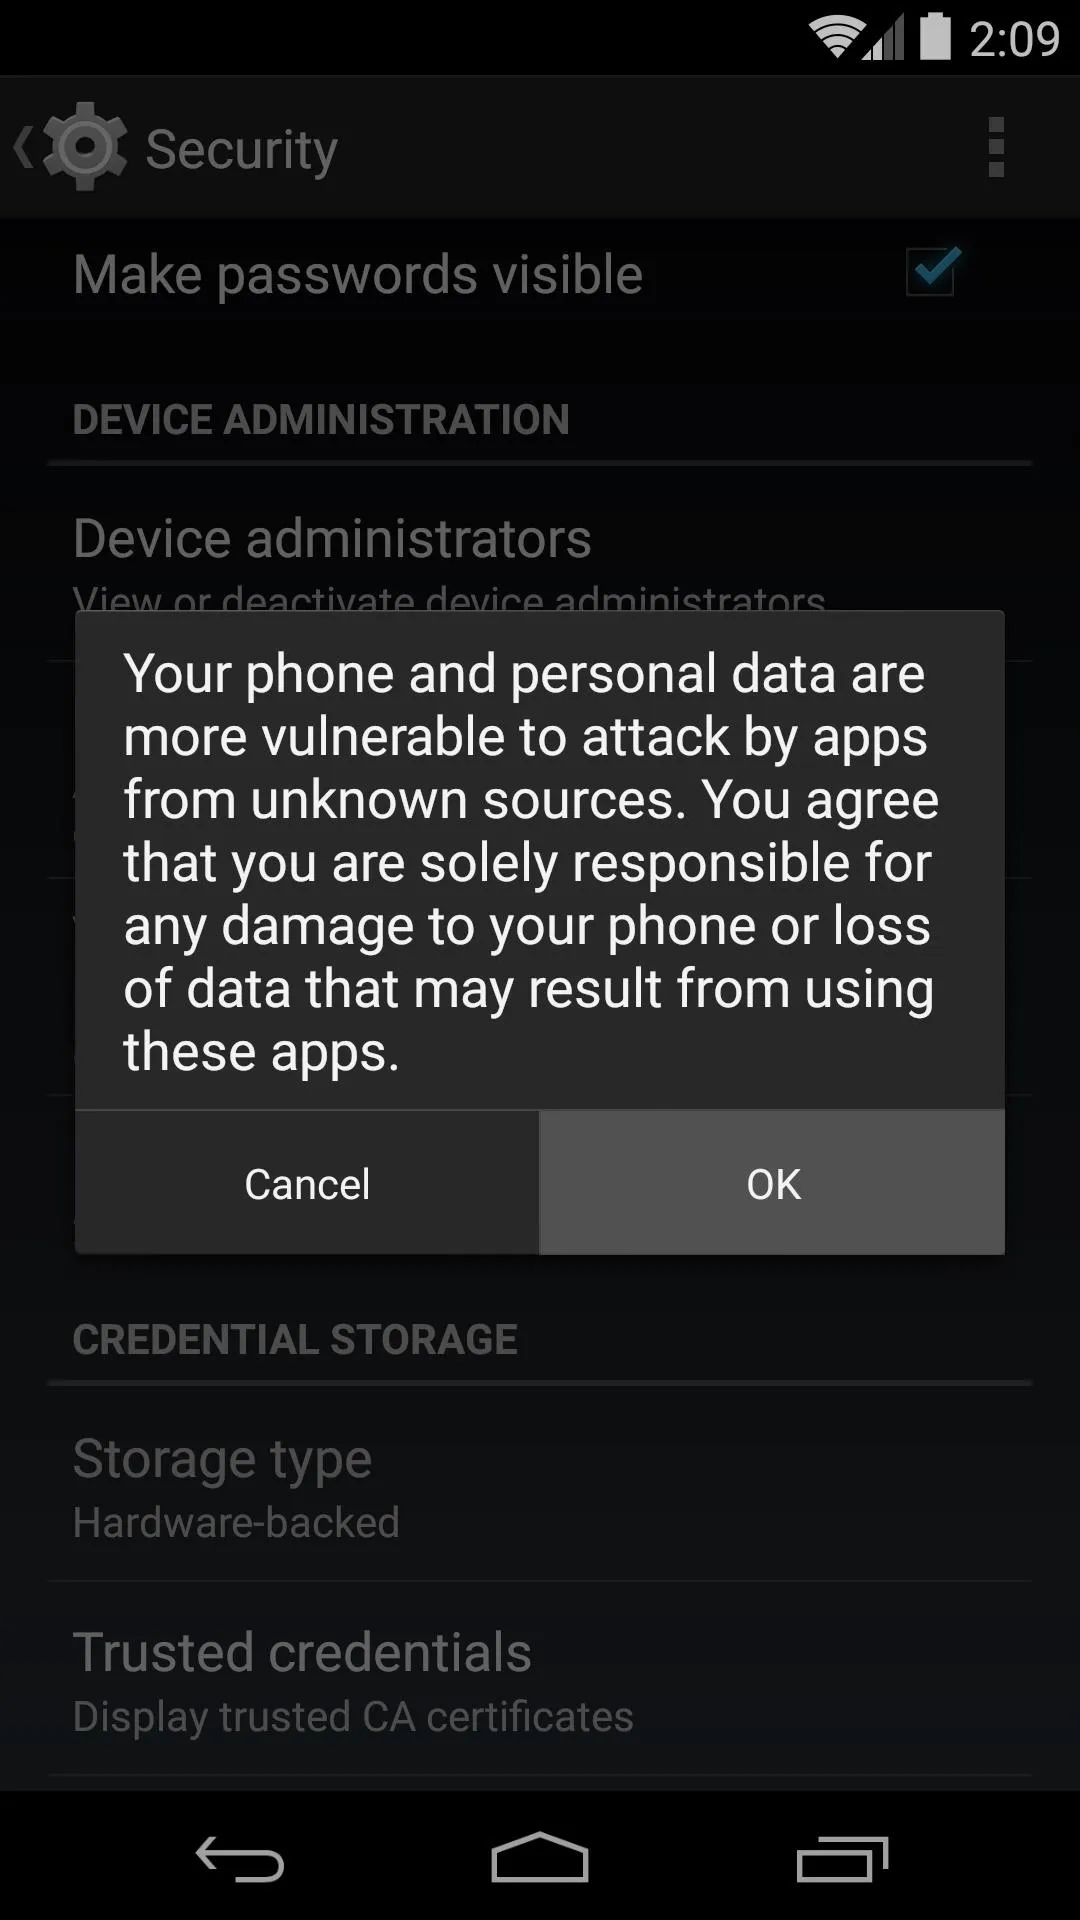
Before you can install this app, you'll need to make sure your phone allows you to install apps from outside of the Play Store. Do this by heading to Settings, then Security, and ticking the box next to Unknown Sources. Press OK on the popup that appears afterwards.
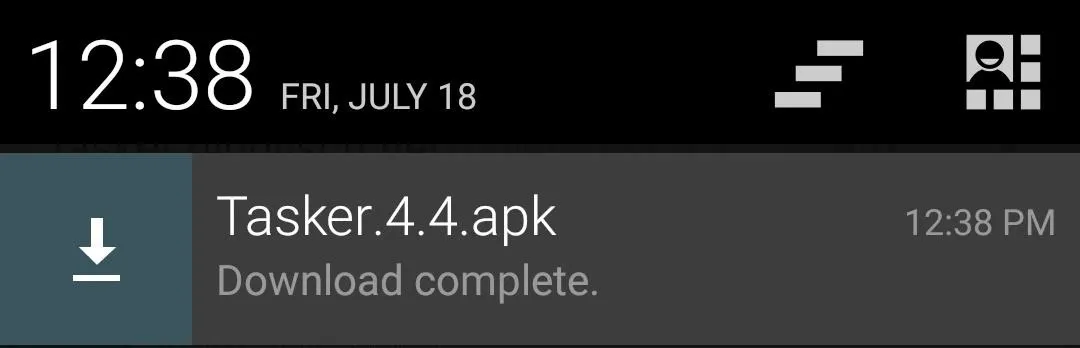
With that out of the way, just tap the Download complete notification for the Tasker.4.4.apk file you just downloaded.
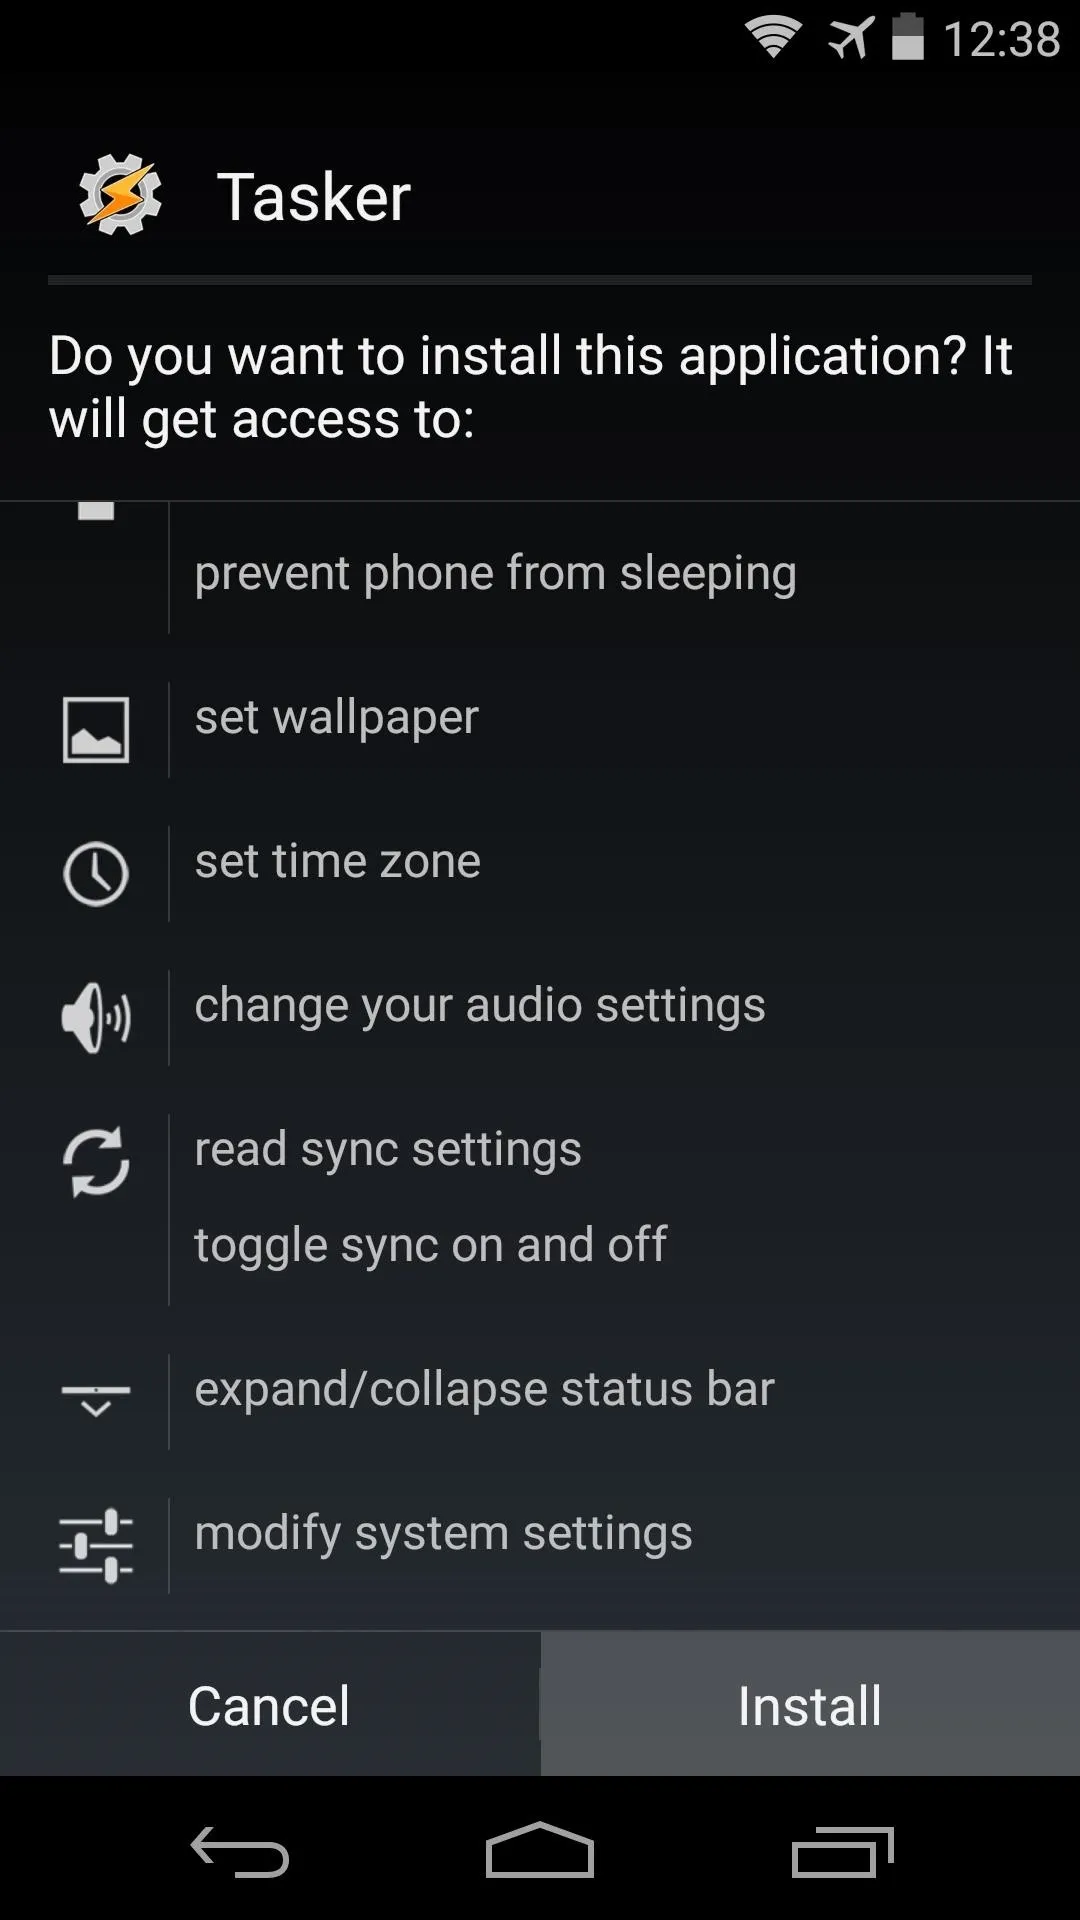
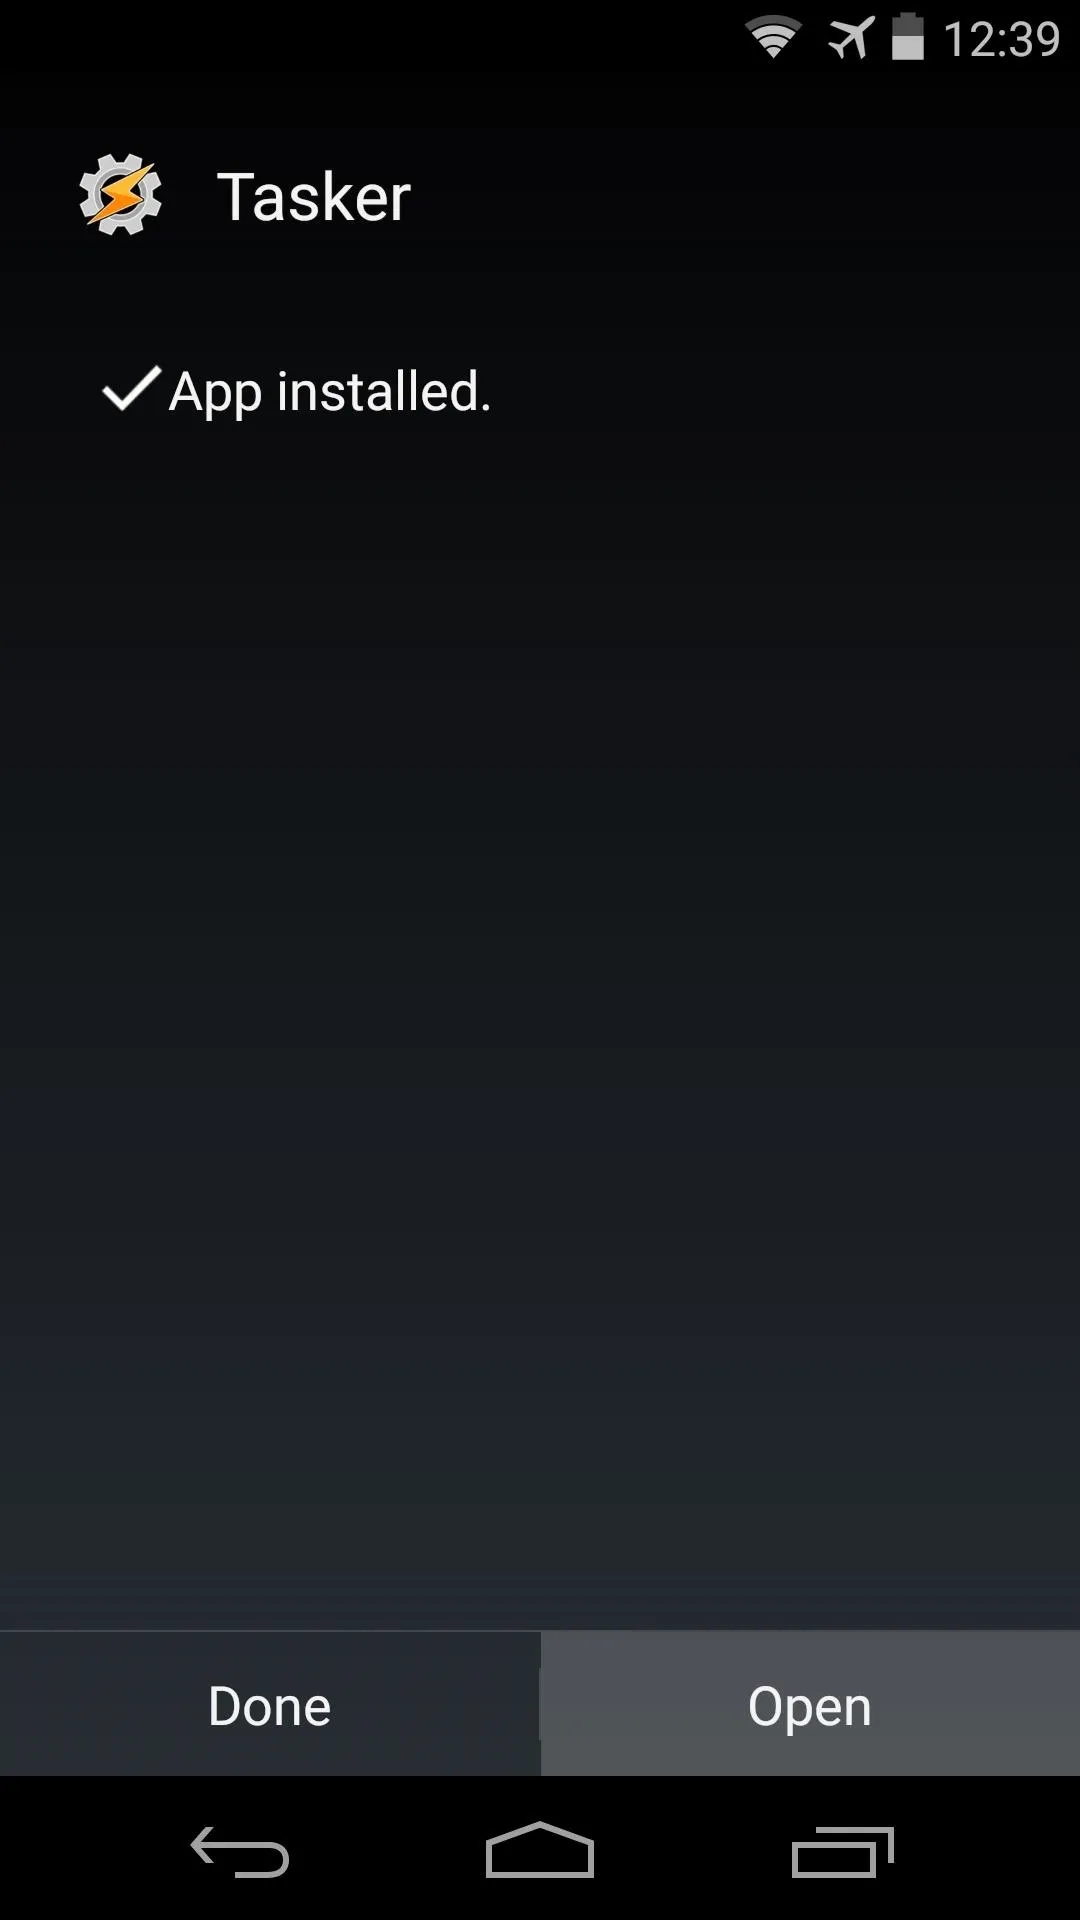
This will launch Android's install process, so tap the Install button on the next screen. When that's finished, tap Open.
Create a Tasker Profile
AutoVoice will intercept commands that you give to Google Now, then relay them to Tasker so that you can execute almost any action. In order for Tasker to know what you want it to do, first you'll have to set up a Profile.
In layman's terms, a Tasker Profile is a condition (or set of conditions) that must be met before Tasker will execute a Task. Conversely, Tasks are actions that can be triggered by your Profile's conditions. Tasks can be as simple as opening an app, or as complicated as executing terminal commands. You can even attach multiple actions to a Task, and Tasker will execute these actions in sequential order as soon as your Profile's conditions are met.
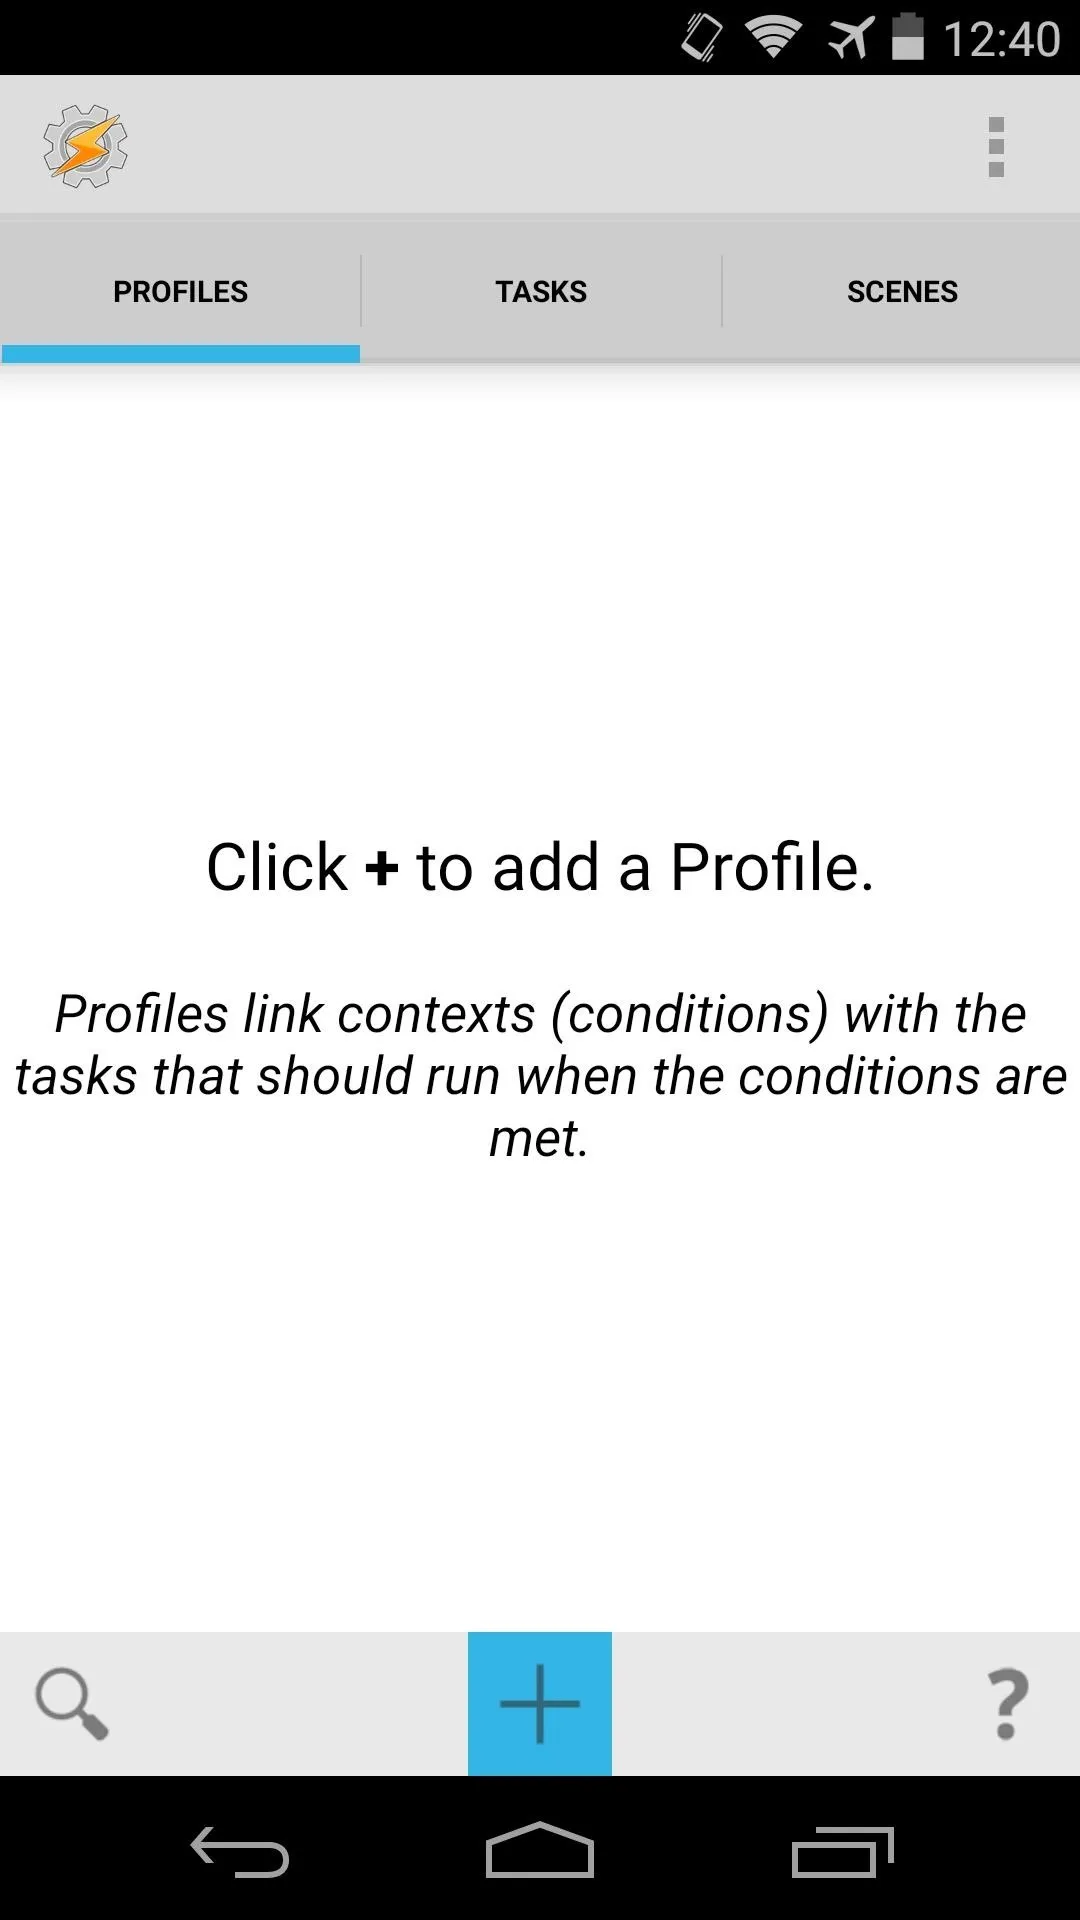
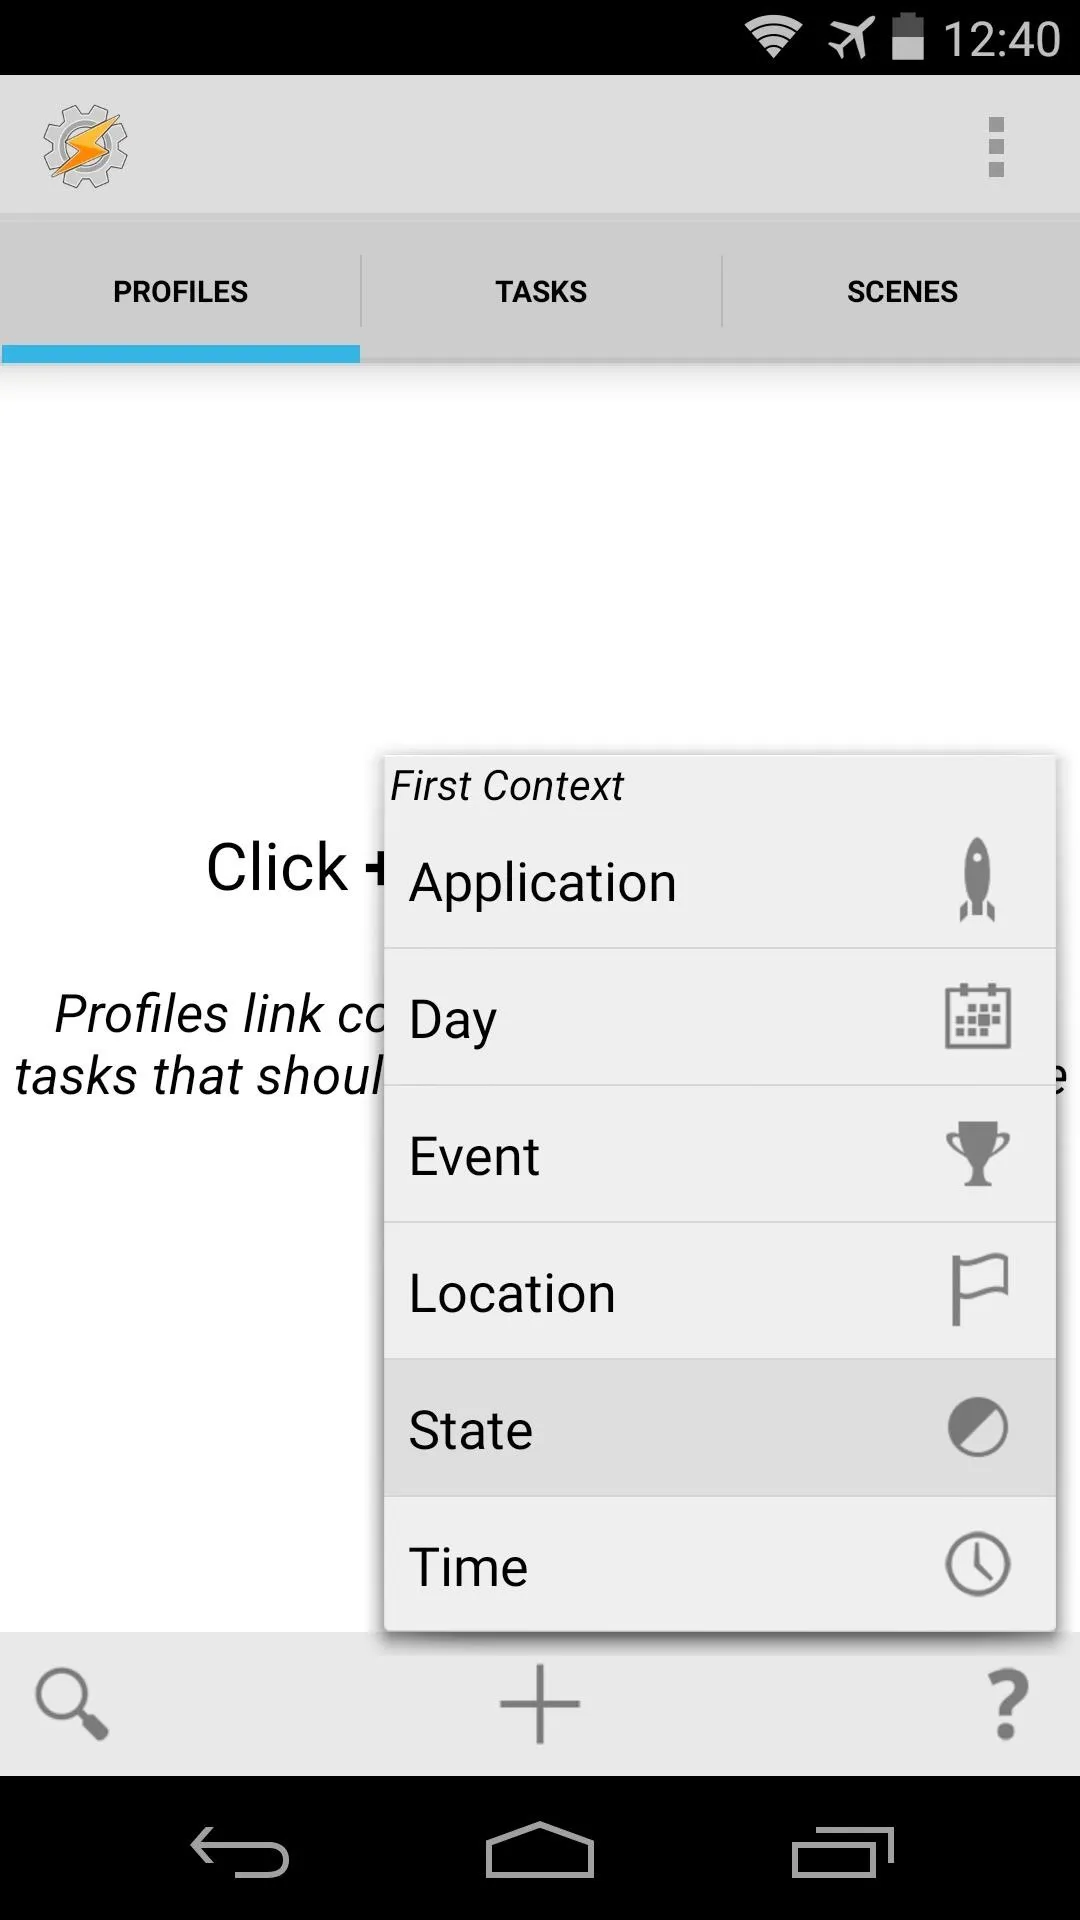
With that in mind, from Tasker's main screen, hit the Plus button at the bottom to create a new Profile. This Profile will be powered by AutoVoice's Google Now command-interception function, and you will be asked to enter this command at a later point. For now, choose State from the following menu.
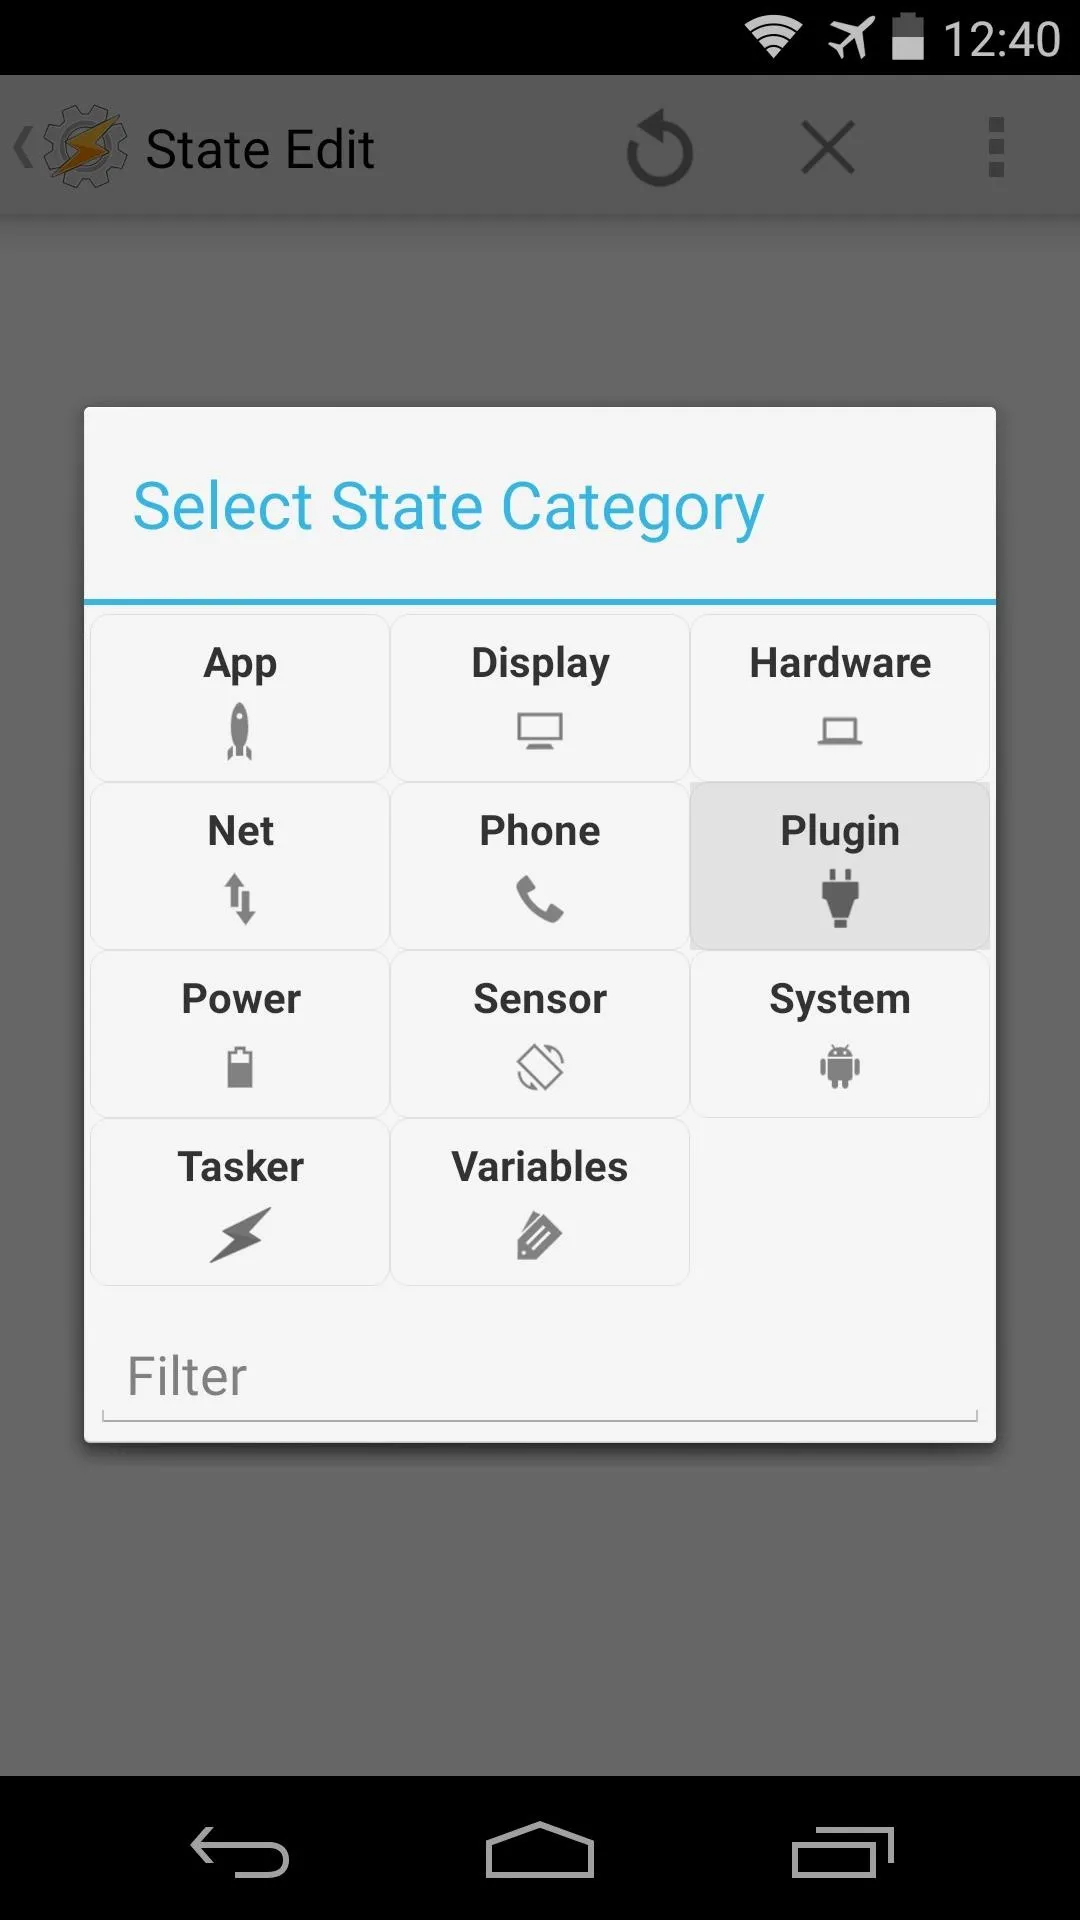
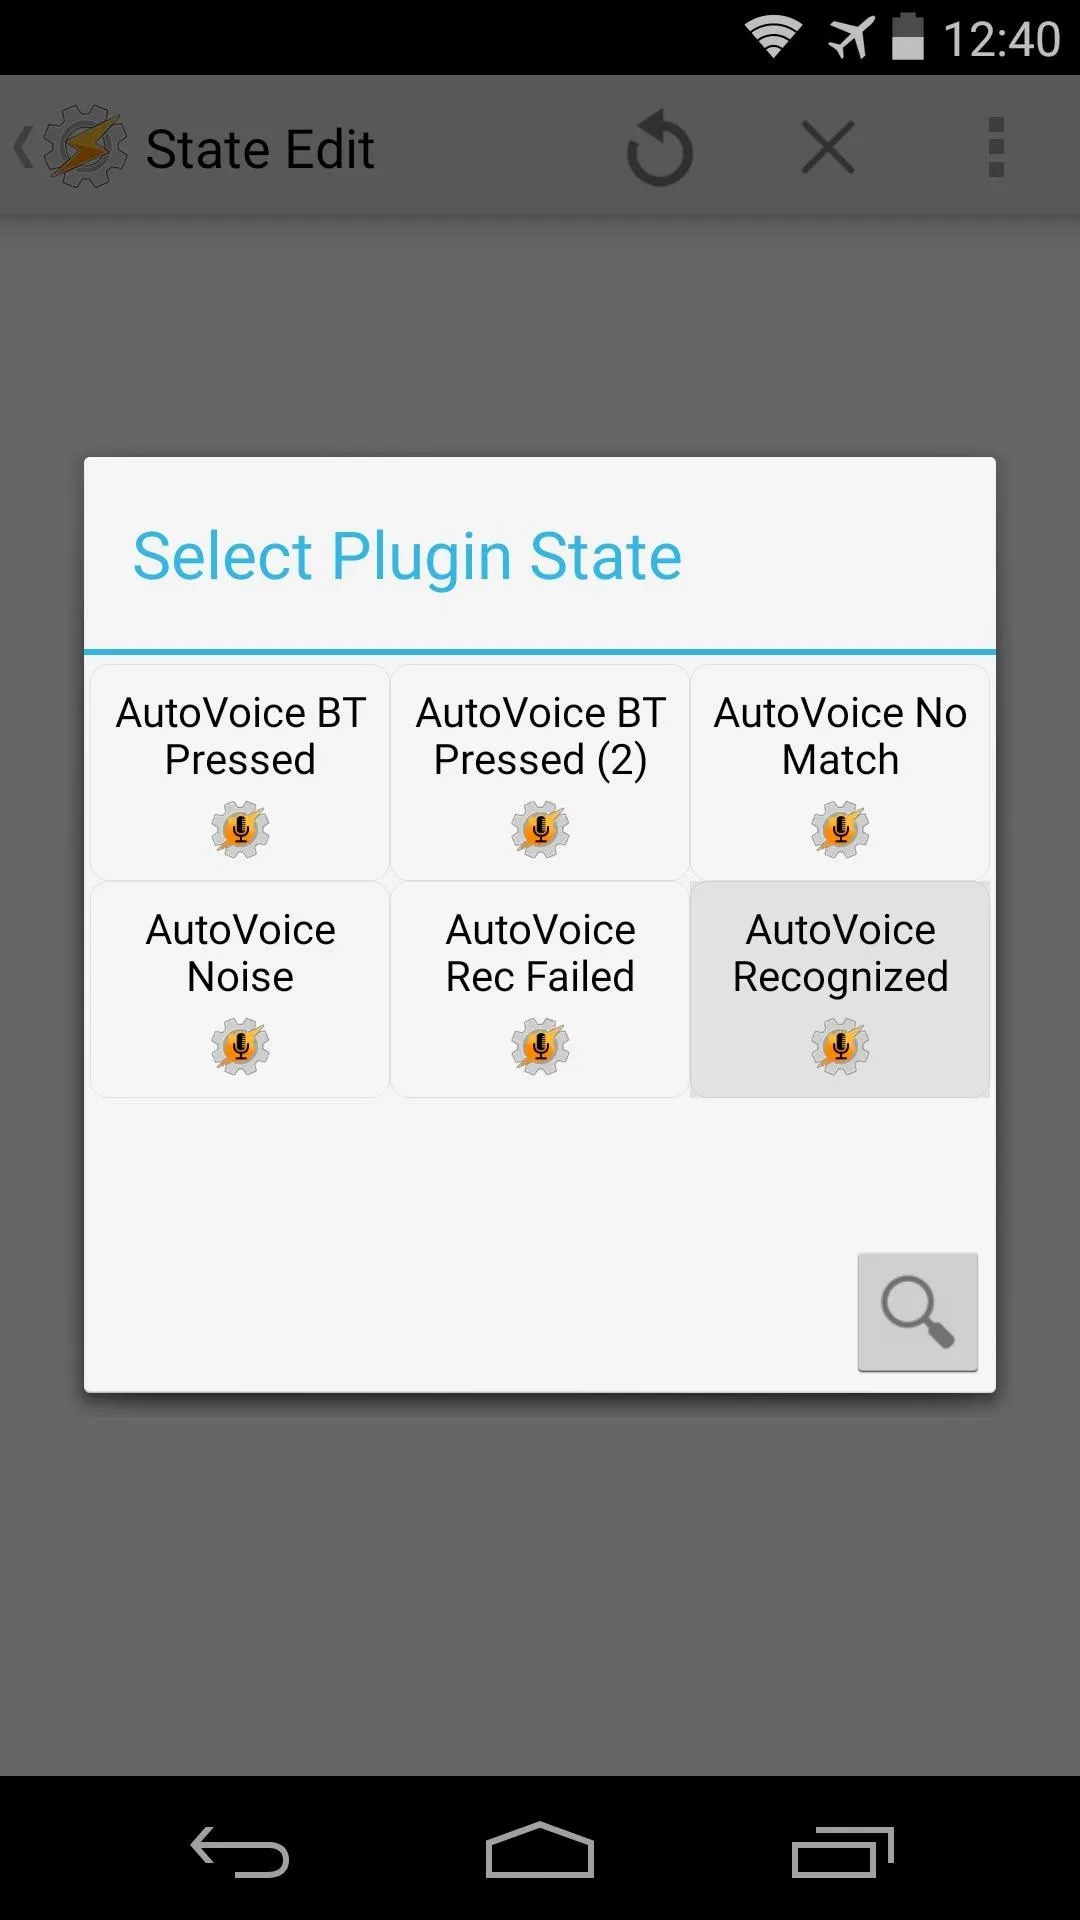
Since AutoVoice is a separate app, rather than a built-in function of Tasker, choose Plugin from the next menu. After that, since we're looking to create a profile that is triggered by a word or phrase that AutoVoice recognizes from a Google Now voice search, choose AutoVoice Recognized.
At this point, the basic groundwork for your Profile has been laid. Tasker now knows that you want it to look for a specific AutoVoice Recognized event, but AutoVoice does not yet know what word or phrase that event will be represented by.
Configure a Word/Phrase to Speak
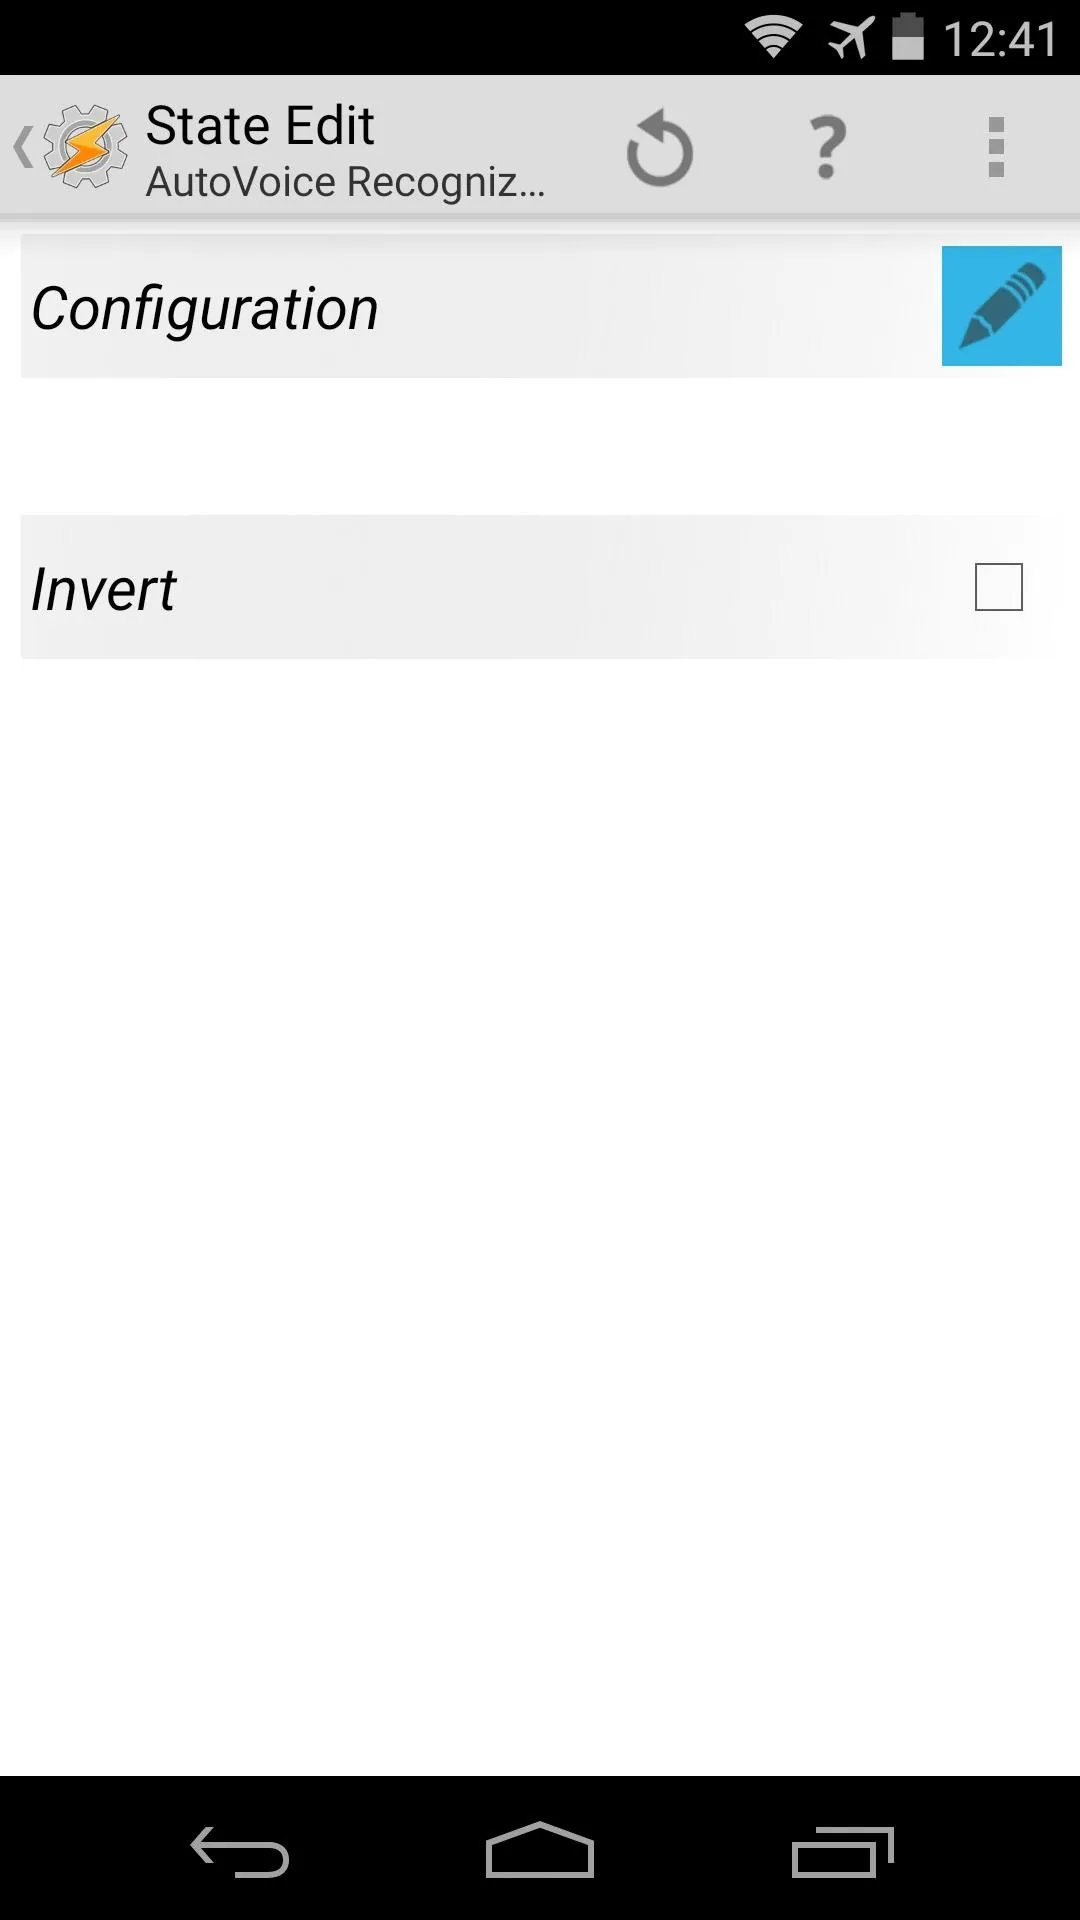
In order to configure a specific word or phrase that, when spoken to Google Now in a voice search, will meet the conditions of your new Profile, tap the pencil-shaped Edit button at the top-right. This will take you into AutoVoice, and after that, close out any messages or ads given to you by the free version of the app.
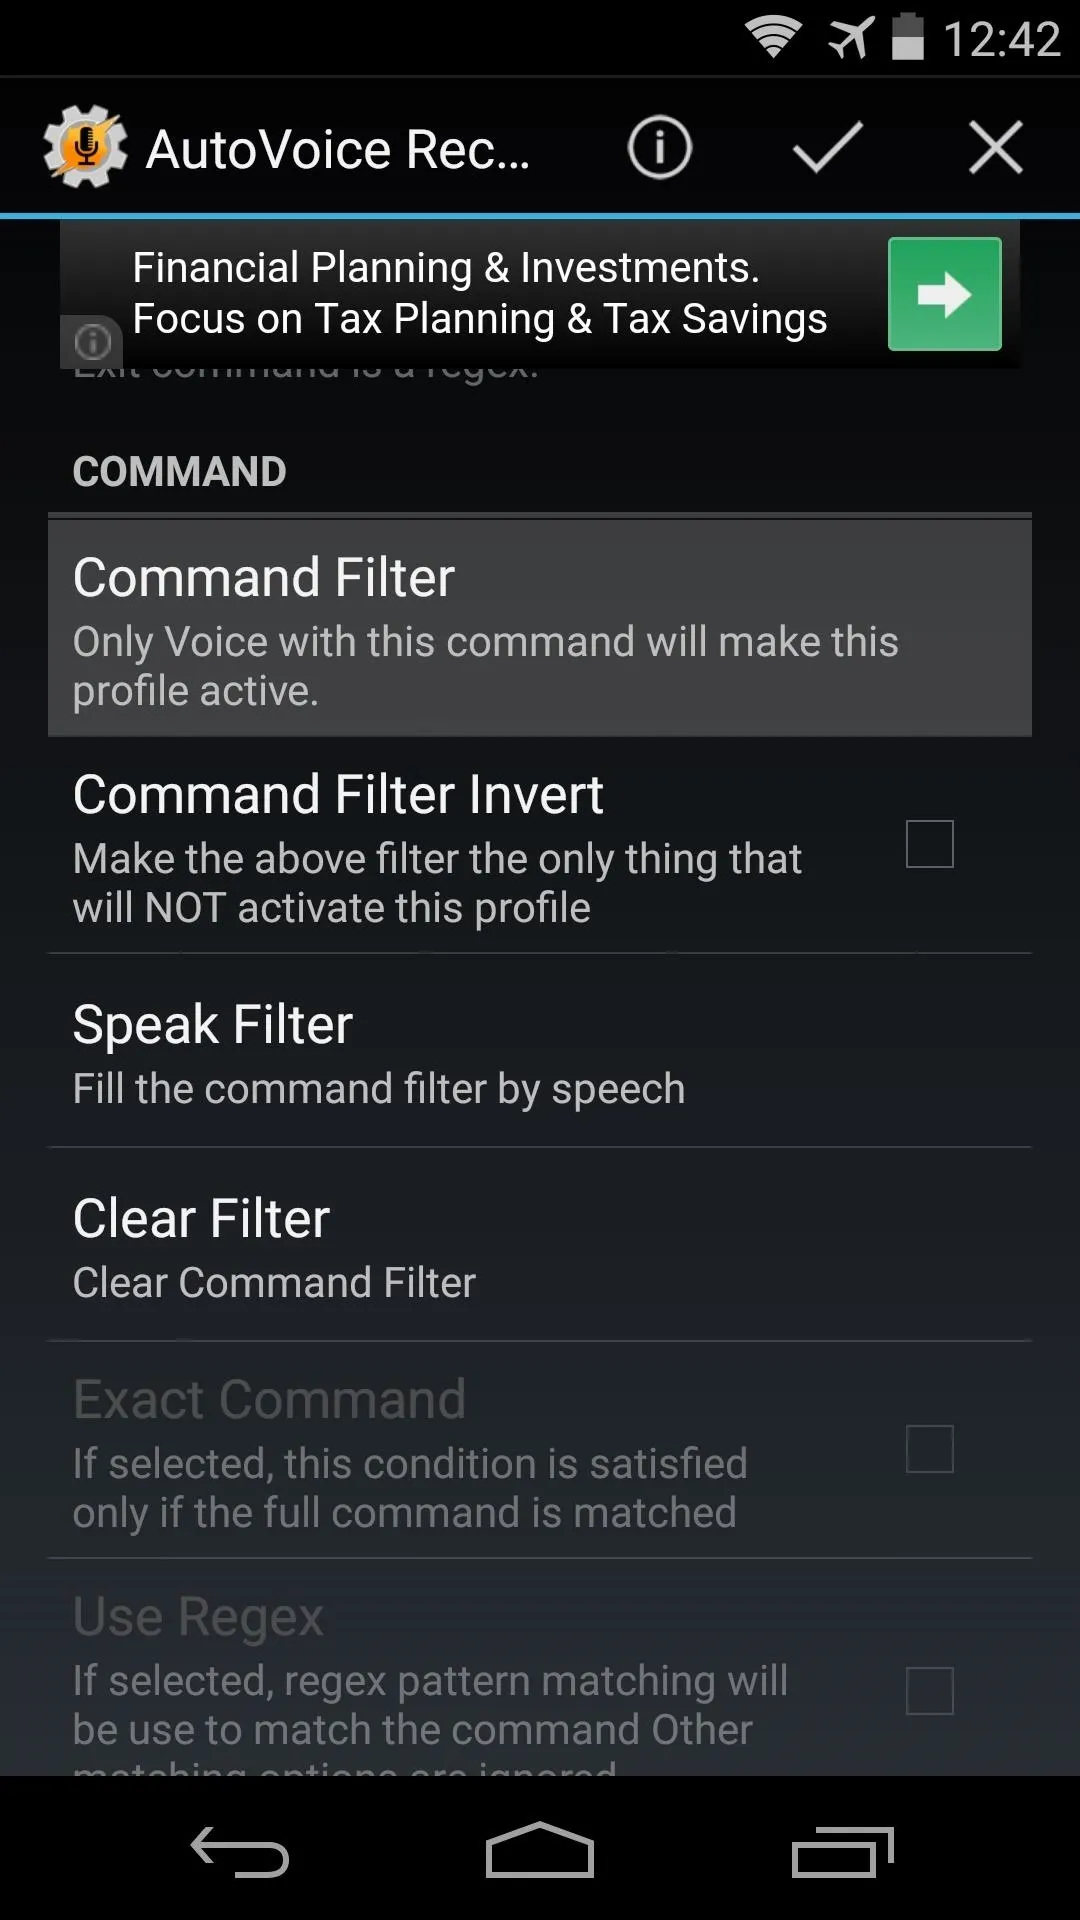
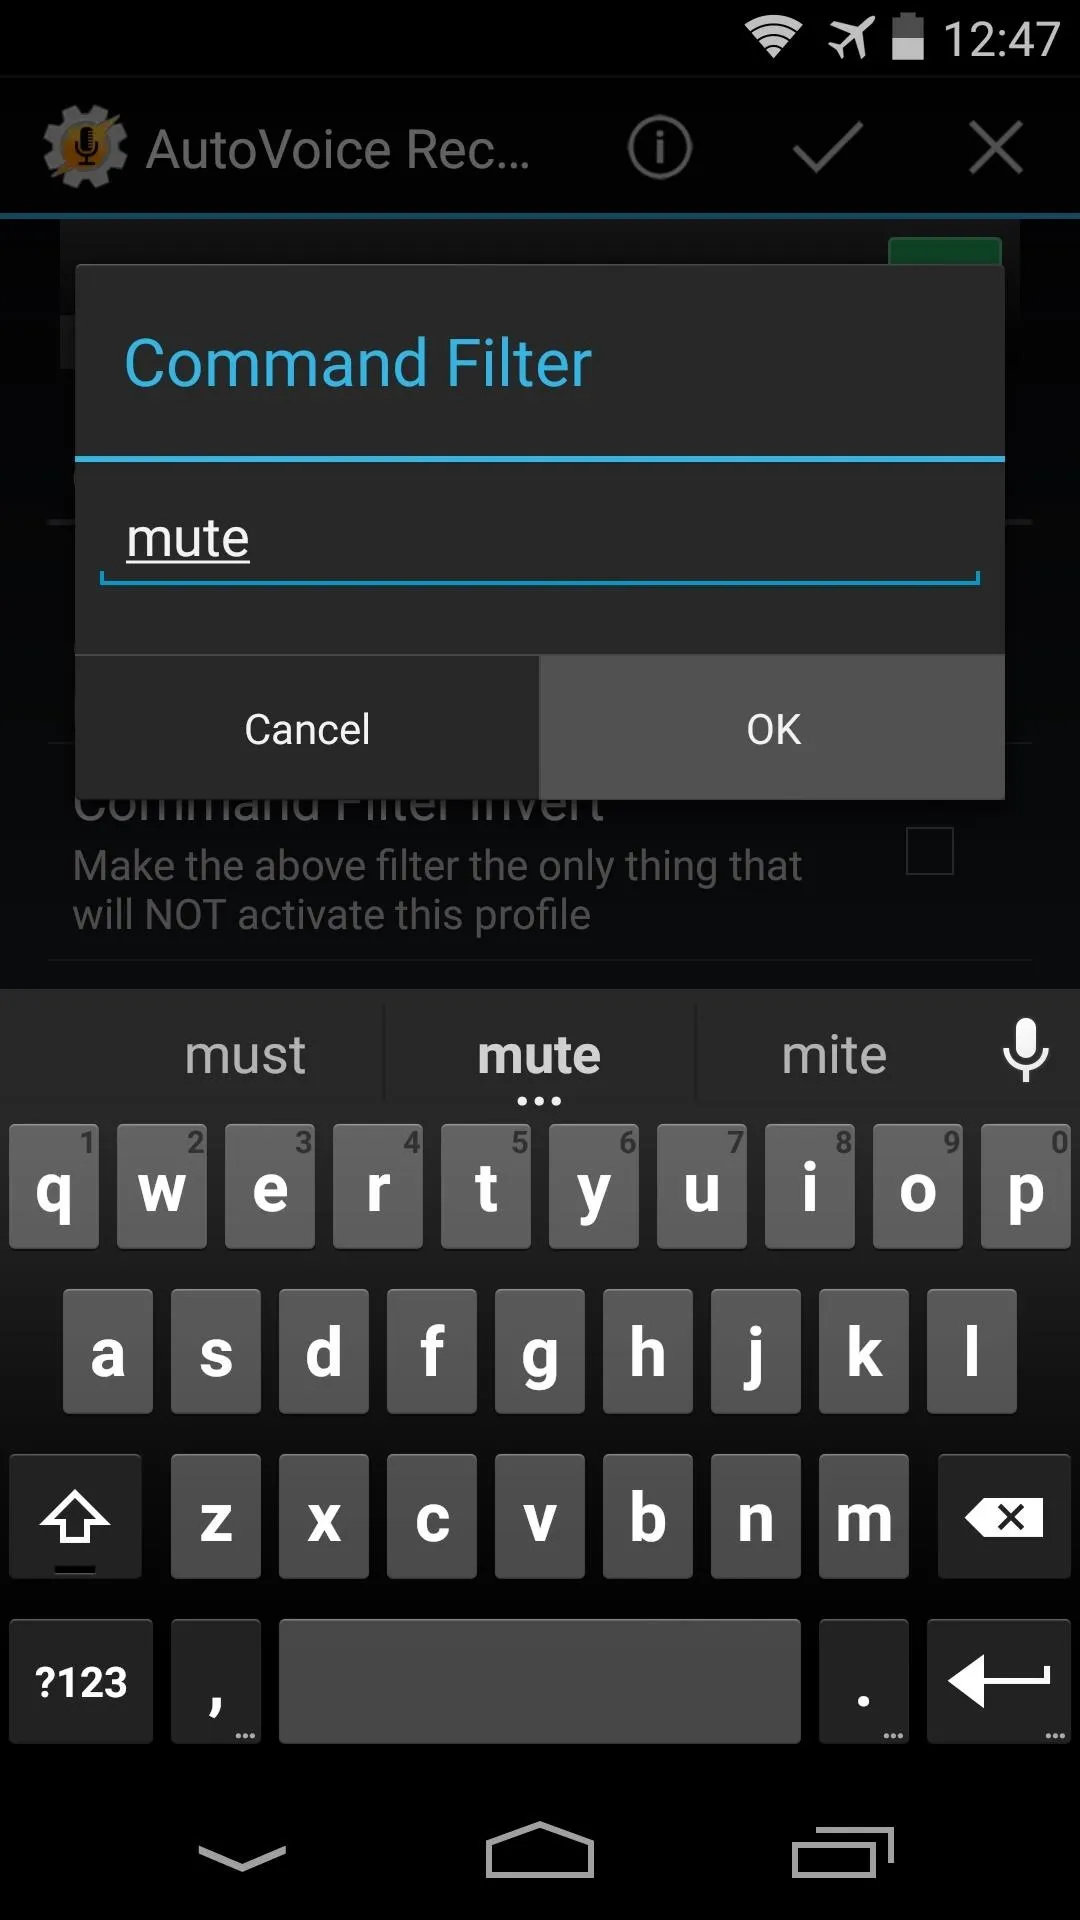
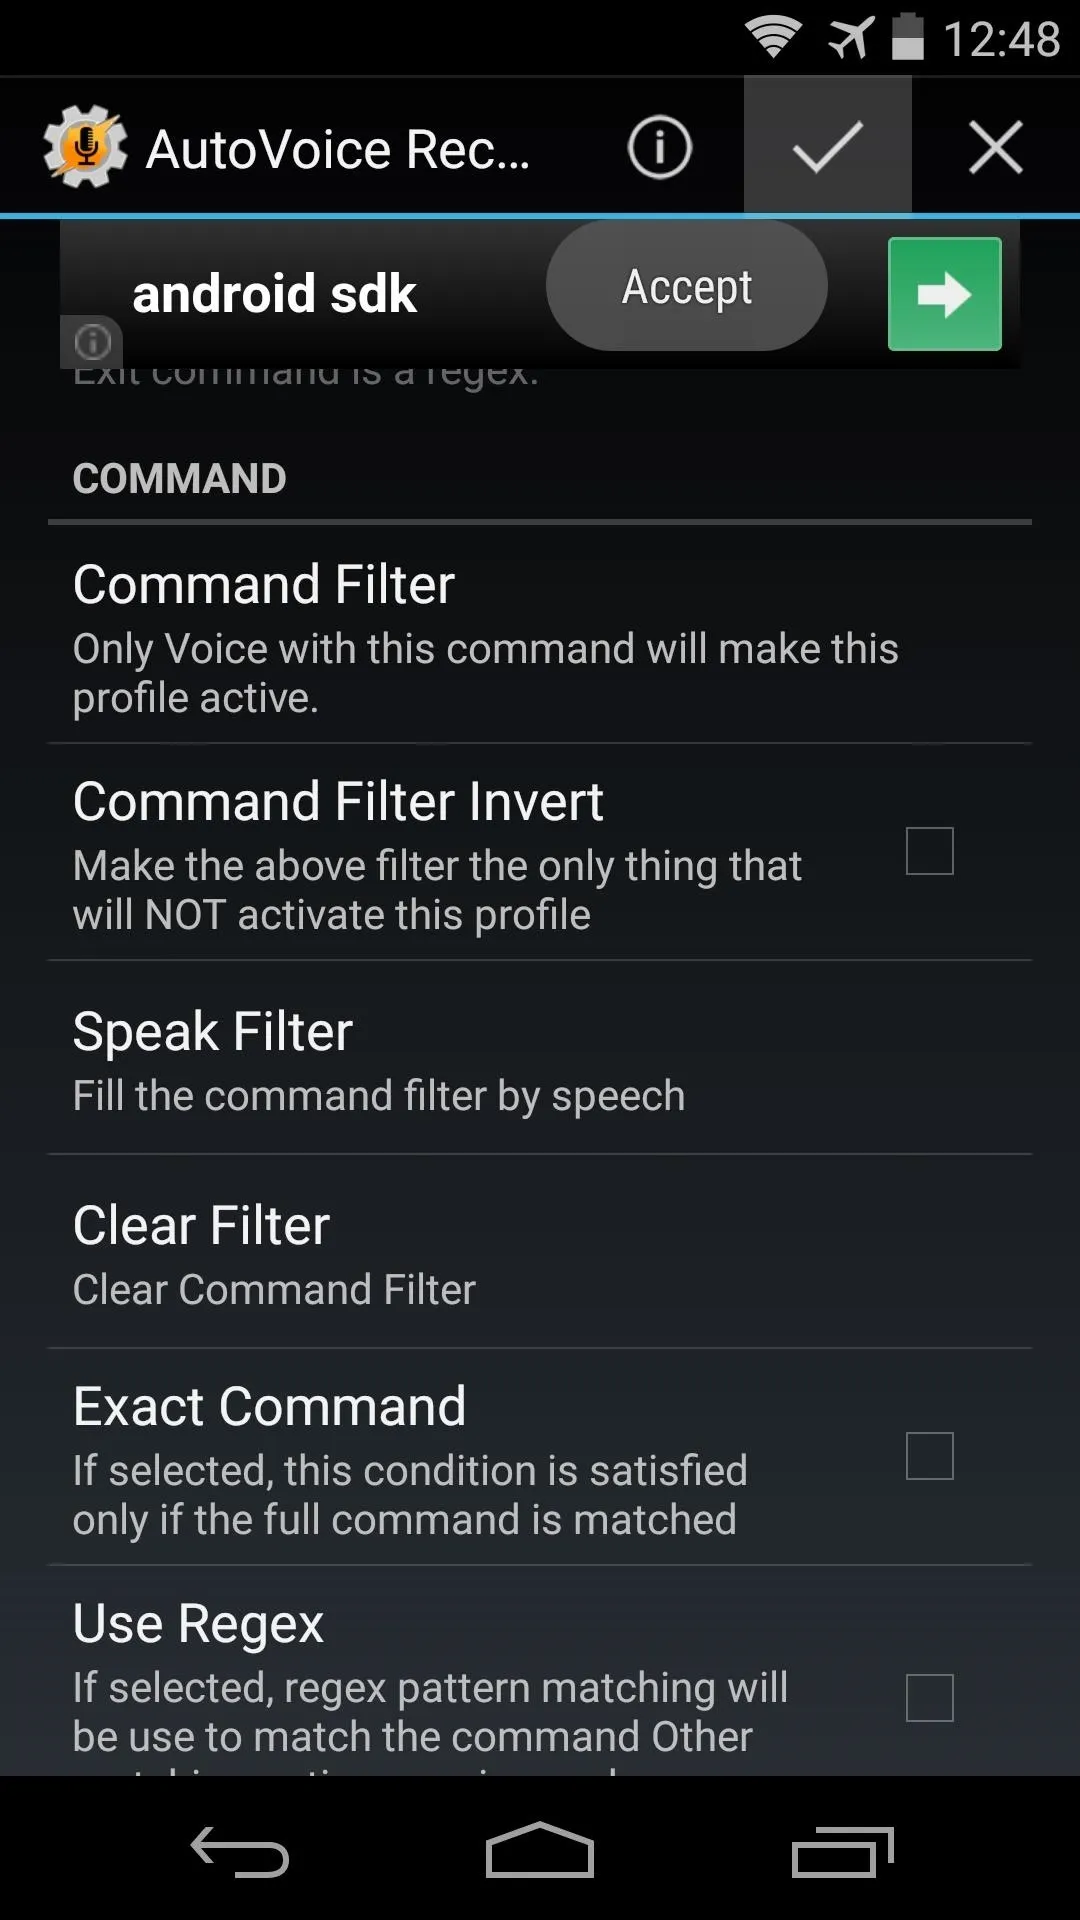
Now it's time to set the word or phrase that you want to use as a trigger for your Tasker Profile. Select Command Filter to enter this phrase.
The free version of AutoVoice is limited to commands that consist of four or fewer letters. Nonetheless, there are thousands of words in the English language that meet this criteria, so get creative. Think of a word that will be an appropriate command for the Task that you want to trigger.
I'll demonstrate with the word Mute, because I want my AutoVoice Recognized Profile to trigger a Task that will mute my phone's ringer. After you've typed in your command, tap OK and then hit the Check icon near the top-right.
Create a Task
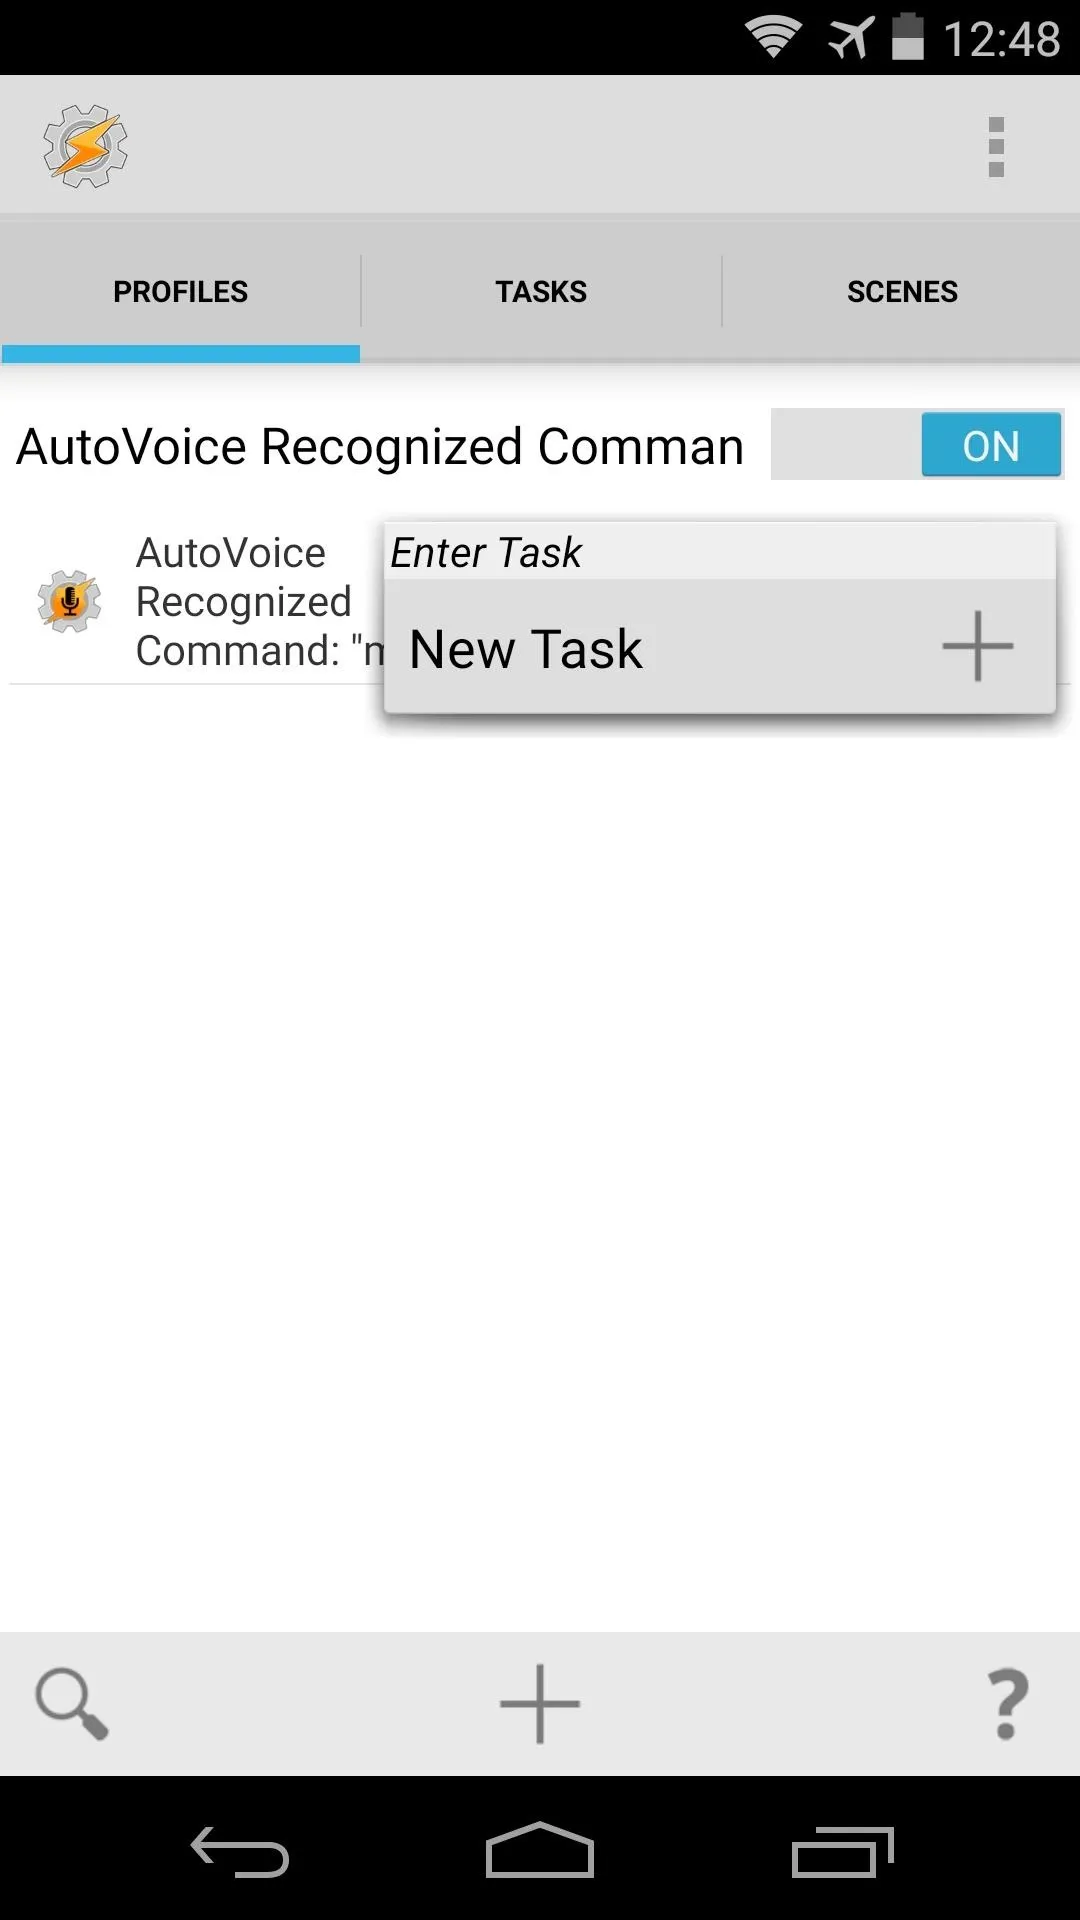
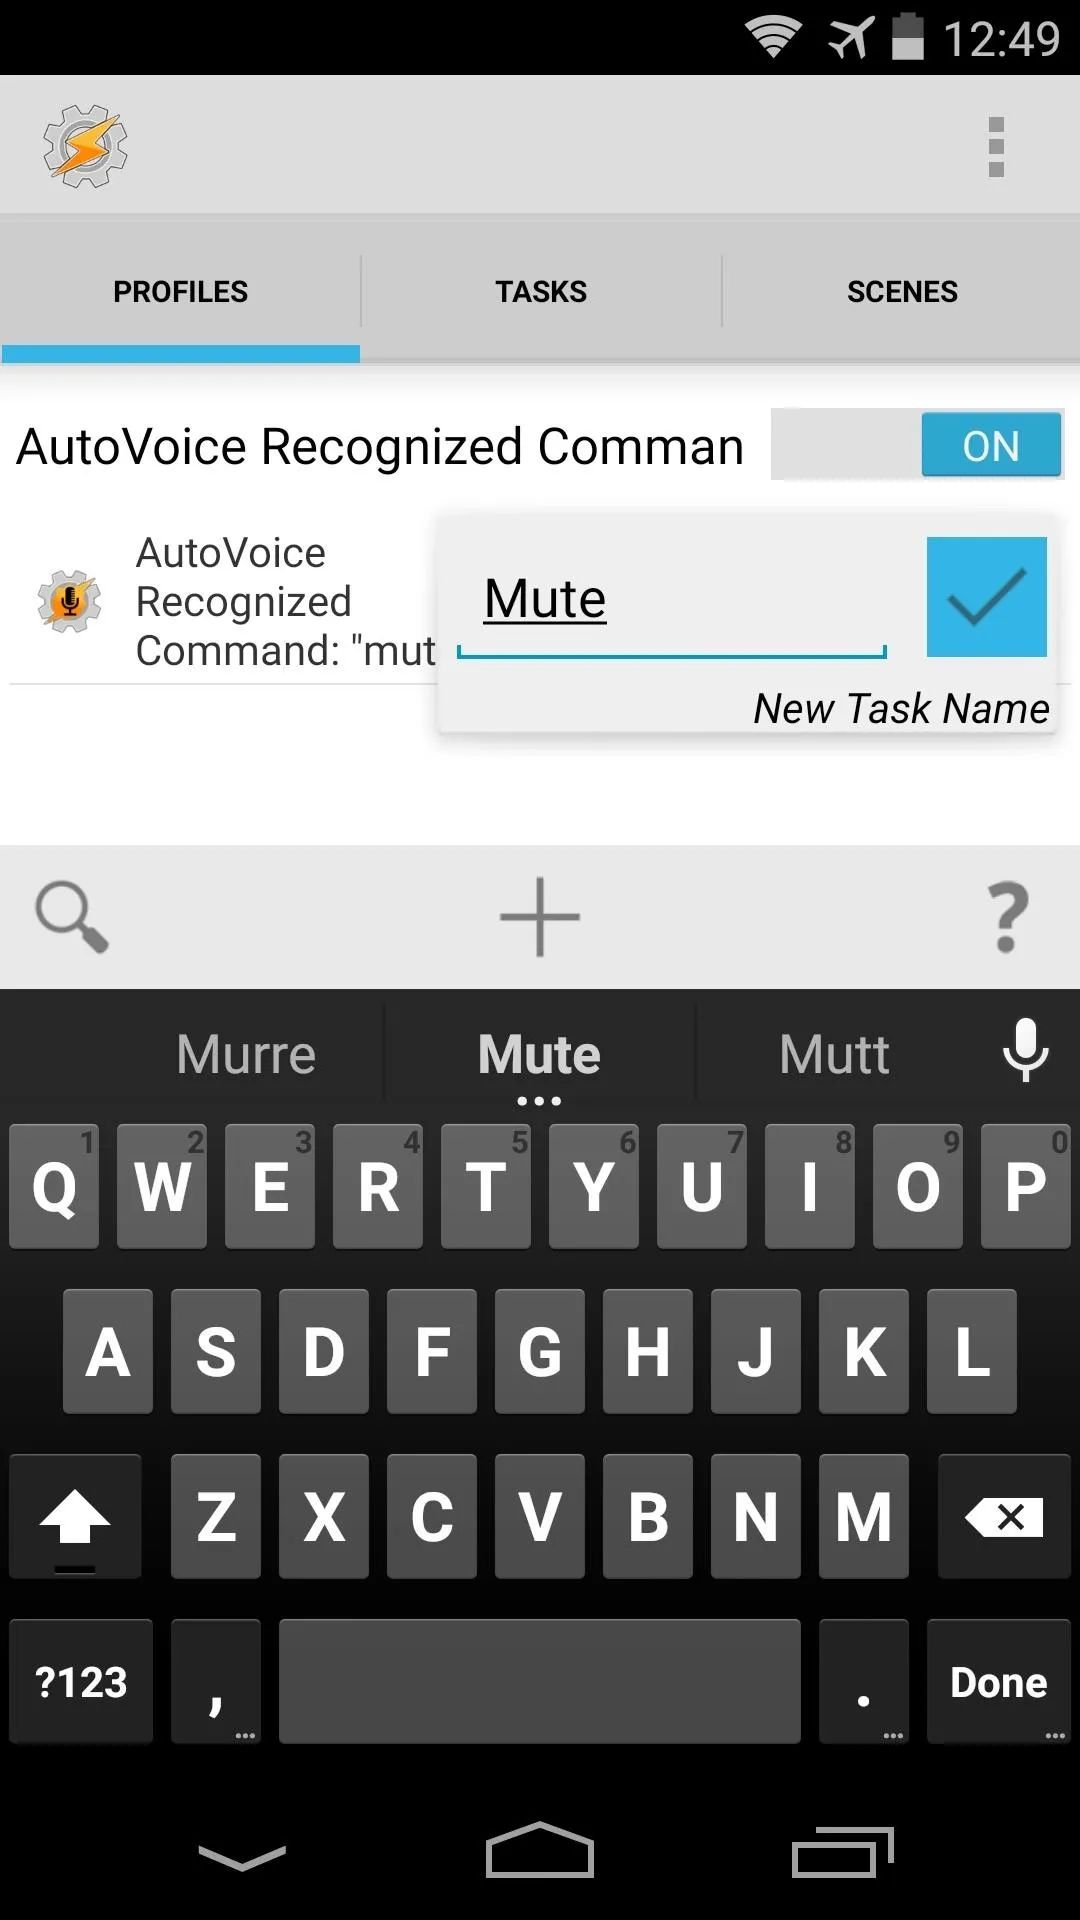
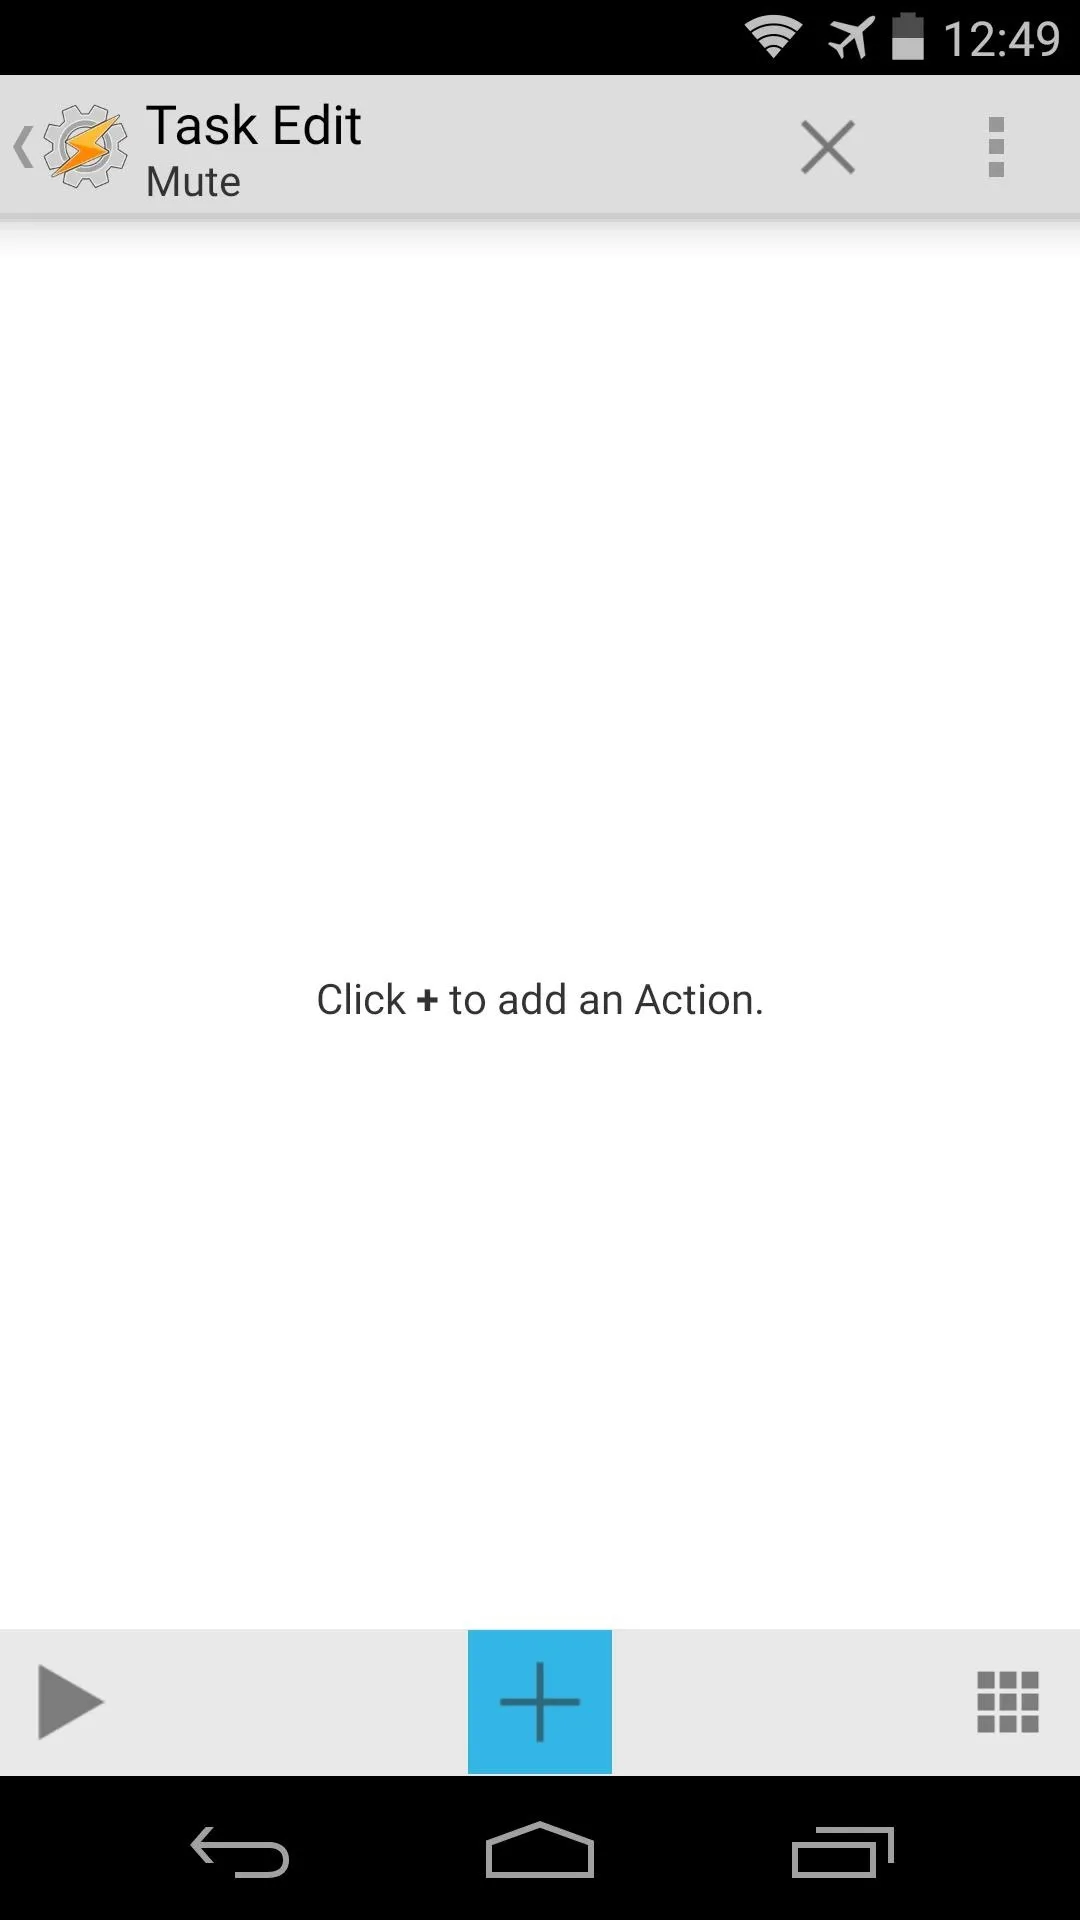
Now, with your AutoVoice Recognized profile configured, tap the Back button on your device to head back out to Tasker's main screen. At this point, Tasker will automatically ask you to create a Task that this profile will trigger, so tap New Task. You can add a name for this Task, but this is optional, as it's for your own reference.

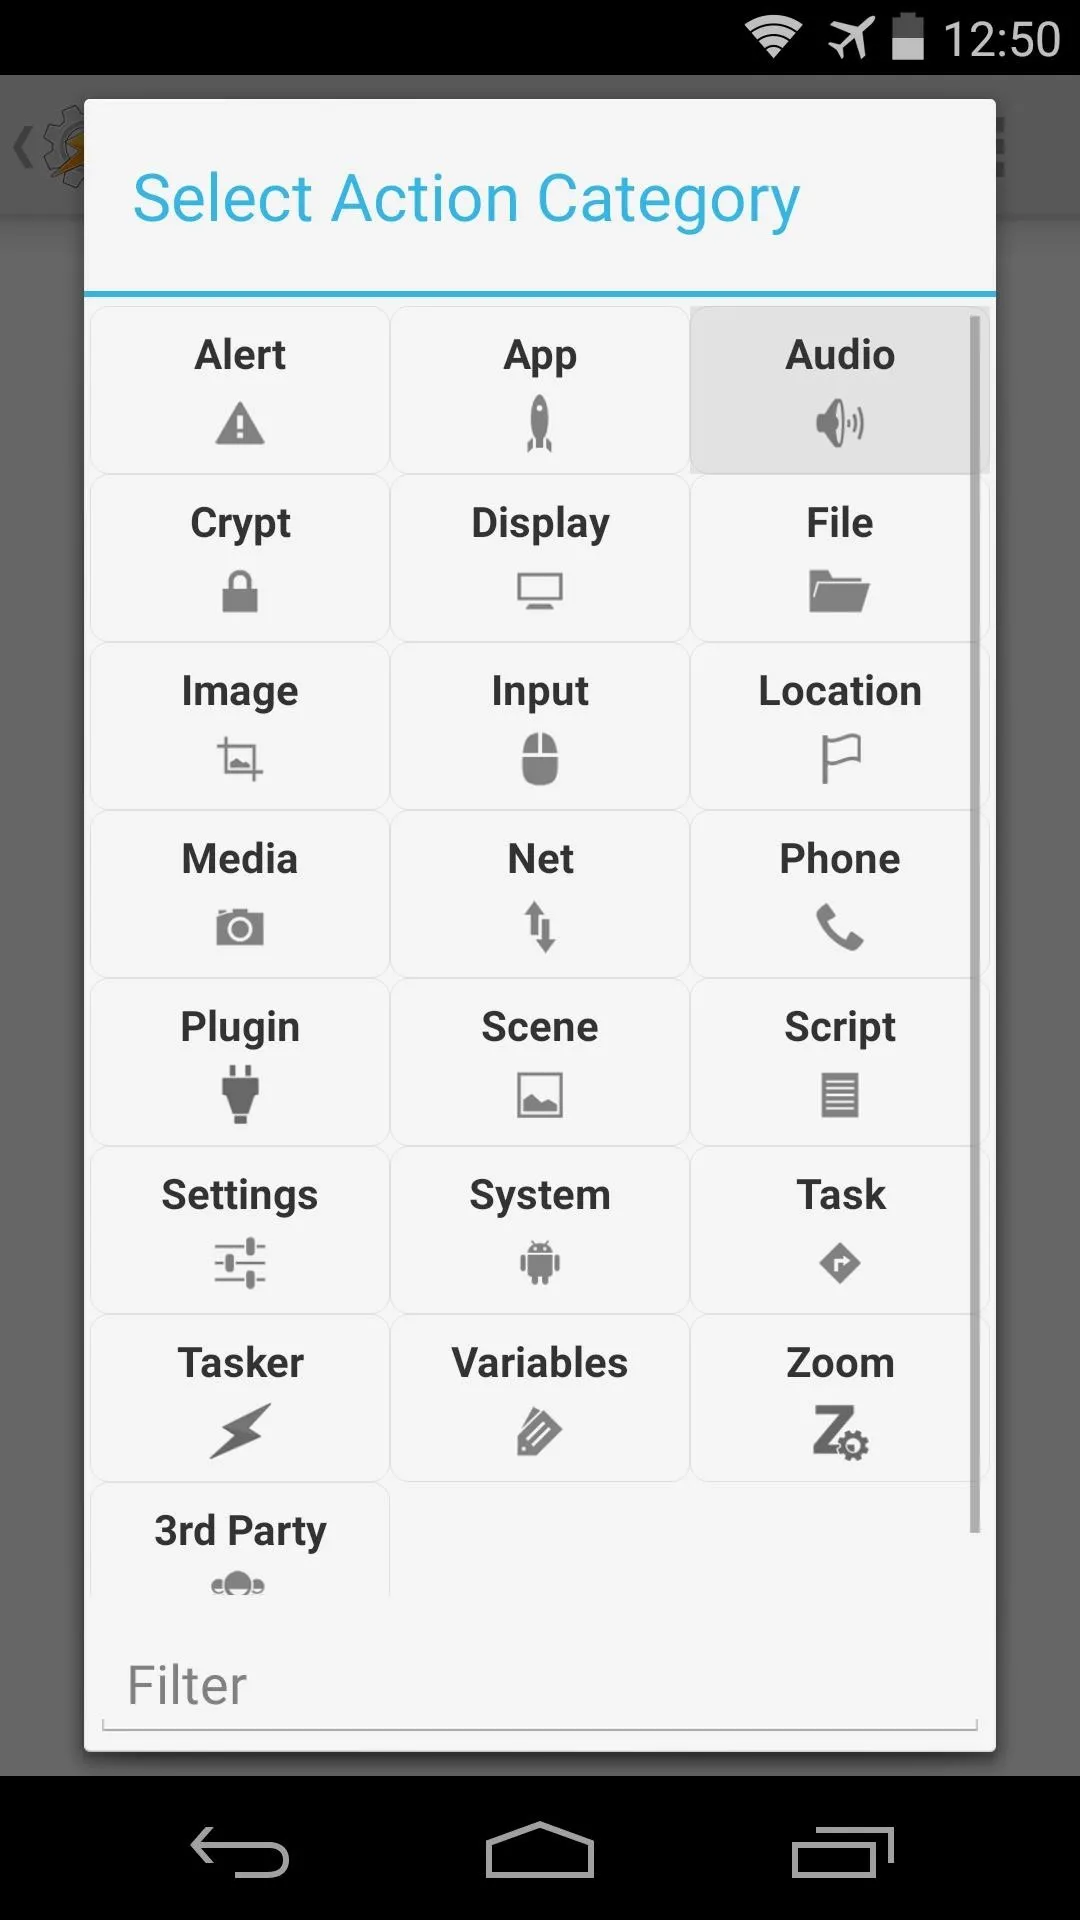
Next, tap the Plus button at the bottom of the screen to add an action to your task. The next menu gives you a glimpse of Tasker's immense array of capabilities. There are several different categories to choose from that, themselves, contain many different actions that your Task can execute. Use the FIlter function here to search for the action you're looking to perform.
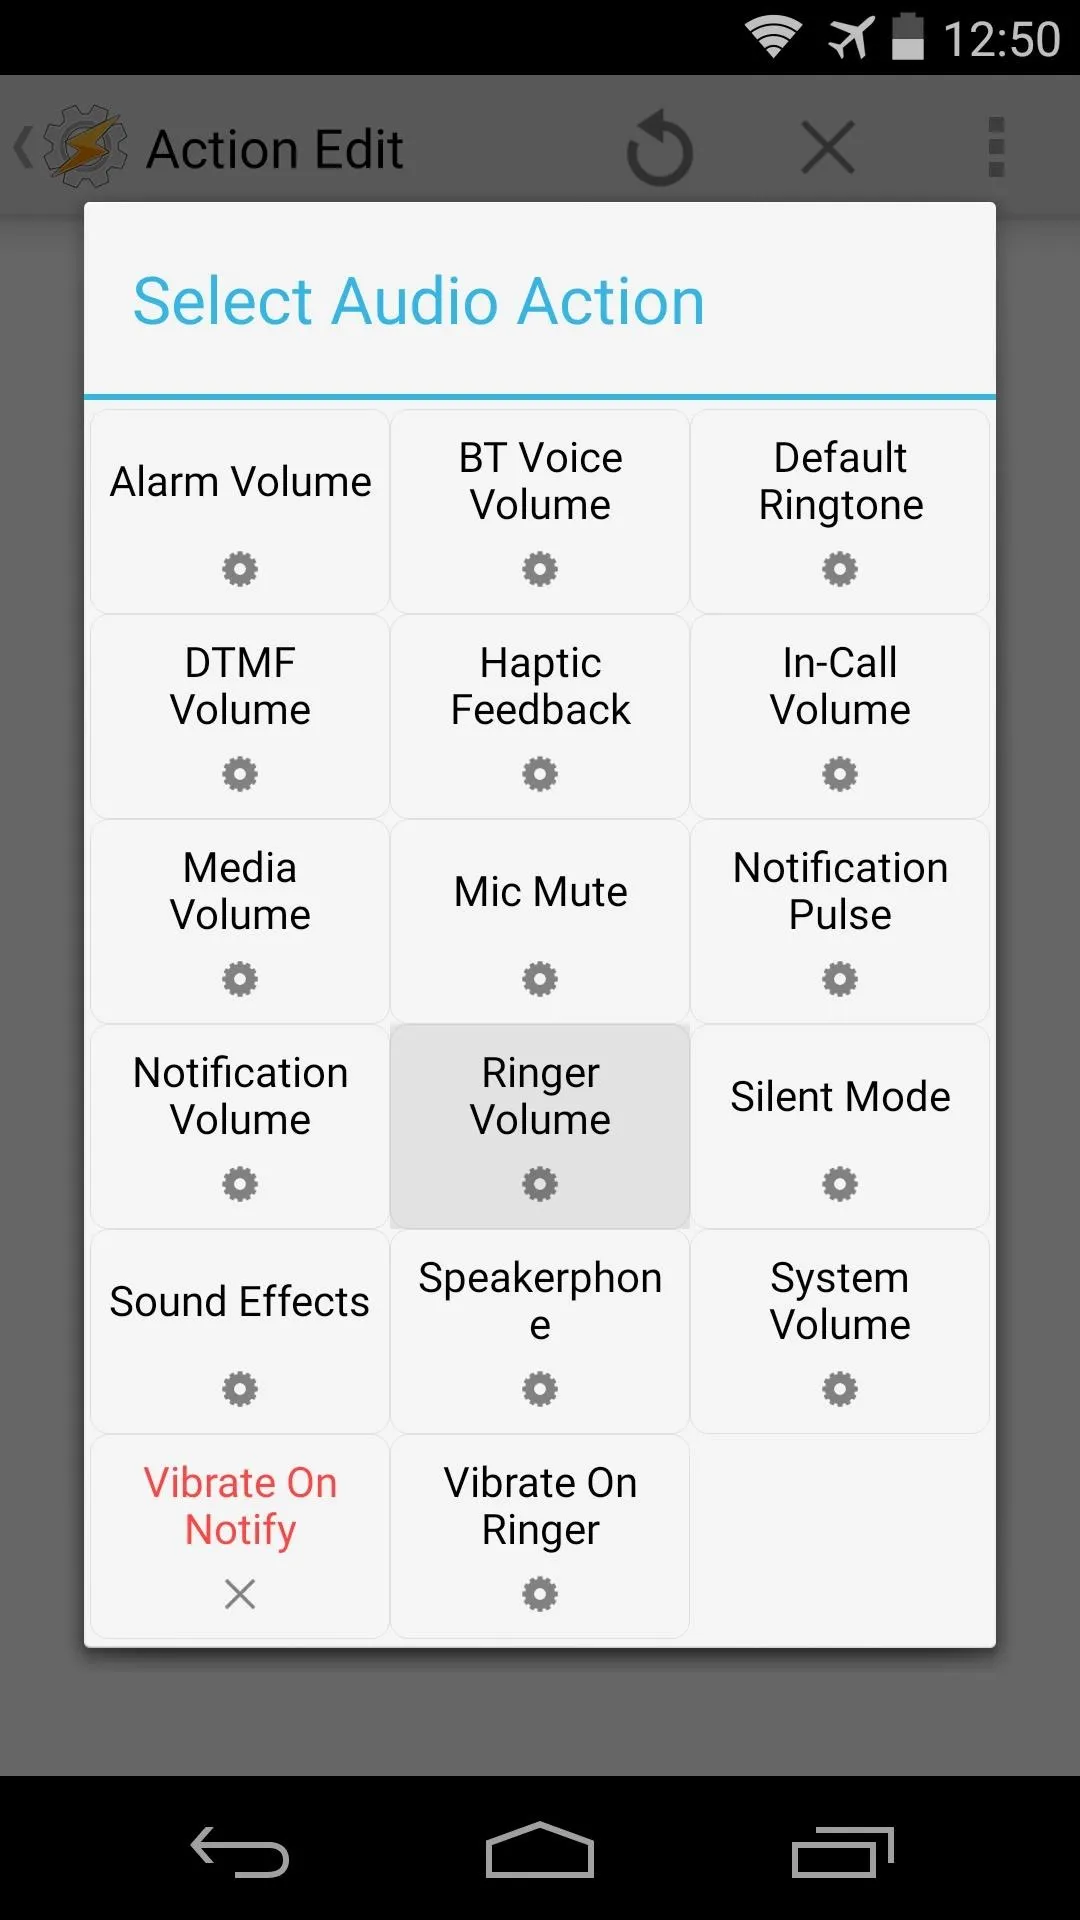
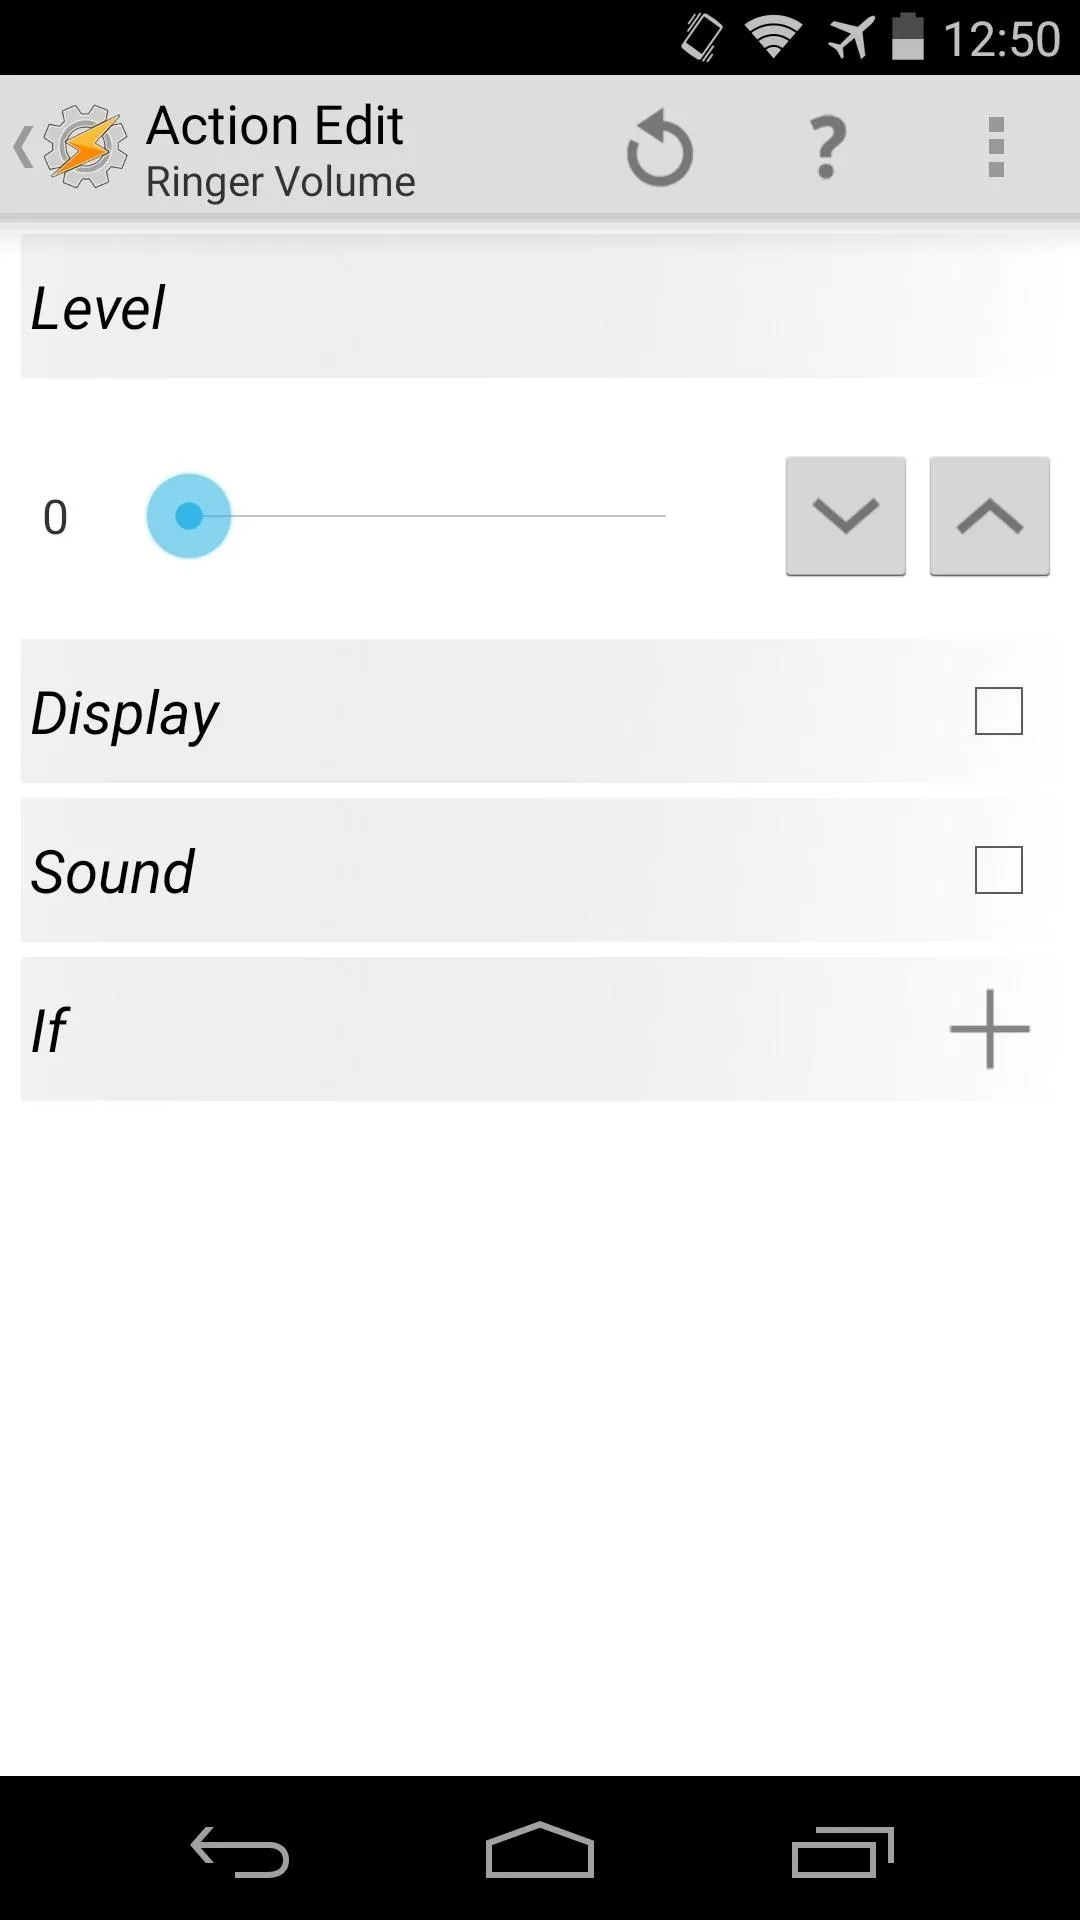
In my case, where I'm trying to mute my phone's ringer when I say the word "Mute" to Google Now, I can find that under the Audio category, then the Ringer Volume subcategory.
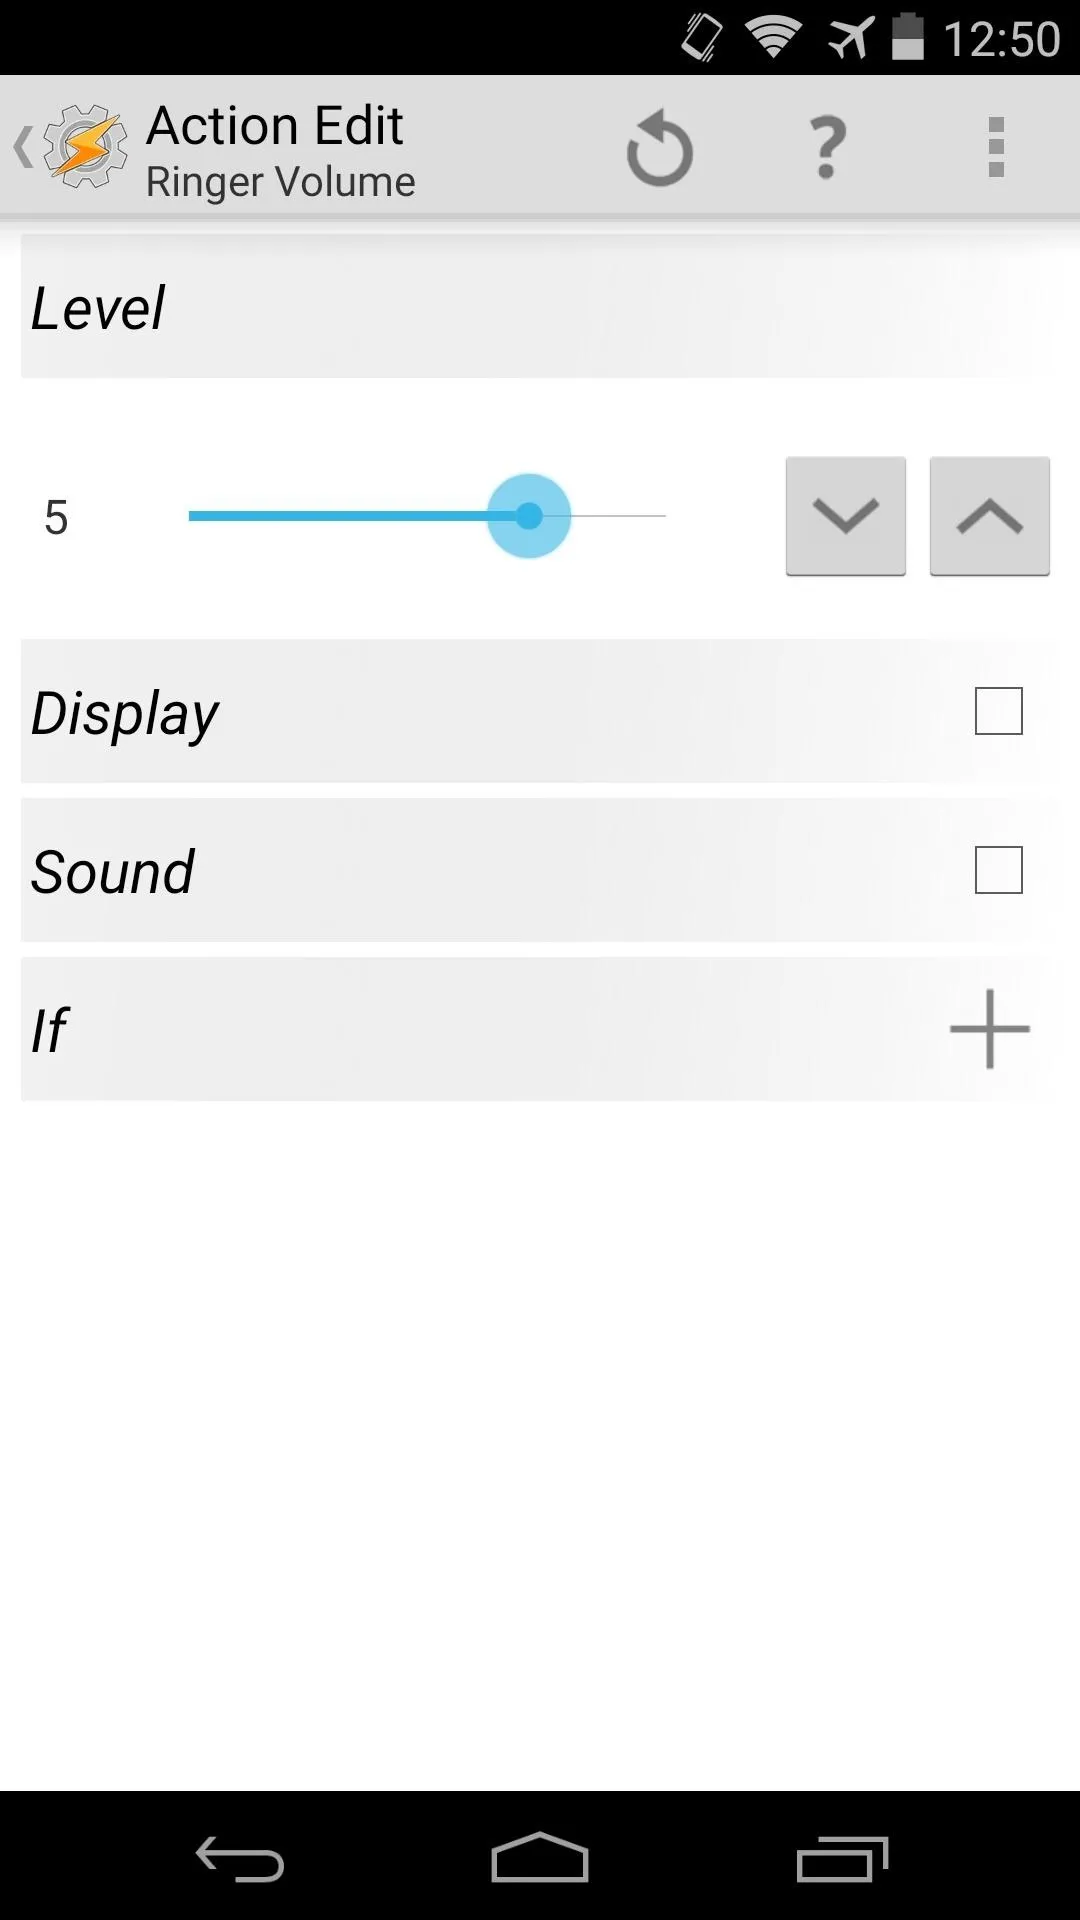
When you add such an action to your Task, you'll be given a chance to adjust the specific value that will be set by your AutoVoice Recognized command. Set your value, then press the Back button on your device to head back to the Task Edit screen.
At this point, if you only want your AutoVoice recognized command to execute a Task with one action, you're all set. But, if you'd like to add more actions to this task (e.g., mute ringer, then set vibration to ON), you can hit the Plus button to add another such action. Either way you go, just back all the way out of Tasker to make your Profile become active.
Executing Your Custom Voice Command
You can now run your Task by simply stating your AutoVoice Recognized command to Google Now. So for me, I'll just say "Okay Google, Mute", and my phone's ringer will be muted. This is because AutoVoice intercepted my command, then relayed it over to Tasker, and Tasker saw that the criteria for my Profile was met, so it executed my Task. And all of that happened in a fraction of a second!
To add more custom voice commands, just follow these same steps again. Create a new AutoVoice Recognized profile, then enter a new word in Step 4. Make this word perform a new action by creating another task like the one outlined in Step 5. Remember, you're only limited by your own imagination here (or the 4-character limit if you're still using the free version of AutoVoice).
What are some of the AutoVoice Recognized profiles that you've created? What Tasks are you triggering when that Profile's conditions are met, and have you tried reaching insane levels like the video below?
Let us know in the comments section below.


Comments
Be the first, drop a comment!