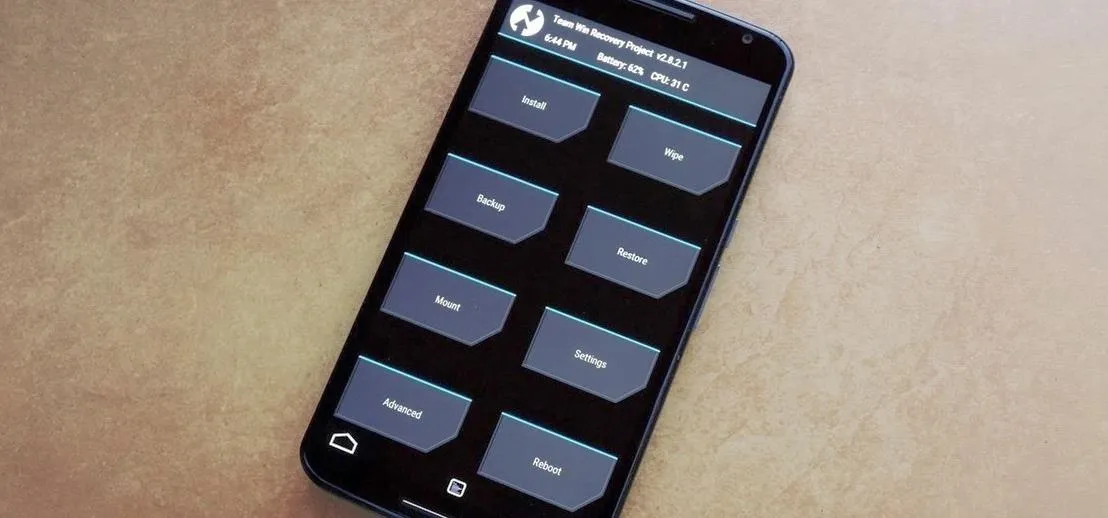
If you have a custom recovery installed on your Android device, the first thing you should have done as soon as you finished installing it was to create a Nandroid backup. But if you didn't, I'm not here to judge—I'm here to show you a much easier way.
What Exactly Is a Nandroid Anyway?
The term Nandroid is actually a portmanteau word of the type of memory your phone uses and the software that said memory stores. Flash memory uses NAND (or "Not And") gates to store its data, and the data it's storing in this case is the Android system files.
To create a Nandroid backup means to save a snapshot of the state of these NAND gates in order to preserve a copy of your existing Android setup. If your device ever falls victim to a "soft brick" or endless bootloops, you can simply restore this backup, and everything will revert to exactly the way it was before.
How to Create a Nandroid More Easily
The process of creating a Nandroid backup is a bit of a pain. You have to boot into recovery, then wait until the backup finishes before you can use your phone again. It's for this reason that developer Thomas Otero created Online Nandroid Backup, an app that allows you to make Nandroid backups from within Android.
Instead of putting your phone out of commission for a good 30 minutes with the traditional method, you can now tap a button, then go about using your device while a Nandroid backup is created in the background.
Prerequisites
Install Online Nandroid Backup
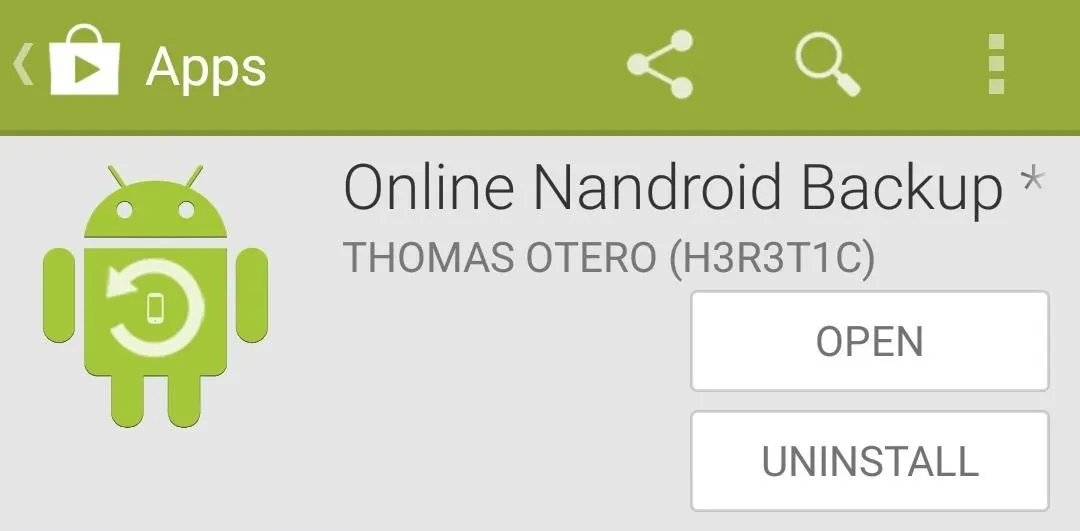
The app that makes all of this possible is available for free on Google Play. Search Online Nandroid Backup to get it installed, or head to this link to skip directly to the install page.
Configure Your Backup Settings
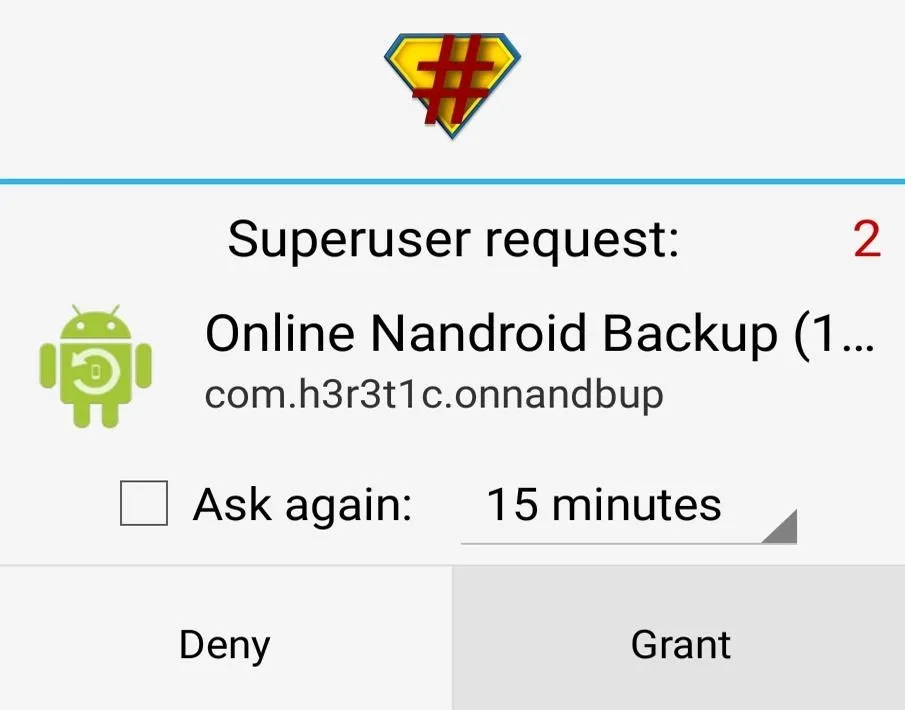
When you first launch Online Nandroid Backup, the app will ask for Superuser privileges, so Grant it those.
Choose a Backup Name
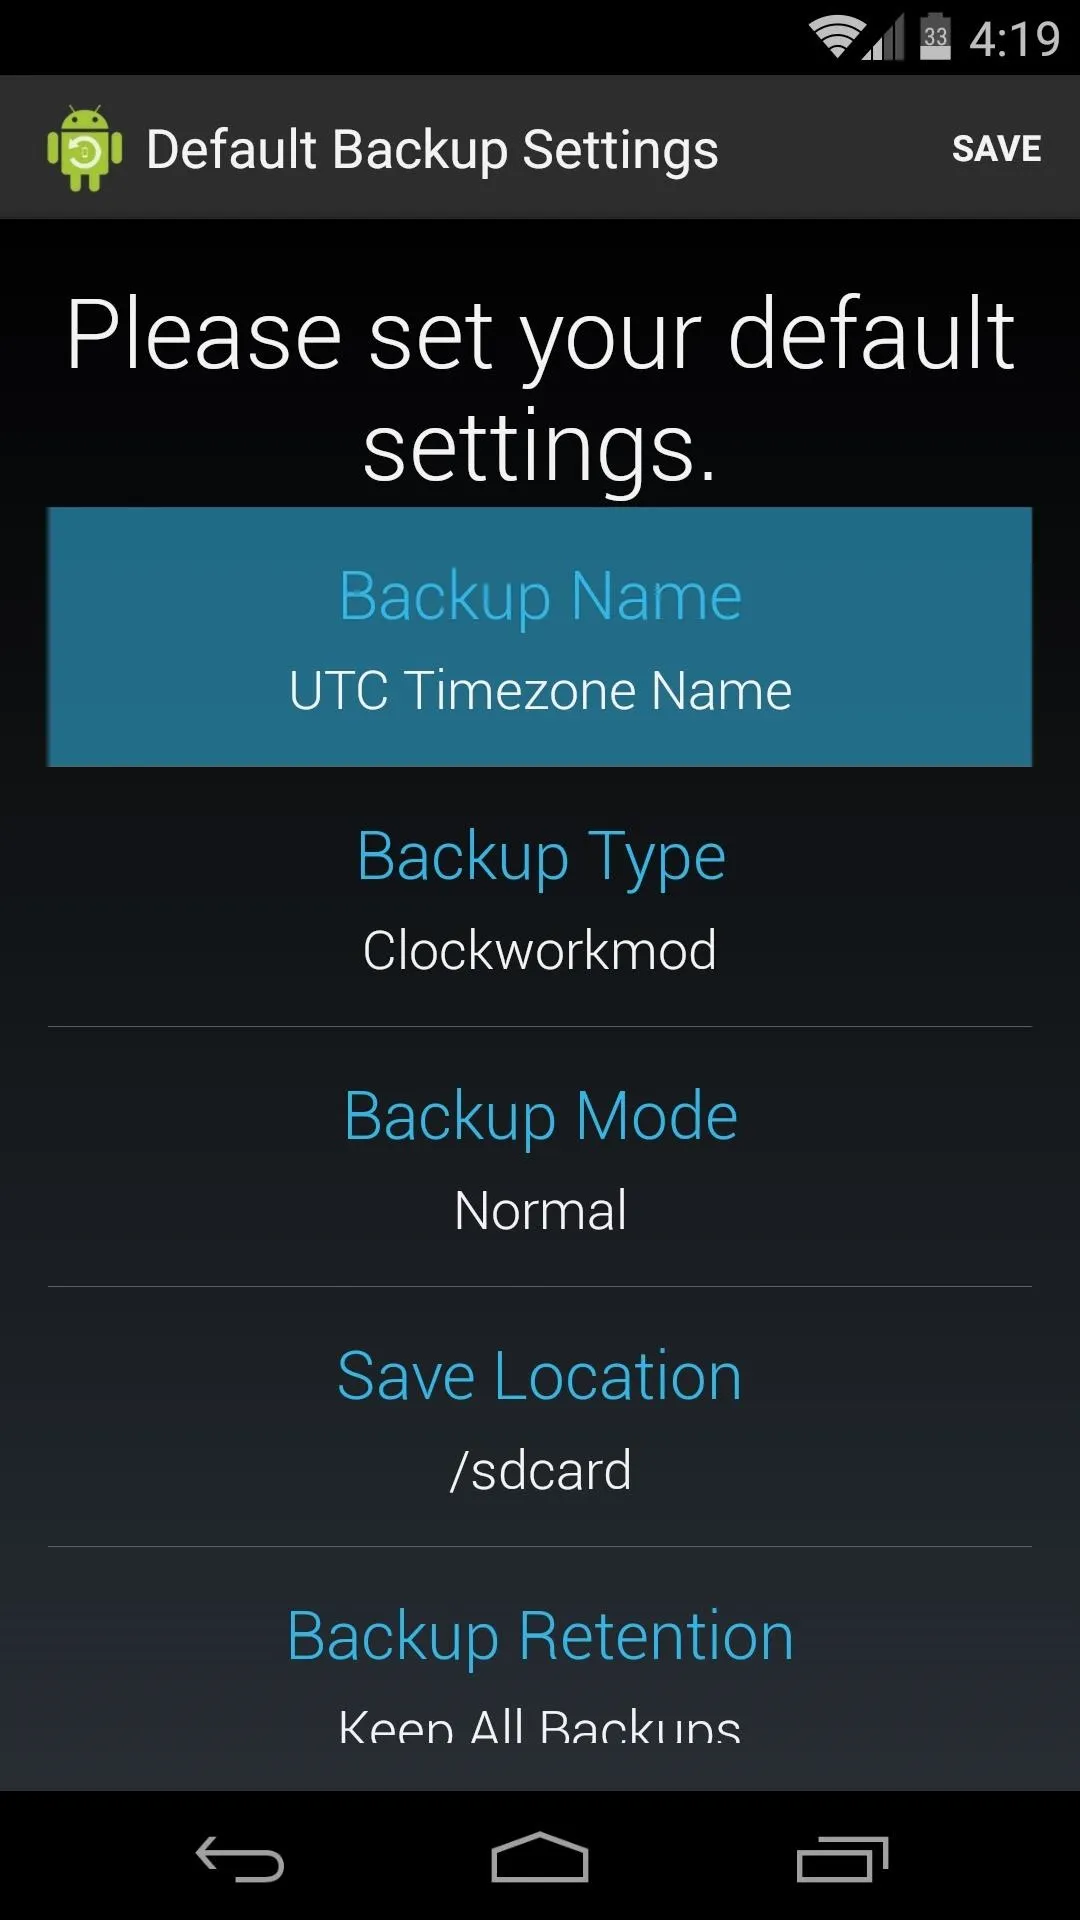
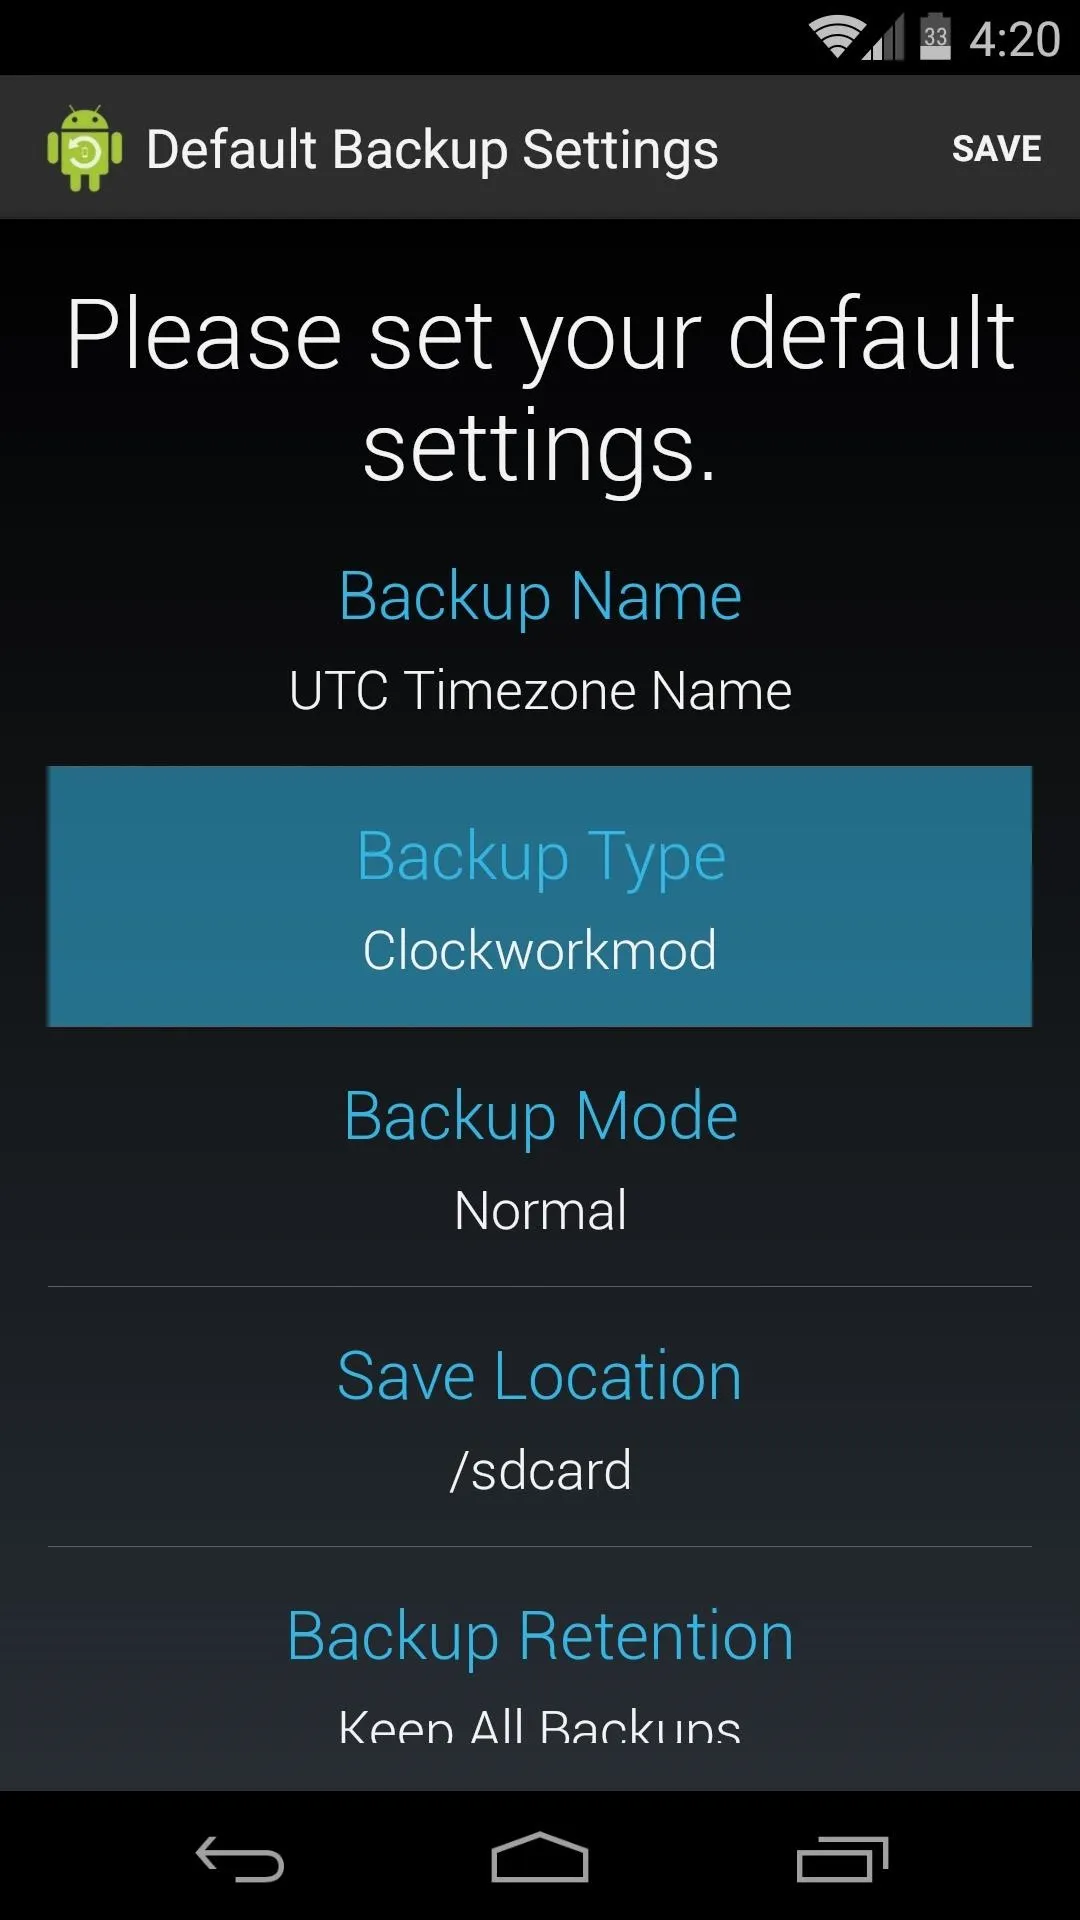
Then, you can go about the process of configuring the various backup options. First up is Backup Name. Here, you can choose how you'd like your Nandroid to be labeled. The default option of UTC Timezone Name labels the file according to the date on which the backup was performed, and that is probably best for organizational purposes.


Choose a Backup Type
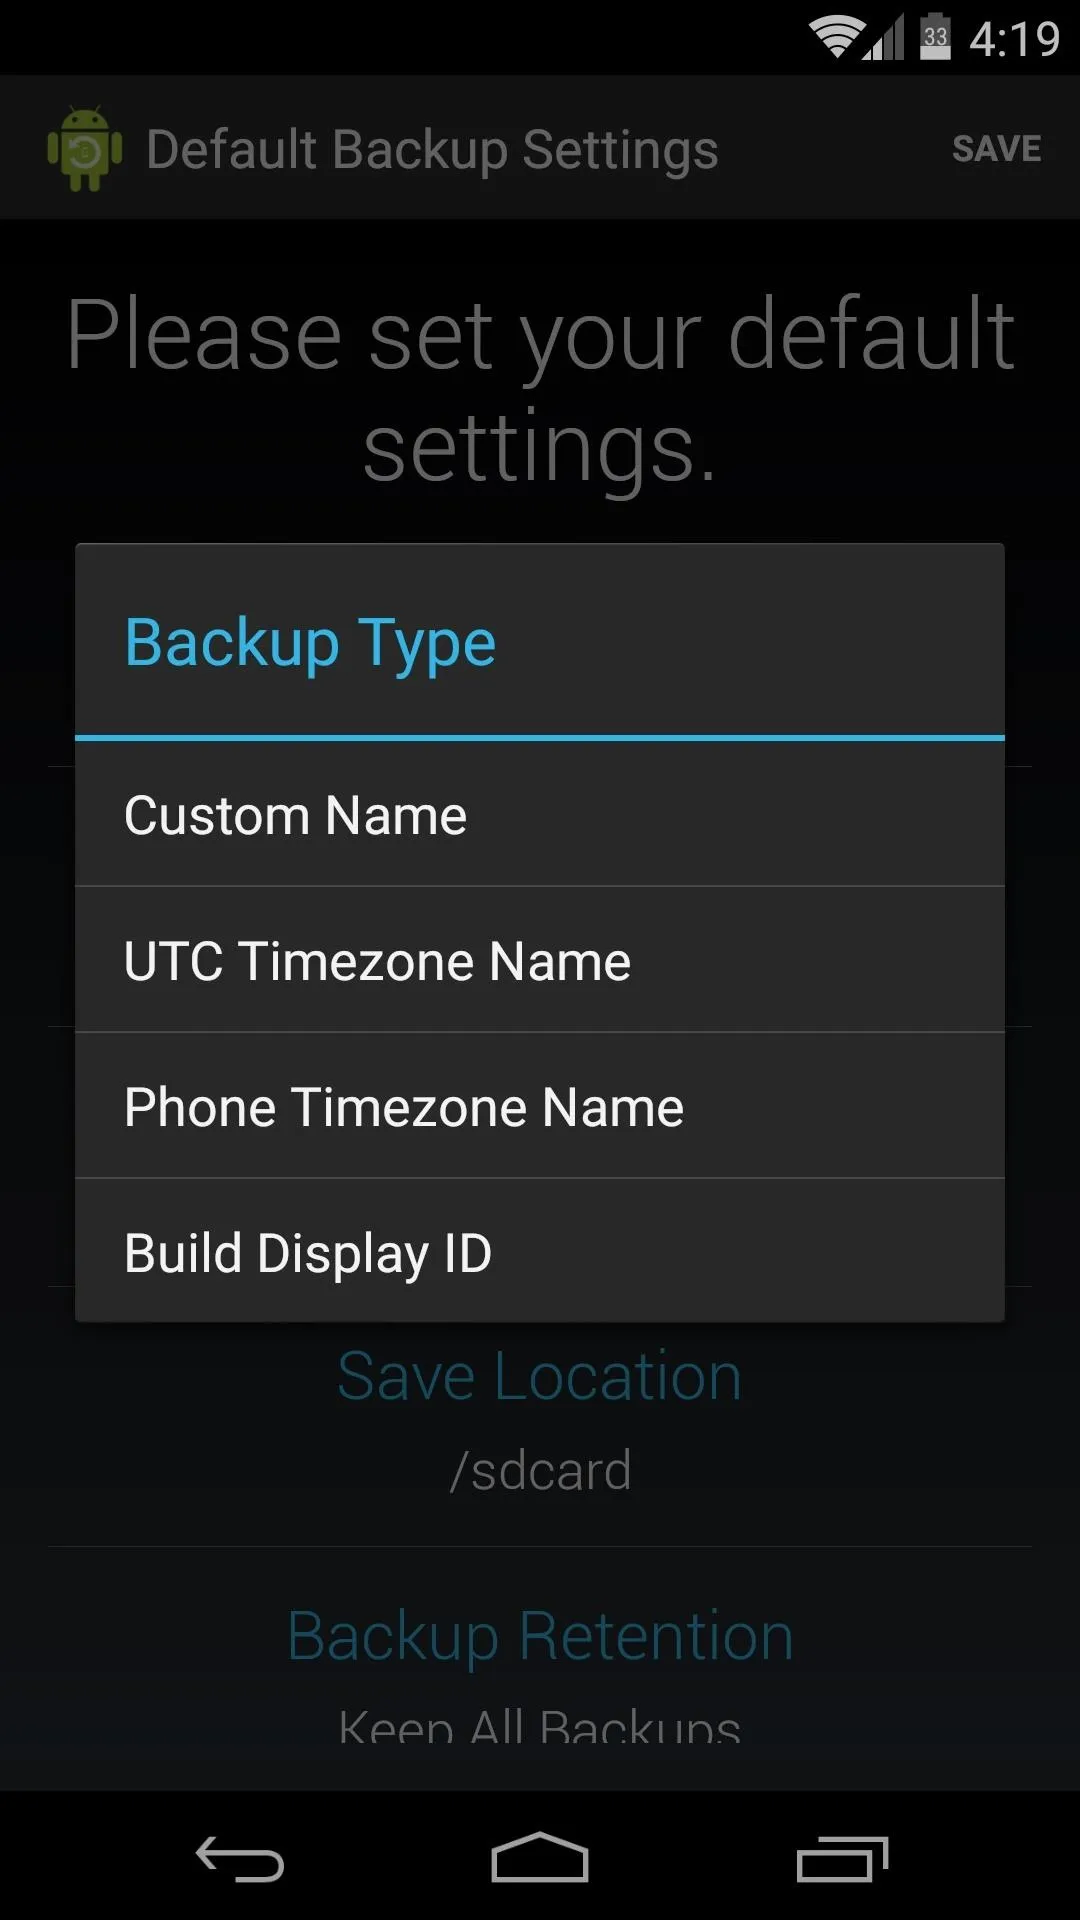
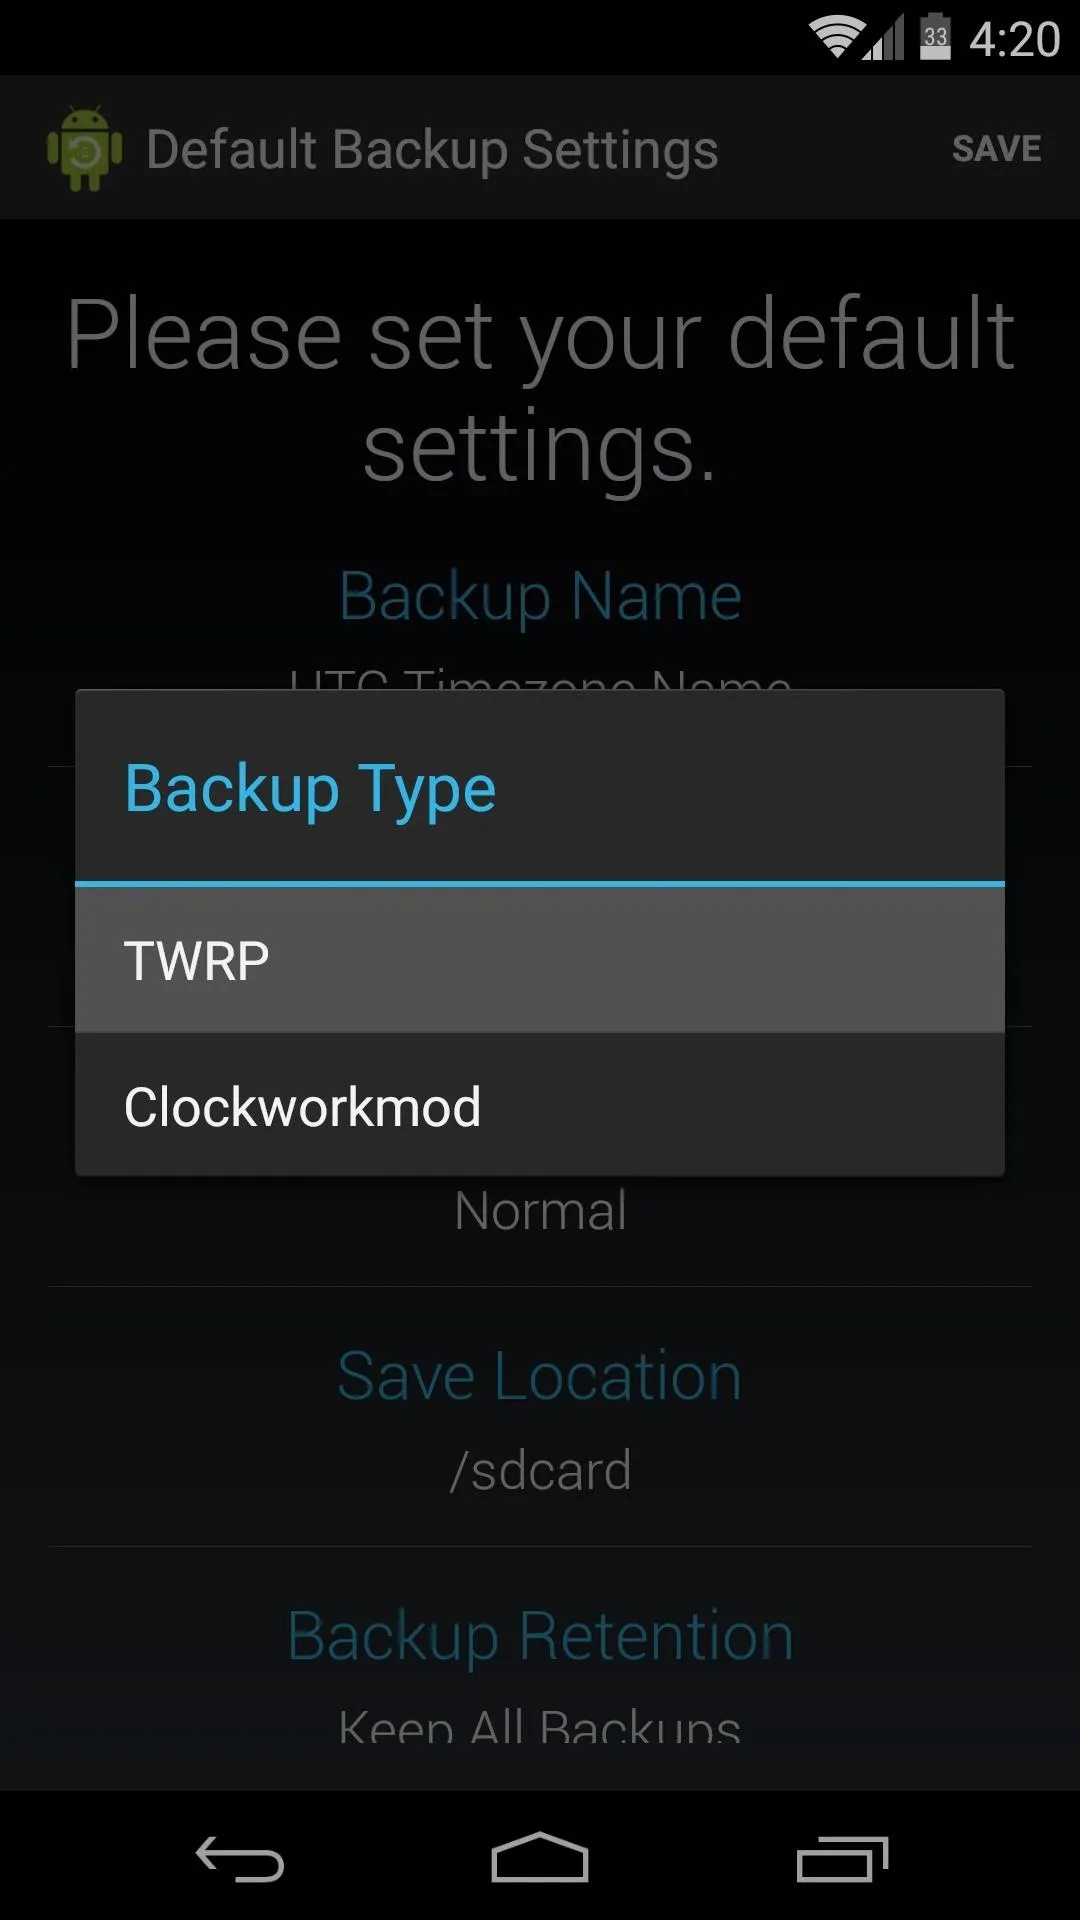
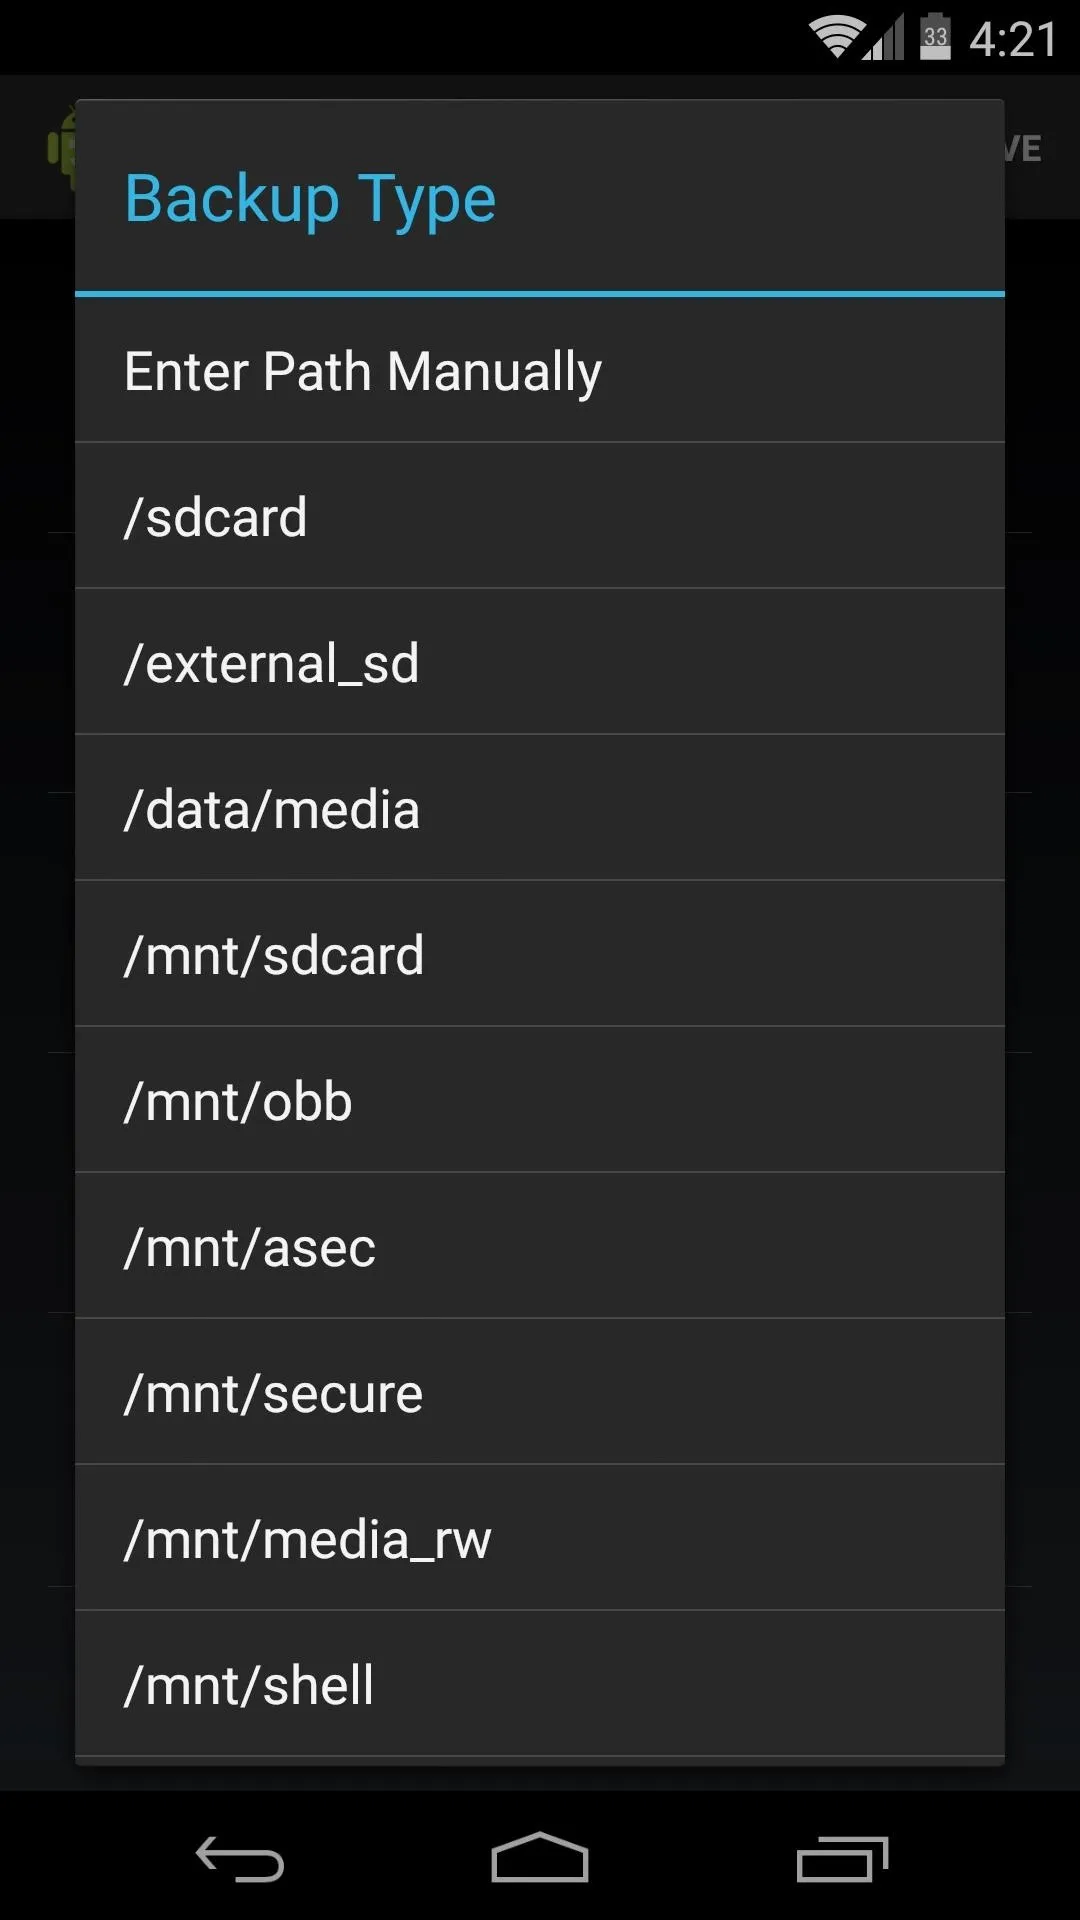
Next, and most importantly, you can set the format in which the backups will be stored. Since different custom recoveries use different formats to store their Nandroids, you'll need to tell the app which recovery you use first.
By default, it's set to ClockworkMod, but if you use TWRP, you'll need to set that as your Backup Type.


Choose a Backup Mode
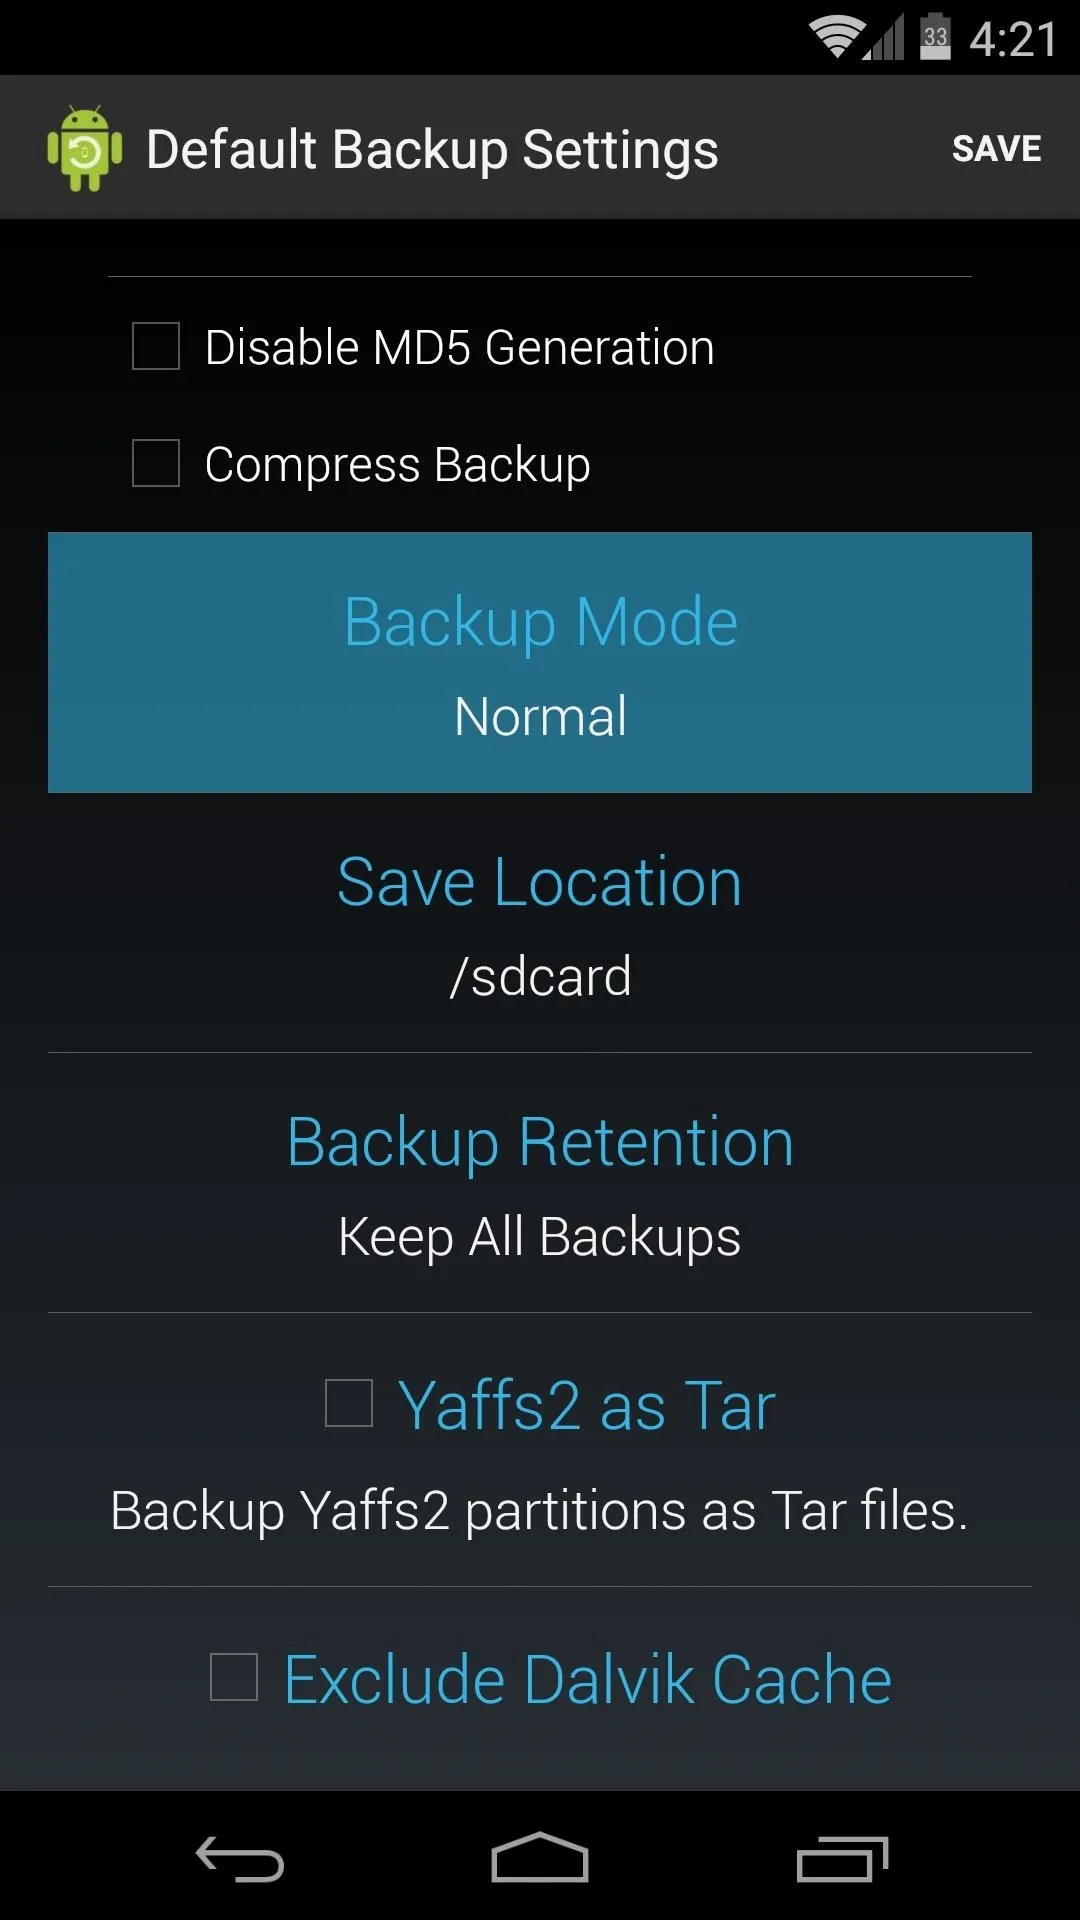
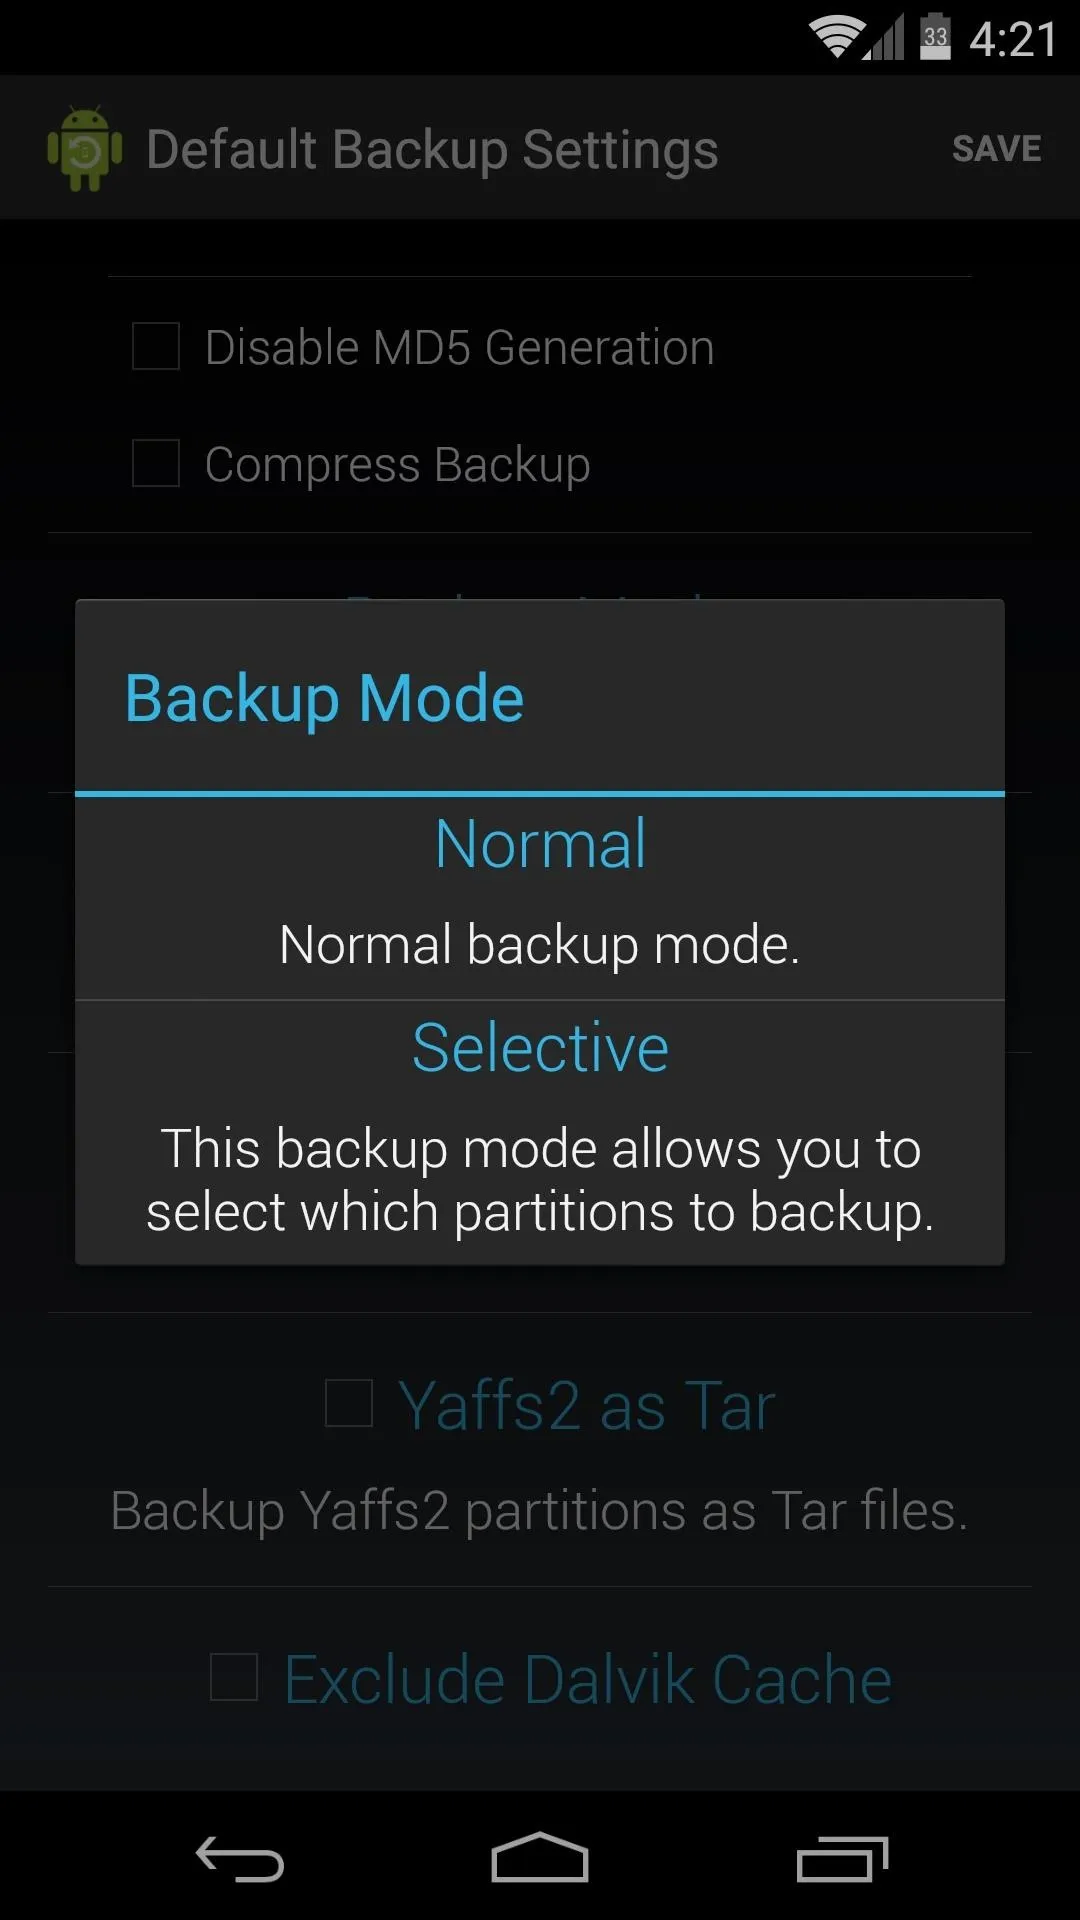
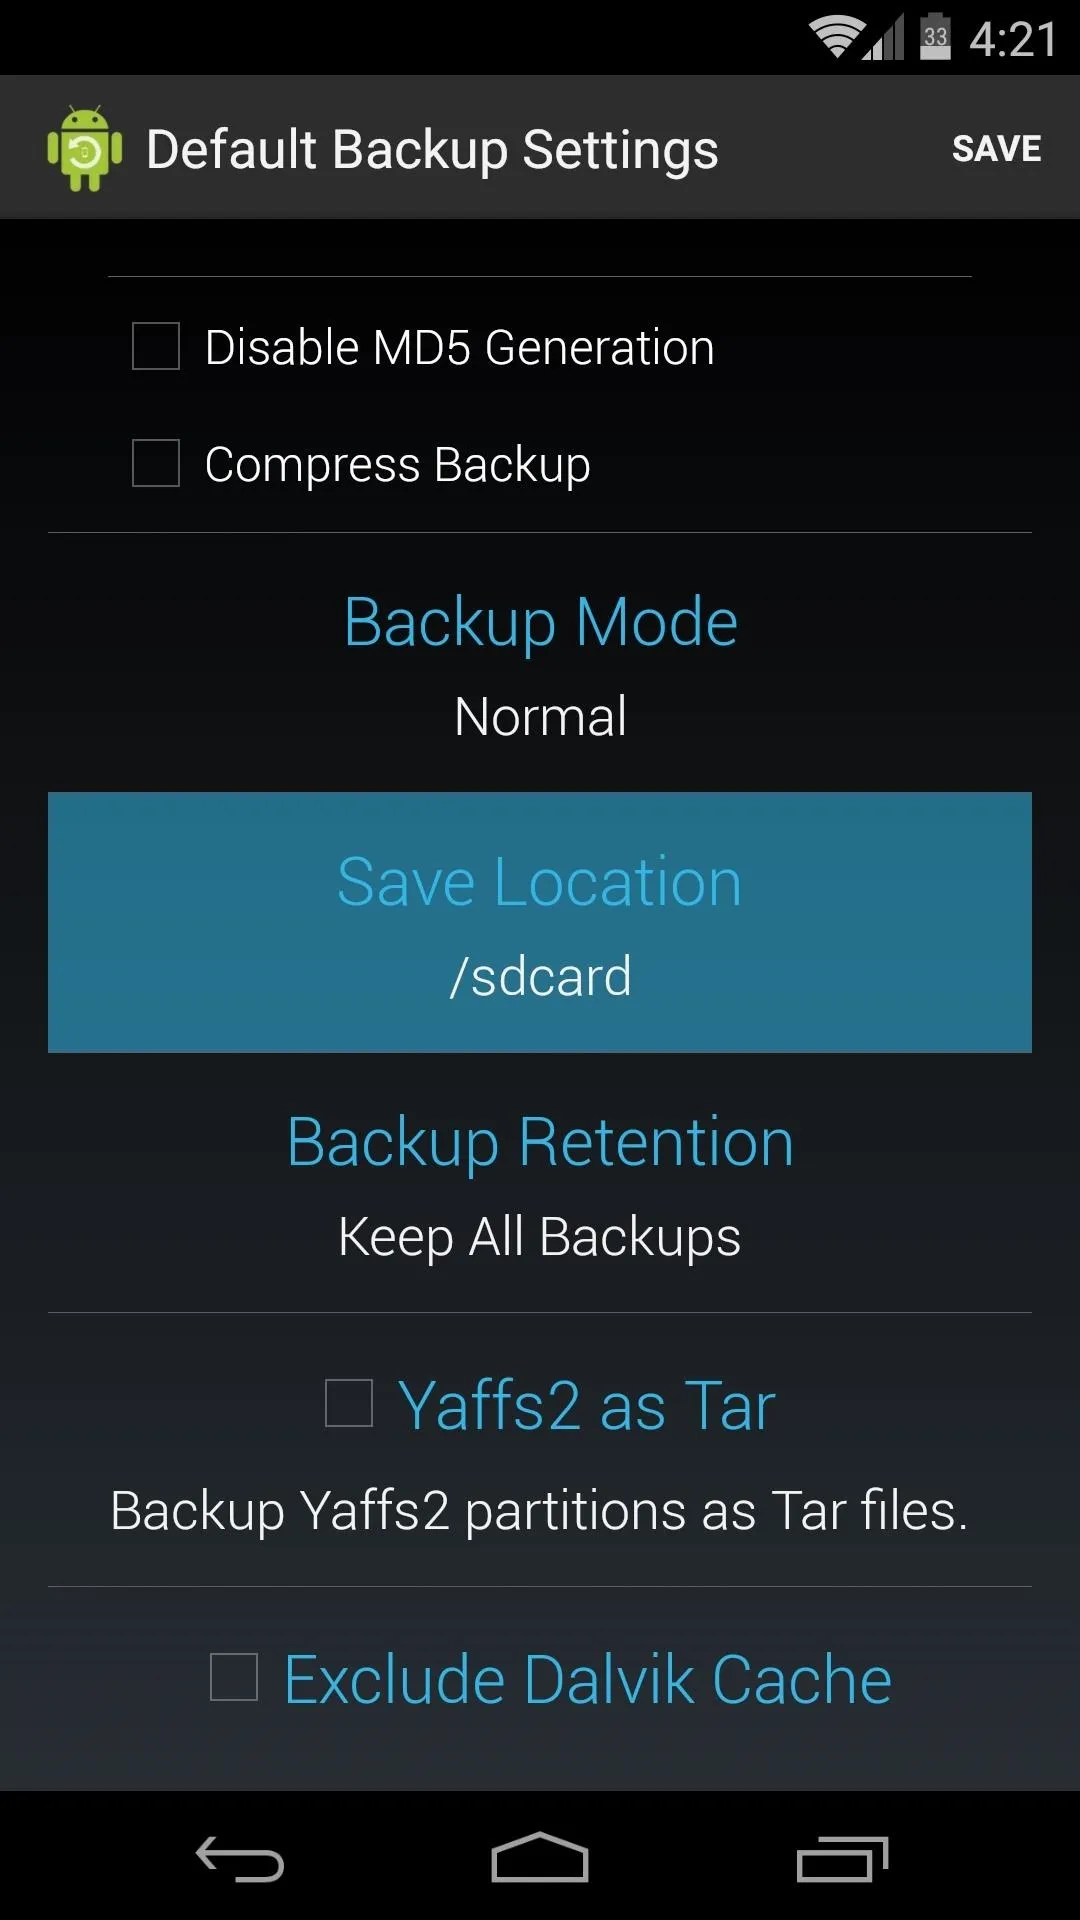
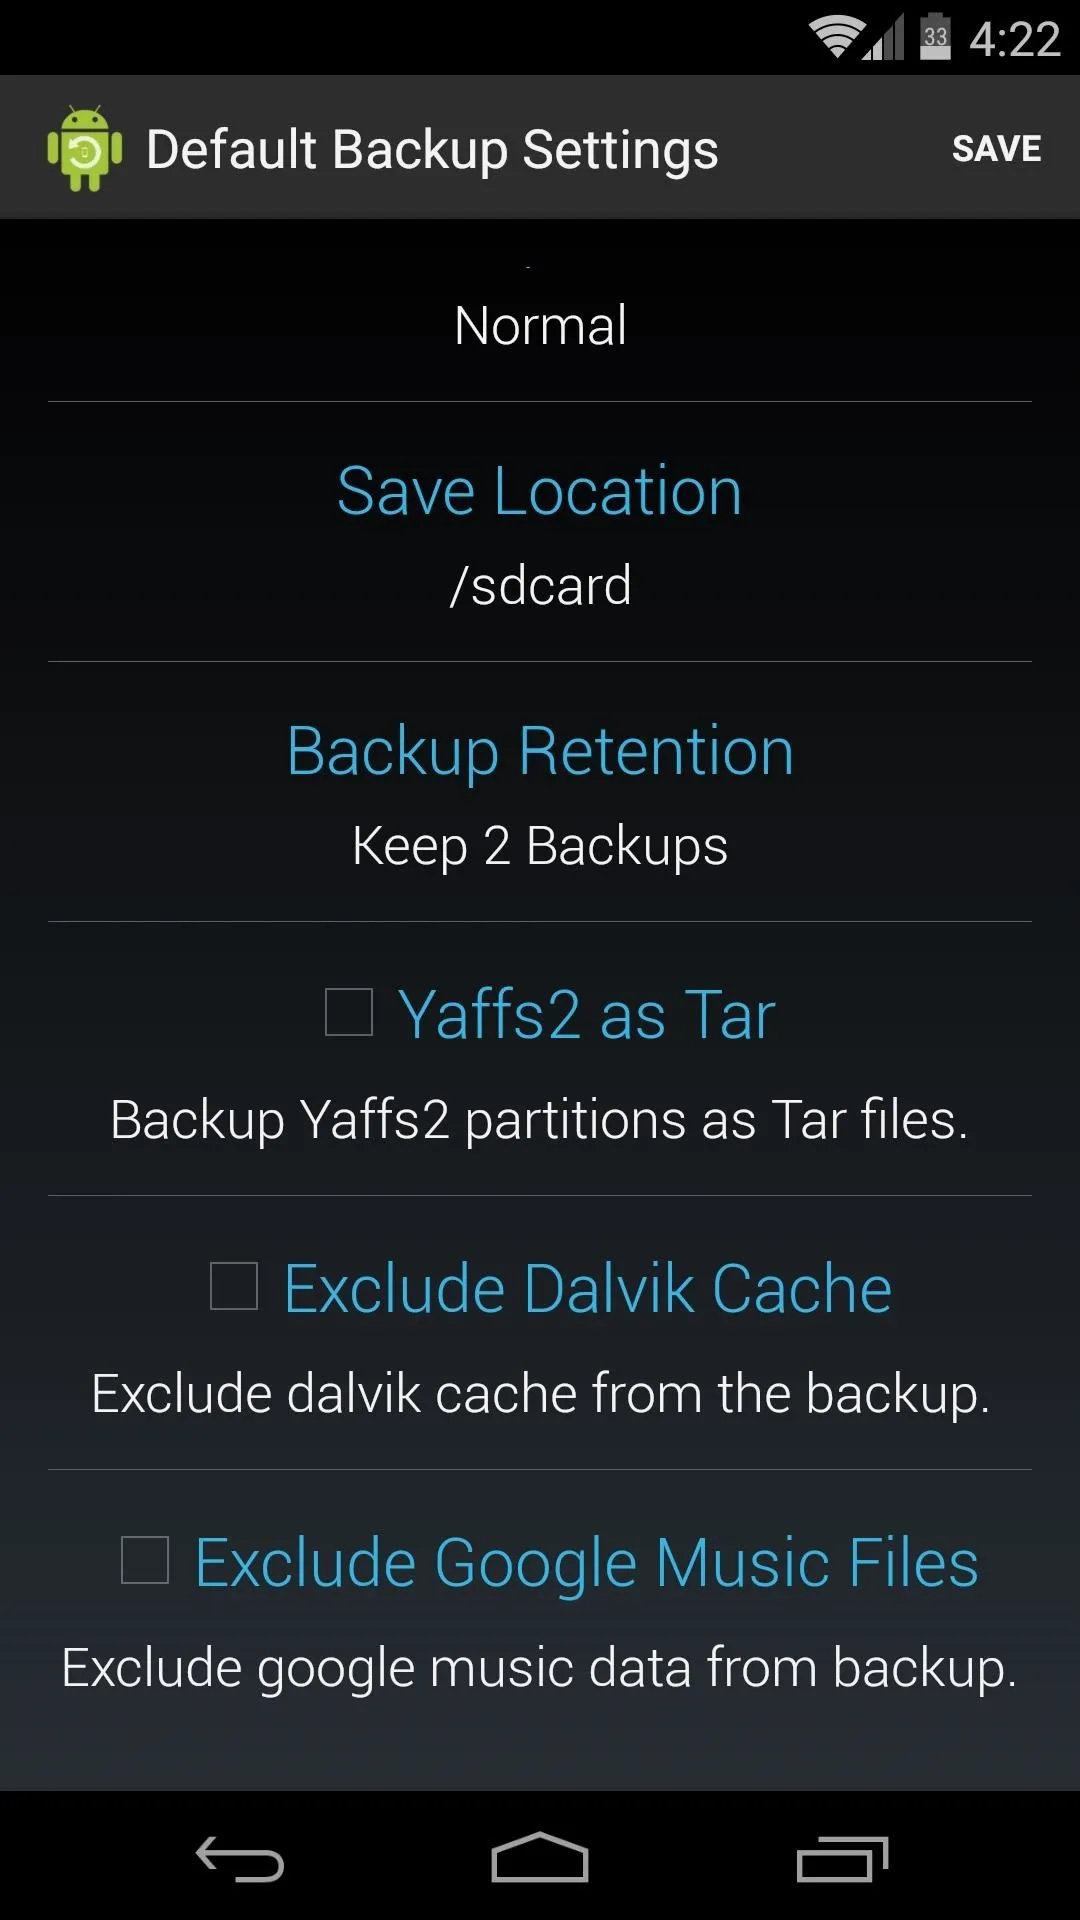
After that, you can choose which partitions to back up with the Backup Mode option, but the default setting of Normal is probably best.


Choose a Save Location
With the next entry, you can set the Save Location of your Nandroid backup file. Just make sure its set to a location that you can remember.


Choose a Backup Retention
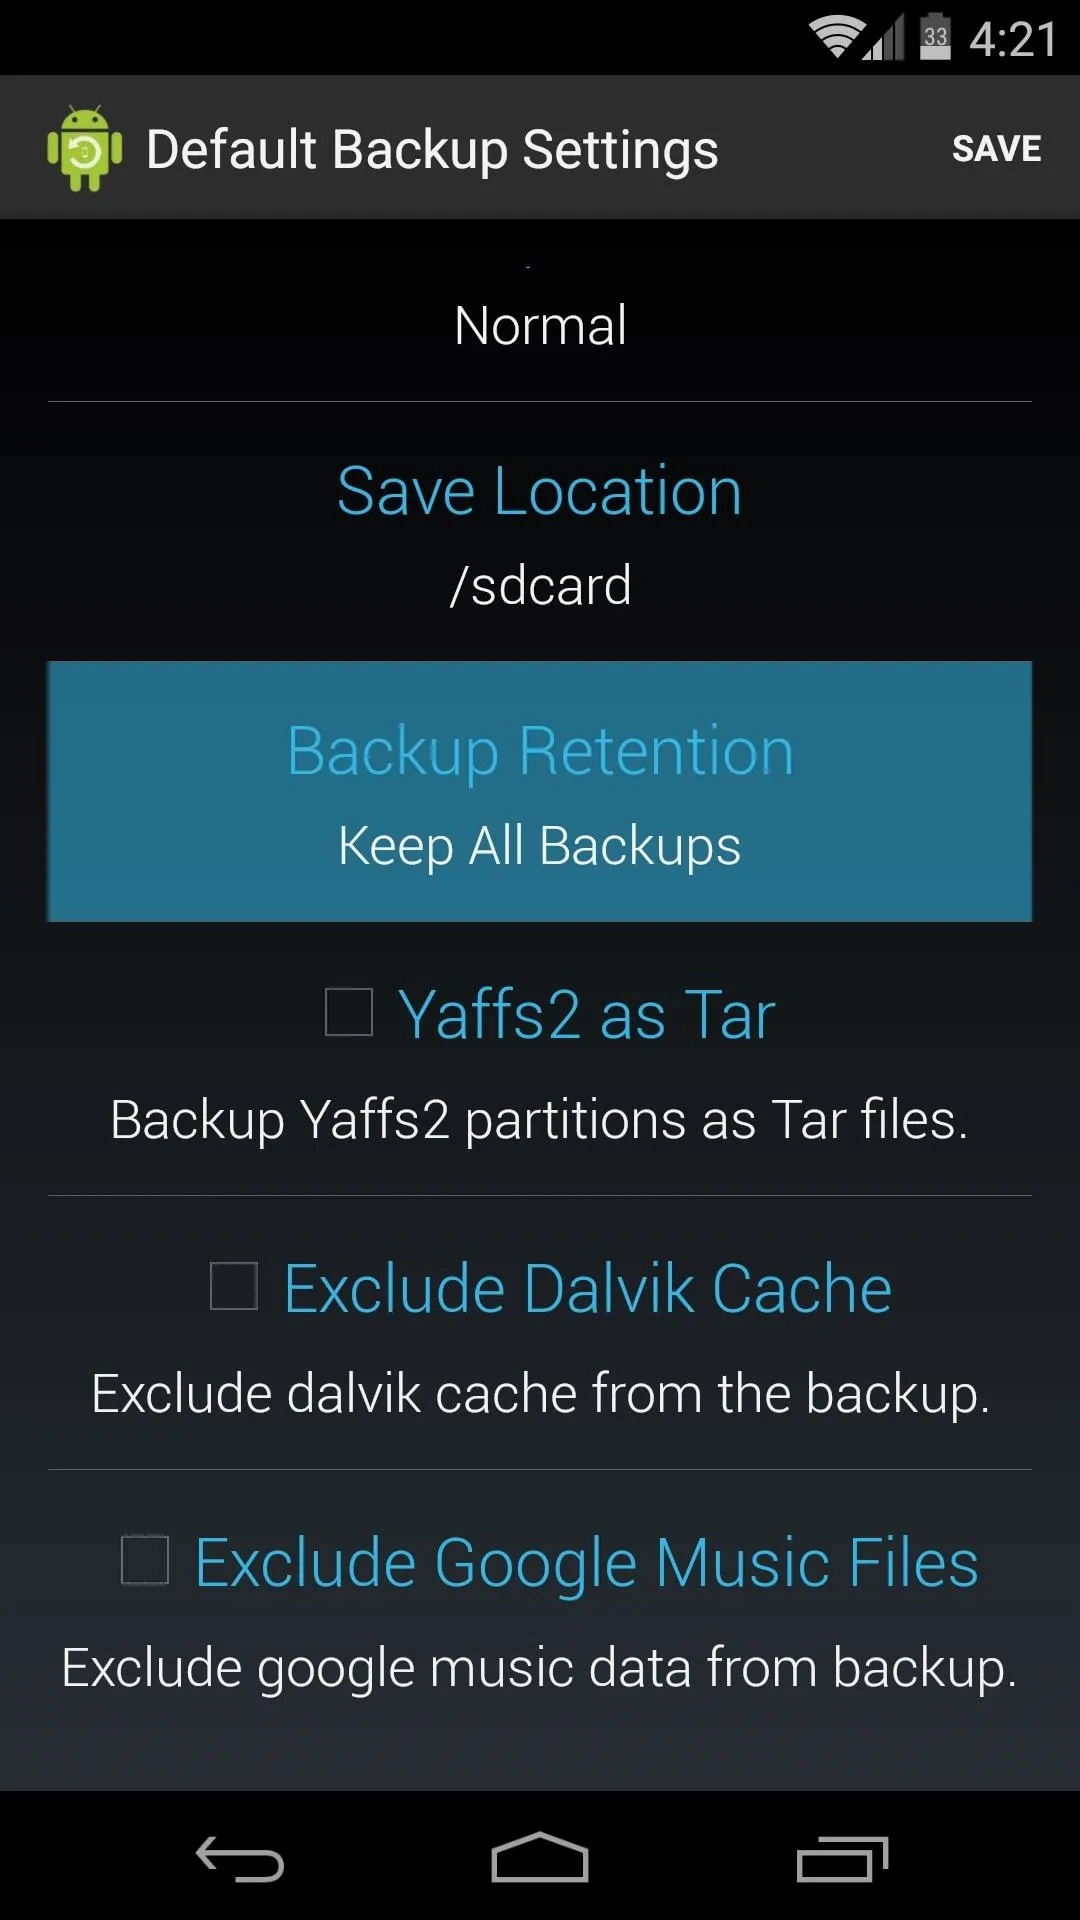
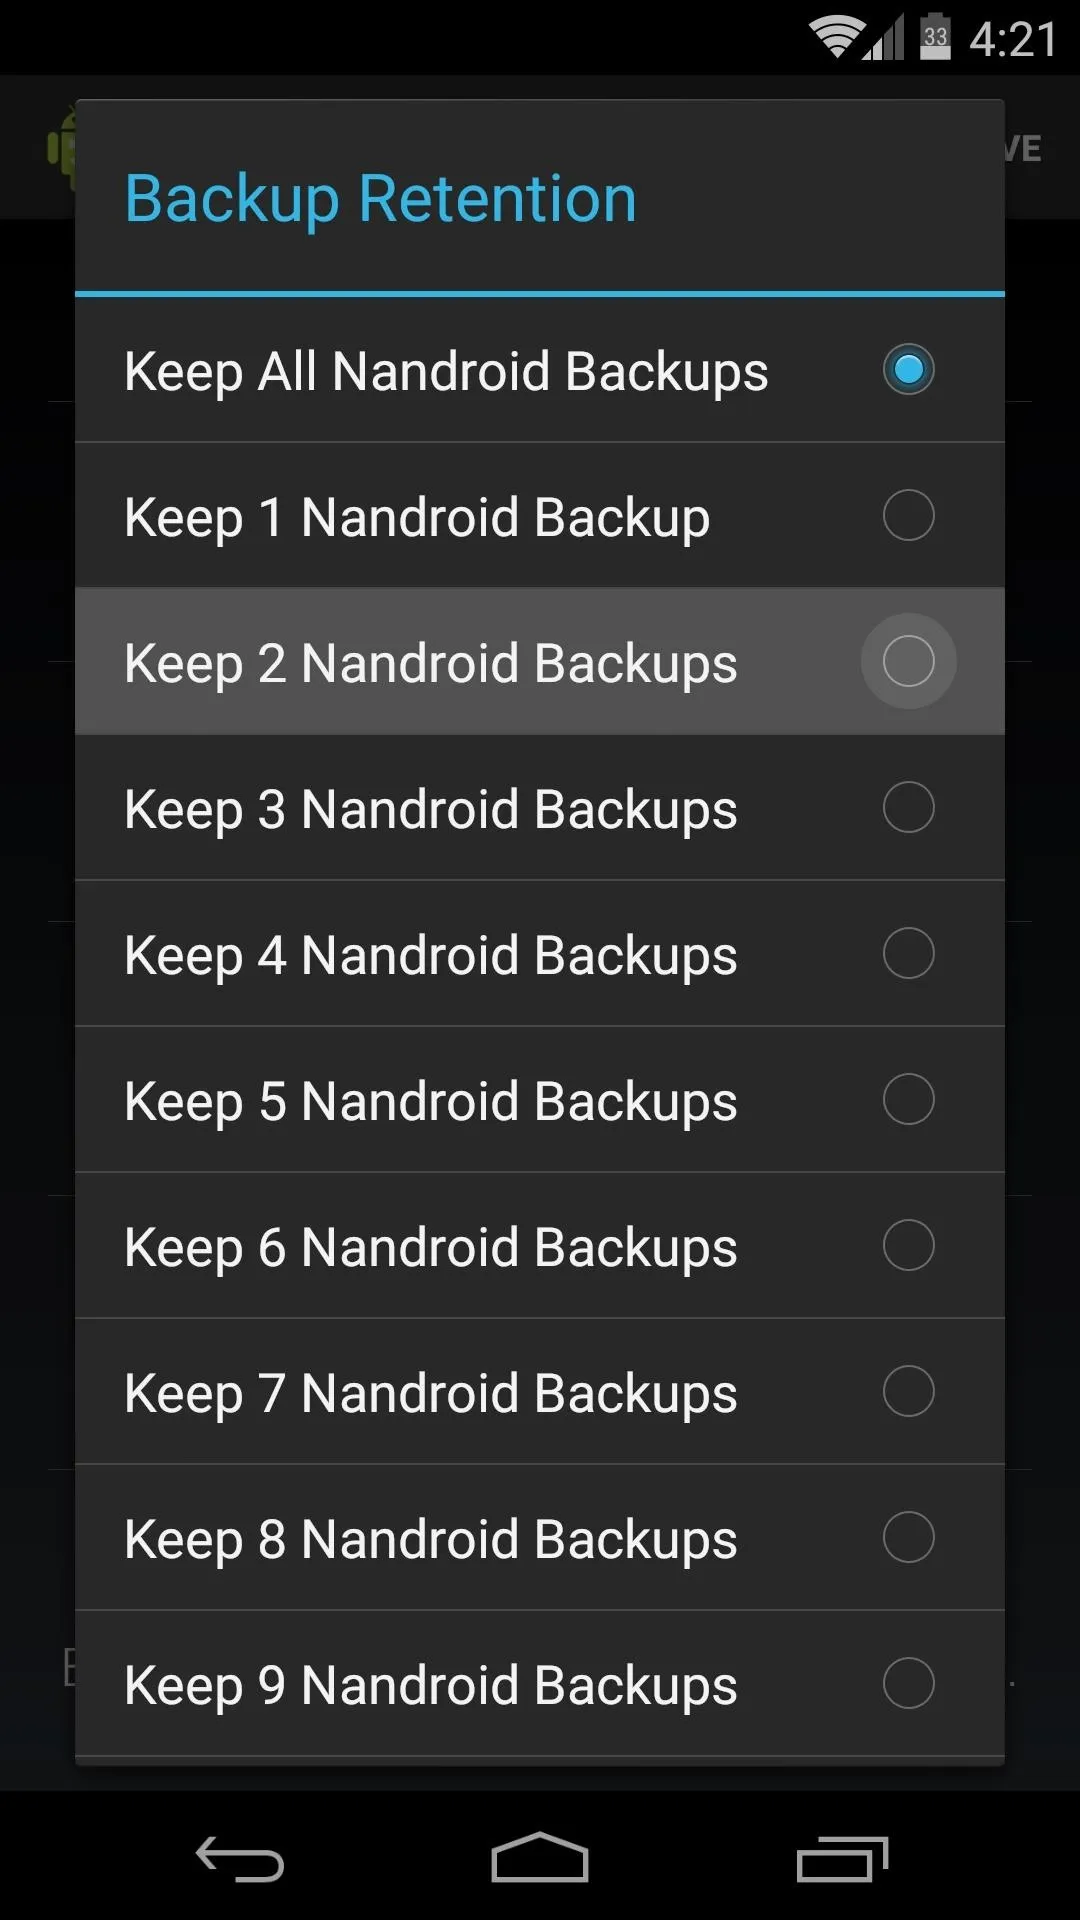
The Backup Retention option allows you to set how many backups you'd like to keep before older backups are overwritten in favor of newer ones.
Remember, a Nandroid is a copy of your entire system, so these files can be a bit big. For this reason, I'd recommend setting this value to 1 or 2.


Save Your Chosen Settings
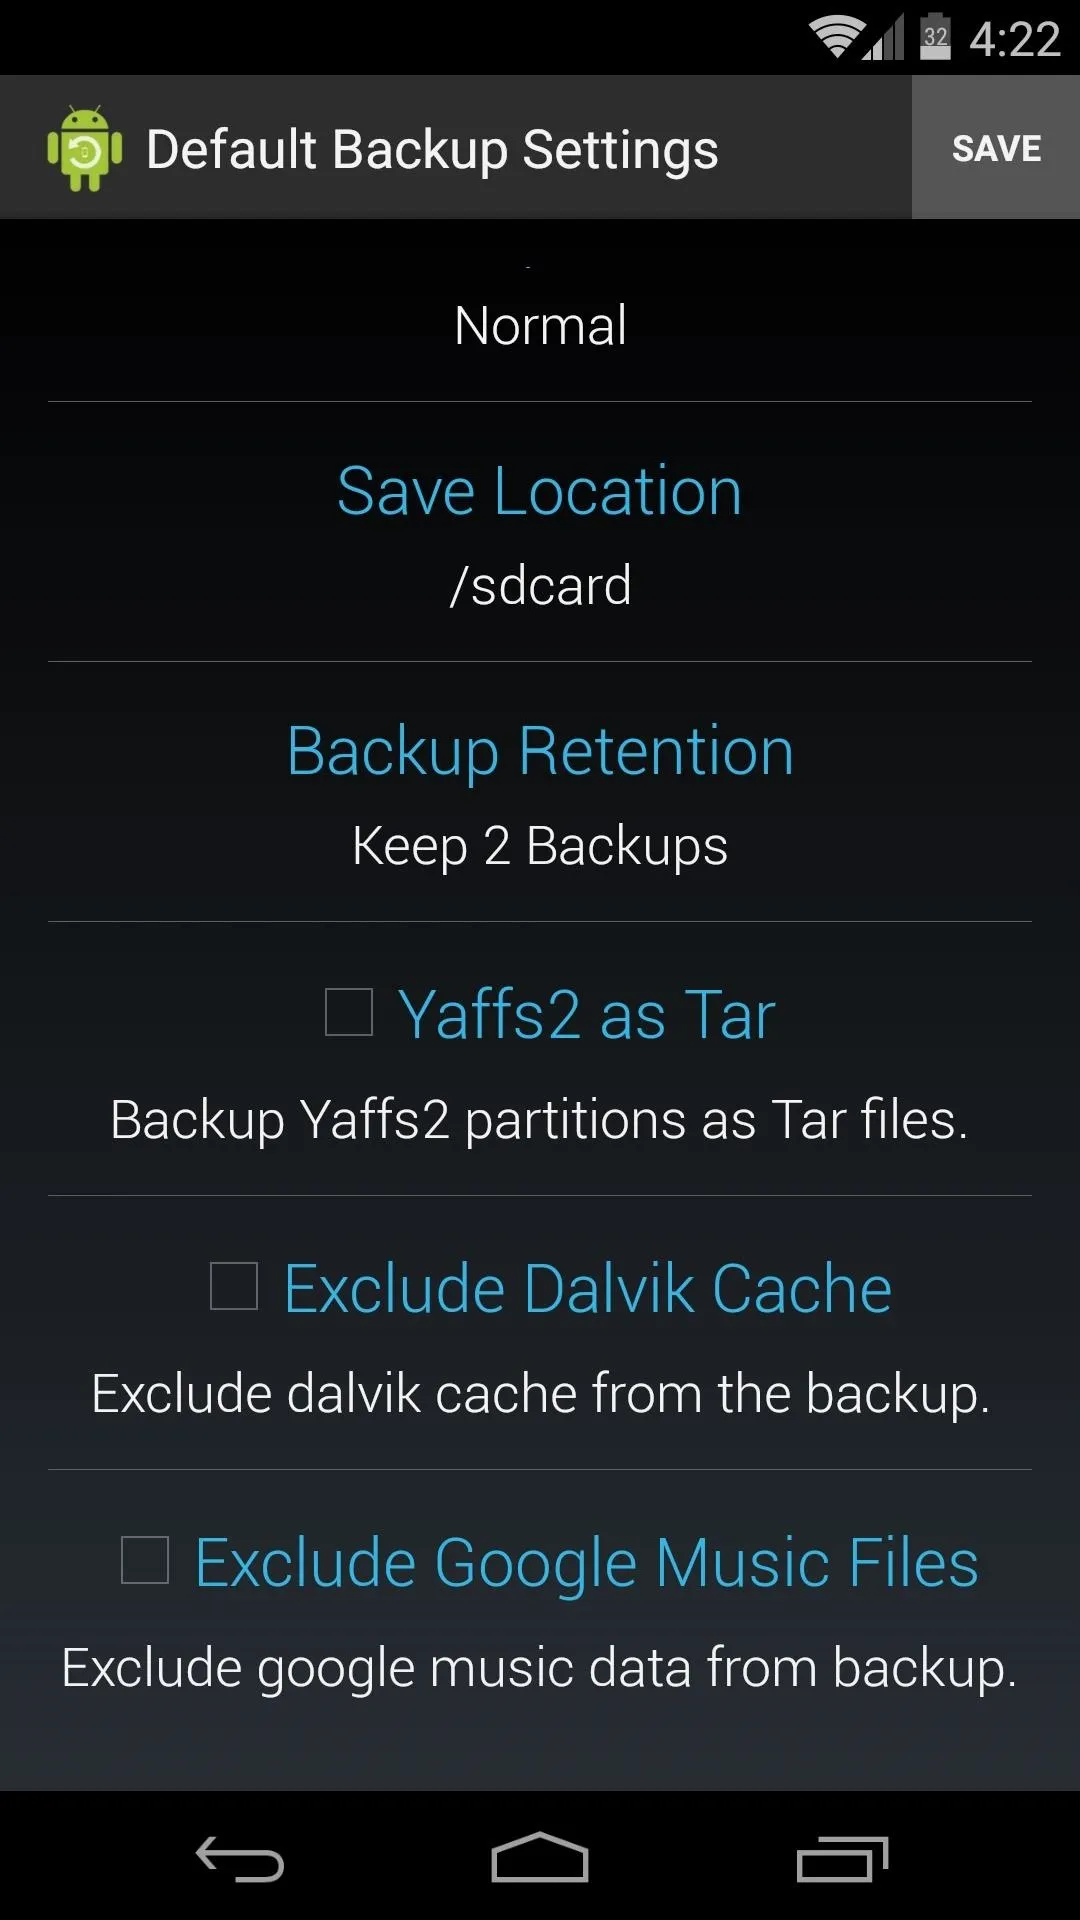
After that, there are a few options for minor cache and filetype configurations, but these values can be left alone on most setups. When you're done configuring these settings, be sure to hit the Save button at the top-right.


Perform a Nandroid Backup
With all of your settings configured, using Online Nandroid Backup will be as easy as pie from here out.
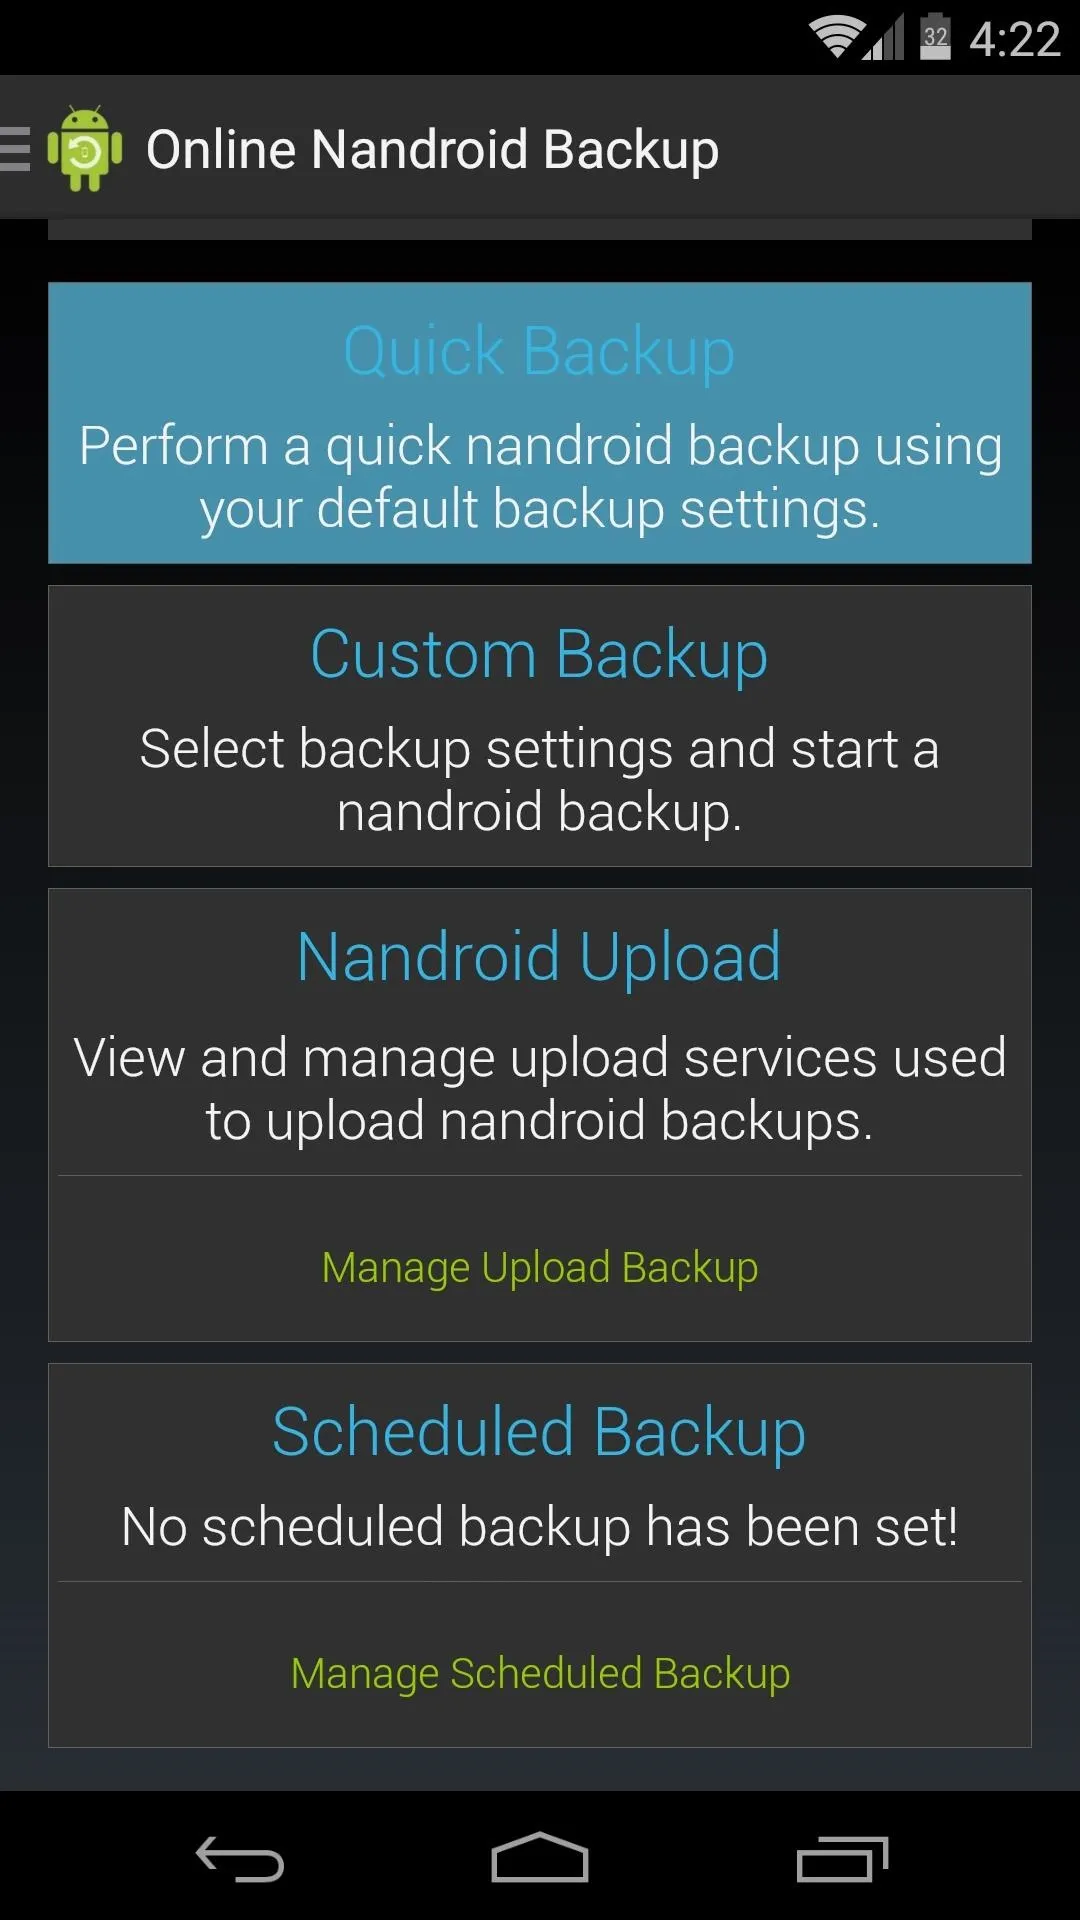
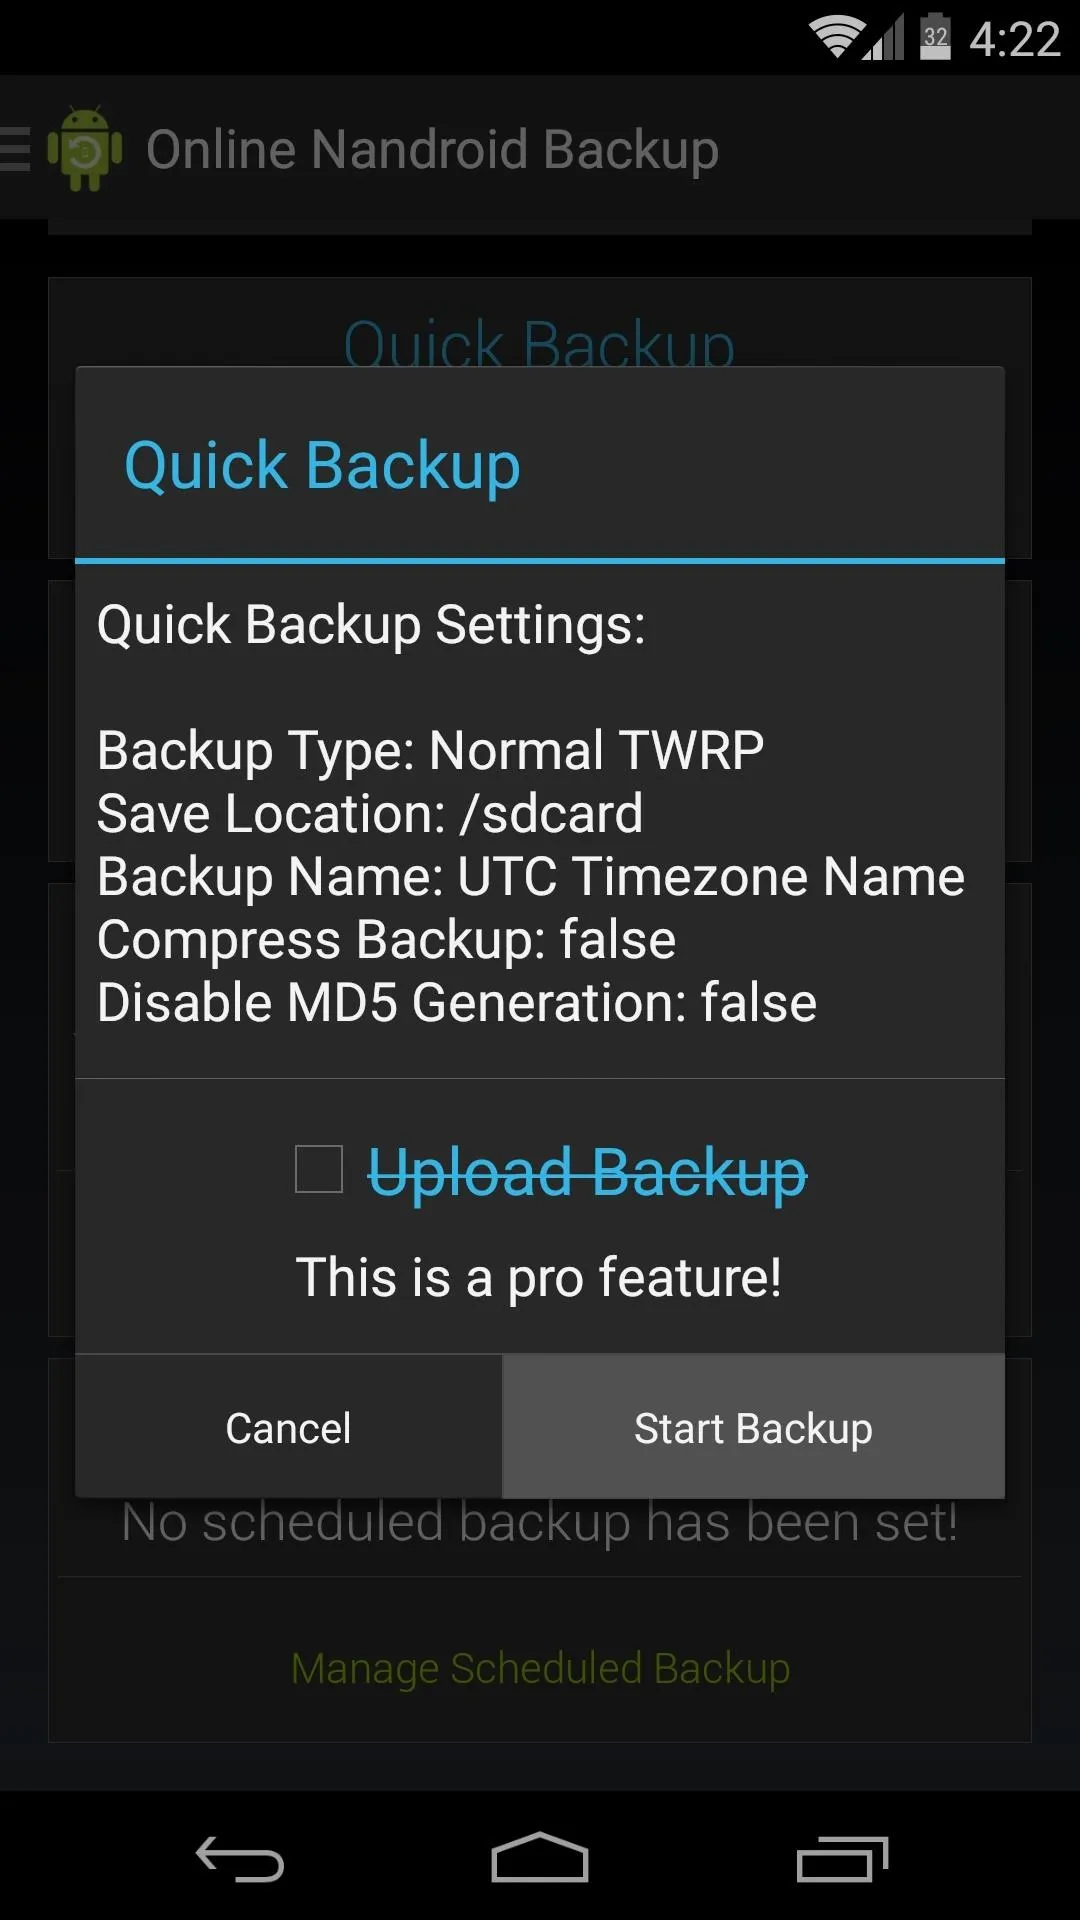
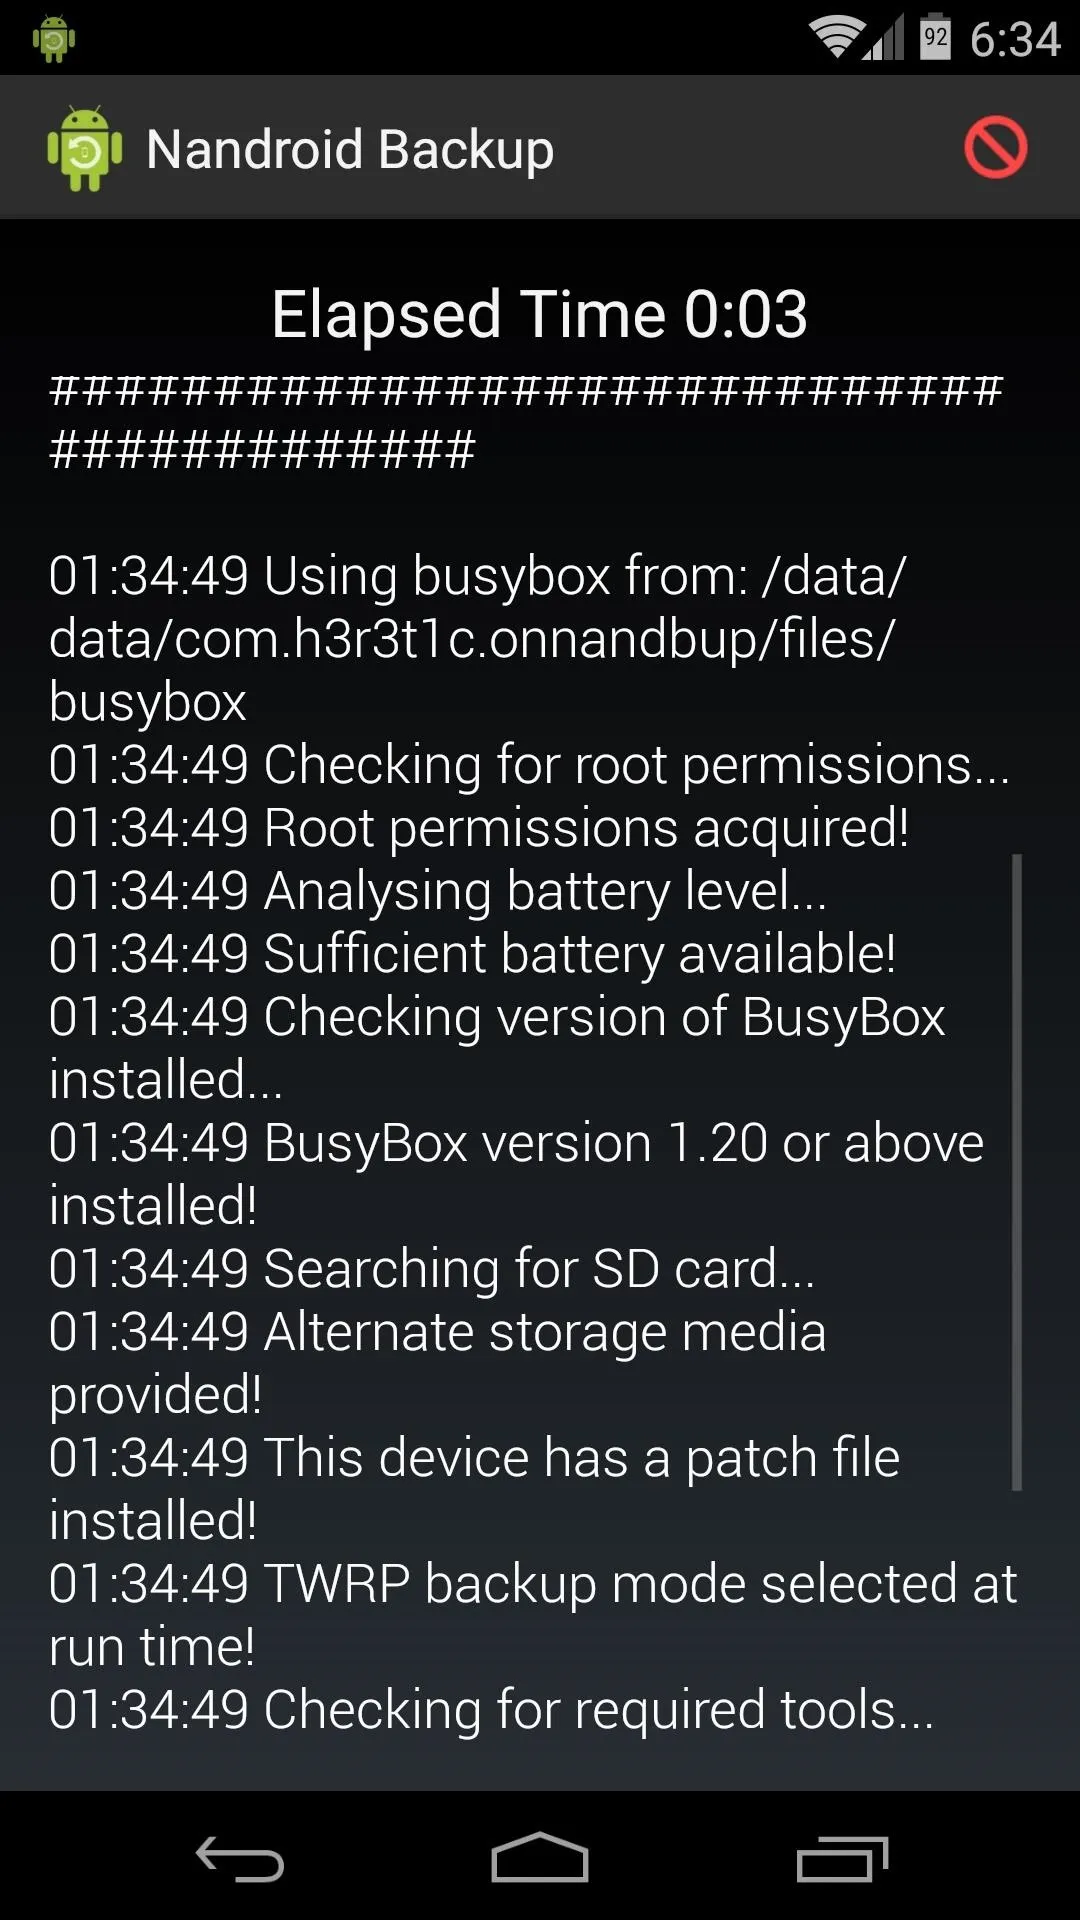
To make an exact copy of your system setup as it currently stands, just press Quick Backup from OLB's main screen. A confirmation dialog will appear, and on this screen, hit Start Backup.


The backup process takes about the same amount of time as it would in custom recovery. Depending on your device and accumulated data, that could range anywhere from 10 minutes to half an hour.
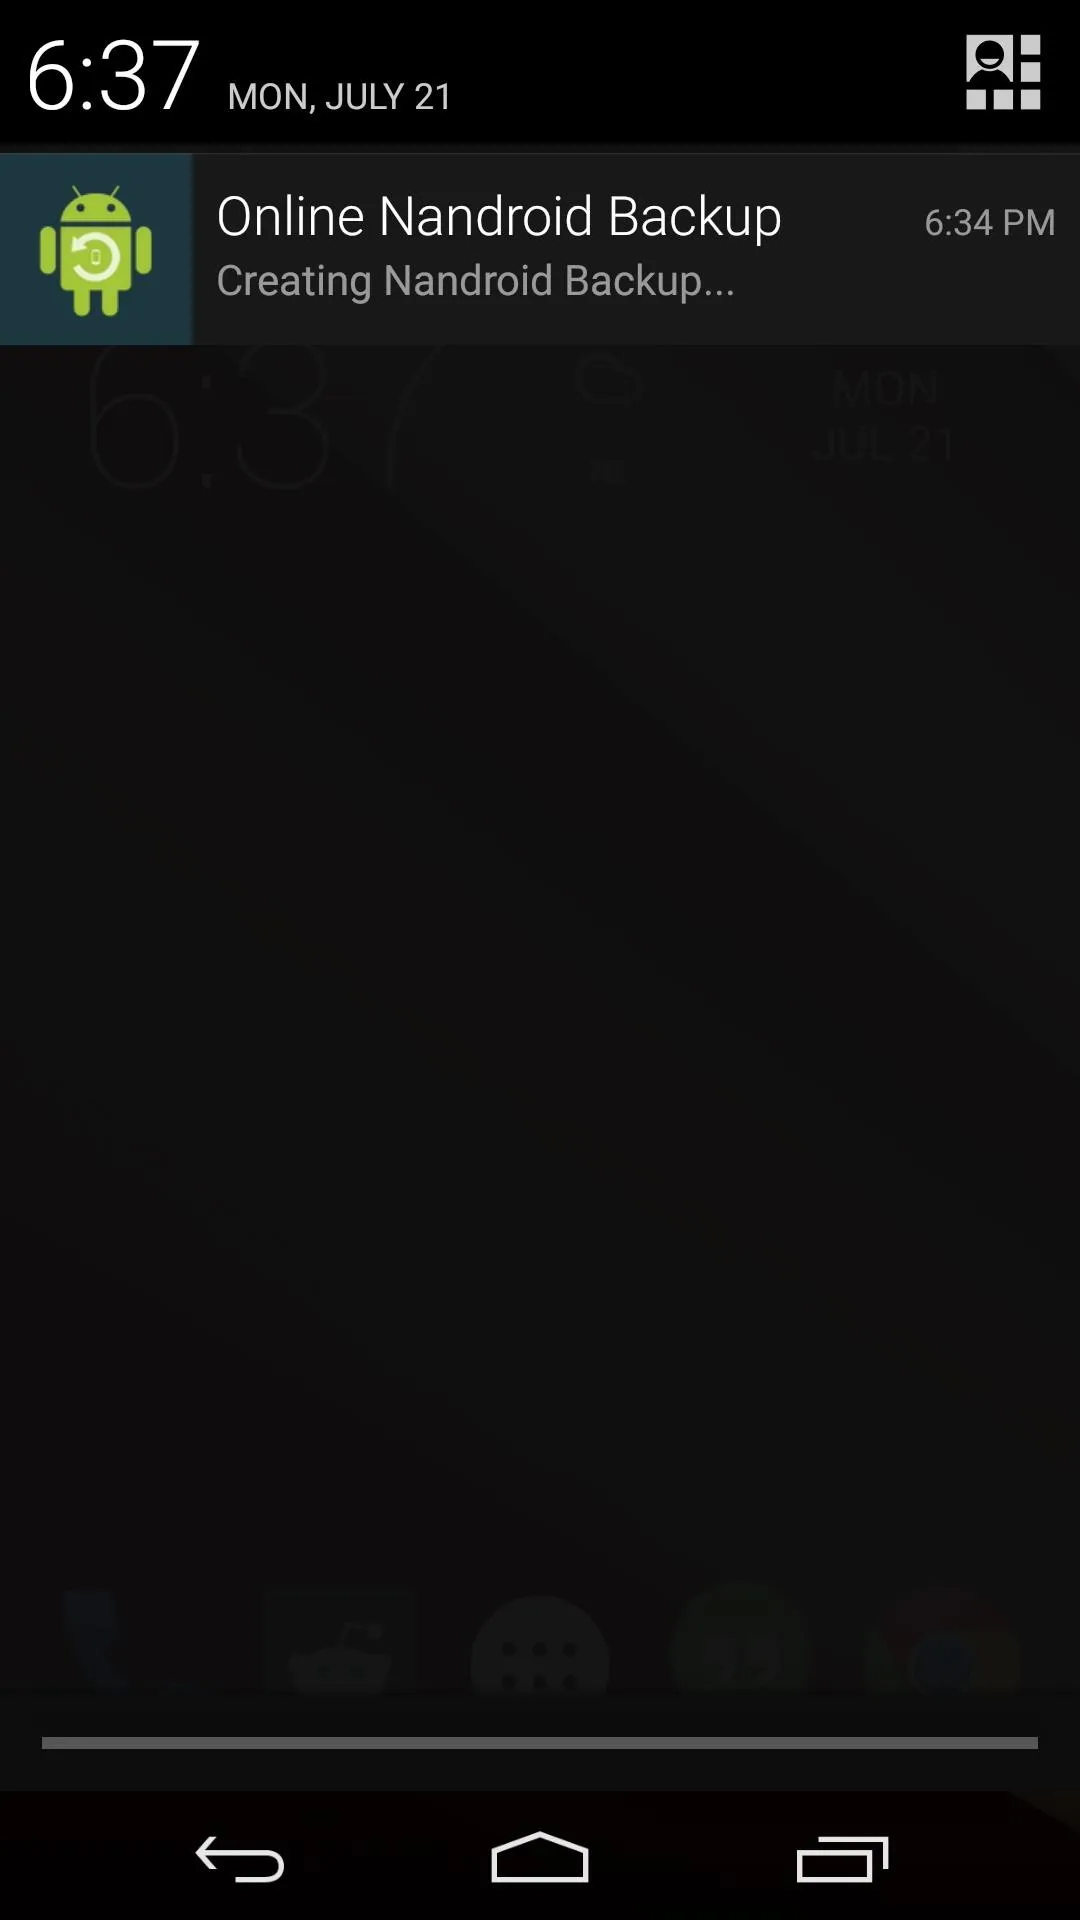
While your backup is being created, you can leave Online Nandroid Backup and go about your day. The app posts an ongoing notification while it's performing the backup, so it won't be cleared from memory by Android.


Aside from the one-time setup, this is probably the easiest way to create Nandroids. And the easier it is, the more likely we'll all be to keep a current backup stored on our devices.
What do you think? Will this make you more likely to save frequent Nandroid backups? Let us know in the comments section below.








Comments
Be the first, drop a comment!