


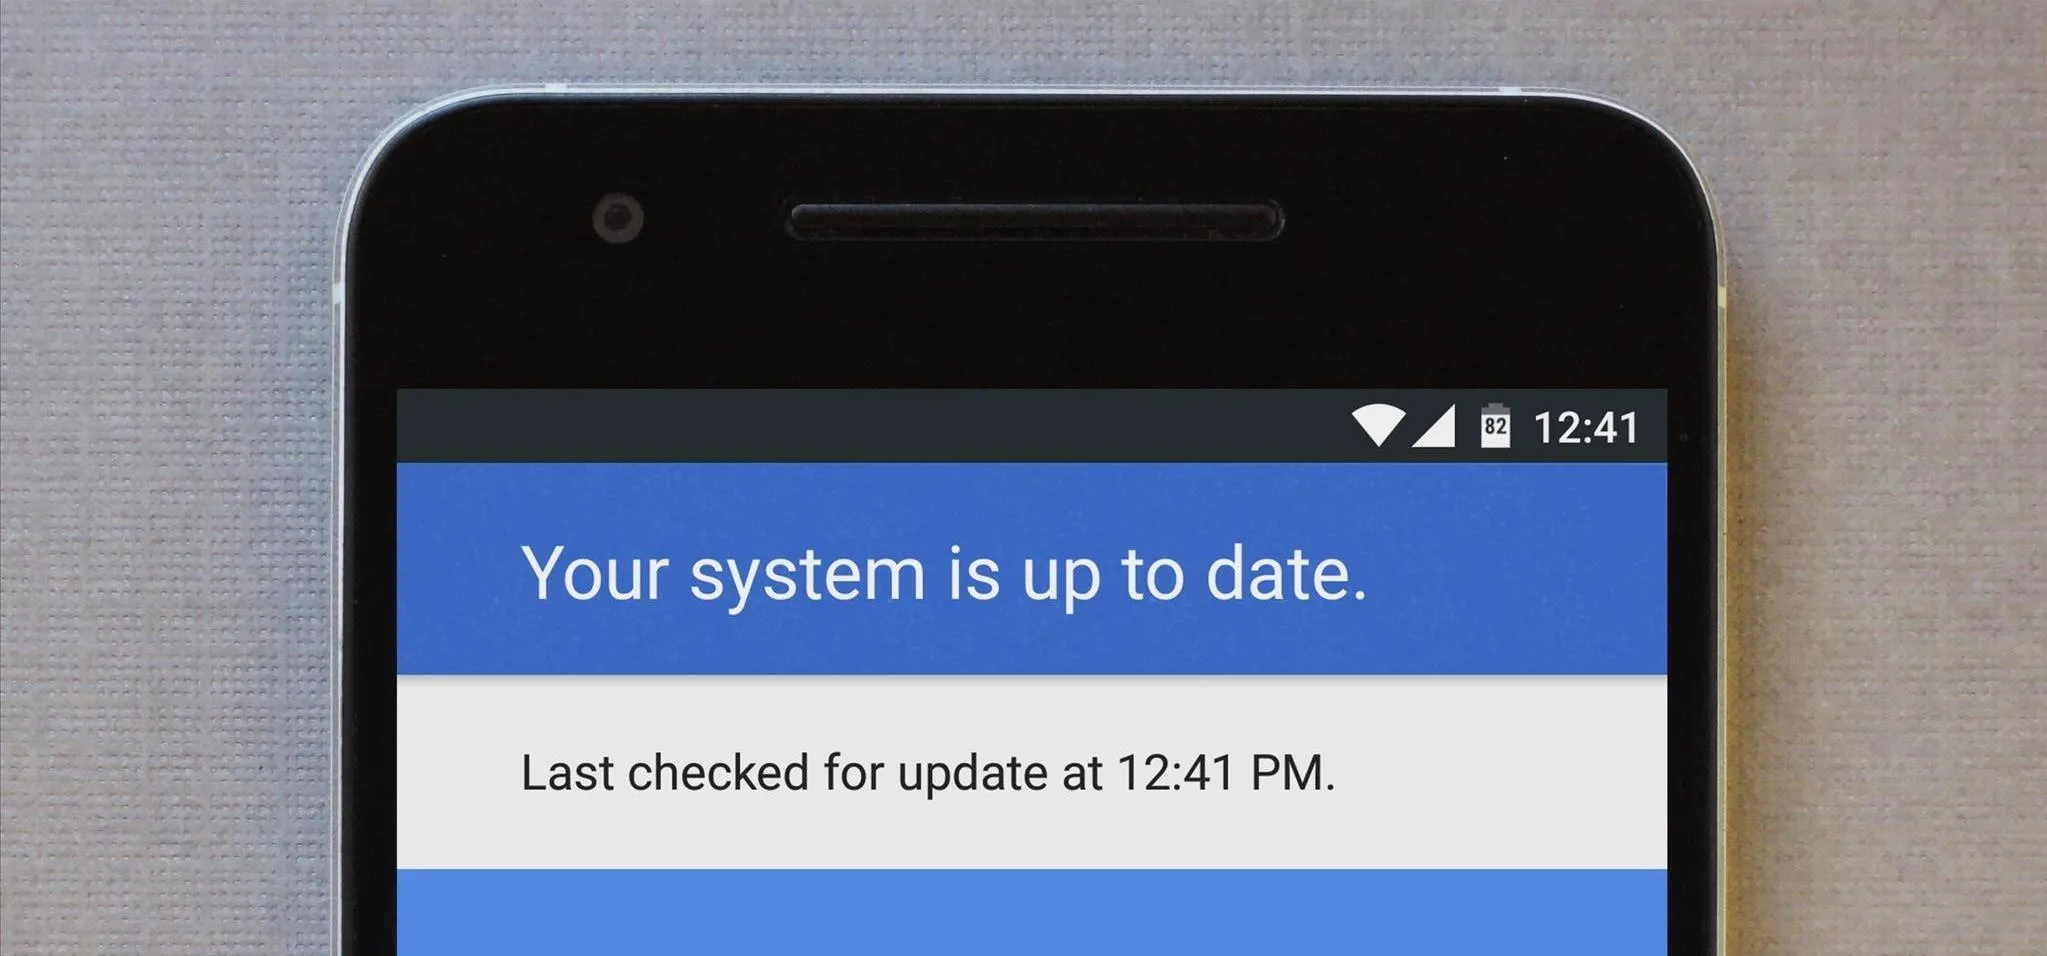
If you have a custom recovery installed on your Nexus 5, you're able to flash custom ROMs and lots of other cool Gadget Hacks. But when it comes time to receive and Over-the-Air (OTA) update directly from Google, having a custom recovery installed can be a fairly big hindrance—and for the upcoming Android L release, you're going to want to alleviate that.
As OTA updates actually depend on the stock recovery that came preinstalled on your device, the custom recovery that you installed in its place will prevent you from being able to apply the newer version of Android automatically. If this happens, it's normally a pretty involved process to revert to the stock recovery so that you can apply the update. Even then, you'd still have to reinstall your custom recovery if you wanted to go back to the way things were.
Developer Patrick Hill has managed to greatly reduce the time it takes to switch back and forth between custom and stock recoveries in this scenario with his app Simple Recovery Switcher. After a small amount of initial setup, you'll be able to change between recovery versions with the press of a button.
Requirements
You could use Simple Recovery Switcher on other rooted Android devices like the HTC One or OnePlus One, but you will have to find and download the stock and custom recovery images for your specific device. In this guide, I'll just be focusing on the Nexus 5 (see Step #1 for files).
Download the Necessary Files
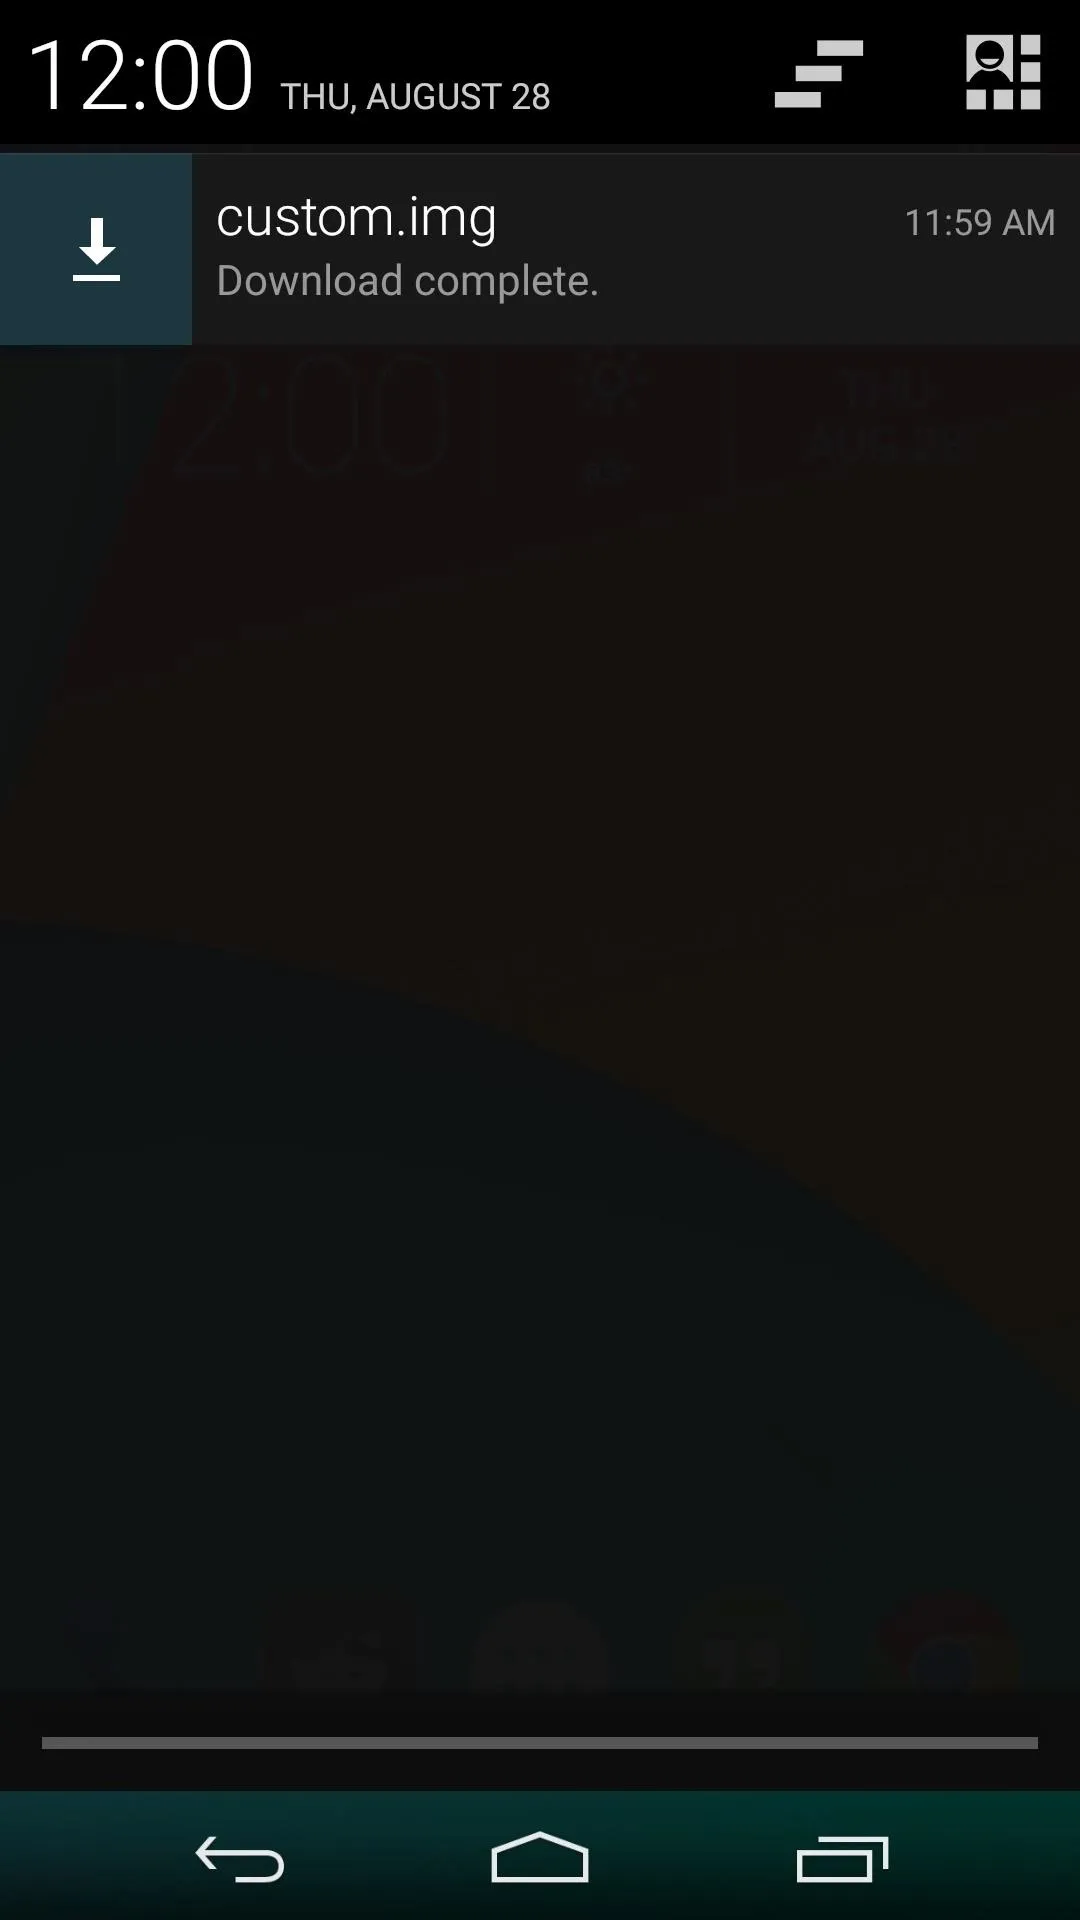
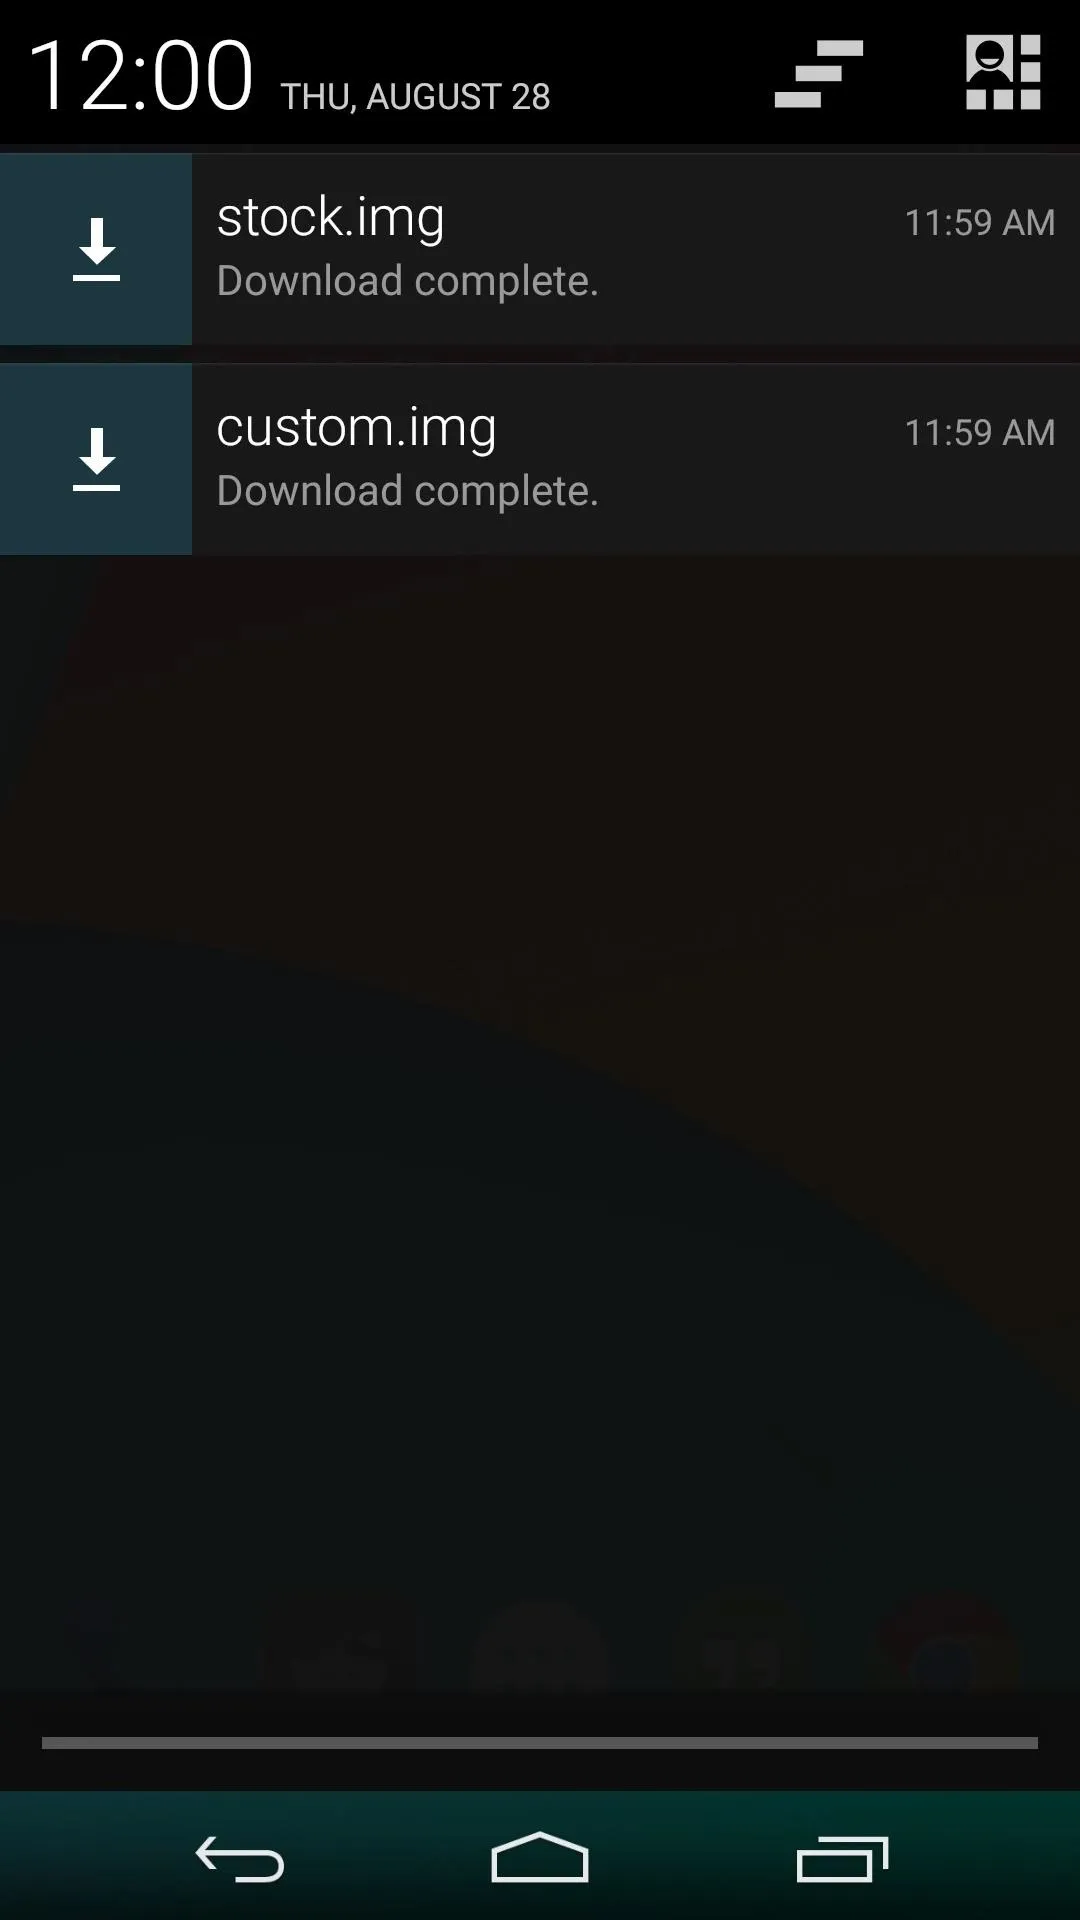
As said above, Simple Recovery Switcher does not download the stock and custom recovery images for you, so you'll have to grab both of those files before you begin. From your Nexus 5's web browser, tap each of the following links to download the necessary files:
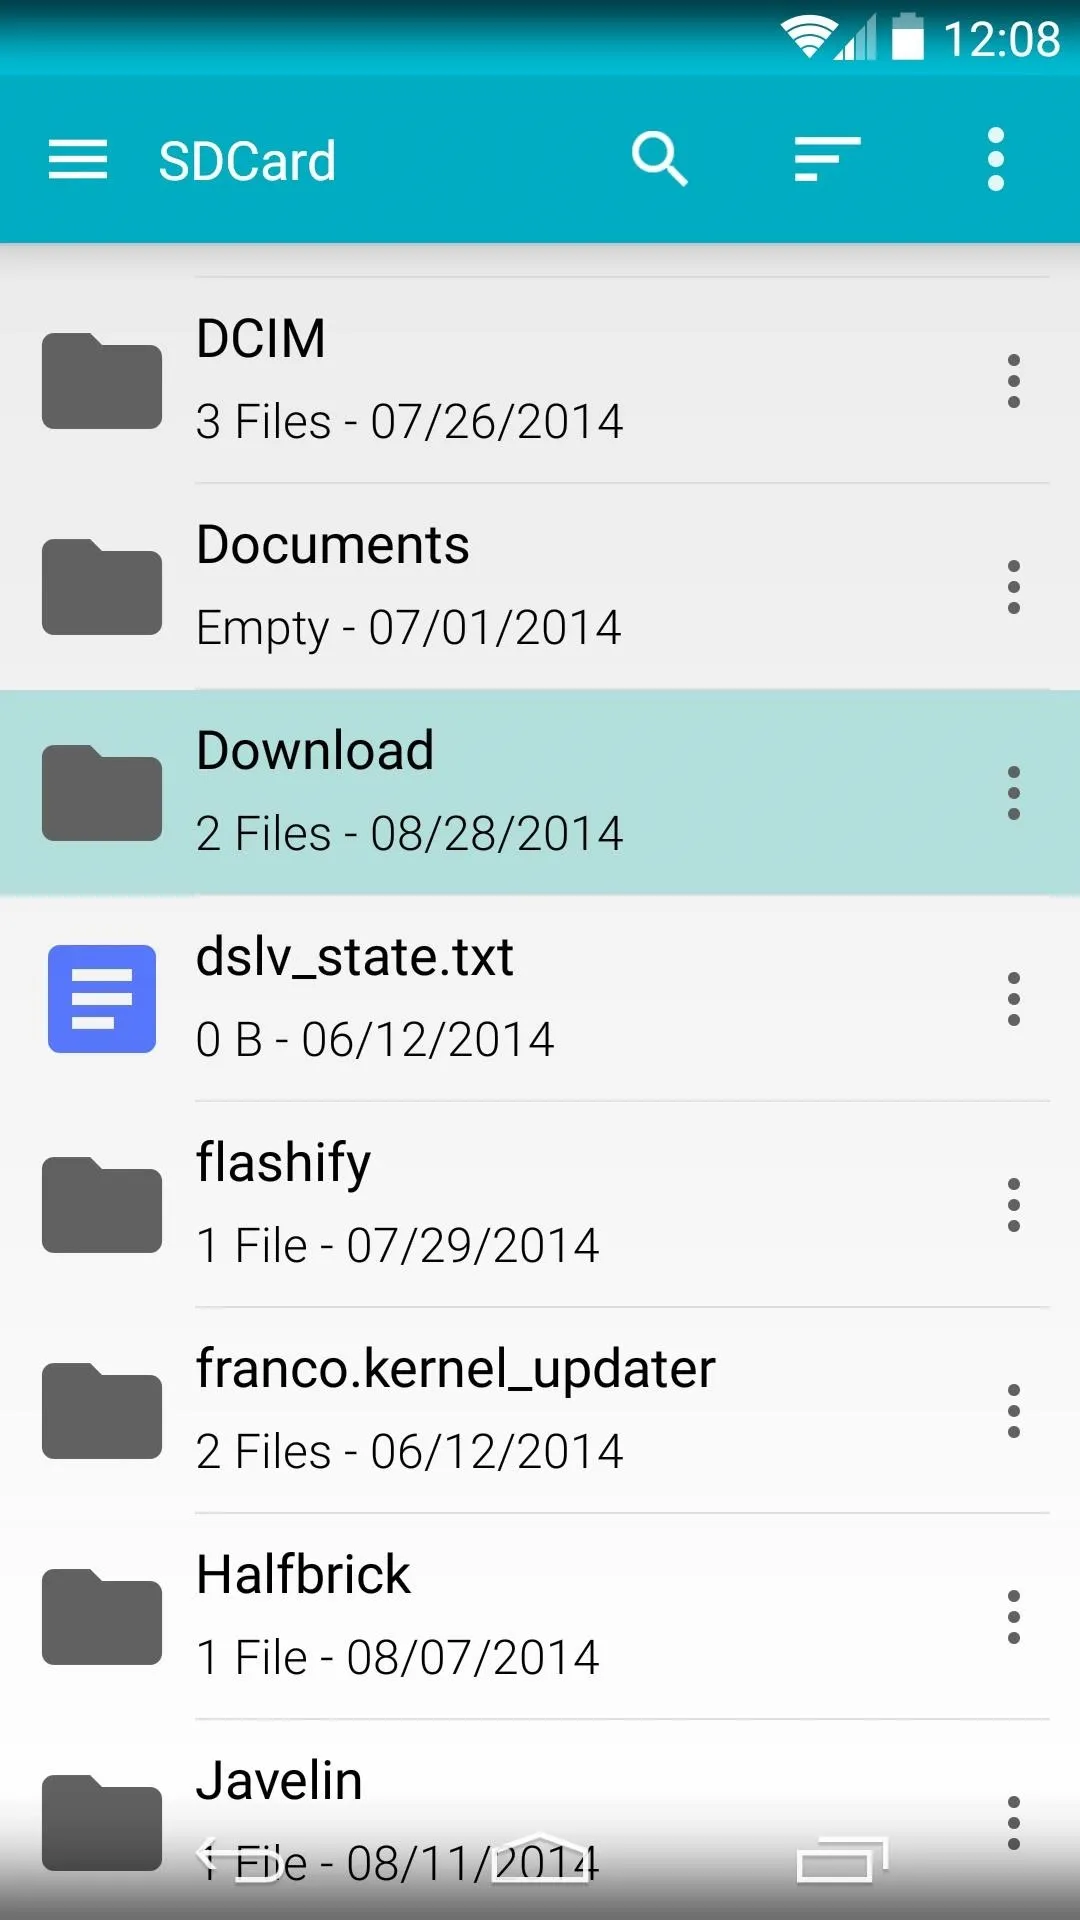
When both files have finished downloading, you'll have to move them to the main directory of your SD card. You can use any file explorer to do that, and there are many free options available on the Play Store.
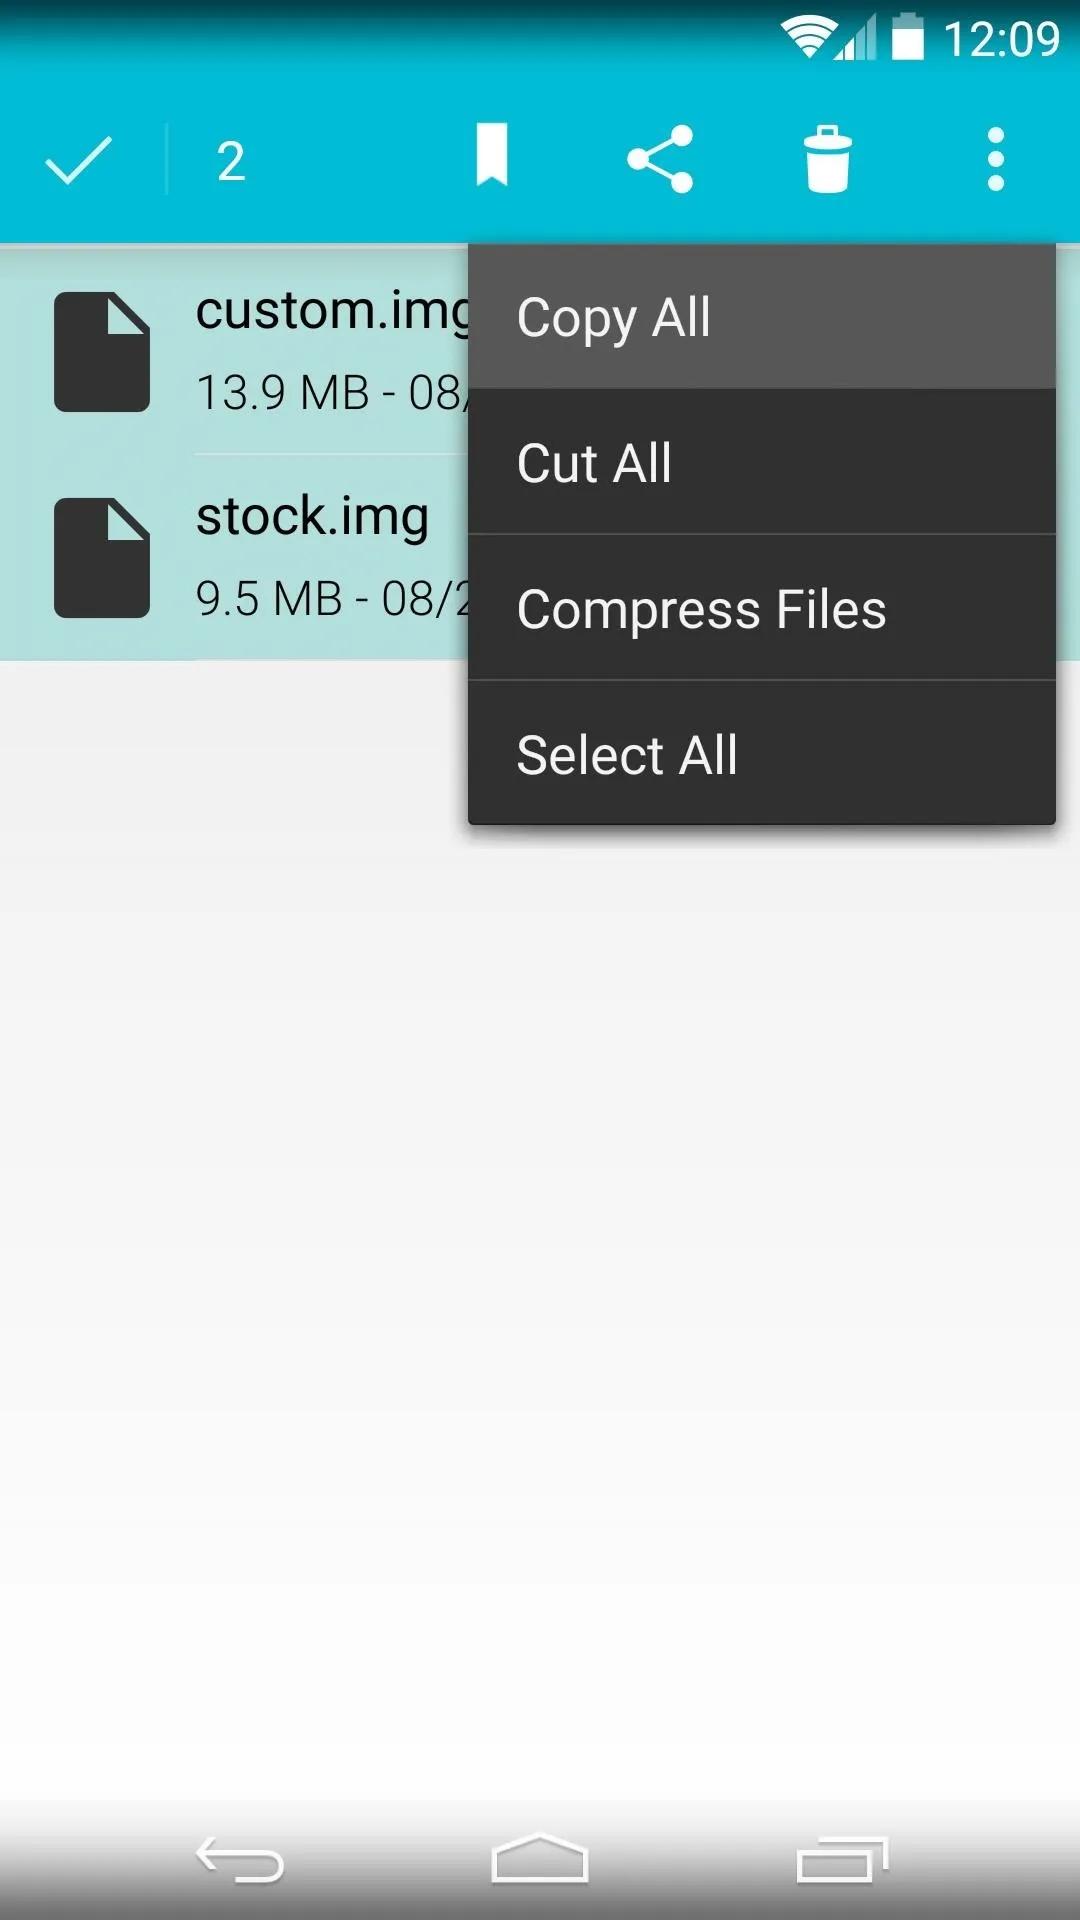
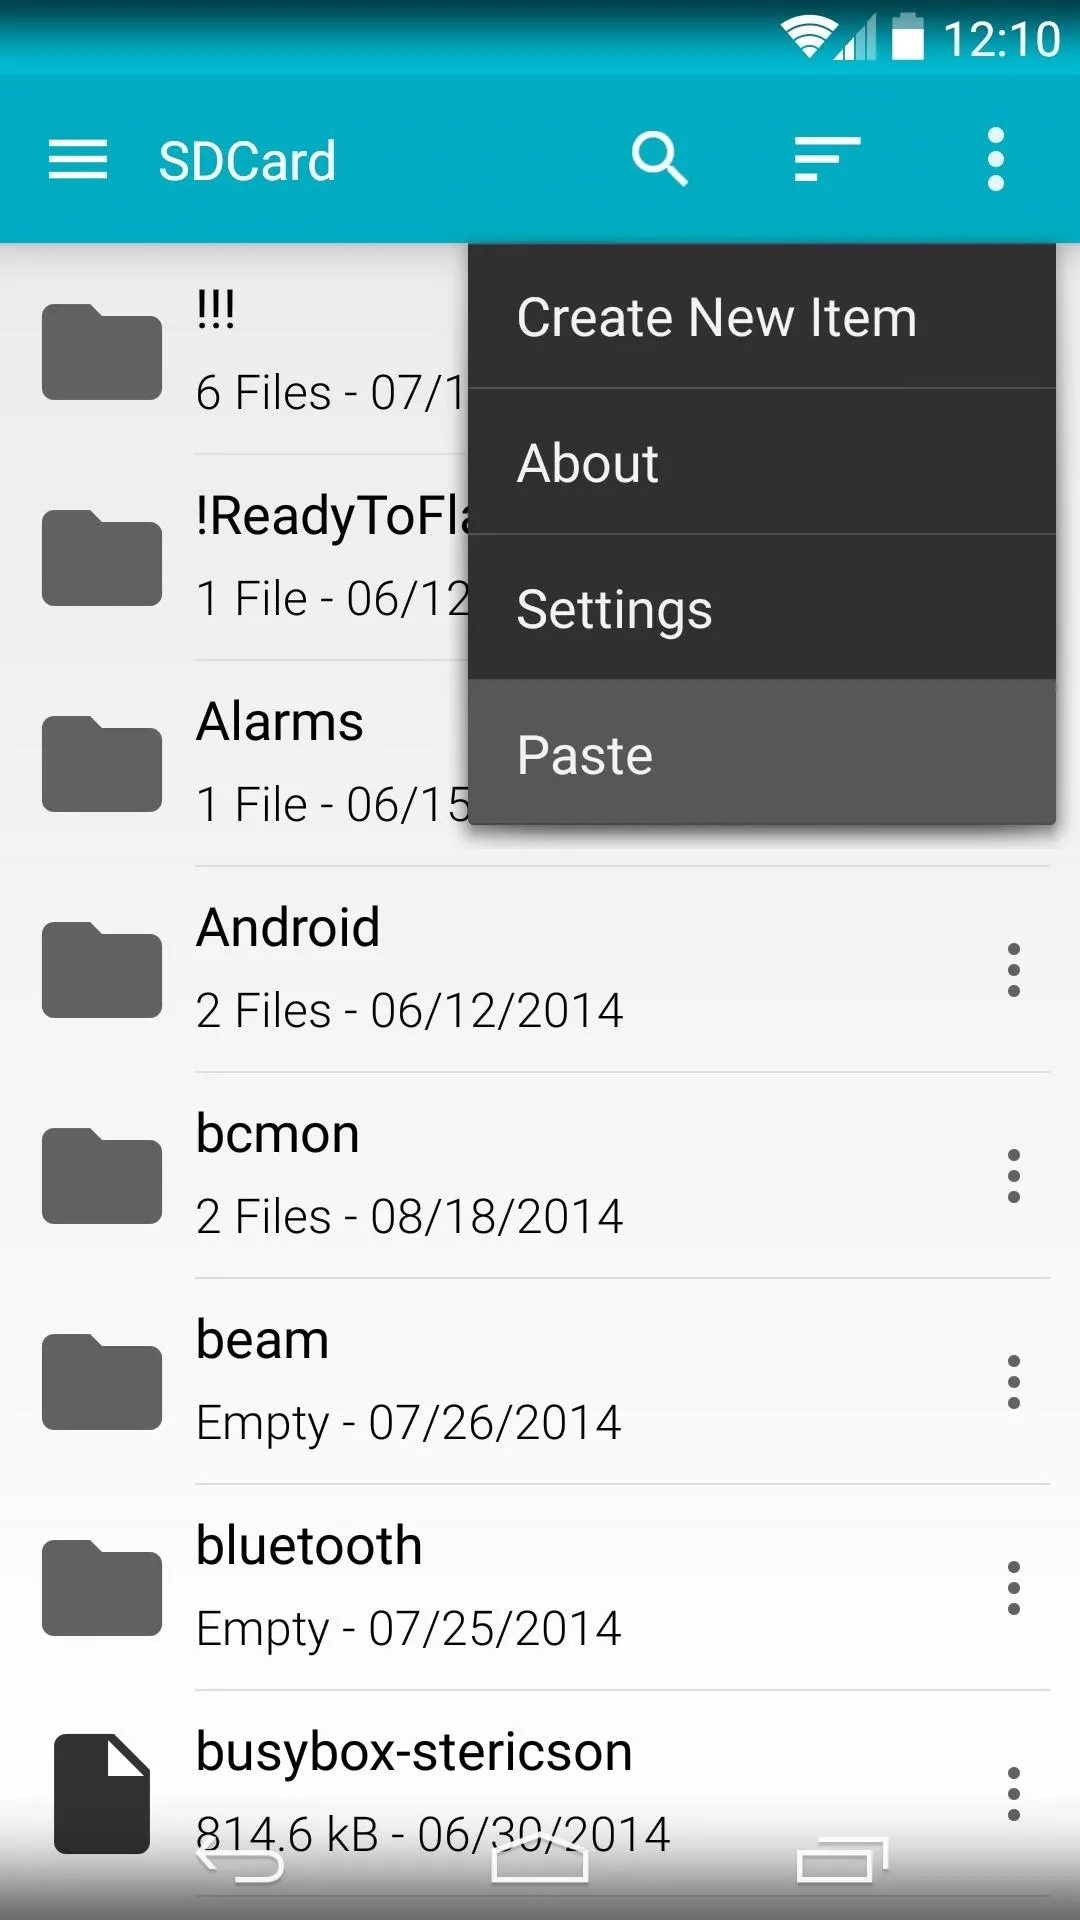
From your file manager of choice, head to the Download folder on your SD card. From here, copy both the stock.img and the custom.img files. After that, simply go up one level in the folder structure to the main SD card, then Paste both of the files in here.
Install Busybox
BusyBox is a set of root commands for Linux-based systems like Android. Since Simple Recovery Switcher uses some of these commands to work its magic, you'll need to make sure they're installed on your device.
Head to your Play Store app and search BusyBox, then install the version from developer "Stericson" (found here).

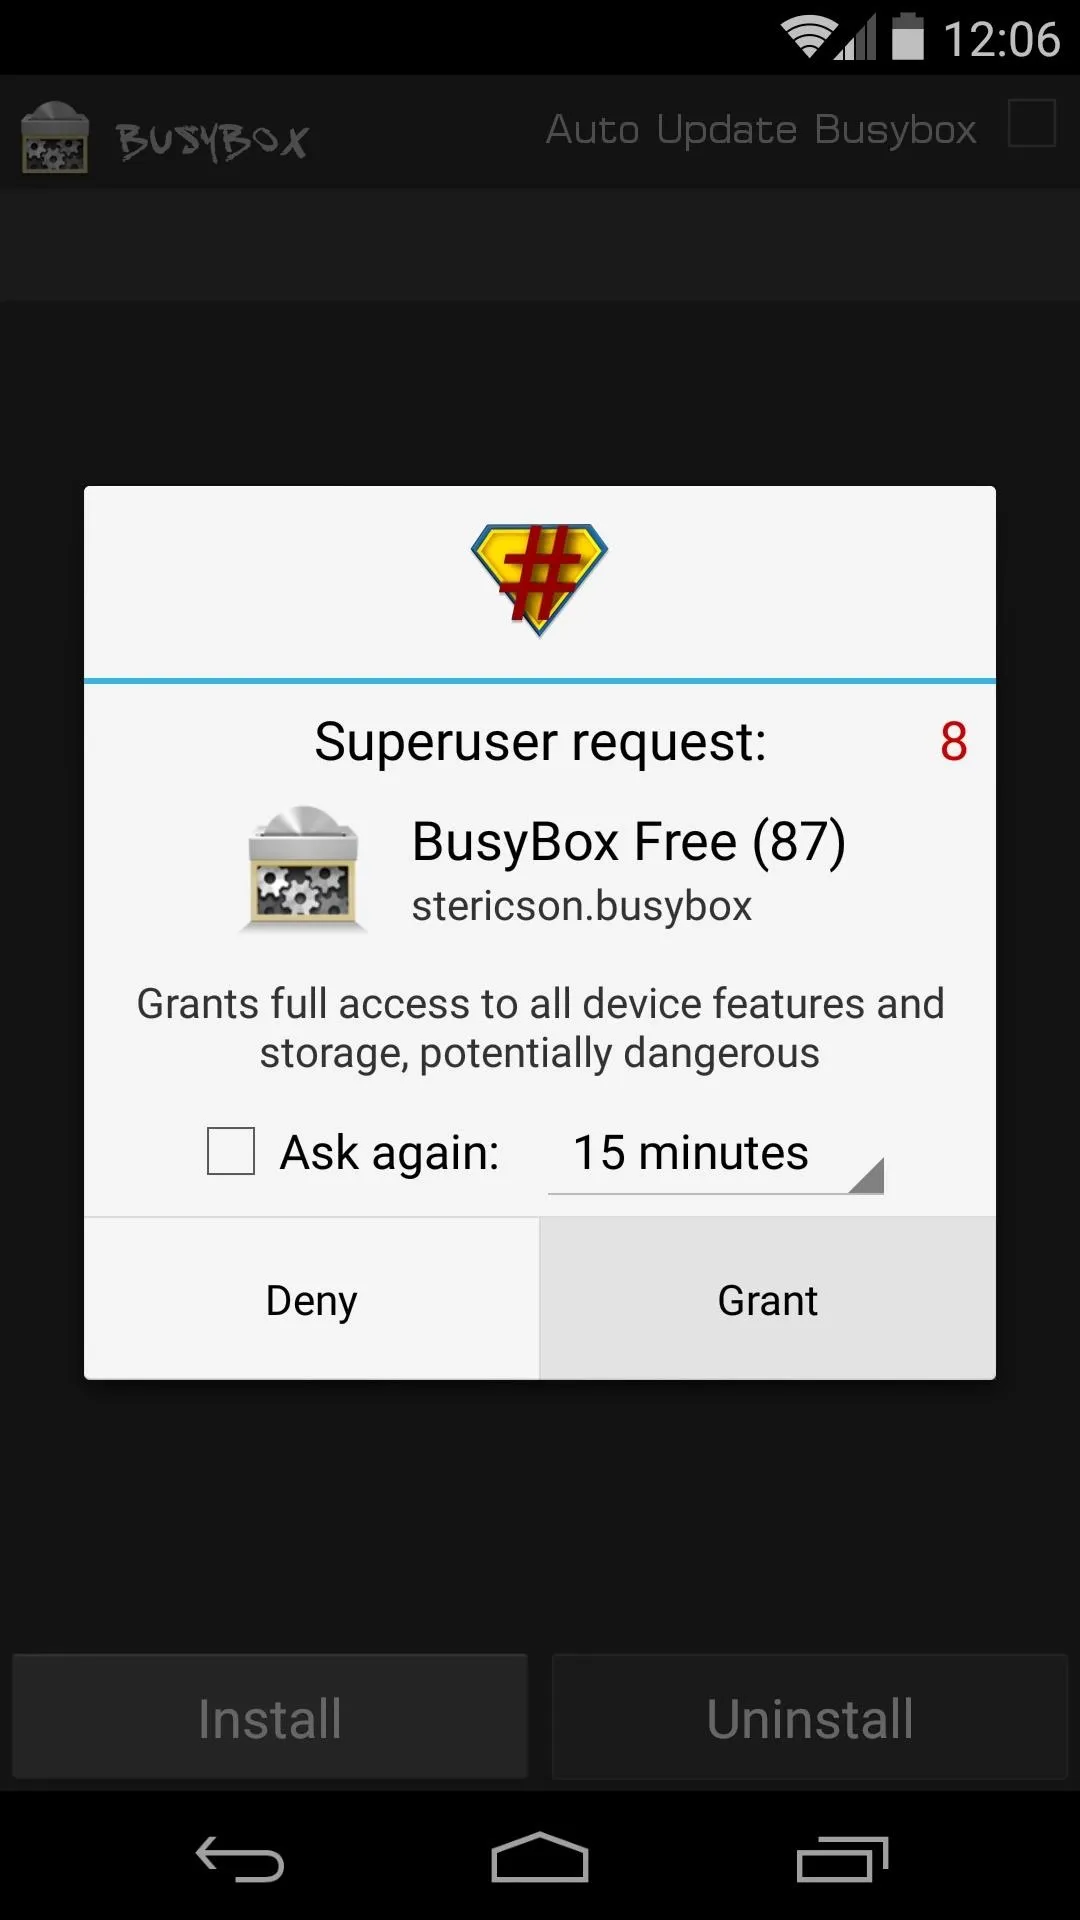
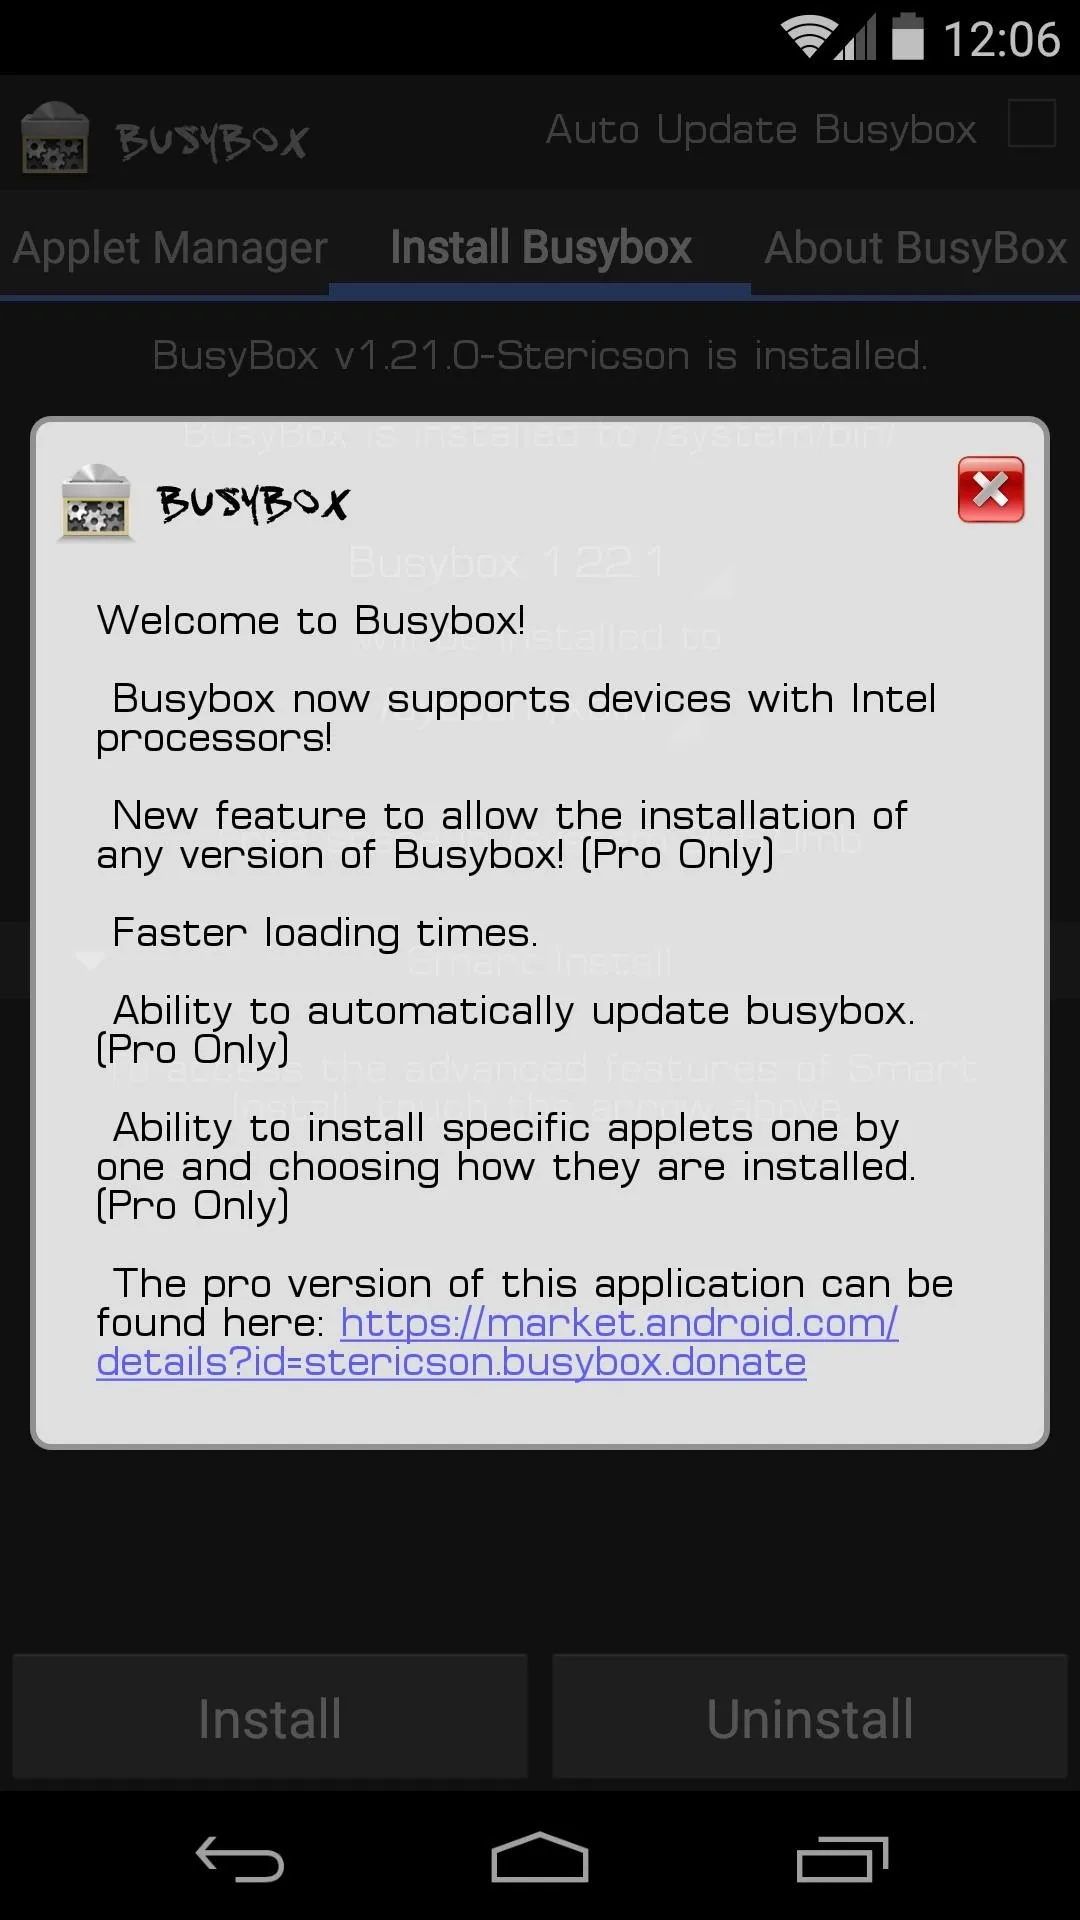
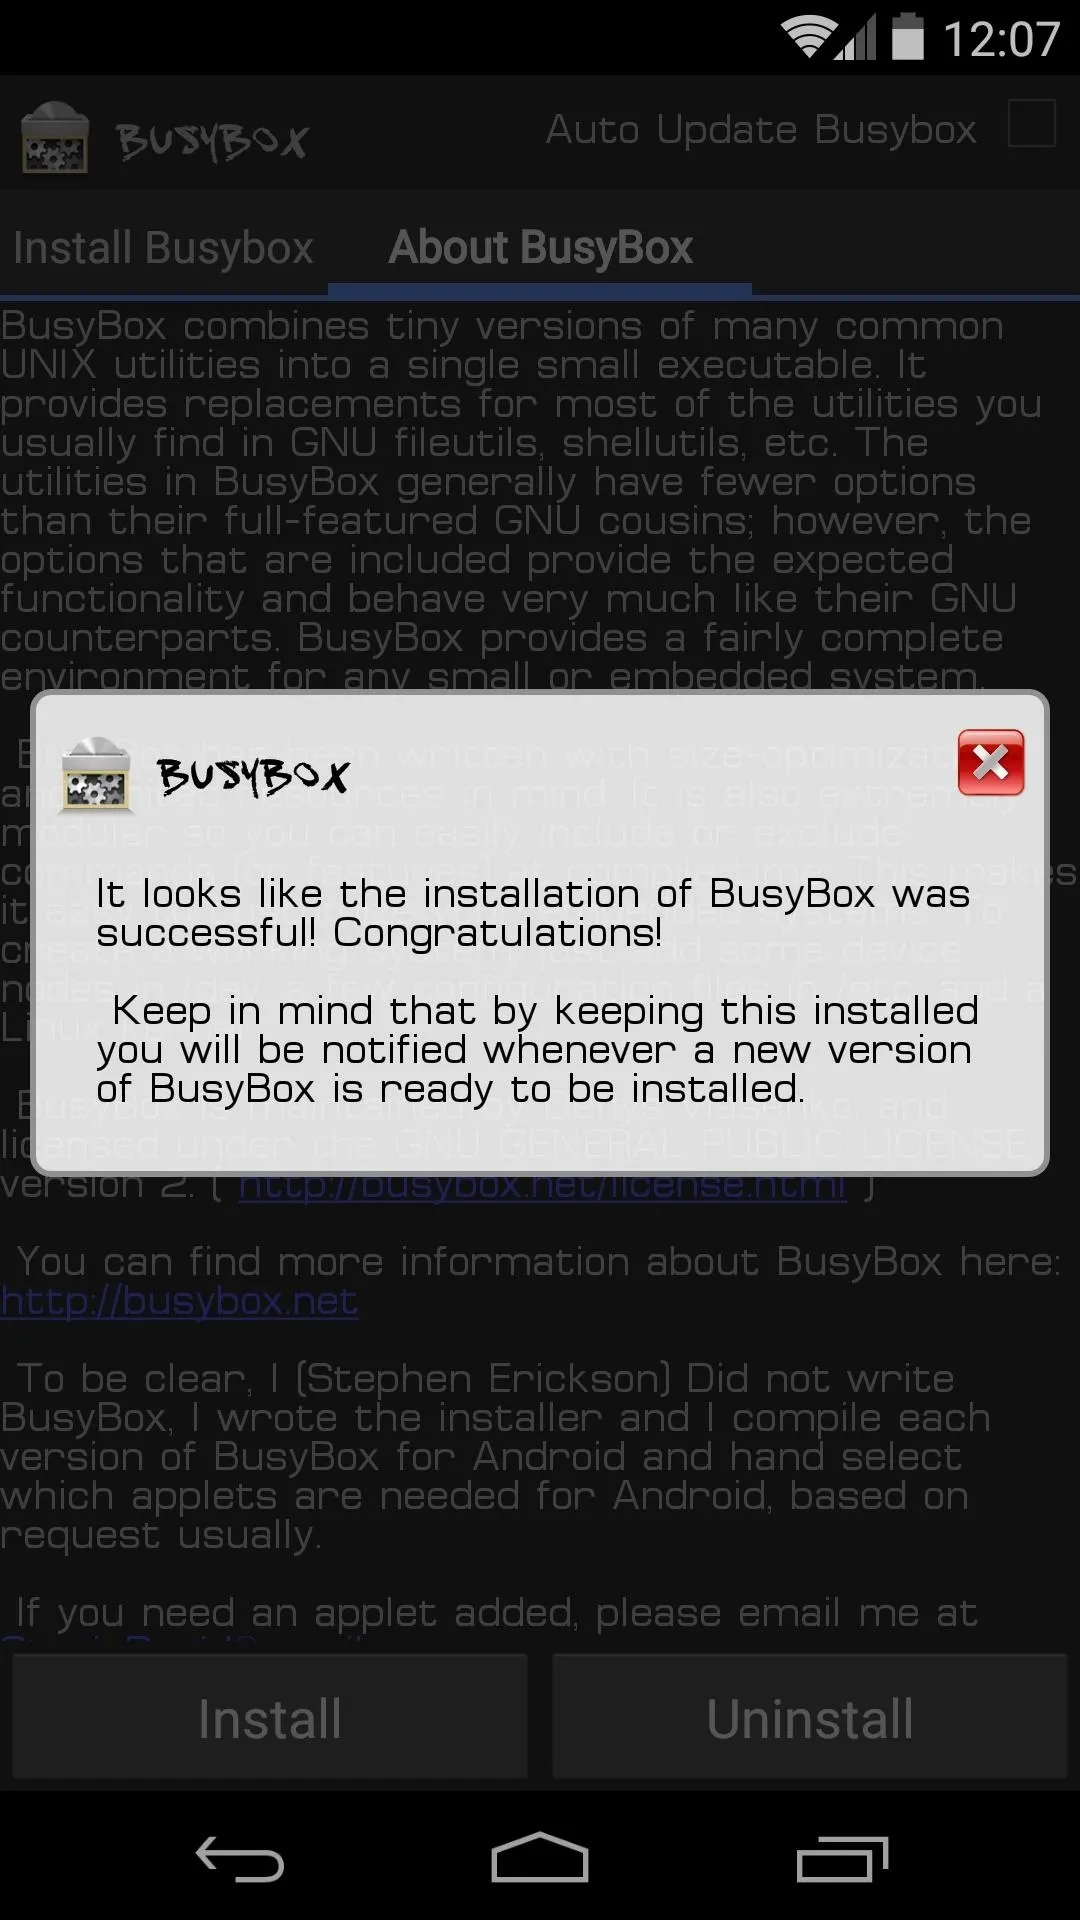
Next, open BusyBox, then Grant it Superuser access and close out any pop-up messages.
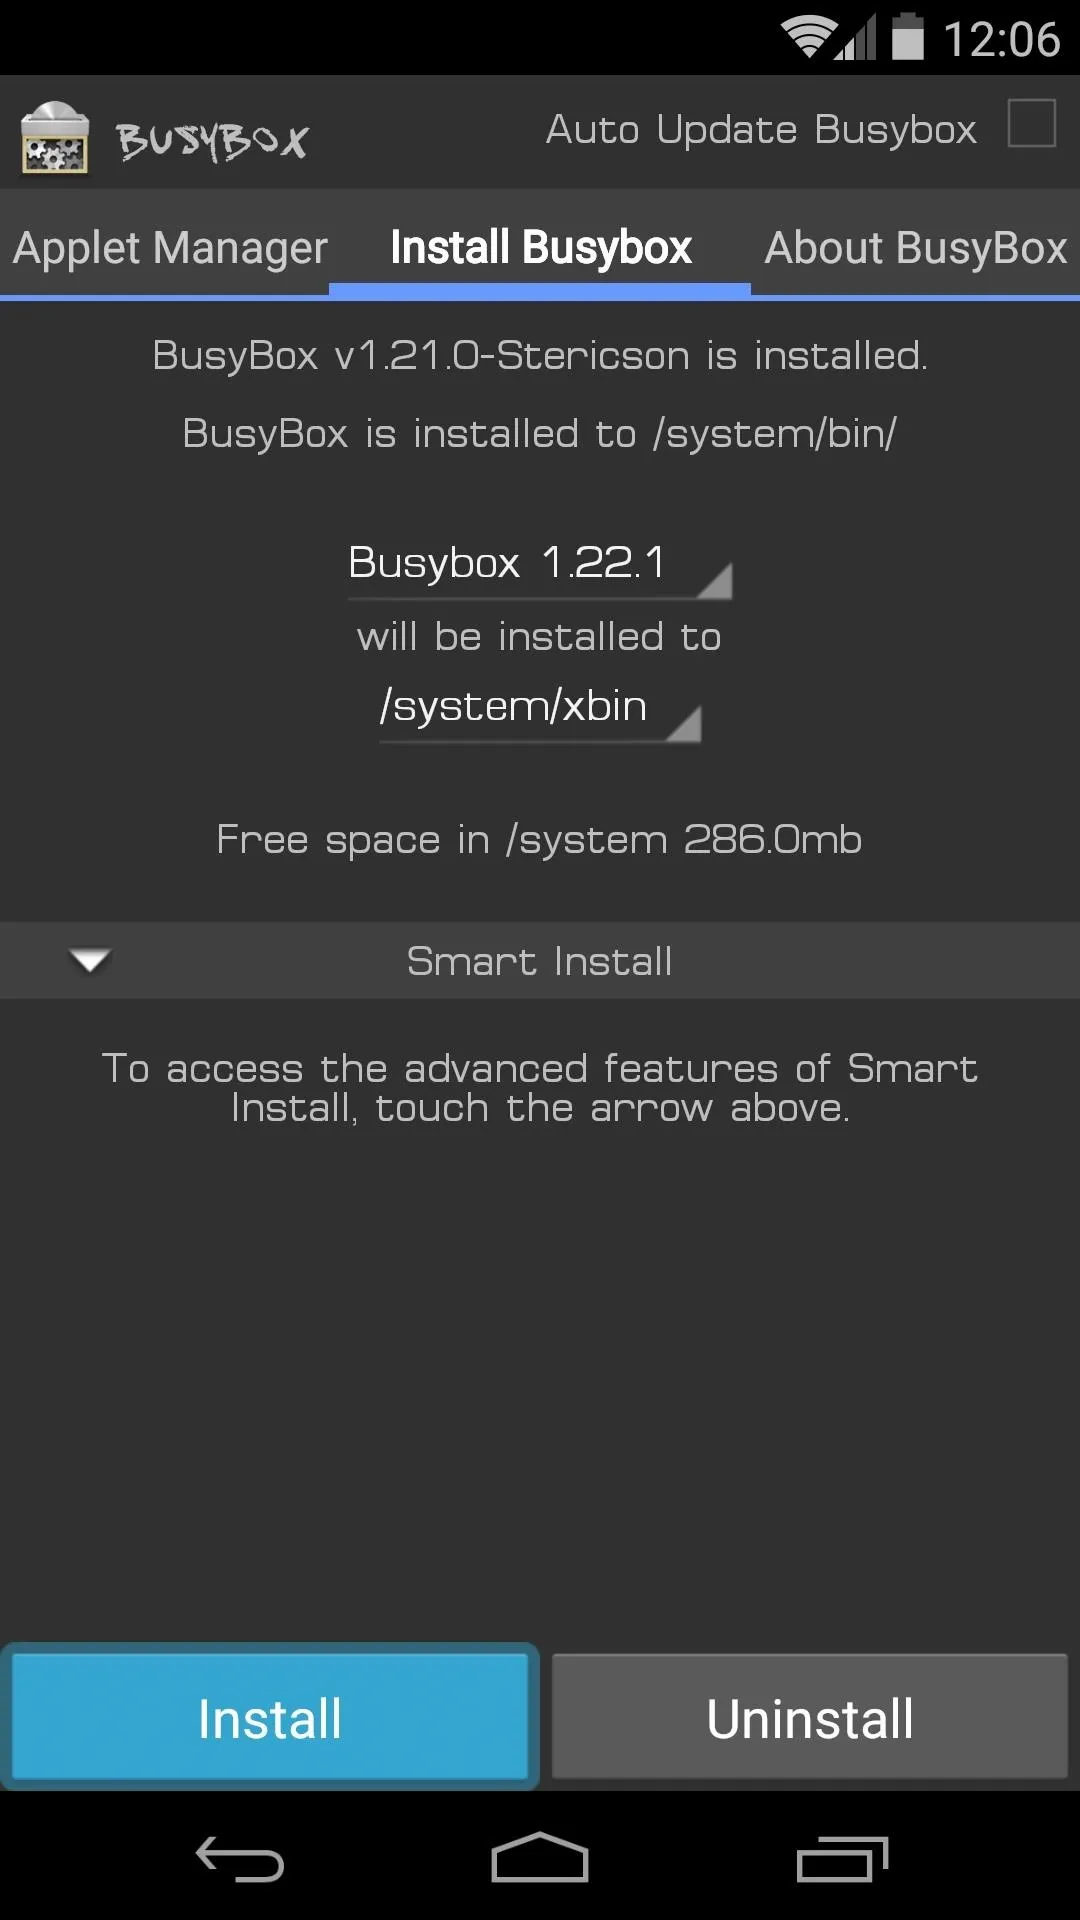
After that, just tap the Install button at the bottom of the screen, and the BusyBox commands will be added to your device.
Install Simple Recovery Switcher
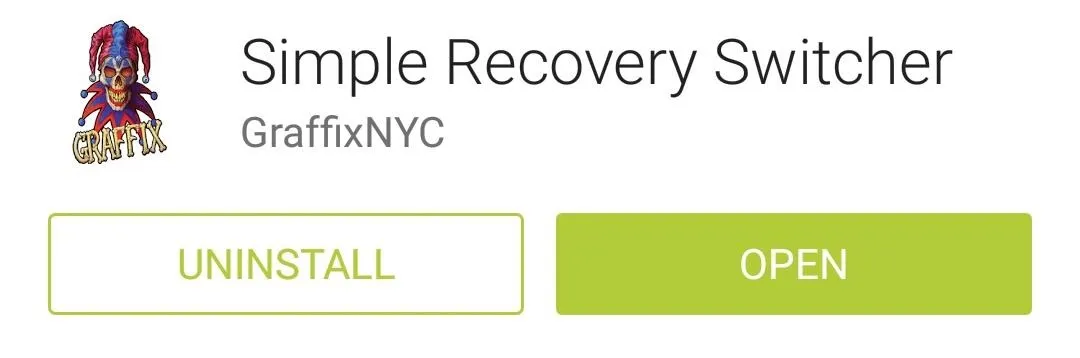
With the initial setup out of the way, you can now get down to business. Head to the Google Play Store and install Simple Recovery Switcher to get the main app installed. There is also a donate version if you want to help the dev out with future progress of the app.
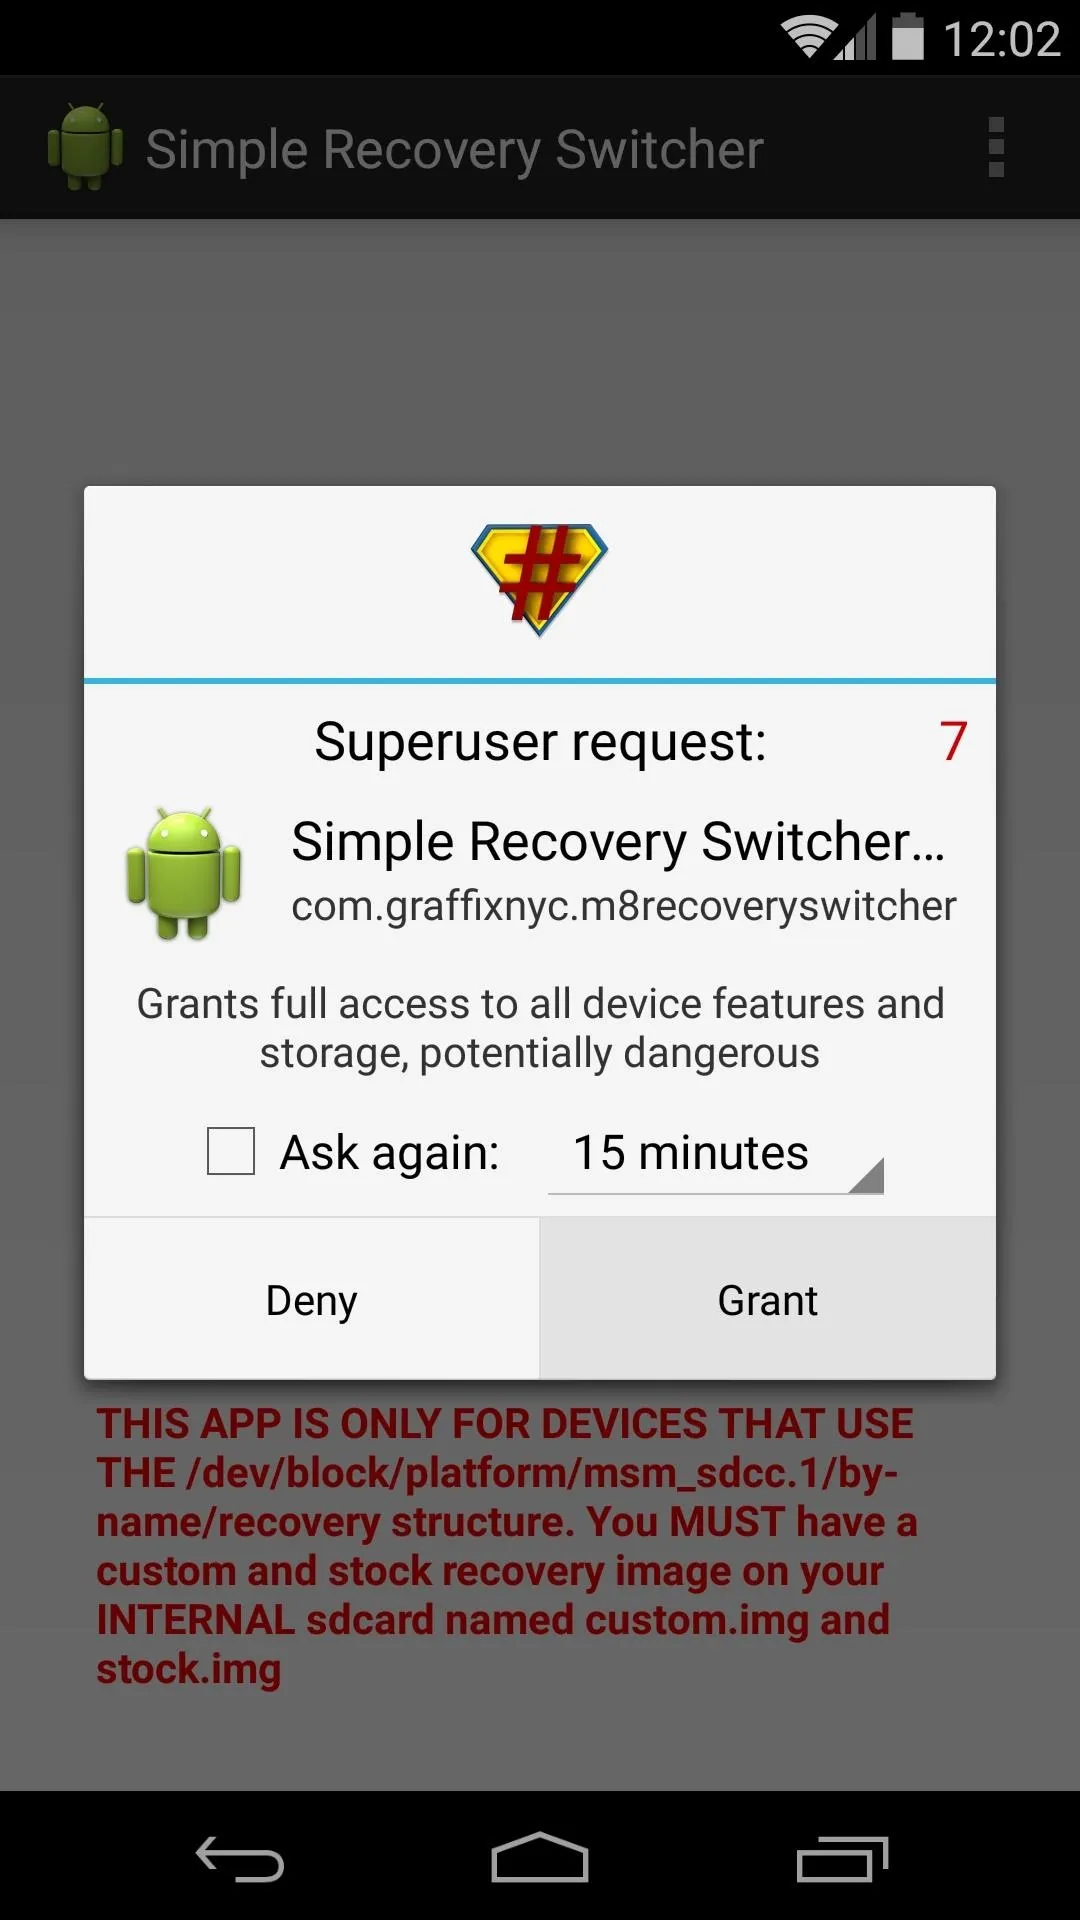
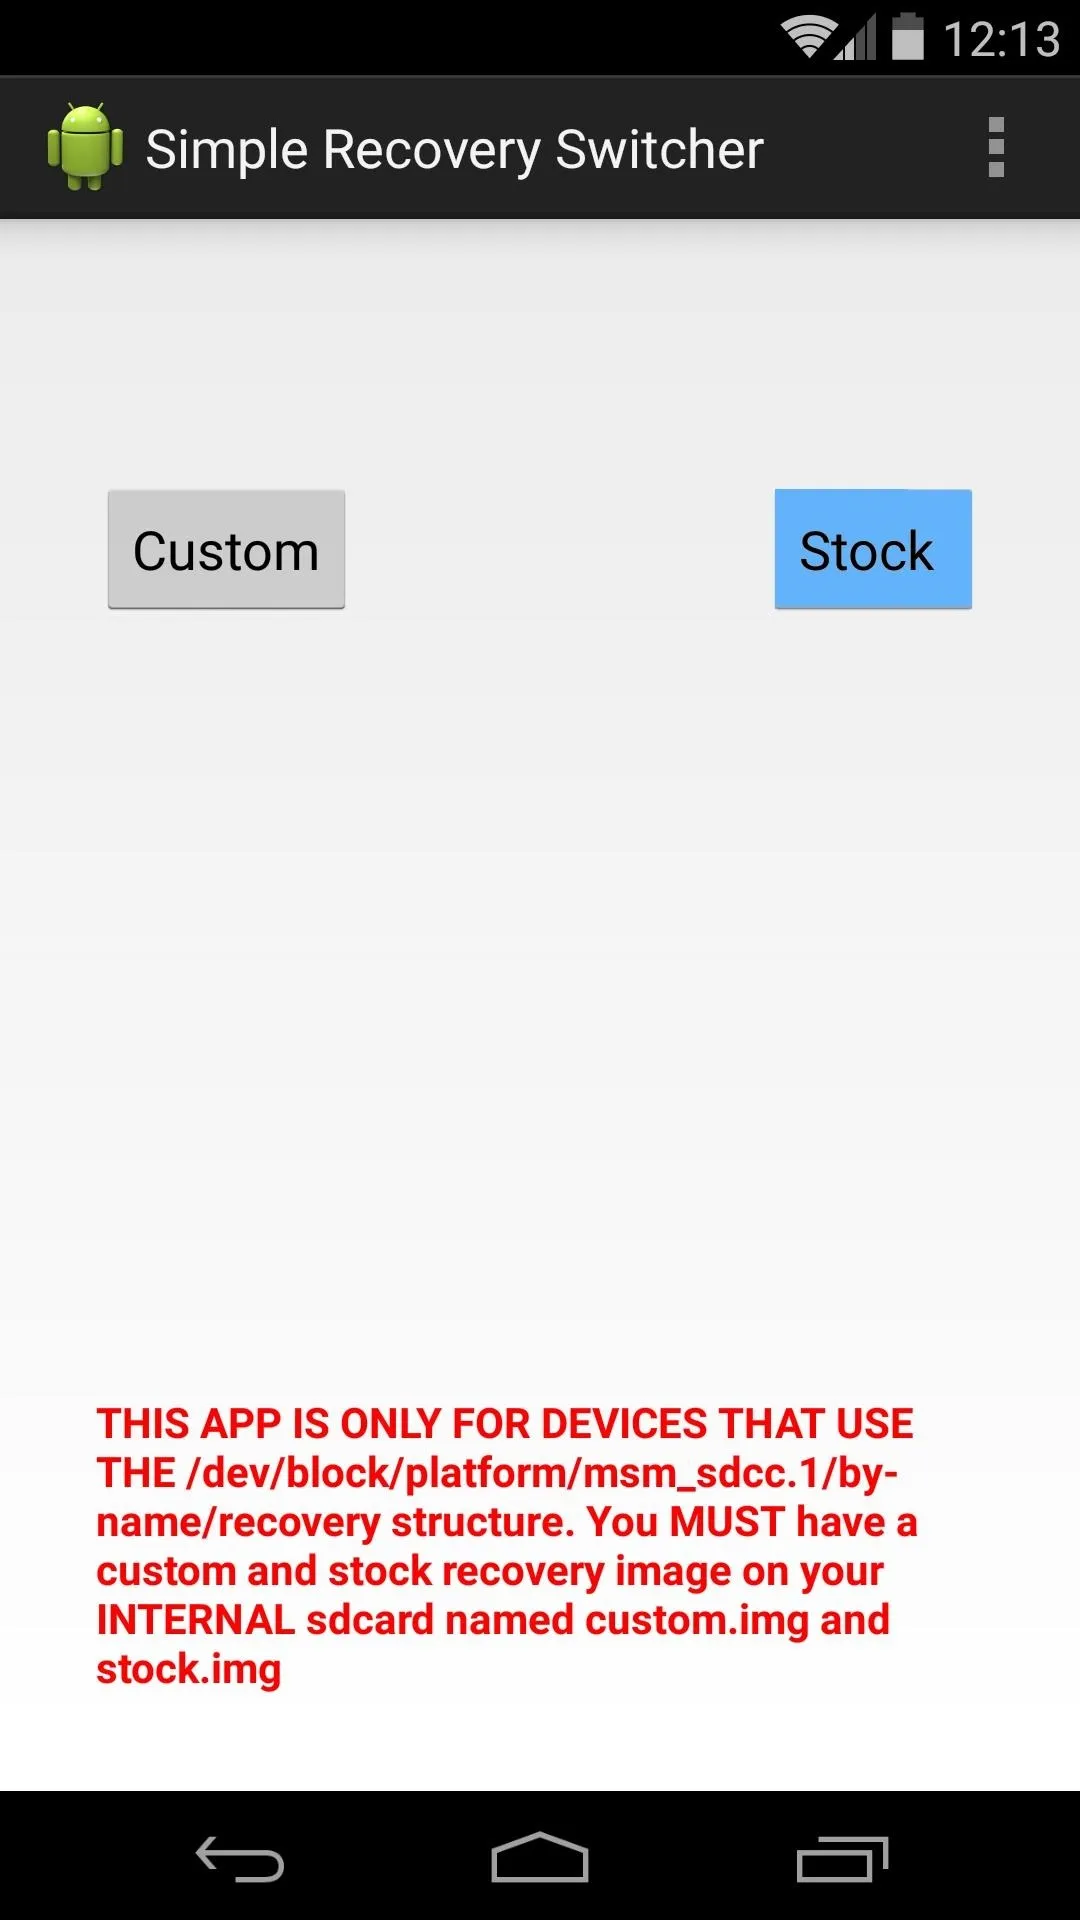
Next, open the app and Grant it Superuser access, then you'll be taken to its wonderfully-simple interface.
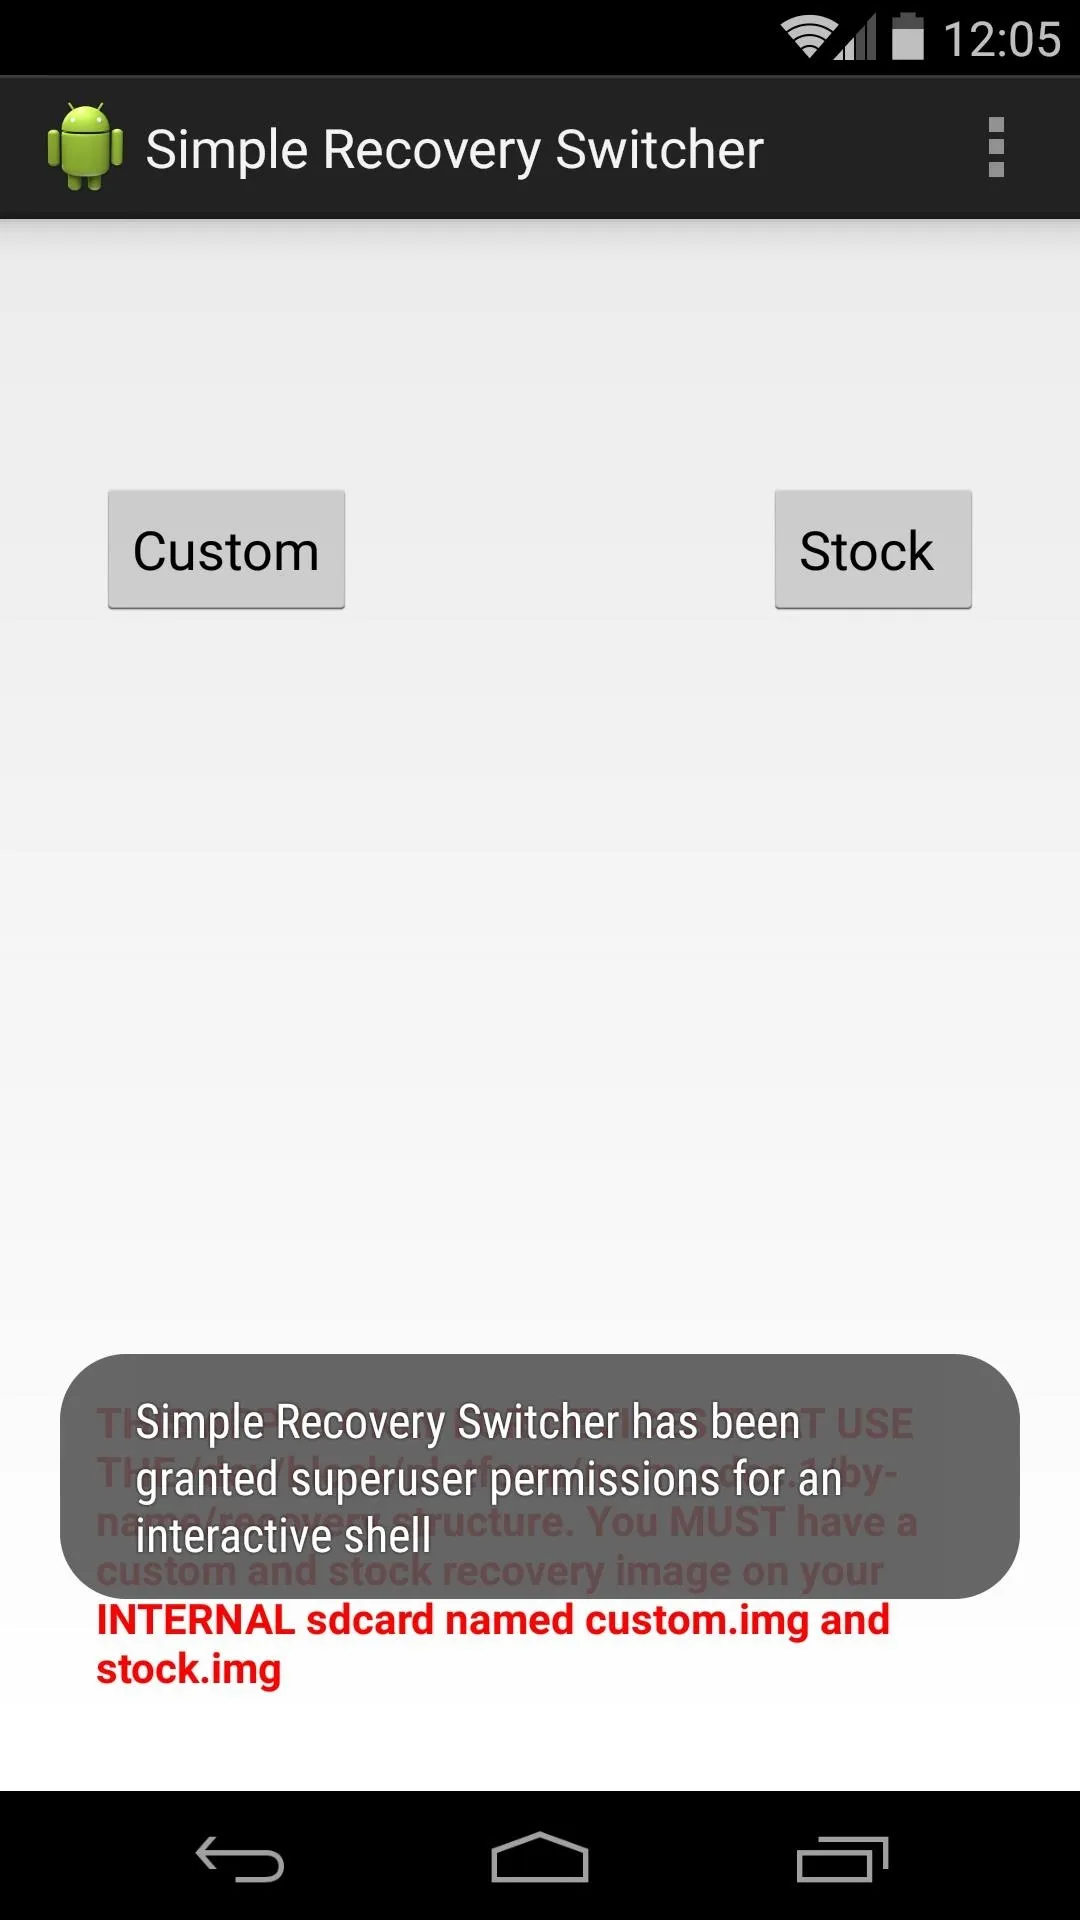
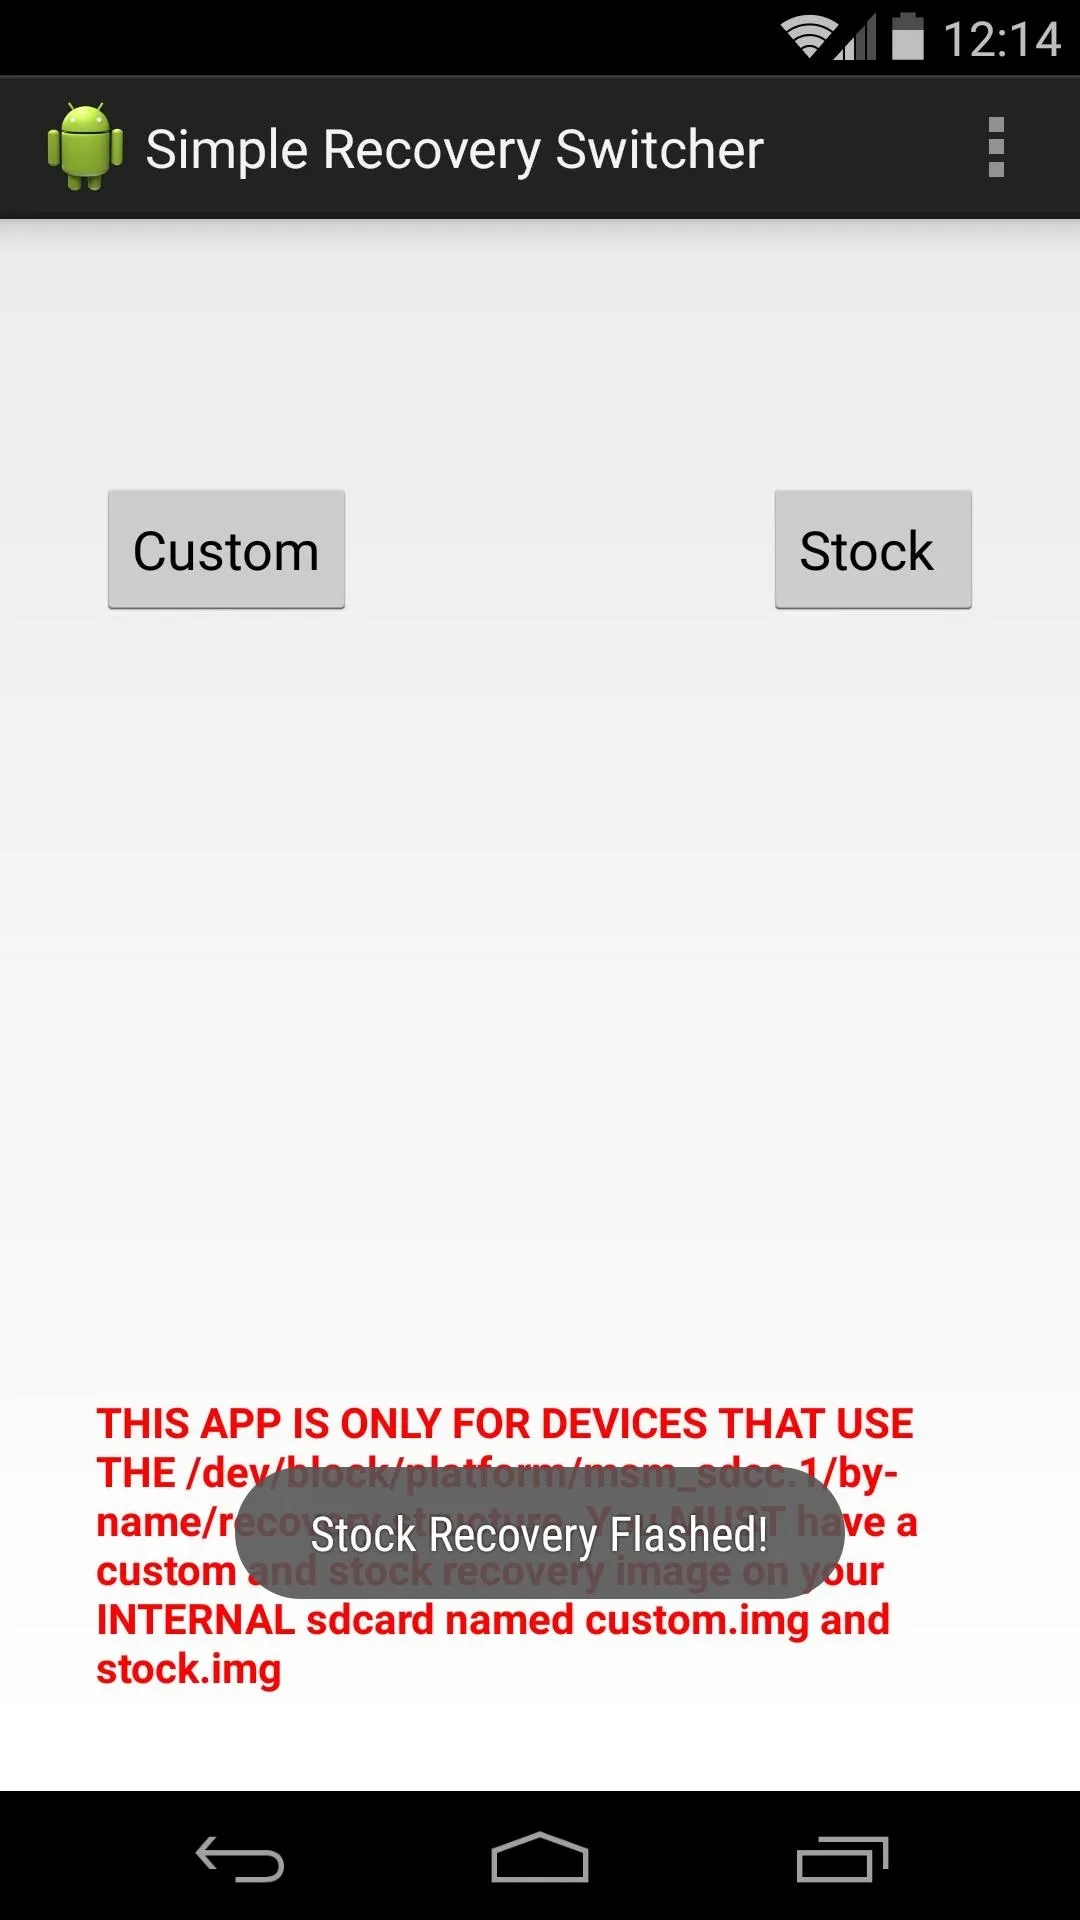
If you're currently using a custom recovery and you'd like to switch back to stock, tap the Stock button. In a few seconds, you'll get a toast message confirming that stock recovery was successfully installed.
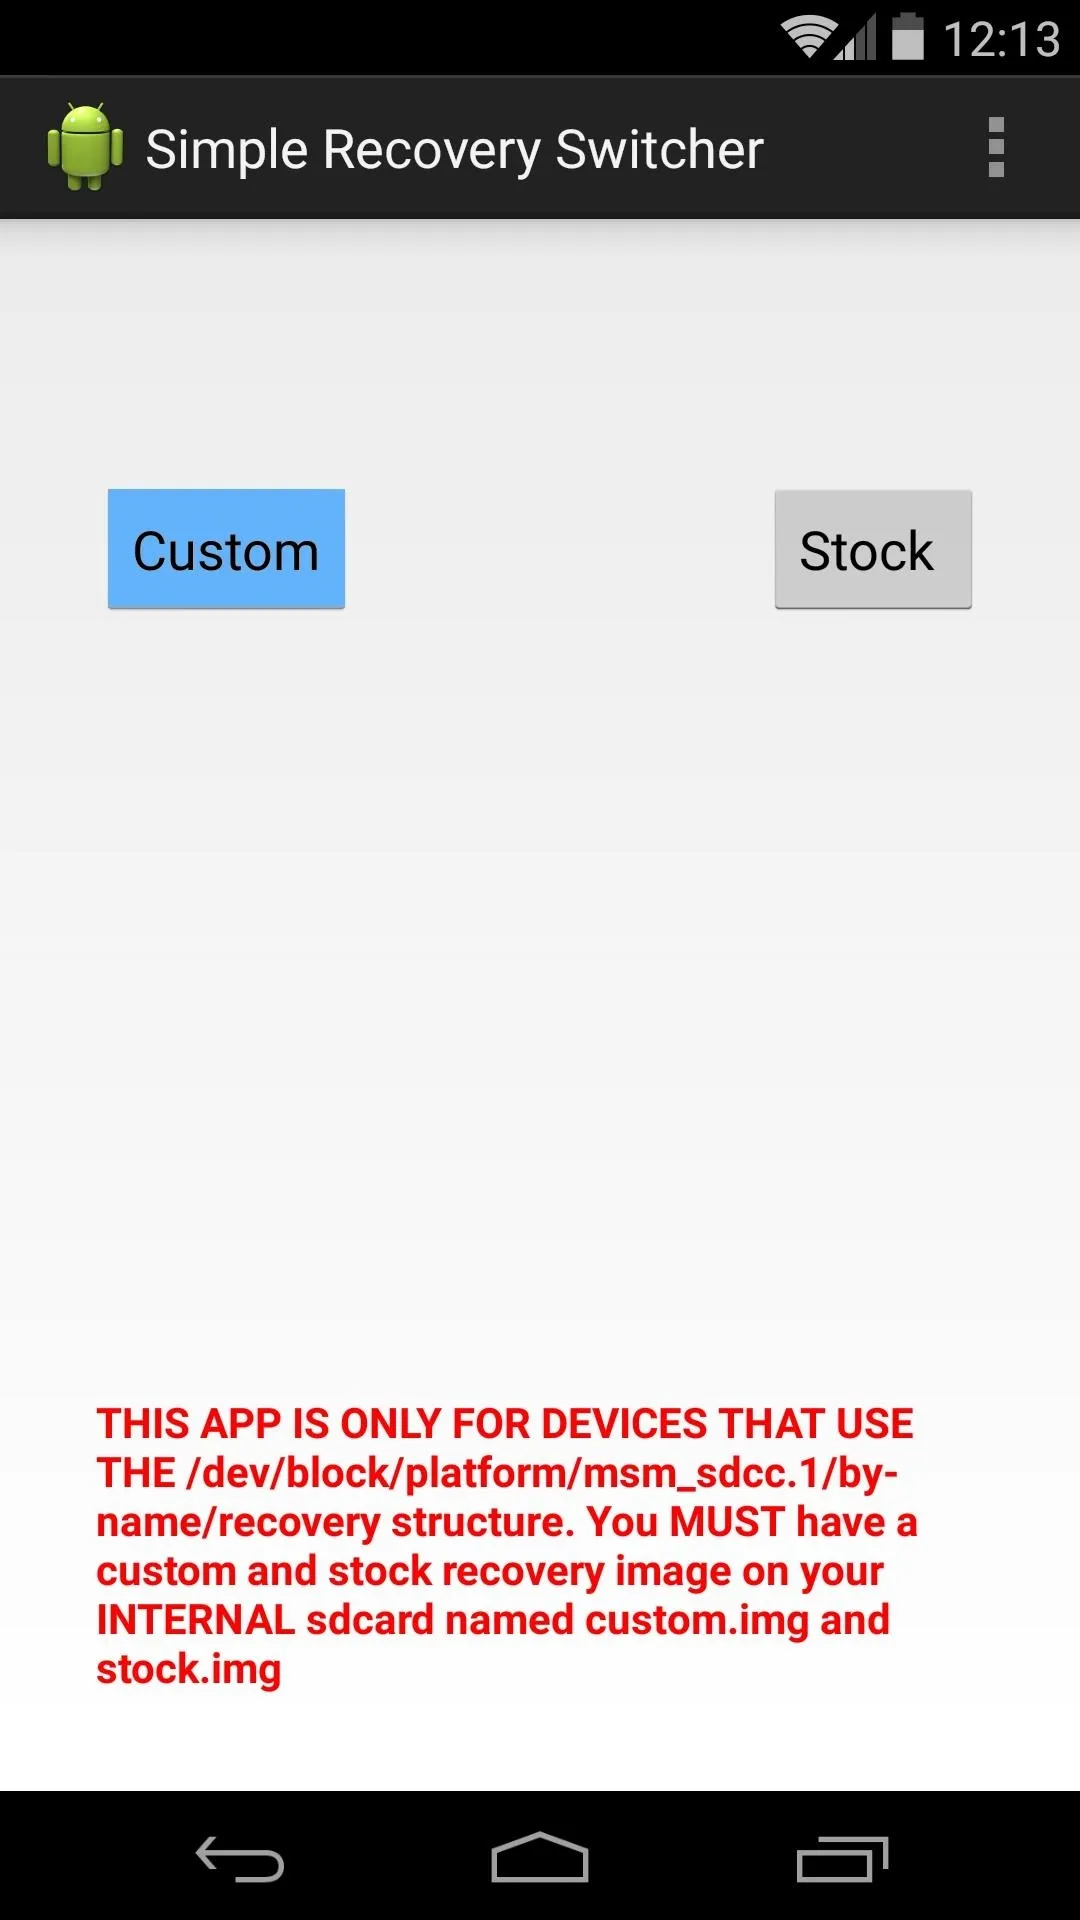
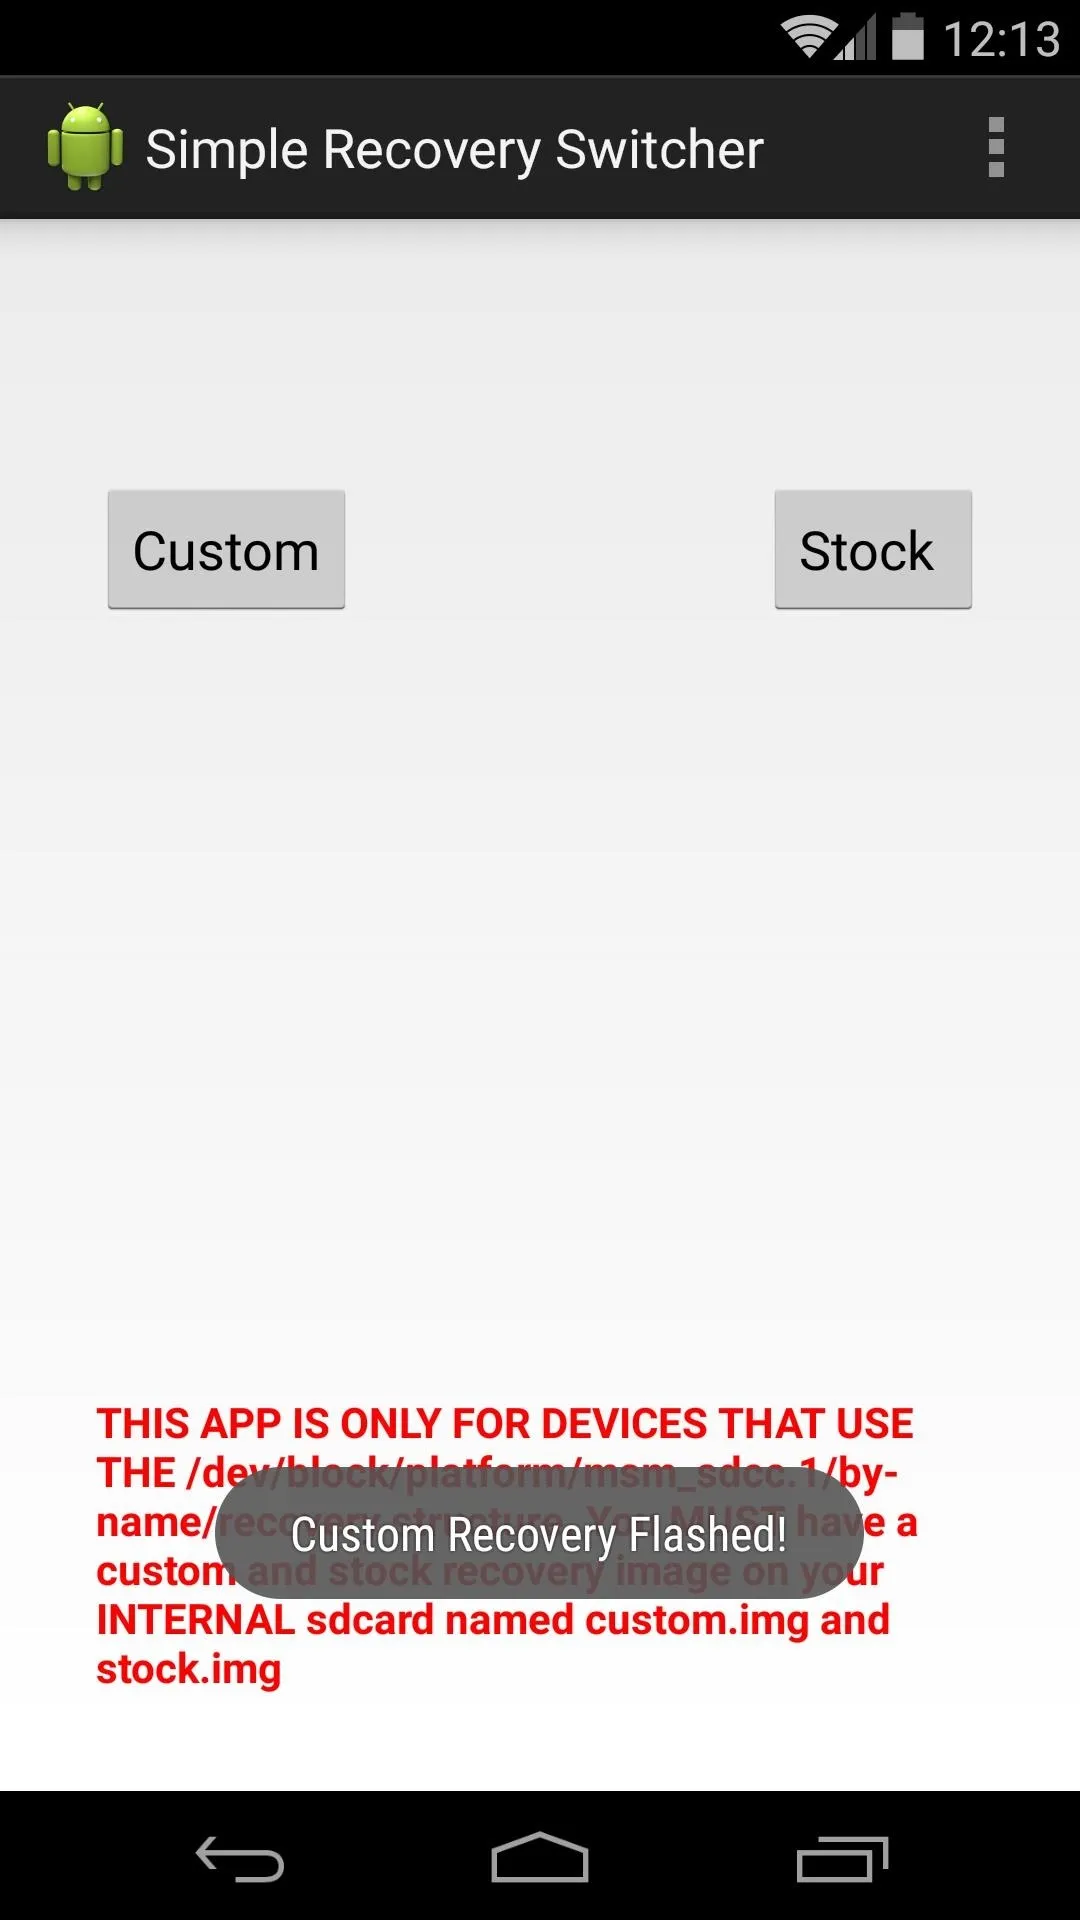
Say you've installed the Over-the-Air update and now you'd like to switch back to custom recovery. Simply open SRS, then tap the Custom button. Within a few seconds, TWRP will be installed on your device again.
Keep in mind that OTA updates may still fail to apply if you've heavily modified the System partition of your device. Nonetheless, the process of preparing for Android's next update just got a lot easier.
Have you ever had to struggle with reverting to stock recovery in the past? Tell us about it in the comments section below, or on Facebook or Twitter.


Comments
Be the first, drop a comment!