


If you're anything like me, you started down the Android-modding path for two distinct reasons; to run cutting-edge software and squeeze every bit of performance out of your hardware. Utilizing the new F2FS file system on your rooted Nexus 4 or 5 fulfills both of those desires at the same time.
What Is F2FS?
F2FS, which stands for Flash-Friendly File System, is a new file system that was developed last year by a team from Samsung. It was developed and optimized specifically to be used with NAND flash memory, the type of storage used in our phones and tablets.
A file system governs how data is written to and read from your device's storage memory, and its performance can make a big difference in the overall speed of an operating system. According to benchmark testing, F2FS provides a significant performance increase in most I/O operations over the more commonly used EXT4 file system, especially when it comes to database operations and data writing.
These types of performance gains typically yield a more responsive Android experience, and what's not to like about that? Here's how to get F2FS on your Android device.
Prerequisites
- A rooted Nexus 4 or 5.
- A Windows computer with the proper phone drivers and Fastboot installed.
- An up-to-date backup of your data (this process will result in a full data wipe) that is stored in a location that is not your device, such as cloud storage or computer.
- Any 4.4 KitKat ROM with Busybox bundled in (most custom ROMs will have this). Please note that without Busybox present, the converted ROM will not boot.
Download the Tools
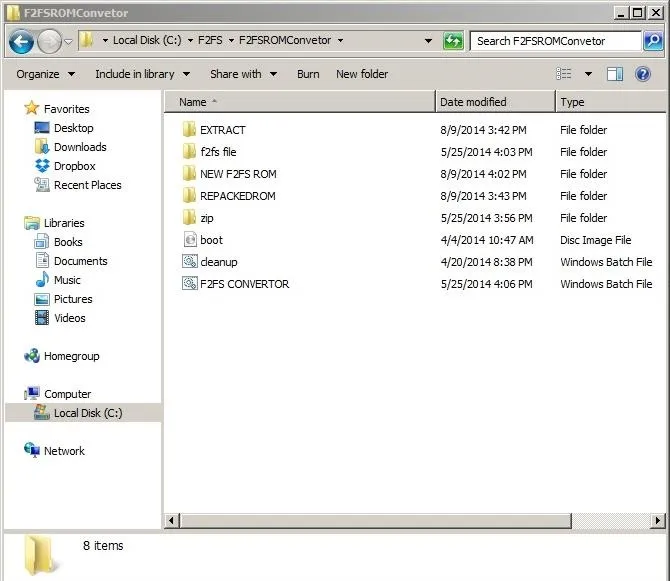
Create a new folder on your computer's "C" drive, then download the appropriate convertor and recovery files to it:
Now, to the root directory of your Nexus device's SD card, download:
- FormatPartitions.zip (same file for both devices)
Once all file are downloaded, it's time load up your ROM and convert it! Follow along with the video embedded above if you need a more visual cue for any of the upcoming steps.
Load Your ROM File
Extract the F2FS ROM Converter .zip file that you downloaded in Step #1. Make sure that there are no spaces in the path that you extract it to. For example:
- This will work: C:\F2FS\F2FSConverter.zip
- This will NOT: C:\F2FS Stuff\F2FSConverter.zip
When you extract the .zip file, it will create several folders and two batch files, one to convert your ROM, and the other to perform cleanup afterwards.
Double-click on the F2FS Converter.bat file to open the batch file.
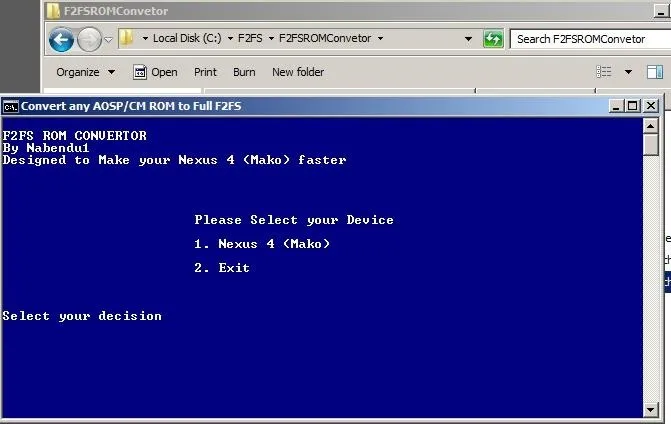
Select your device from the provided options. In the case of the Nexus 4, there is only a single option.
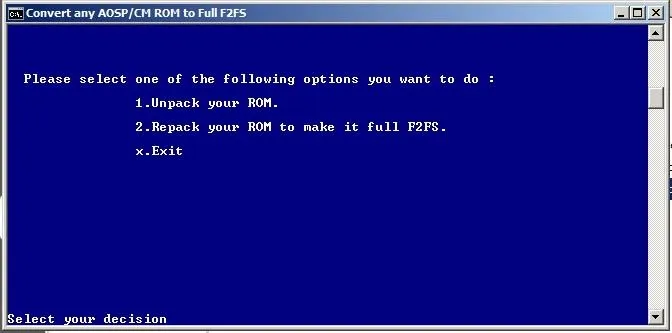
Select Option #1 to Unpack your ROM.
Next you will be asked to place the ROM that you want to convert into the EXTRACT\INPUT folder that was created when you extracted the F2FSConverter .zip file. Once the ROM is copied over, you can hit any key to proceed, as instructed by the converter.
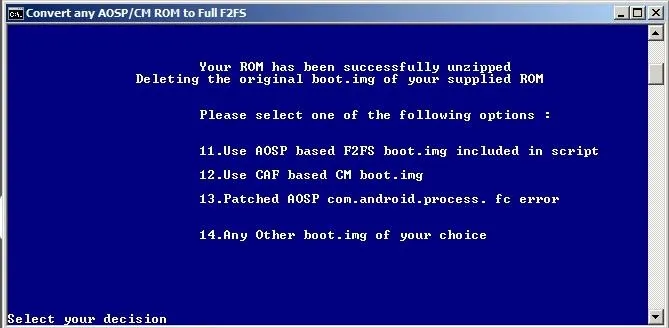
Next, the converter will delete and replace your original boot.img file. Select the correct option for your ROM, telling the converter if your ROM is AOSP- or CyanogenMod-based. If your ROM is either of these, check with your ROM developer to ensure that their build will support F2FS conversion, then select Option #14.
Convert Your ROM to Support F2FS
Next, you will be returned to the Unpack/Repack screen. This time, select Option #2 to Repack the ROM, and the converter will now copy over the new boot.img and updater script.
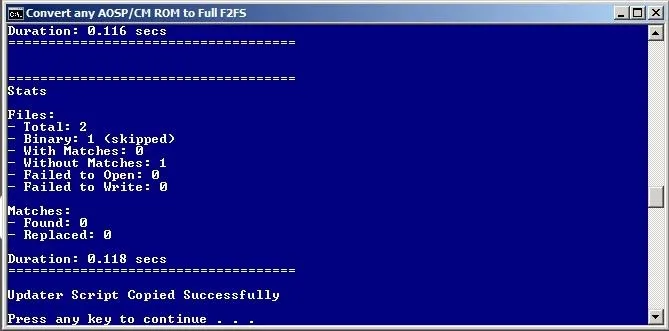
Once that is complete, a new black window will open that will repack the ROM back into a flashable .zip archive.
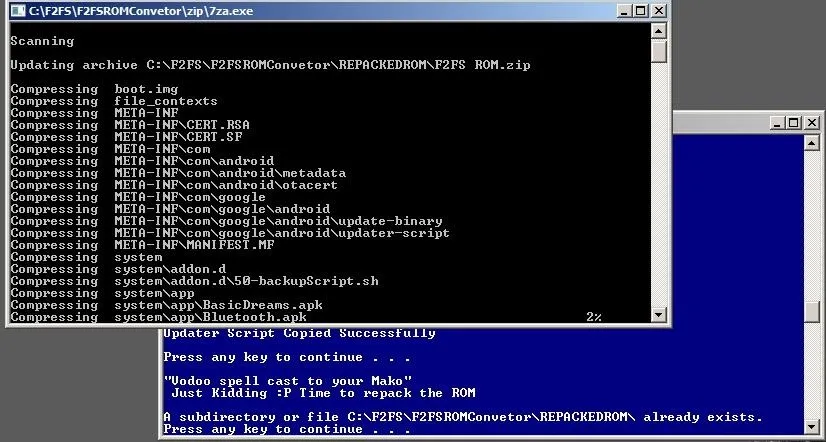
Be sure to keep both windows open until the process is completely finished, which can take between 10 and 15 minutes. Once the repacking is complete, your new F2FS-enabled ROM will be available in the NEW F2FS ROM folder within the same directory.
Copy the Converted ROM to Your Device
Transfer your new F2FS-compatible ROM from your computer to your device, via a USB cable, so that it's ready to be flashed.
Flash an All-F2FS Compatible Recovery
Turn on your device by holding the Power and Volume Down buttons until the fastboot menu appears, then connect your device to your computer via a known working USB cable.
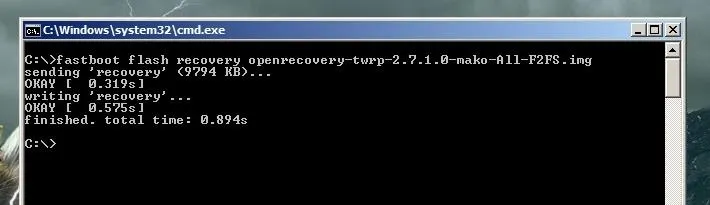
Navigate to the folder where you downloaded the F2FS-Compatible Recovery in Step #1, then press Shift while right-clicking and select "Open command window here," then type the following command:
For the Nexus 4, use this command:
fastboot flash recovery openrecovery-twrp-2.7.1.0-mako-All-F2FS.img
For the Nexus 5, use this command:
fastboot flash recovery openrecovery-twrp-2.7.0.0-hammerhead-All-F2FS-2.img
Format Partitions
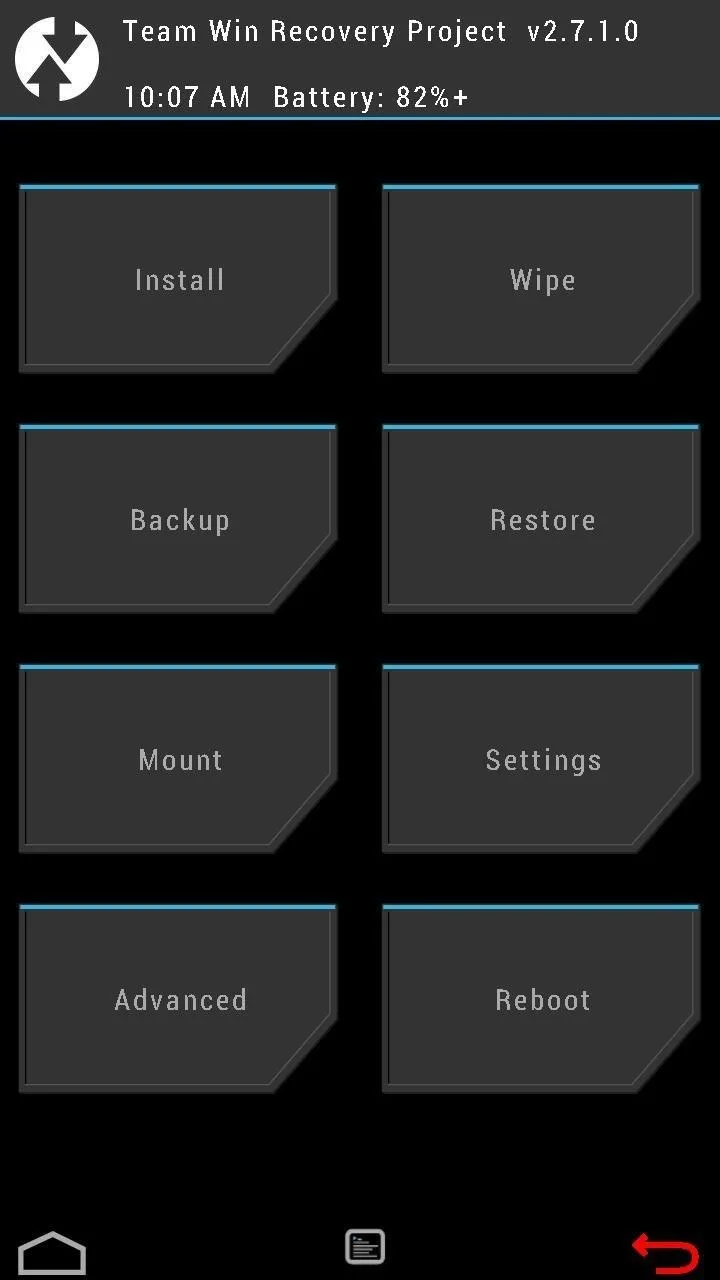
Enter into the newly installed recovery by pushing the Volume Down key on your phone until you see "Recovery Mode" at the top of the screen. Press the Power button to enter the recovery.
Note that the back button on the bottom right side of the screen will now be red. This is to indicate that you have the new F2FS-enabled recovery installed, versus the standard TWRP, although the functionality will be the same.
From the new recovery, tap Install and select the FormatPartitions-mako.zip that you downloaded in Step #1, then Swipe to Install.
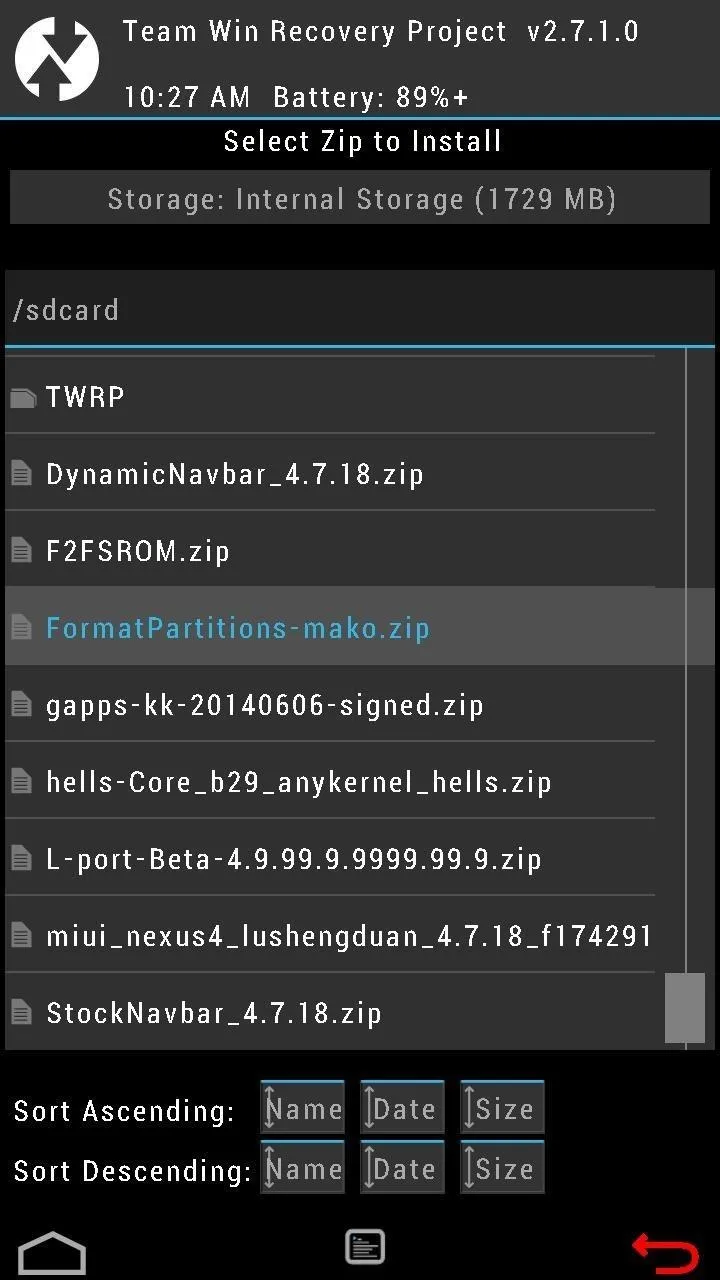
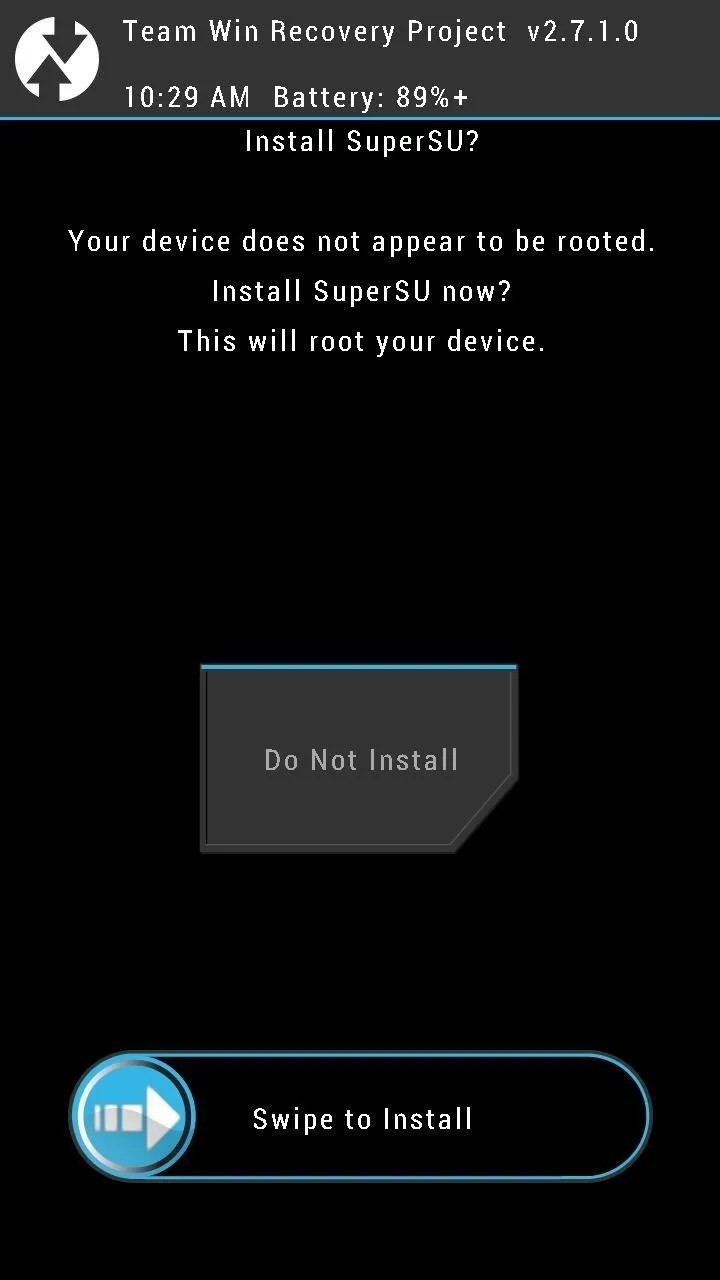
Once the .zip file is installed, reboot the recovery by tapping Home to return to the main menu and then selecting Reboot -> Recovery. If you are asked if you want to install SuperSU to root your device, select Do Not Install.
Flash F2FS-Converted ROM
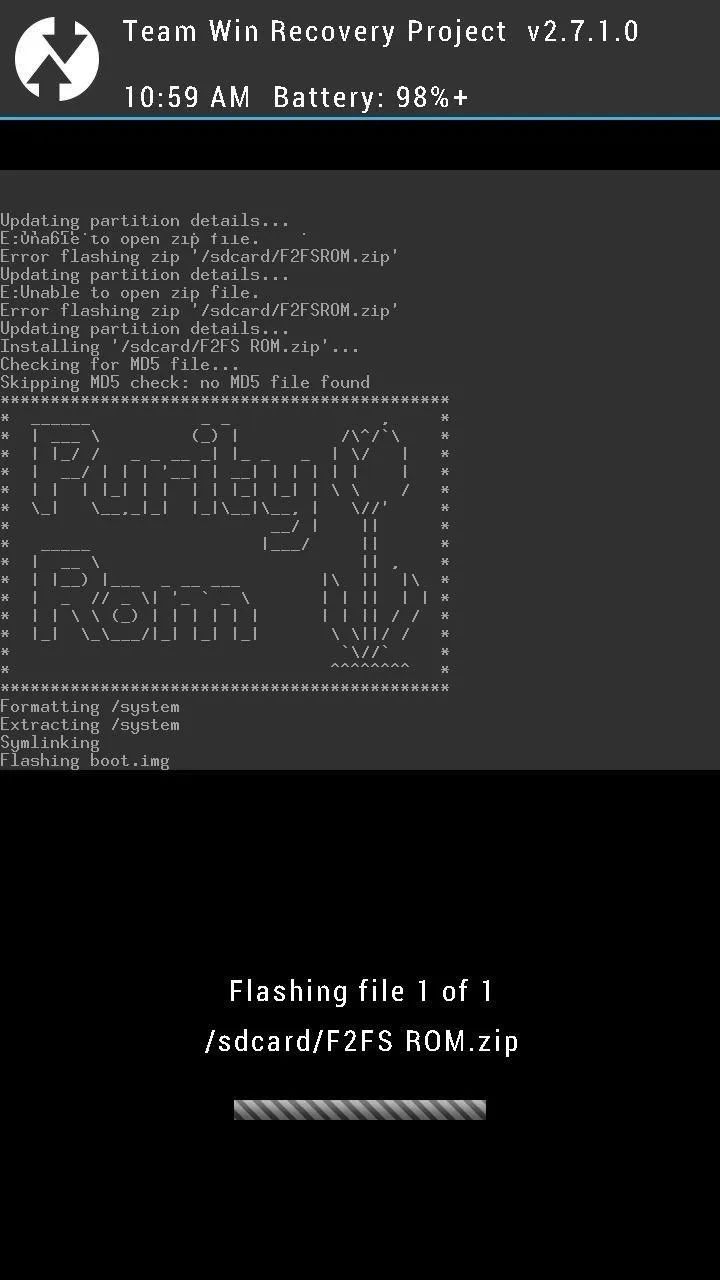
Once the recovery reboots, tap Install and select the F2FSROM.zip that you placed on your device's SD card in Step #3, then swipe the slider on the bottom to Confirm Flash.
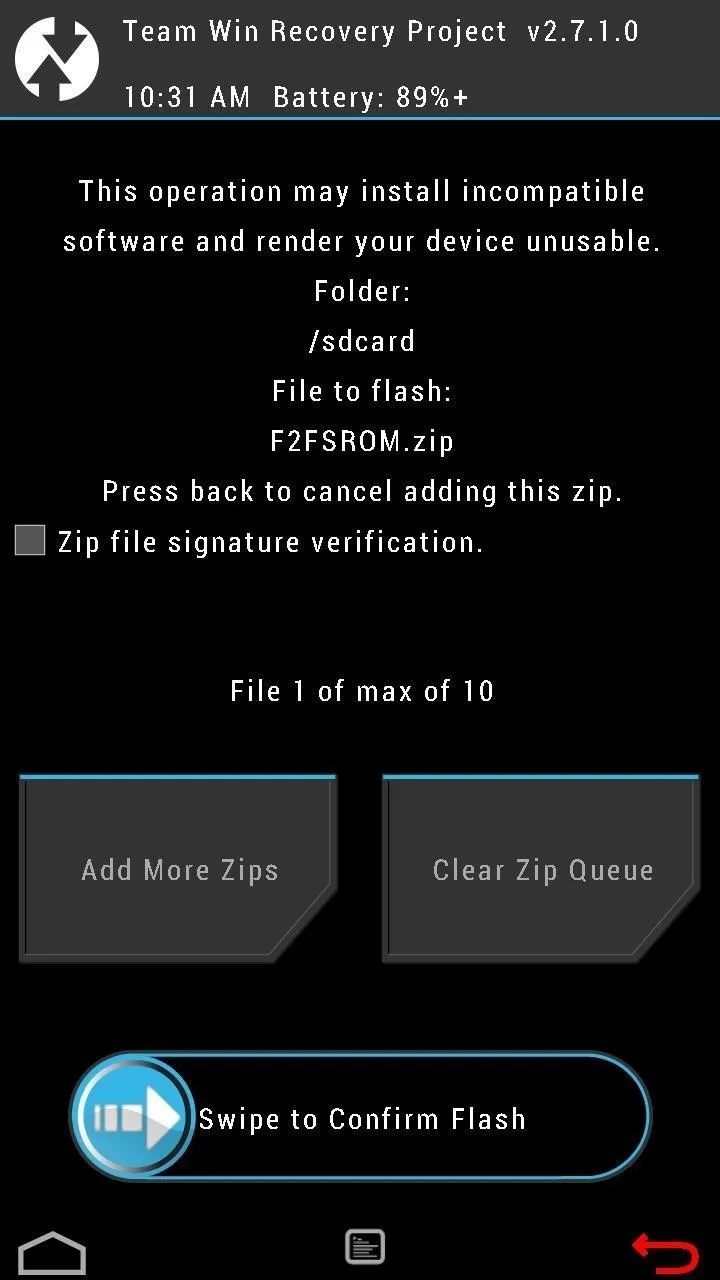
Note: You can also flash a compatible GApps package if Google Apps (including the Play Store) are not included in your ROM.
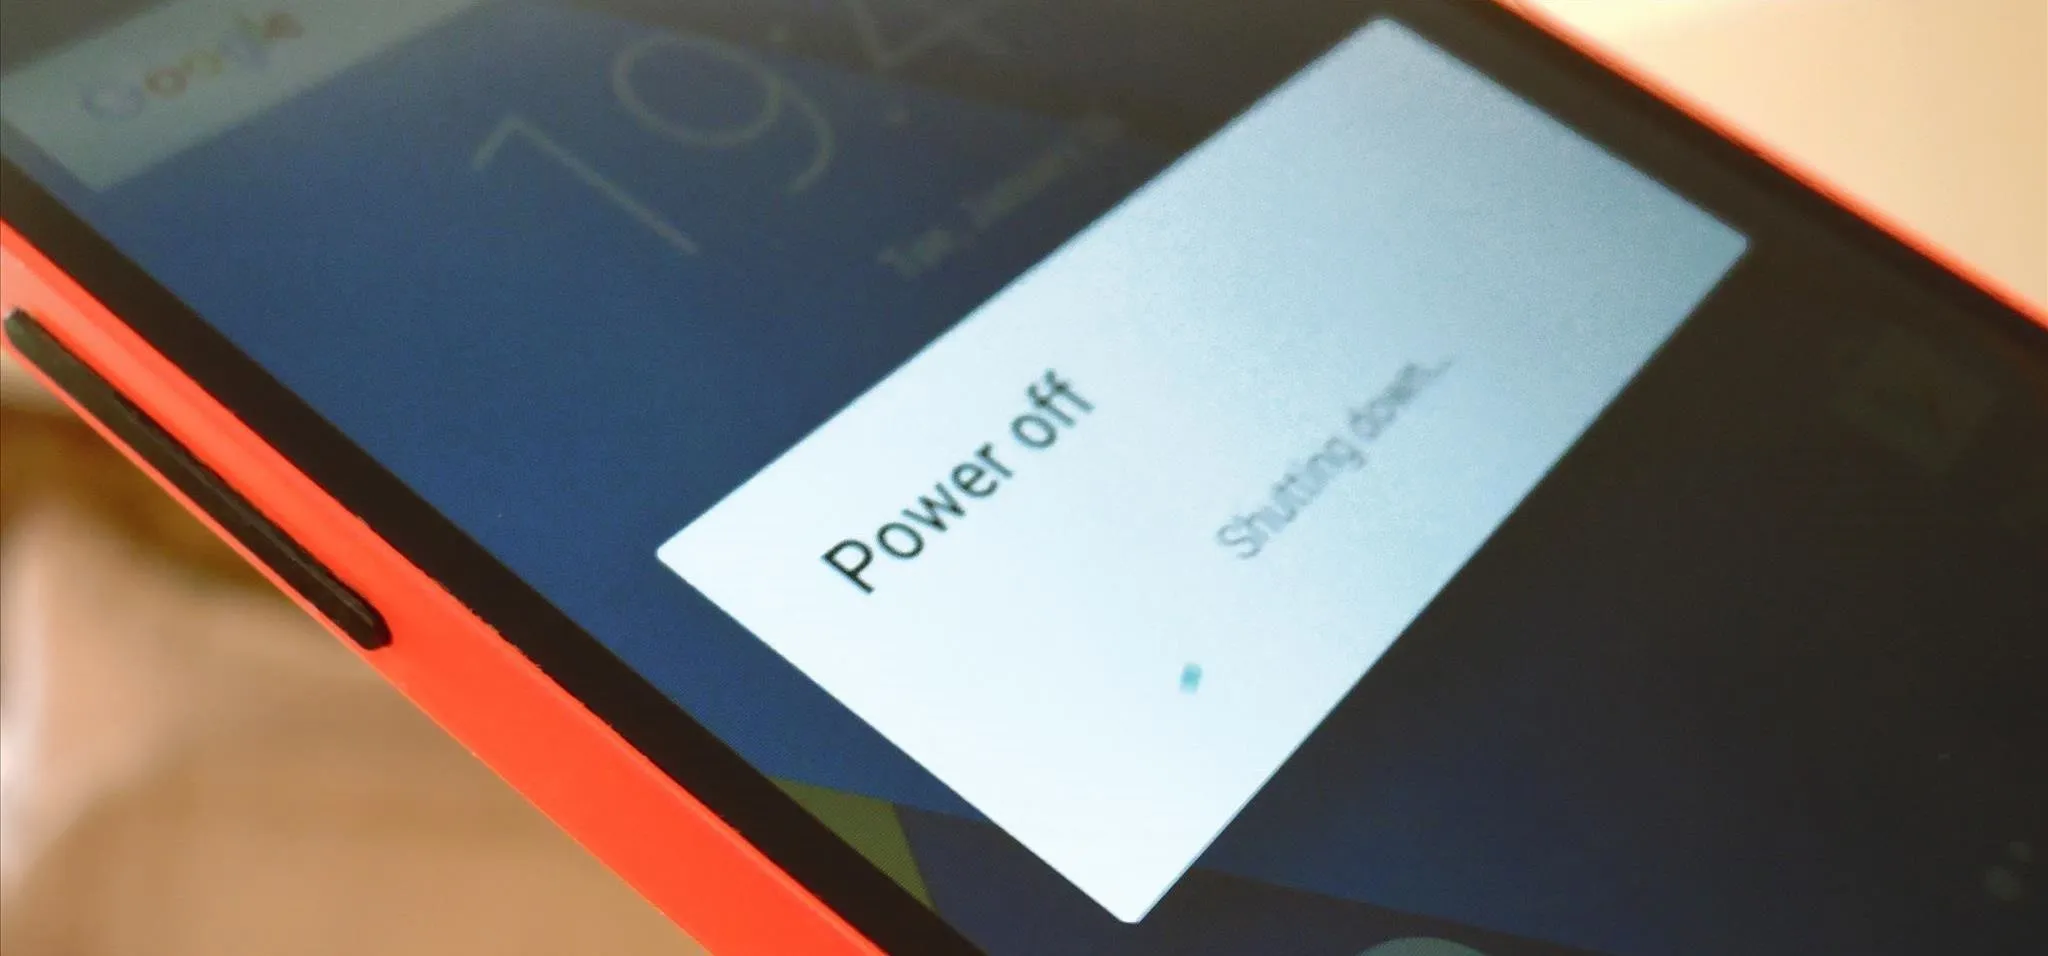
You're almost done at this point, but make sure you do not reboot your device yet!
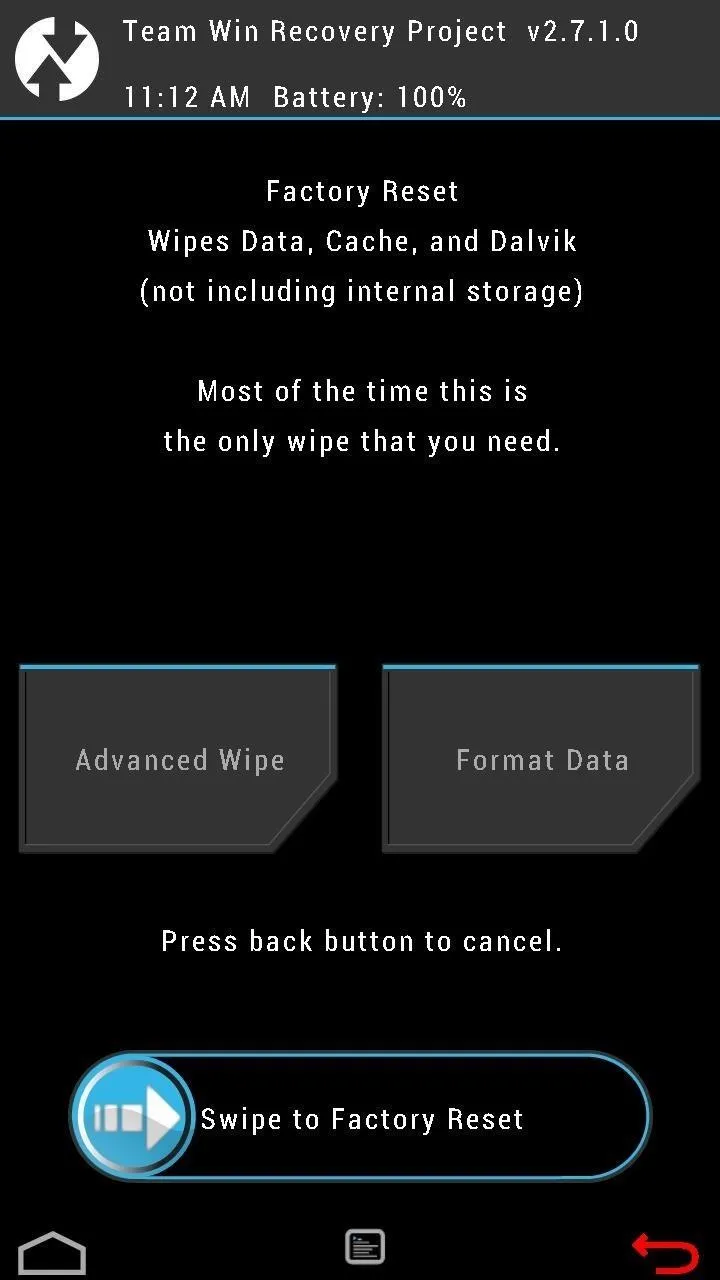
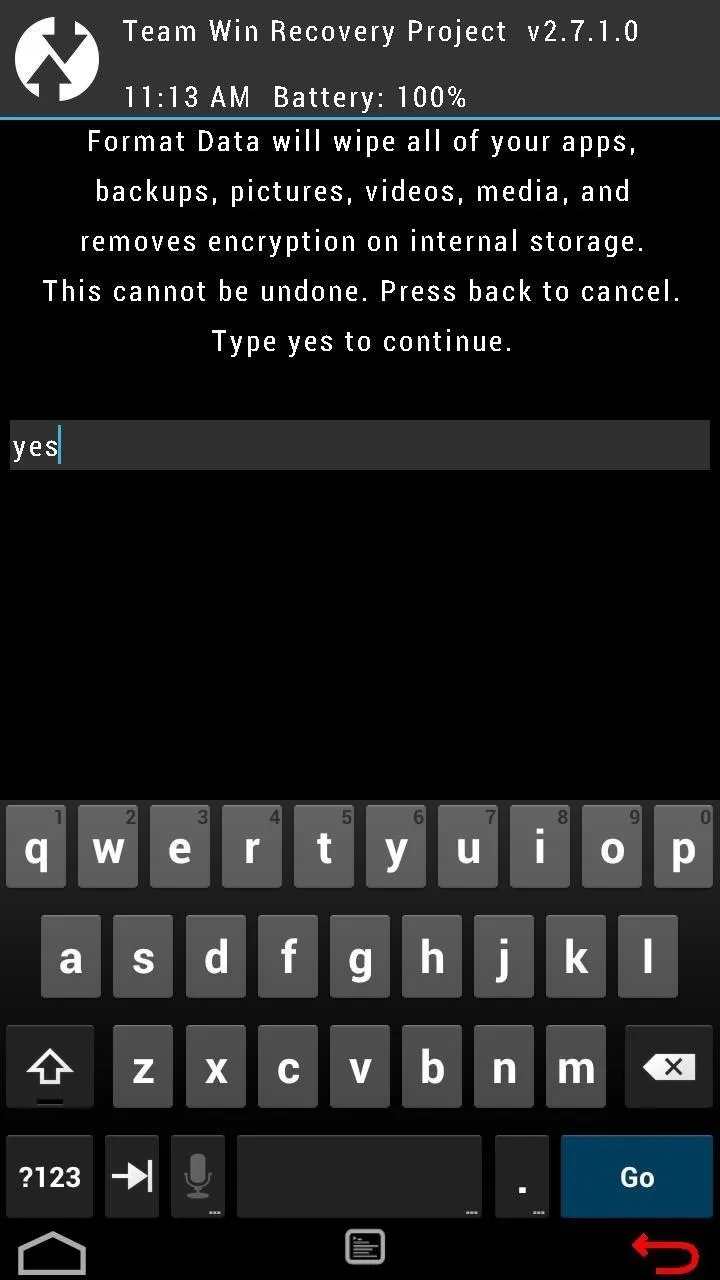
Format Data Partition
Return to the homepage of your recovery and enter the Wipe menu to wipe the Data partition.
In TWRP, this can be done by entering the Wipe menu, tapping Data and typing "yes" to confirm. This will wipe all of your apps, backups, pictures, video, etc., so be sure that you have an up-to-date backup of your important data, stored in a location that is not on your device.
Once the data partition is wiped, you can reboot your device.
Profit! Enjoy Your Speed & Stability
Your device is now using the the Flash-Friendly File System. Your phone should feel more responsive, especially when performing tasks that heavily involve reading from or writing to the file system.
Let us know what you think of F2FS in the comments.


Comments
Be the first, drop a comment!