


Remember the feeling you had the moment you removed your shiny new Nexus device from its packaging and booted it up for the first time? You swiped through the app drawer at lightning speed and thought to yourself, "This is the last Android phone I will ever need, they just aren't going to get any better than this."
Fast forward a few months and something has changed. While you still love your Nexus, it just doesn't seem to impress you like it once did. It's something that happens with every smartphone or tablet, but there are a few things you can do to breathe some life back into your device.
Firstly, if you're rooted, make sure you update to the latest KitKat version before proceeding with any of these tips.
Tip #1: Enable ART
Android 4.4 KitKat shipped with a special Google goody hidden in the Developer Tools called Android Runtime, or ART for short, which is a replacement for the Dalvik runtime that uses JIT (just in time) compilation. This means that each time you run an app, Dalvik will compile the code required for its execution to machine code at that moment.
On the other hand, ART is an experimental runtime that was included in KitKat for evaluation purposes, which is why it was left disabled by default. ART uses AOT (ahead of time) compilation, translating apps into system dependent binaries at the time of installation, hence the compilation is done "ahead of time."
The bottom line is this: ART will cause your apps to load significantly faster while putting less strain on the CPU, which yields the secondary benefit of slightly improving battery life. However, there are a couple of caveats, namely:
- Apps will take longer to install
- Apps will take up more space on your phone
Additionally, as this is experimental software, you may experience some instability or apps that refuse to work with ART, though in my personal experiences, these issues are fairly minor. When you're ready to enable ART, follow the simple steps below, then jump to the next tip.
Enable Developer Options
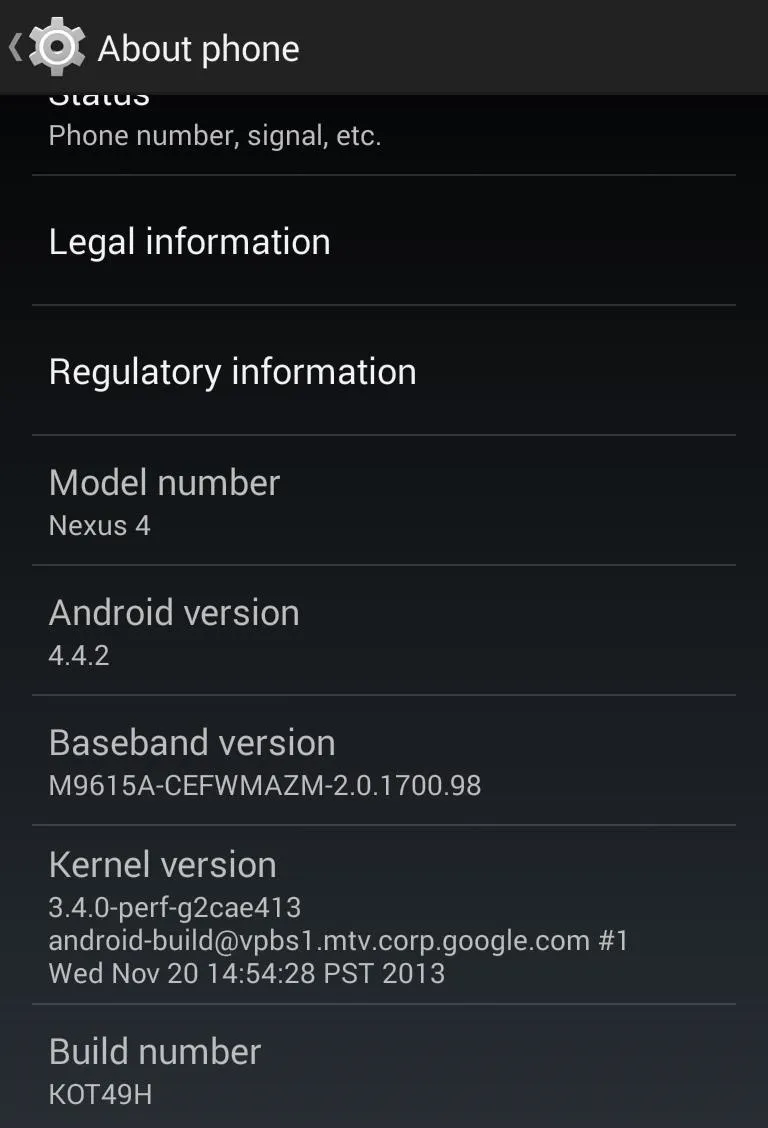
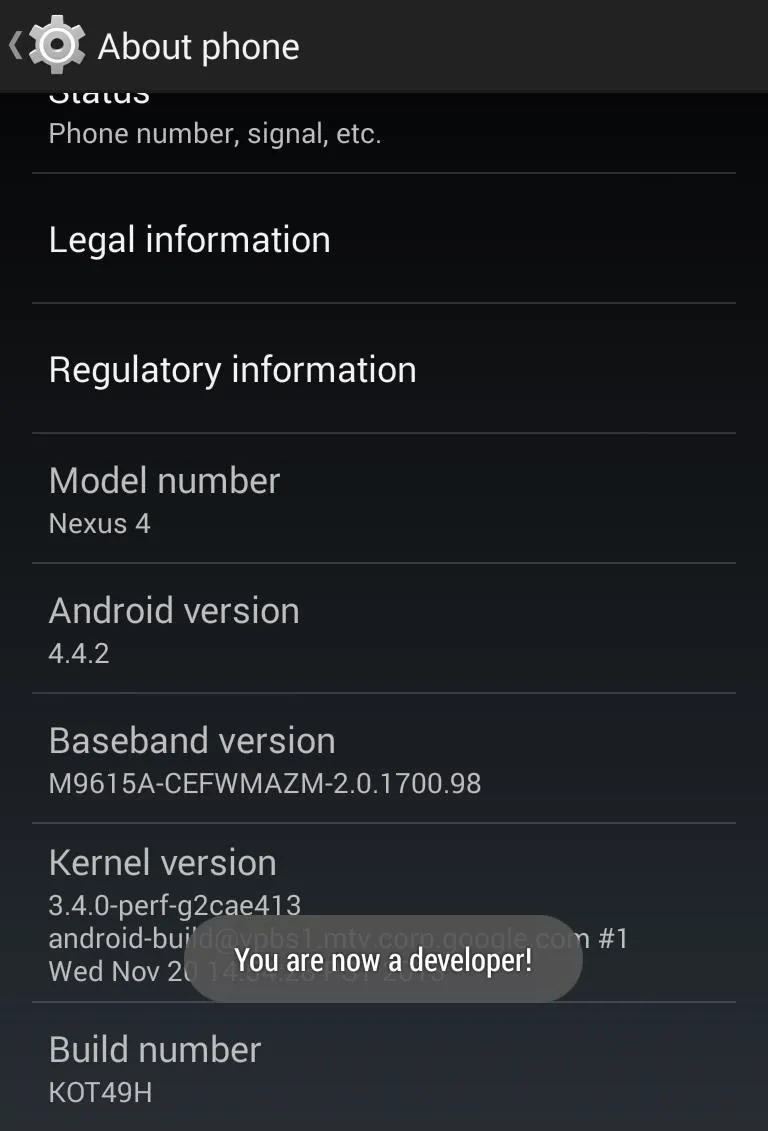
To even get to the hidden ART options, you'll first have to enable the hidden Developer options. Go to Settings -> About phone and tap on Build Number seven times. You'll know you're ready when you see a toast notification saying that "You are a developer!"
Enable ART Runtime
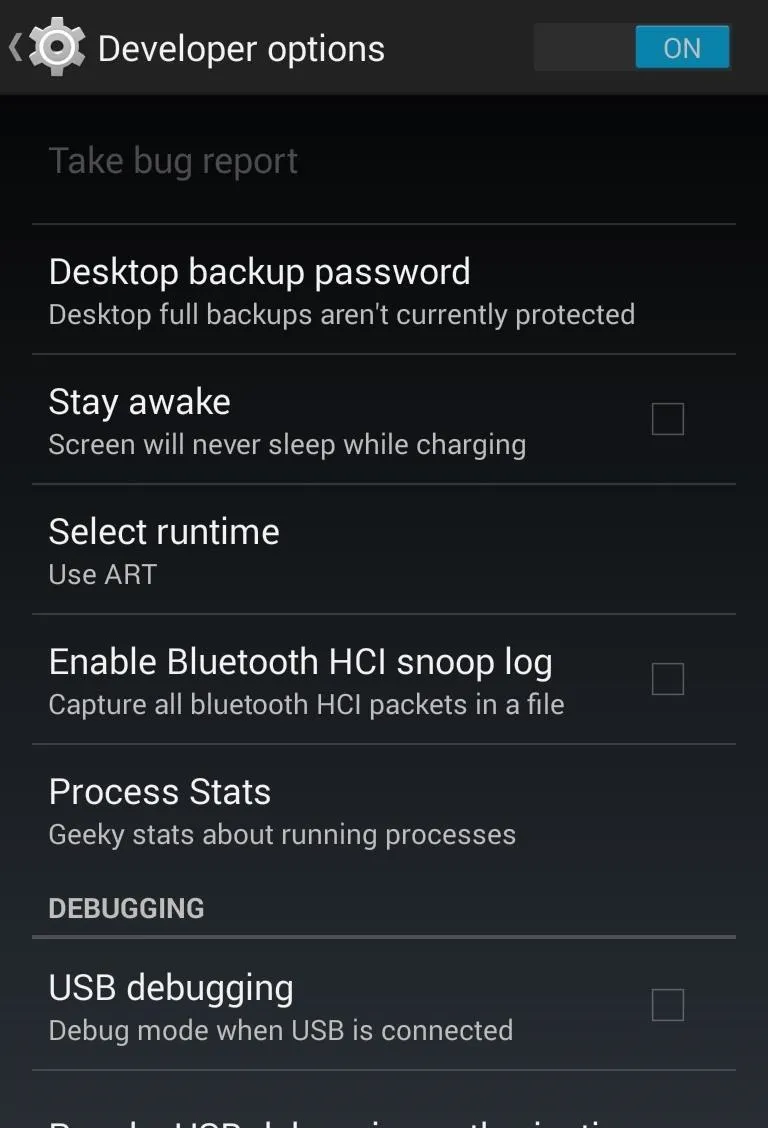
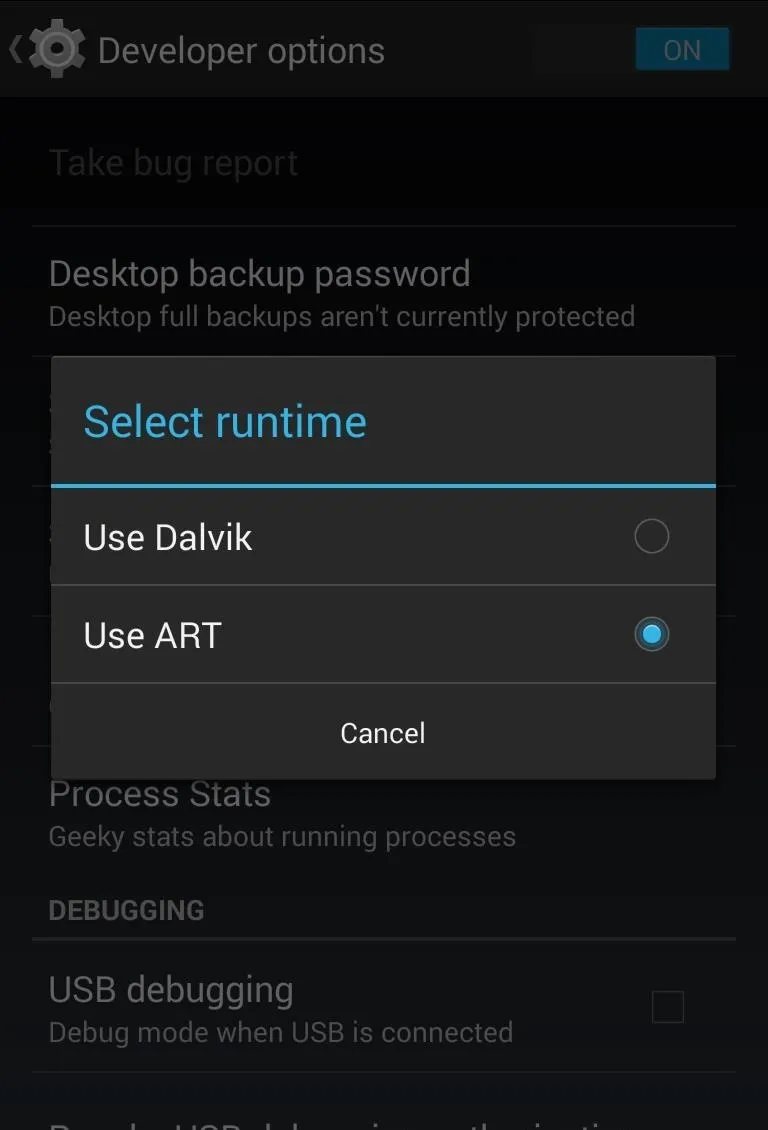
You'll now see a new settings menu for Developer options. Tap it, then Select Runtime. From here, simple choose to Use ART.
Reboot Your Device
Reboot your phone and be prepared to wait, depending on how many apps you have installed, this can take quite a while.
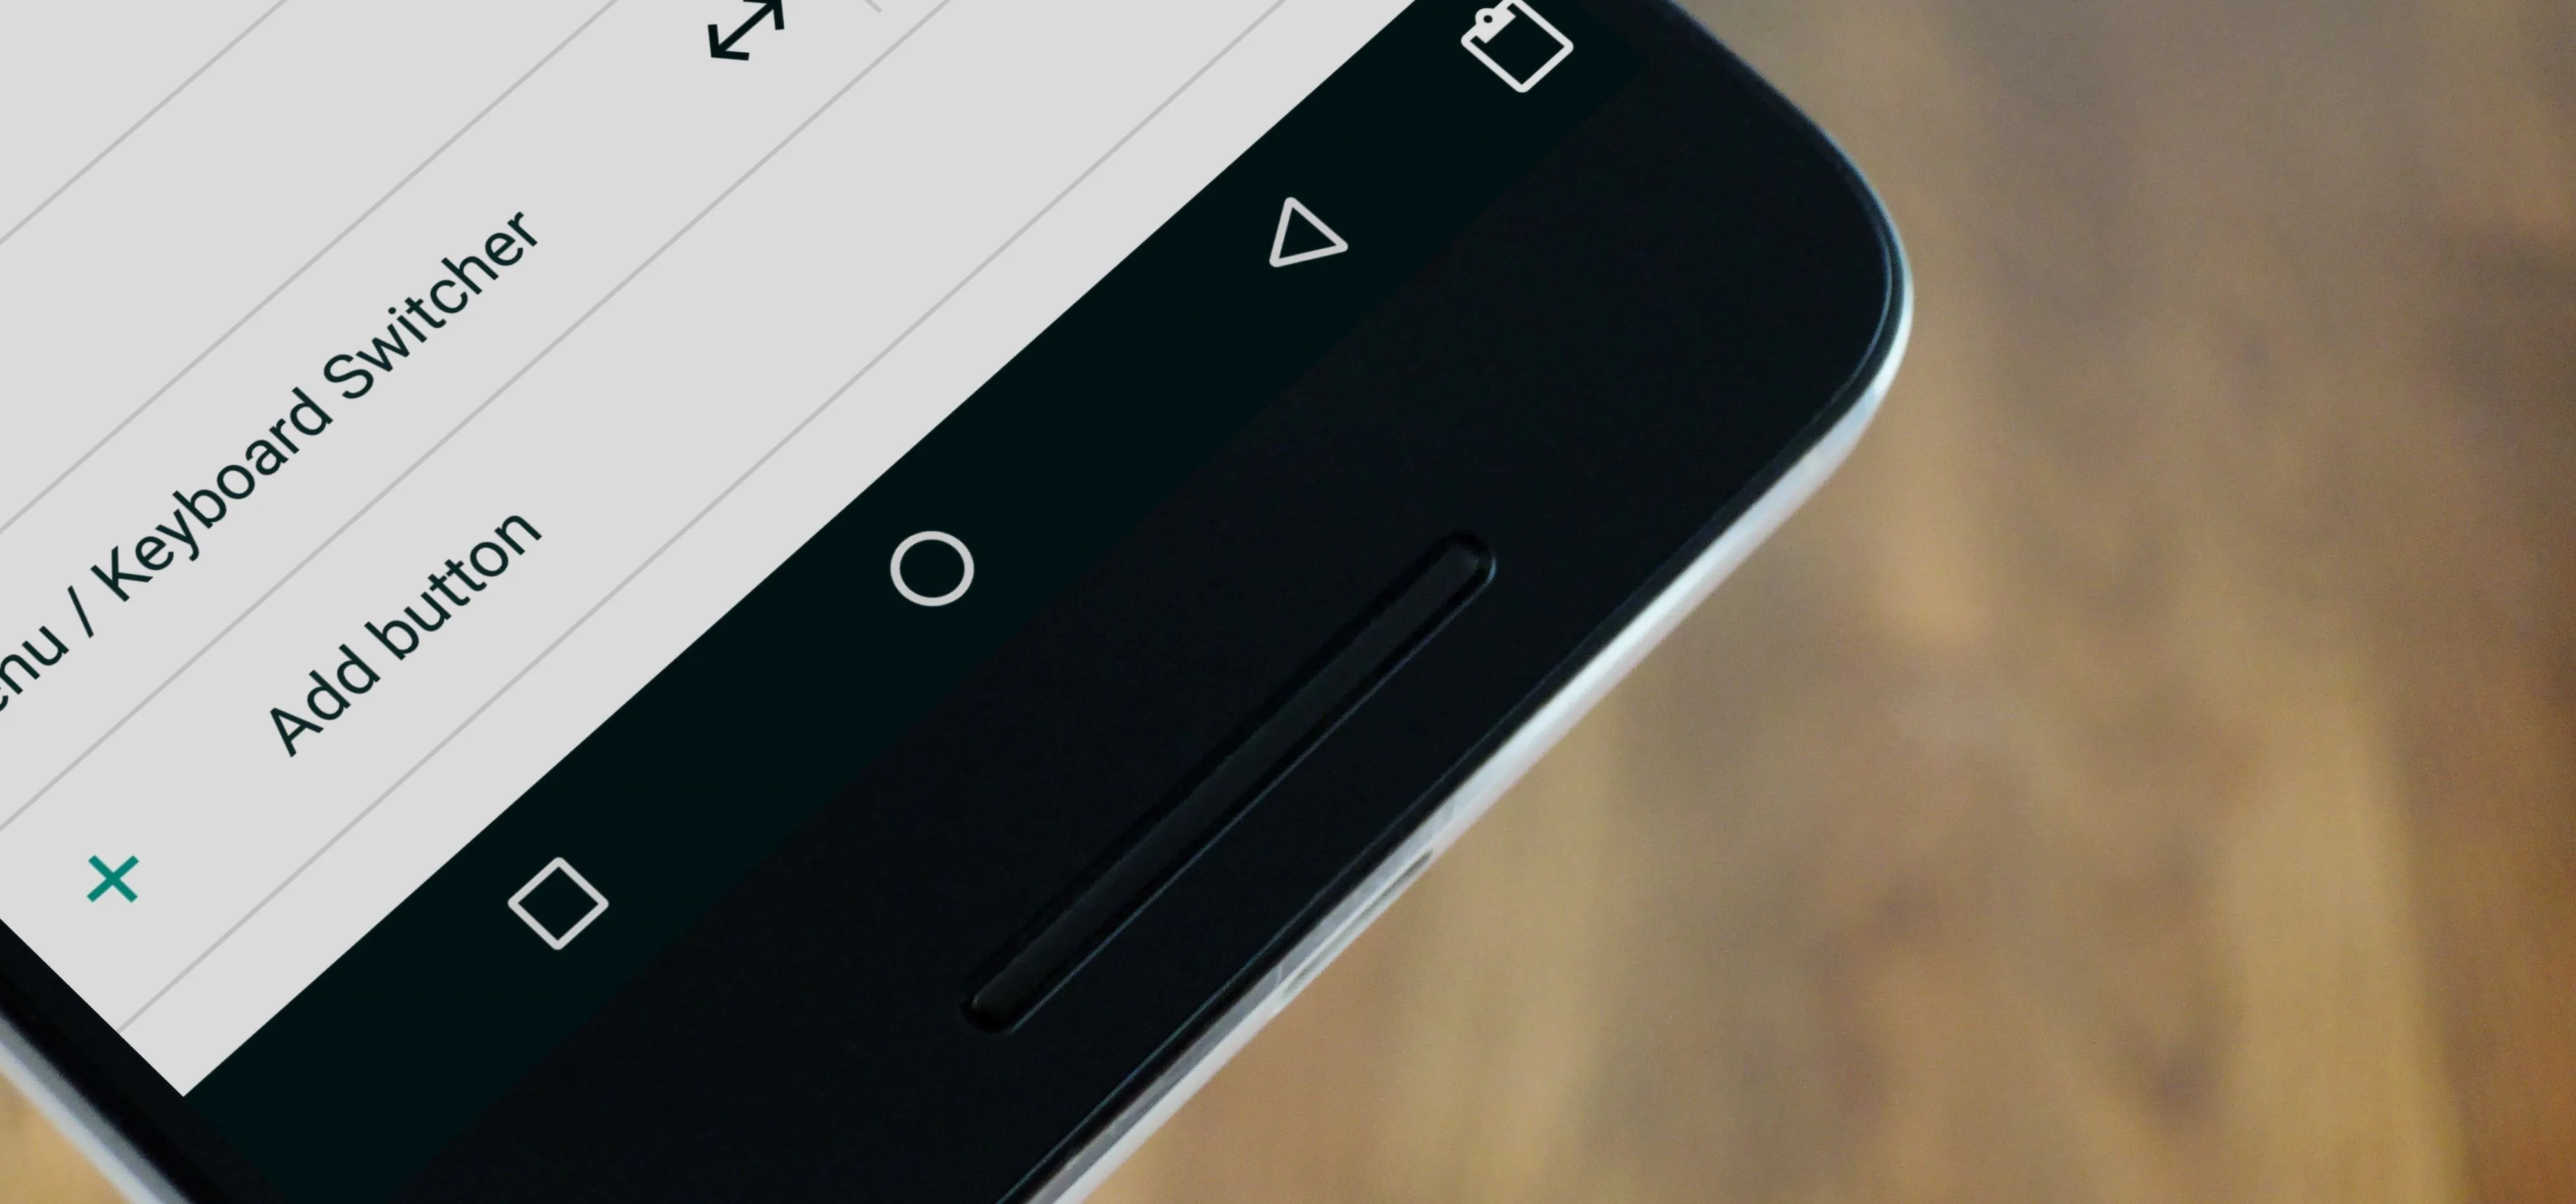
Tip #2: Install a Lightweight Application Launcher
Something that I have always loved about the Linux operating system is that the user is able install whatever desktop environment they would like, from graphics heavy resource hogs like KDE to lightweight, minimalist options like LXDE.
While not exactly the same thing, an analog to this type of customization in Android is the ability to change out your application launcher. If you favor speed and simplicity over flashy visual effects and screen transitions, consider some of these lightweight app launchers:
Zeam Launcher
Zeam Launcher - This launcher is customizable, smooth, and above all else, very fast. Unfortunately, a few months back, development ceased as Michael Bentz, Zeam's creator, had started work on a new launcher that is showing some promise, though it's still in beta. Even though Zeam is no longer being updated, it is quite usable in its current state.

Smart Launcher 2
Smart Launcher 2 - This launcher is updated constantly, boasts a handful of unique features, and has been downloaded by over 8 million people since its release. While maybe not as lightweight as Zeam, SL2 offers a solid, low-resource launcher that runs quickly and doesn't compromise in terms of modern features.

Tip #3: Improve Wi-Fi Performance
Both the Nexus 4 and 5 have long-standing reported issues of wireless performance degradation over time, and many of these issues are still present in the latest version of Android. Since so many of the things we use our phones for are dependent on a strong internet connection, poor Wi-Fi performance can cause our phones to feel sluggish. Here are a few simple tricks to improve wireless speeds:
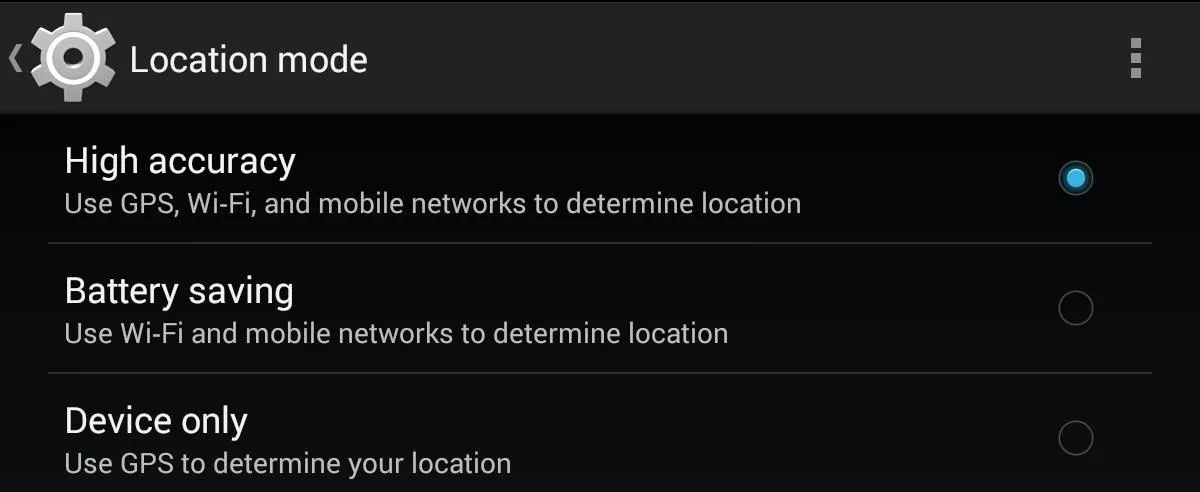
Turn Off Battery Saving Mode
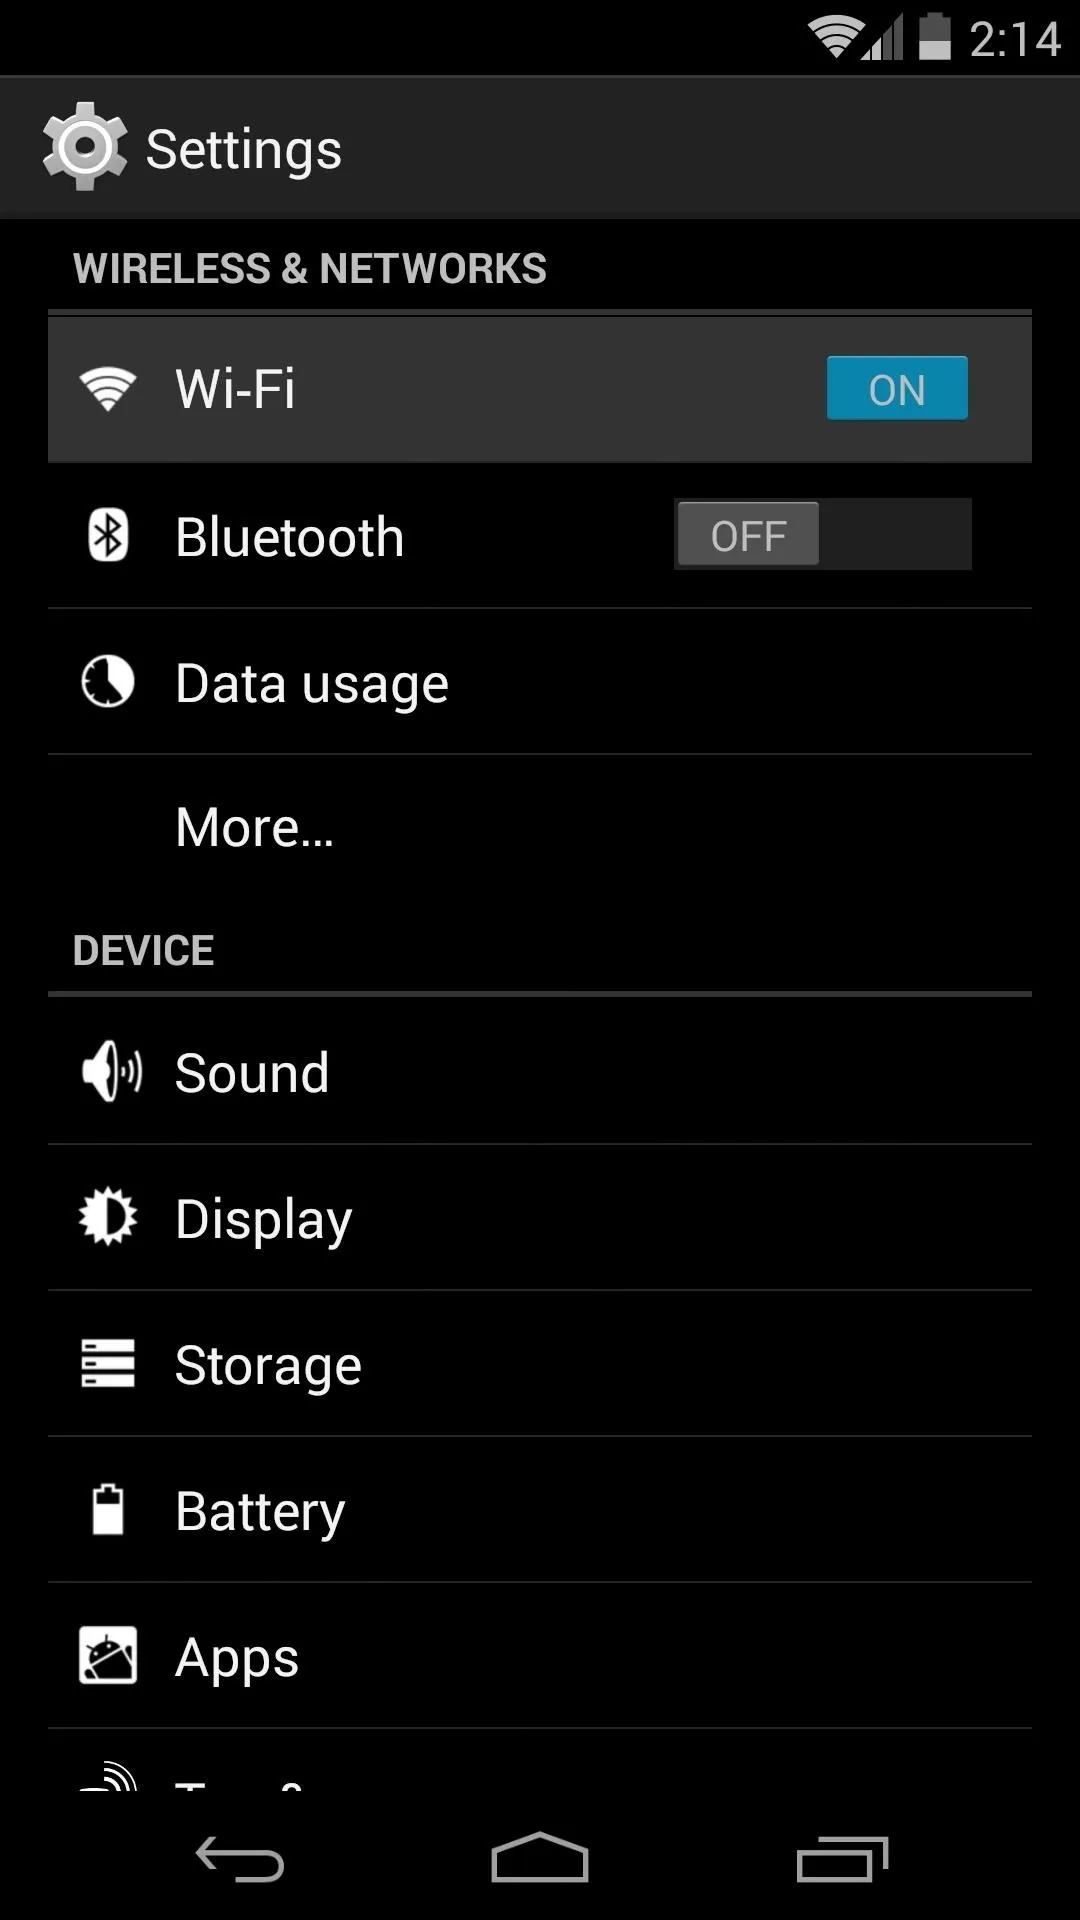
Go to Settings -> Location -> Mode and make sure that you are not in Battery Saving mode. This mode has been associated with wireless performance issues for some people.
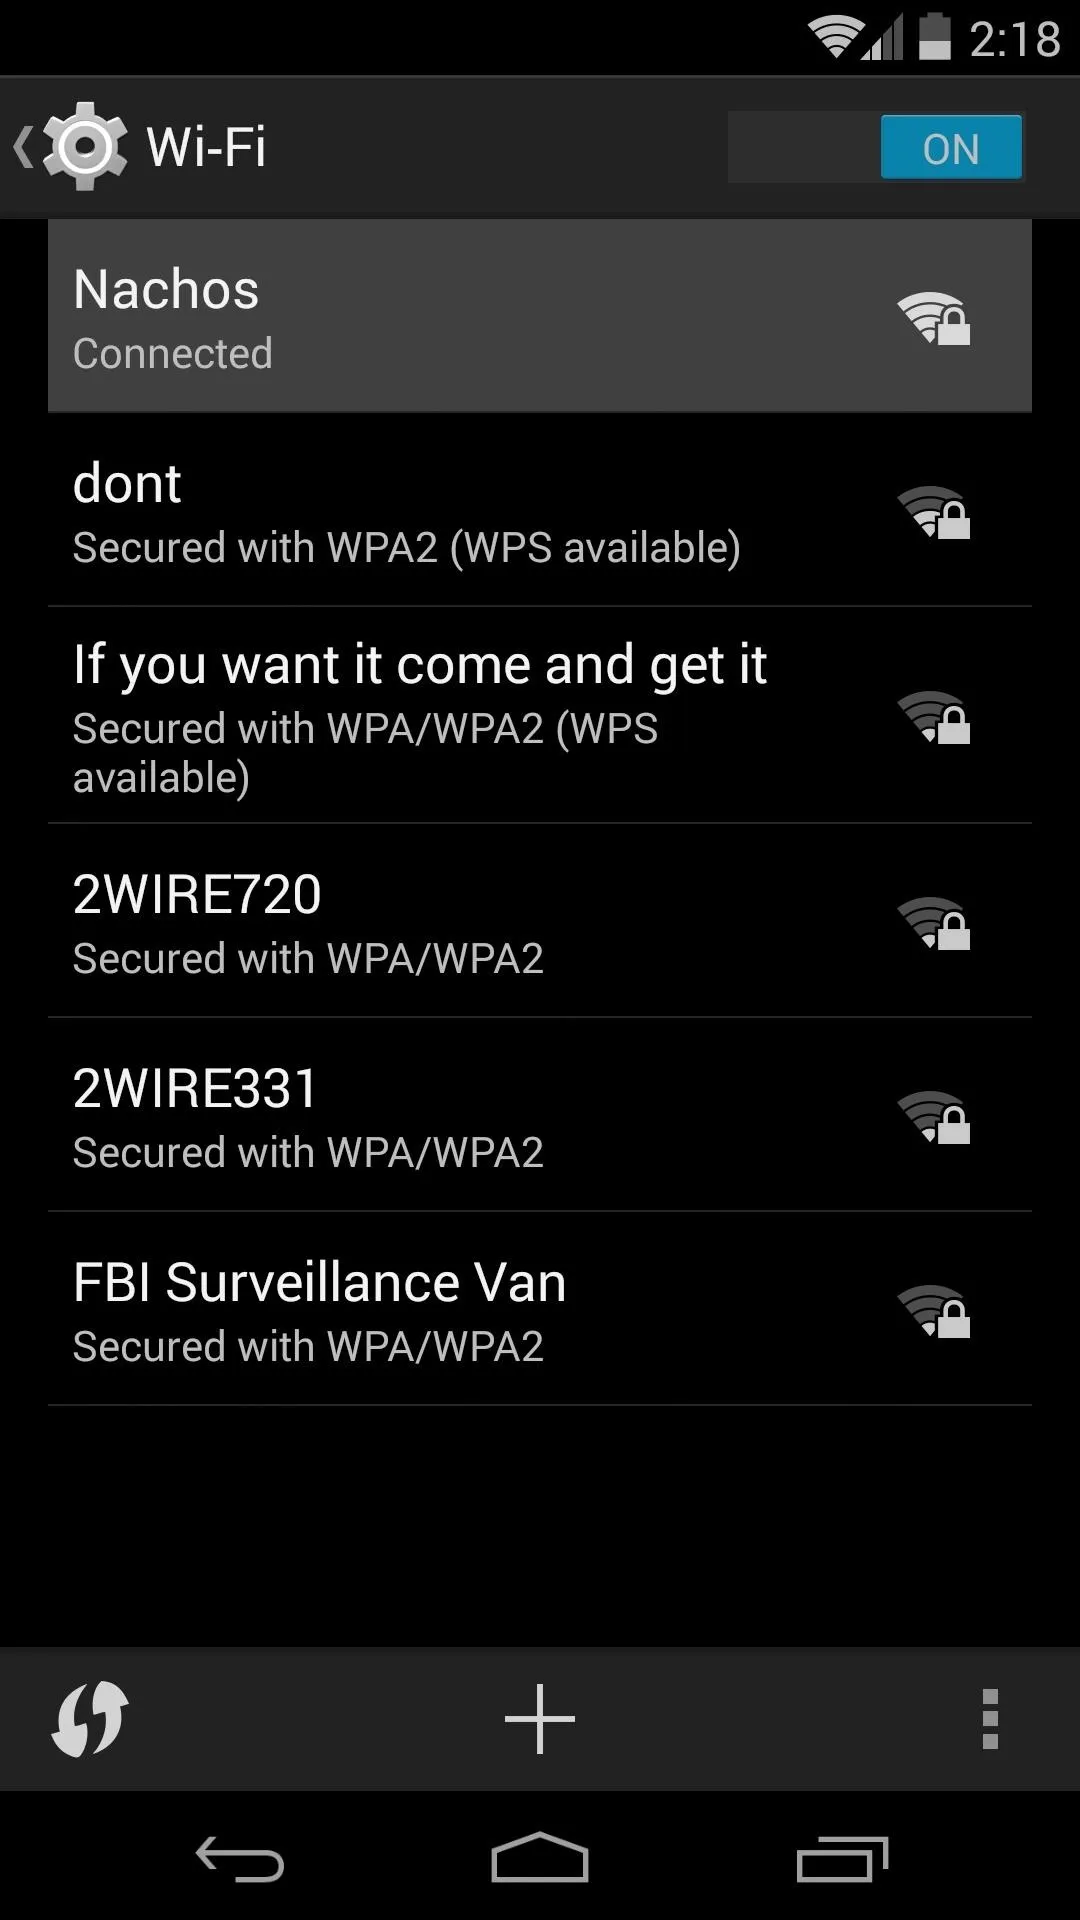
Assign Static IP Address & DNS Server
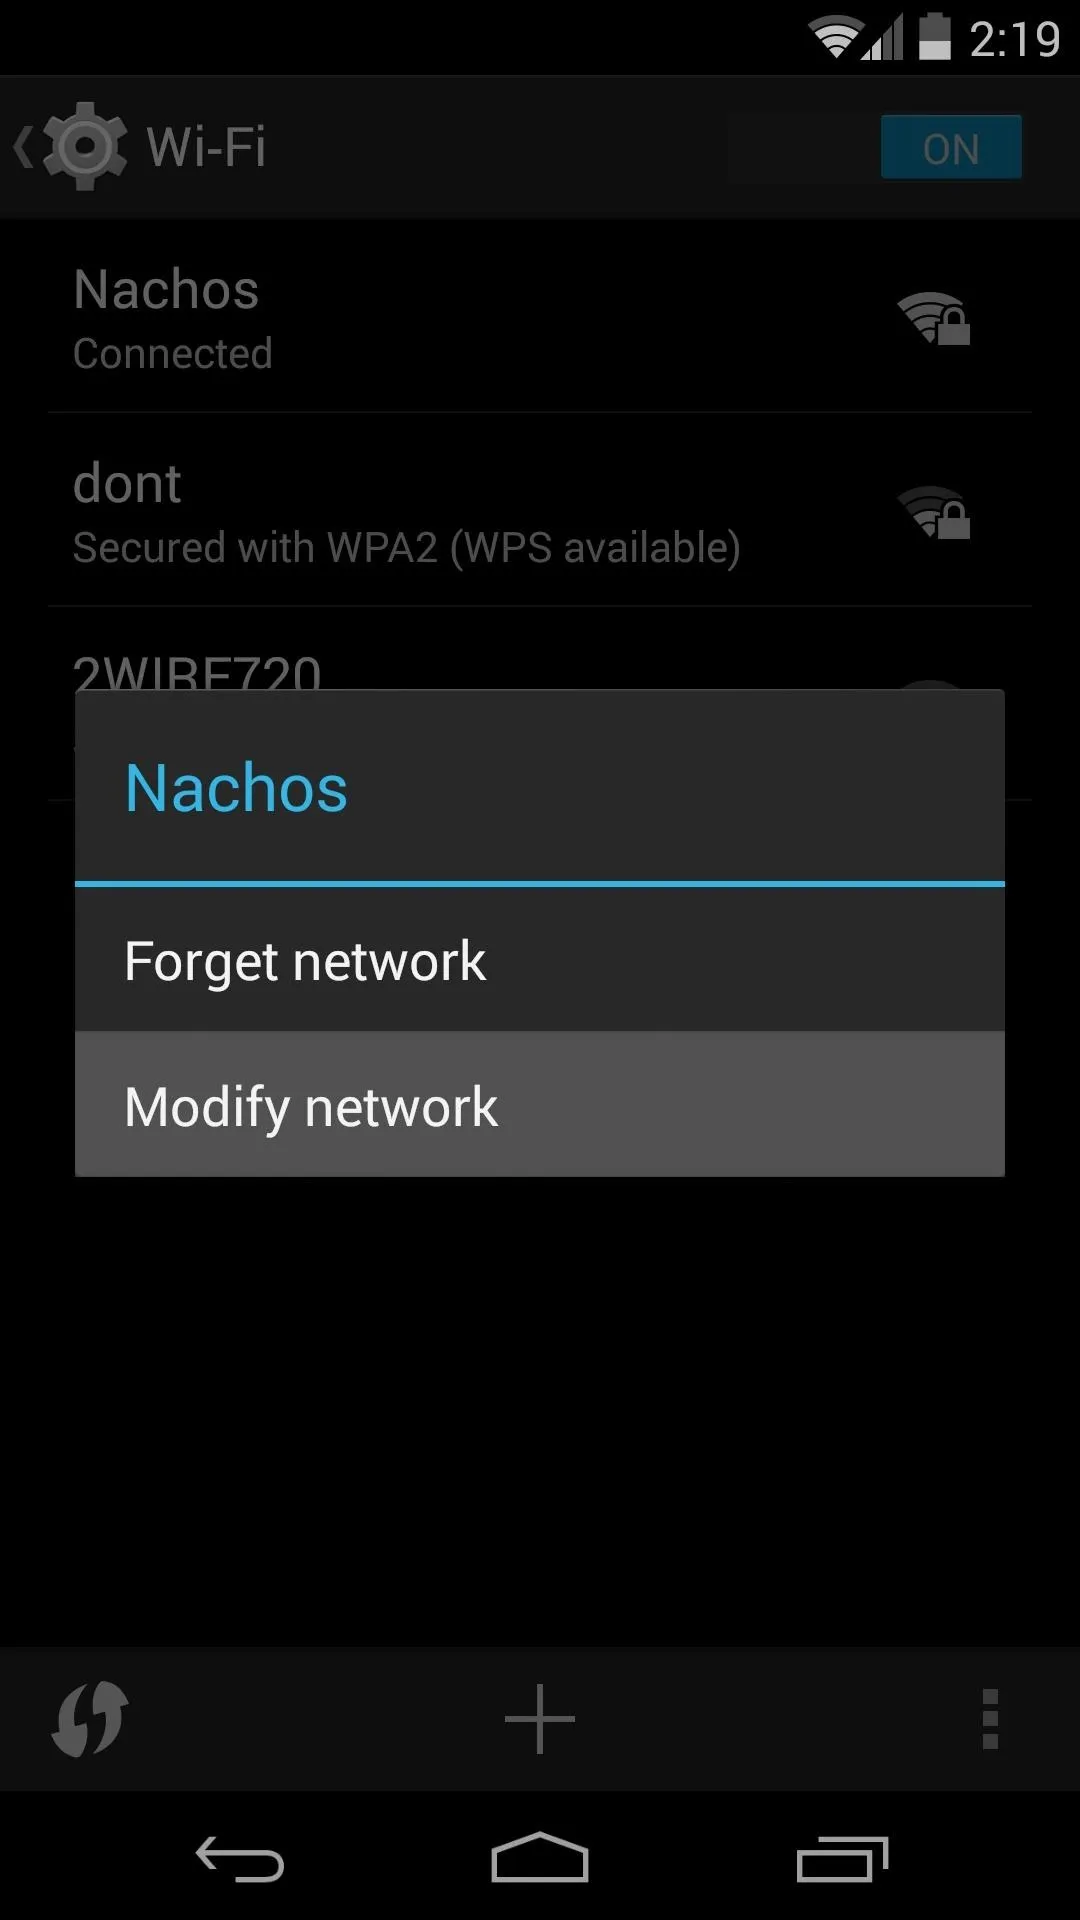
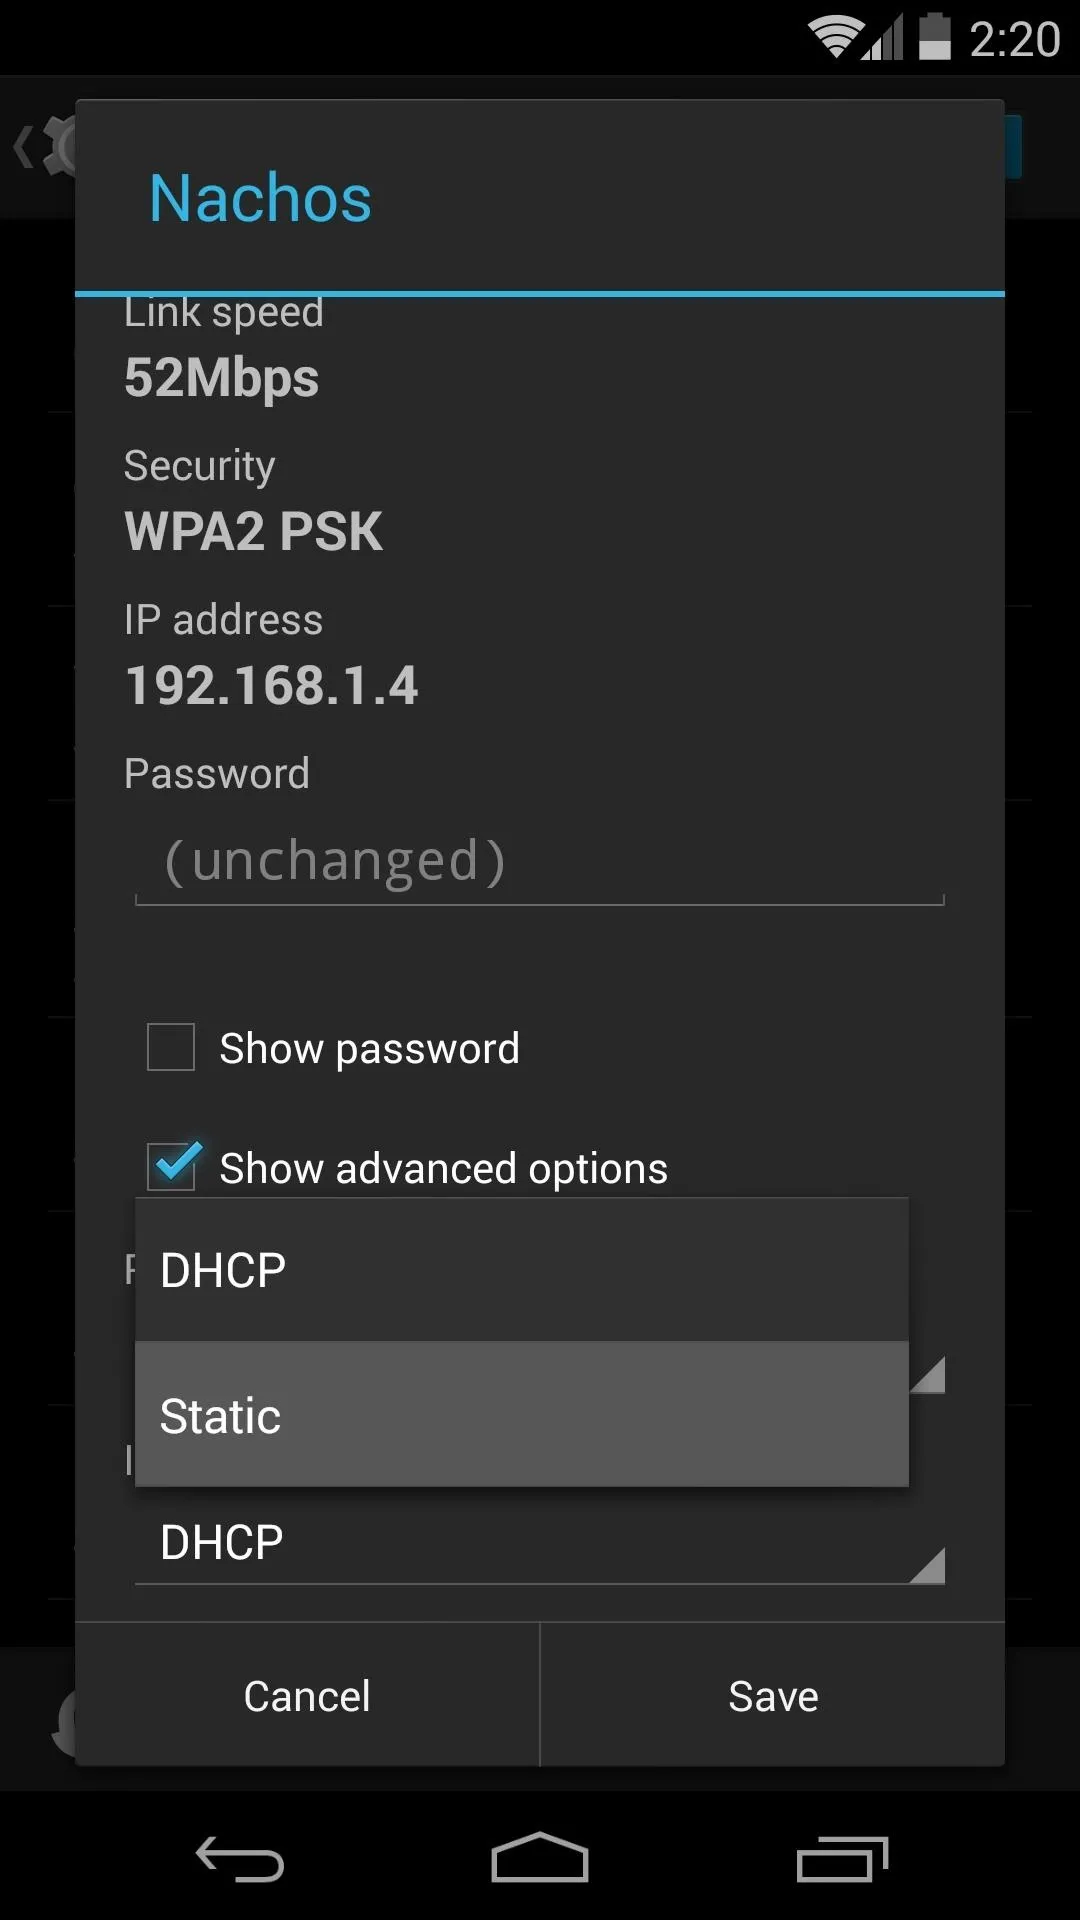
Assign your phone a static IP address and DNS server. Go to Settings -> Wi-Fi and long-press your home wireless network. Select Modify Network.
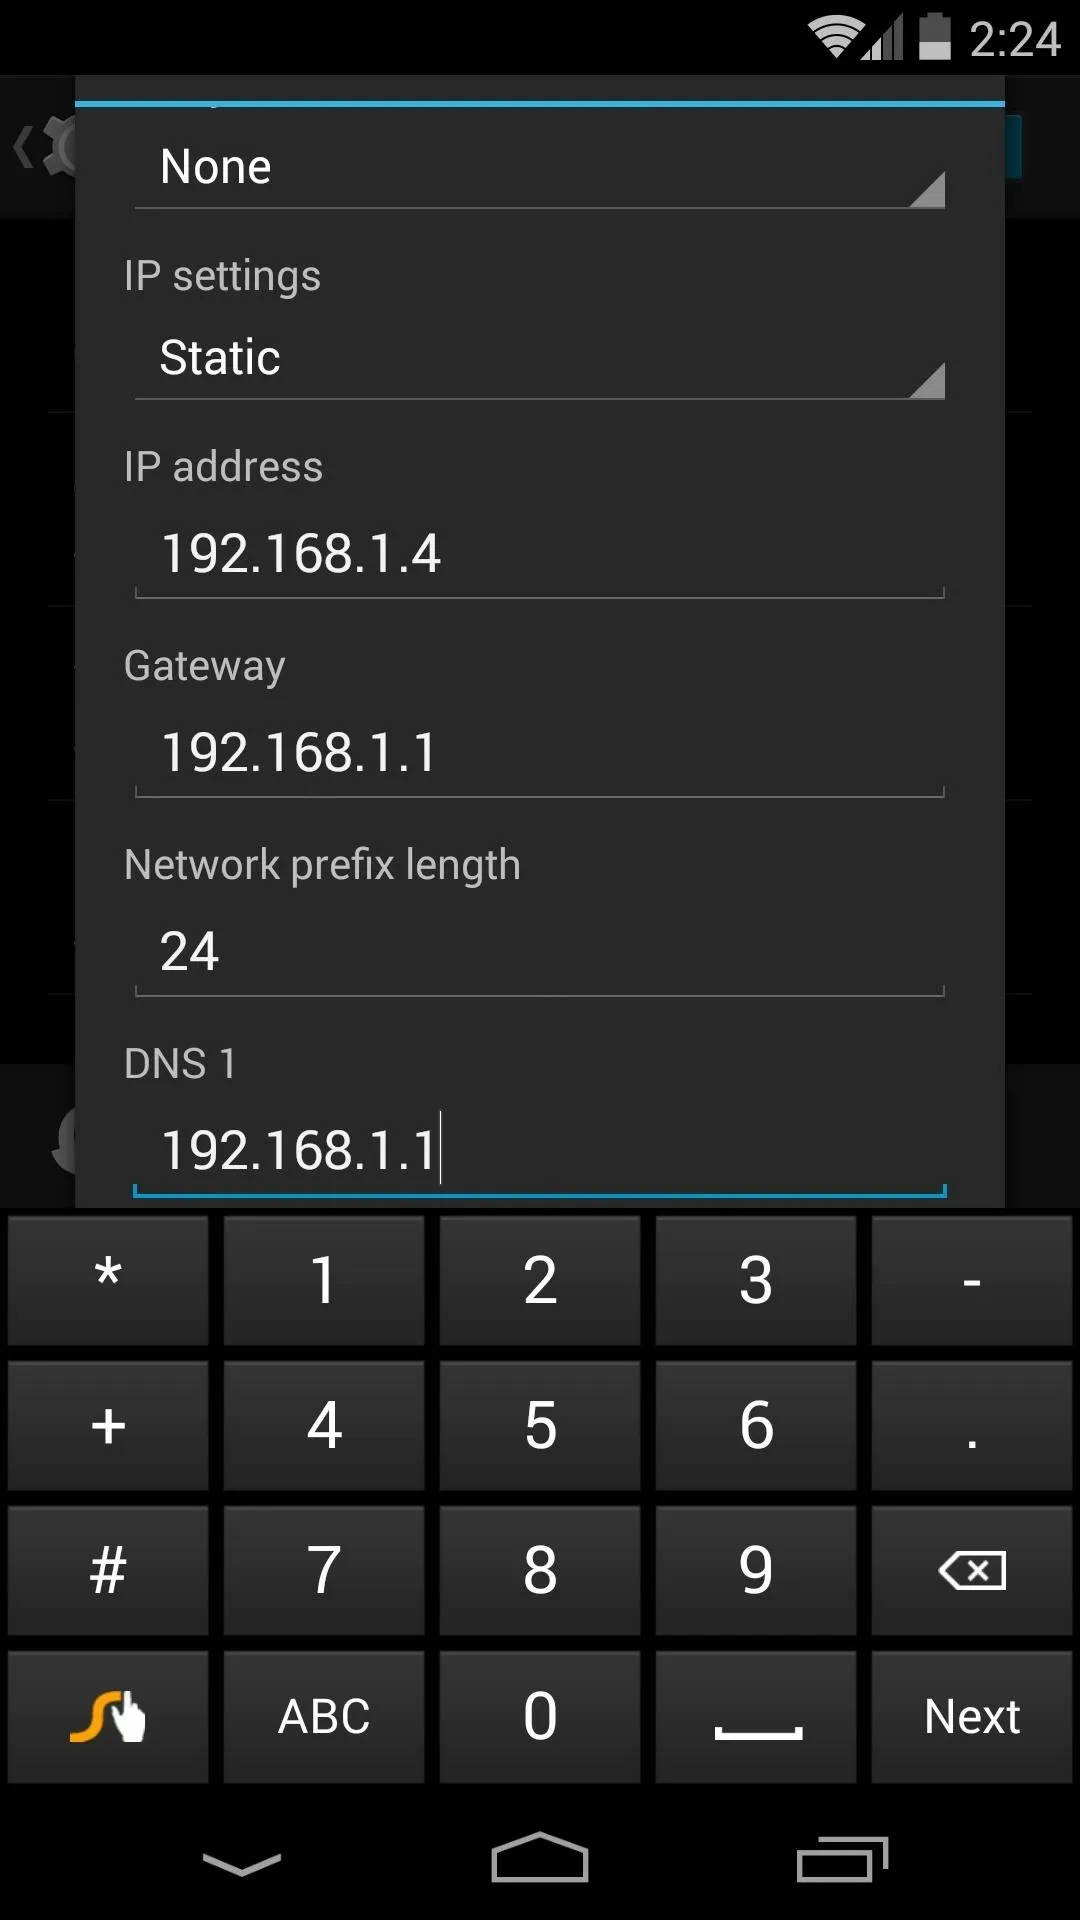
In the popup box, check the Show advanced options box. Change IP settings to "Static," then input an available IP address within your home network's subnet in the IP address field. Input your router's IP address in the Gateway field.
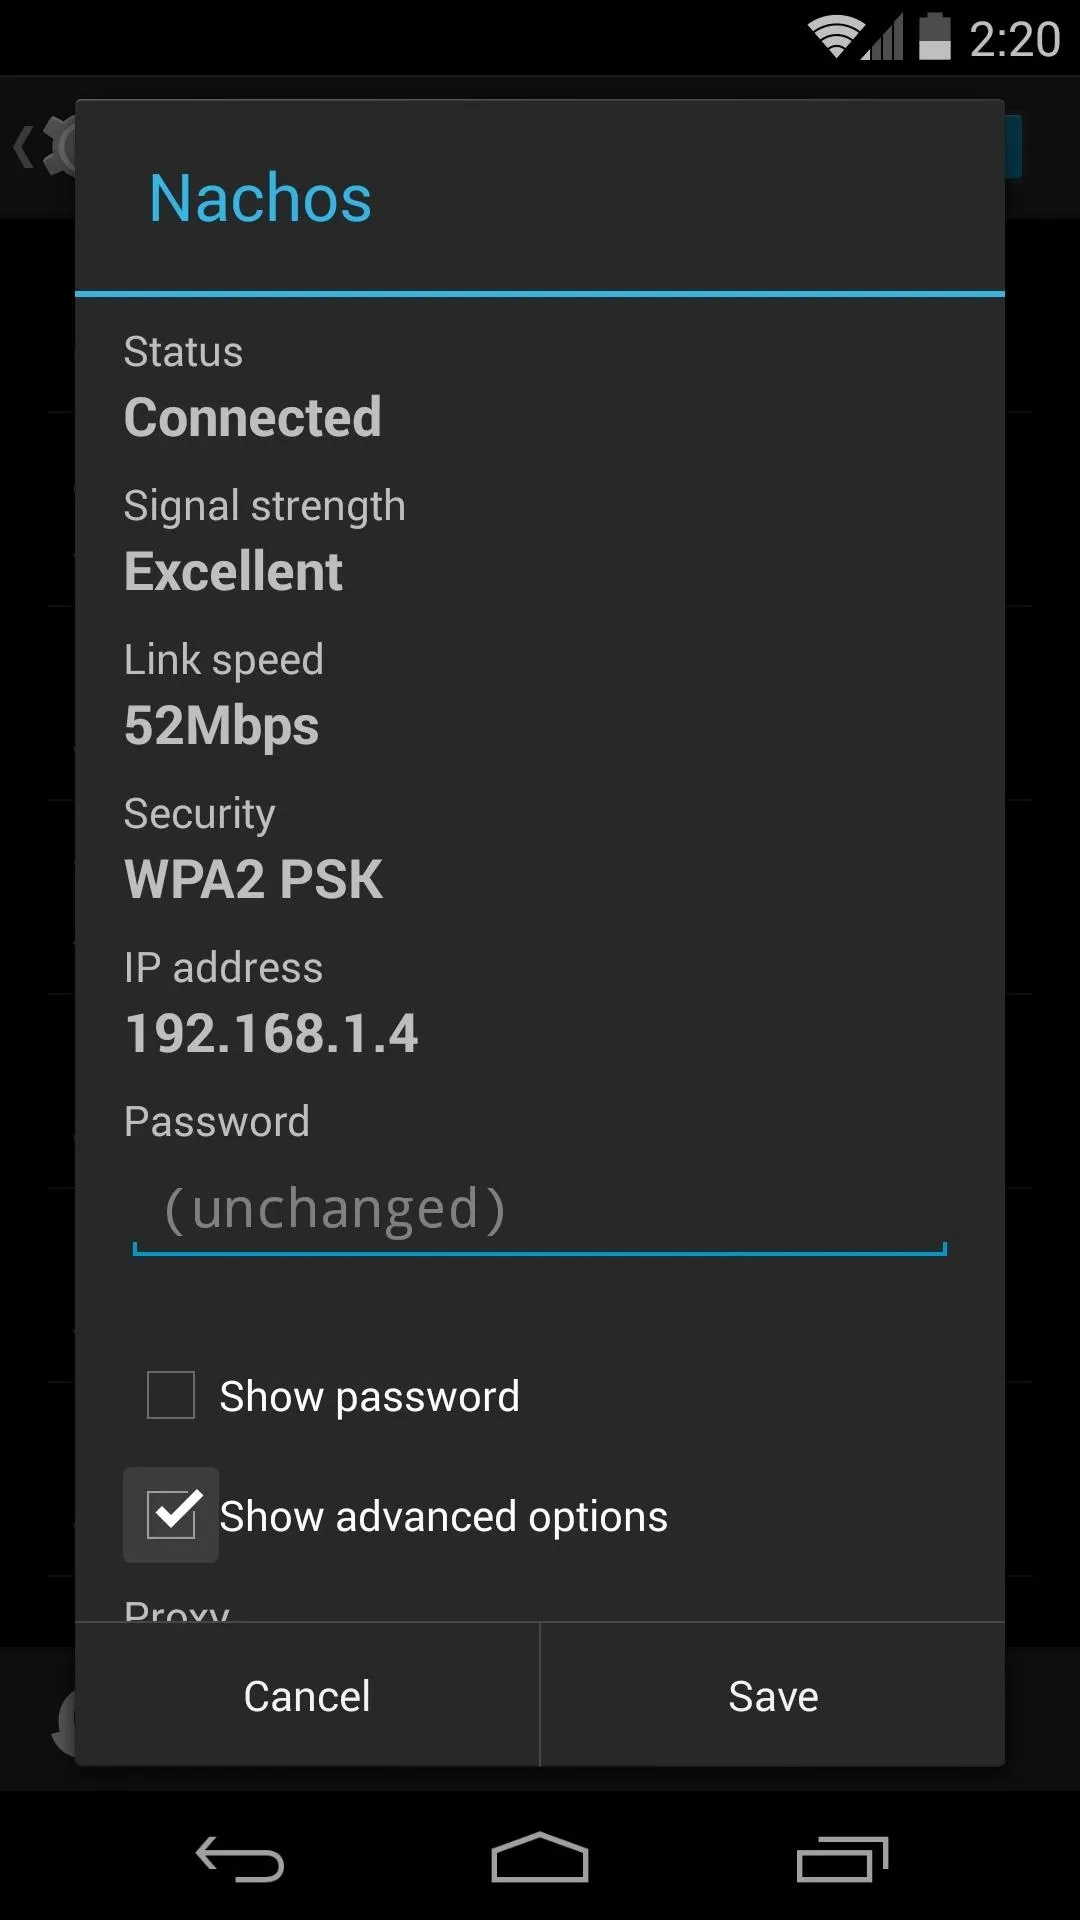

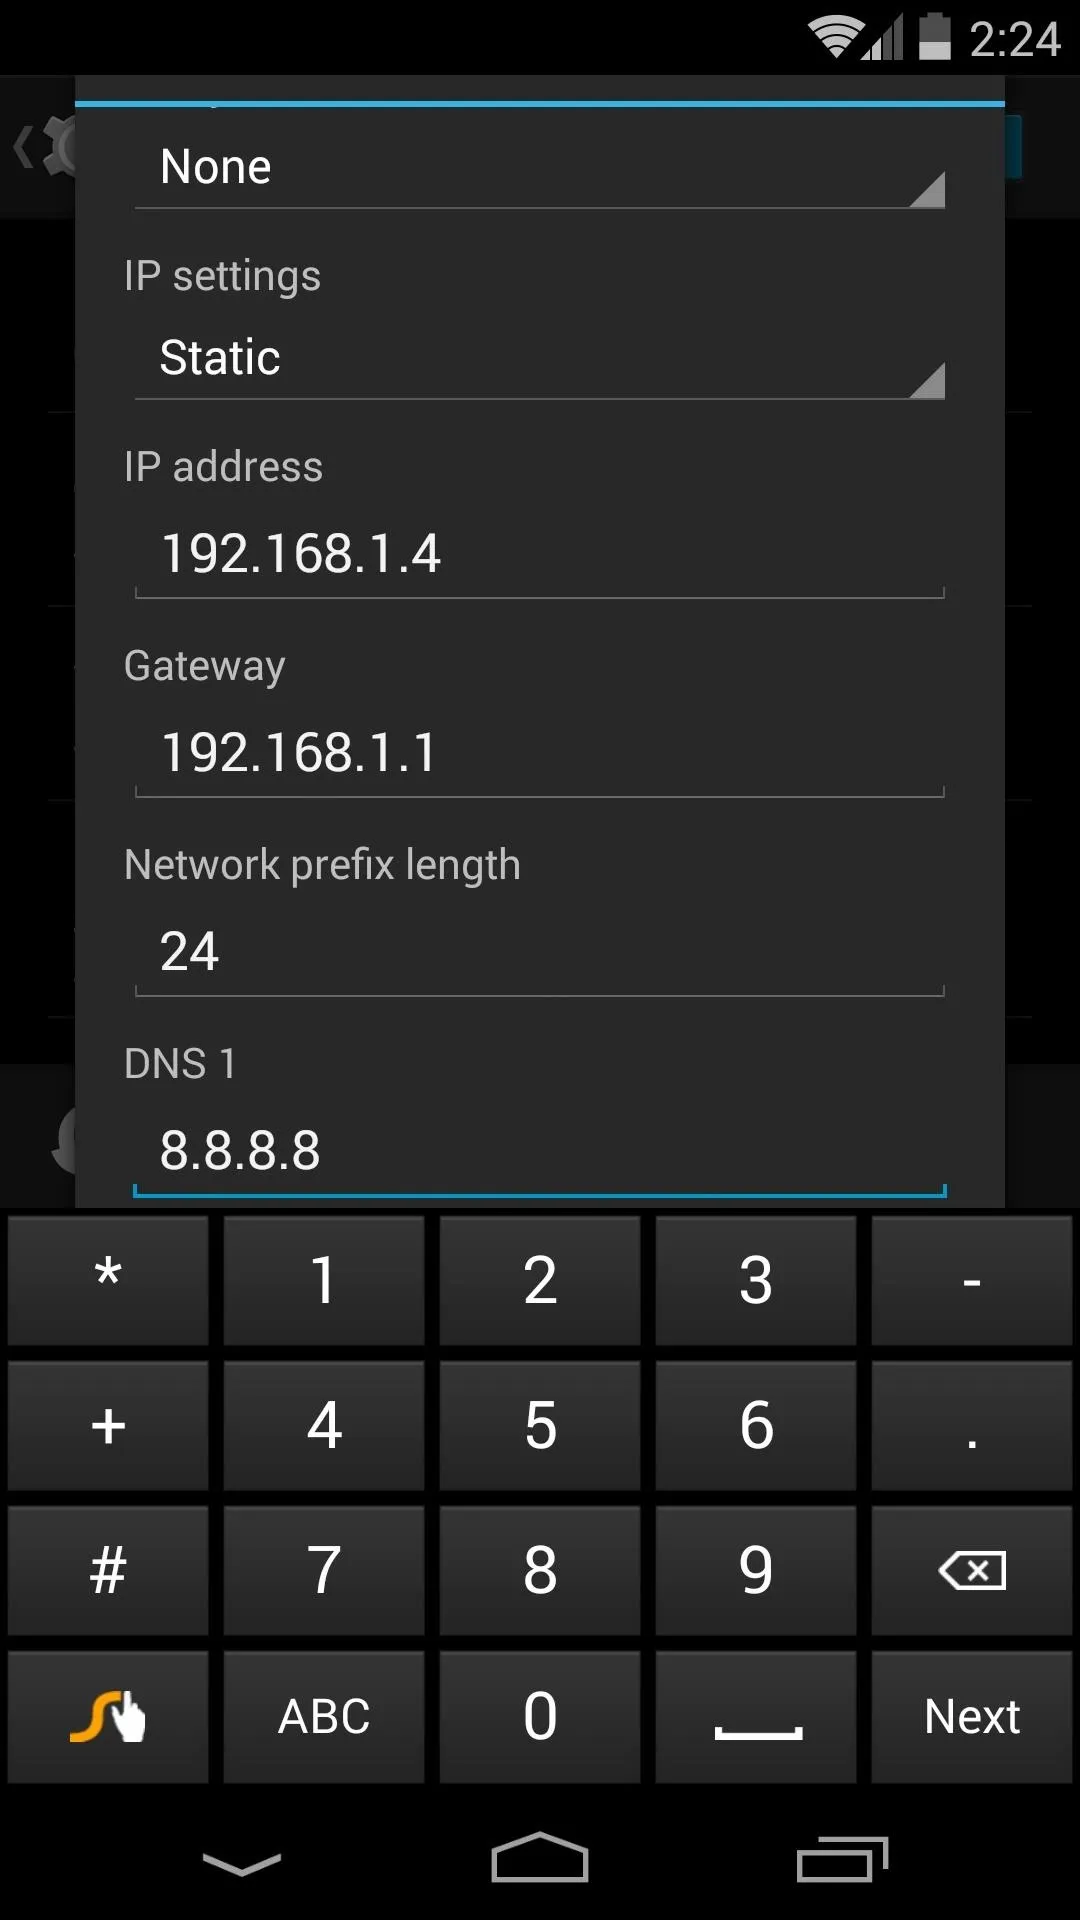
For DNS, you can either input the IP address of your router again, or you can try Google's DNS service (8.8.8.8 or 8.8.4.4) which, in many cases, is faster than your ISP-provided DNS server.
Use a Dual-Band Wireless Network
If your router supports it, enable and use a dual-band wireless n network (or ac if you have a Nexus 5, which supports this new standard). Both the 802.11n and ac specifications provide significant increases in wireless speed over plain old wireless g networks.
While this will not fix an existing wireless issue or improve your web browsing speeds above what is provided by your ISP, it is certainly helpful in squeezing every bit of performance out of your hardware.
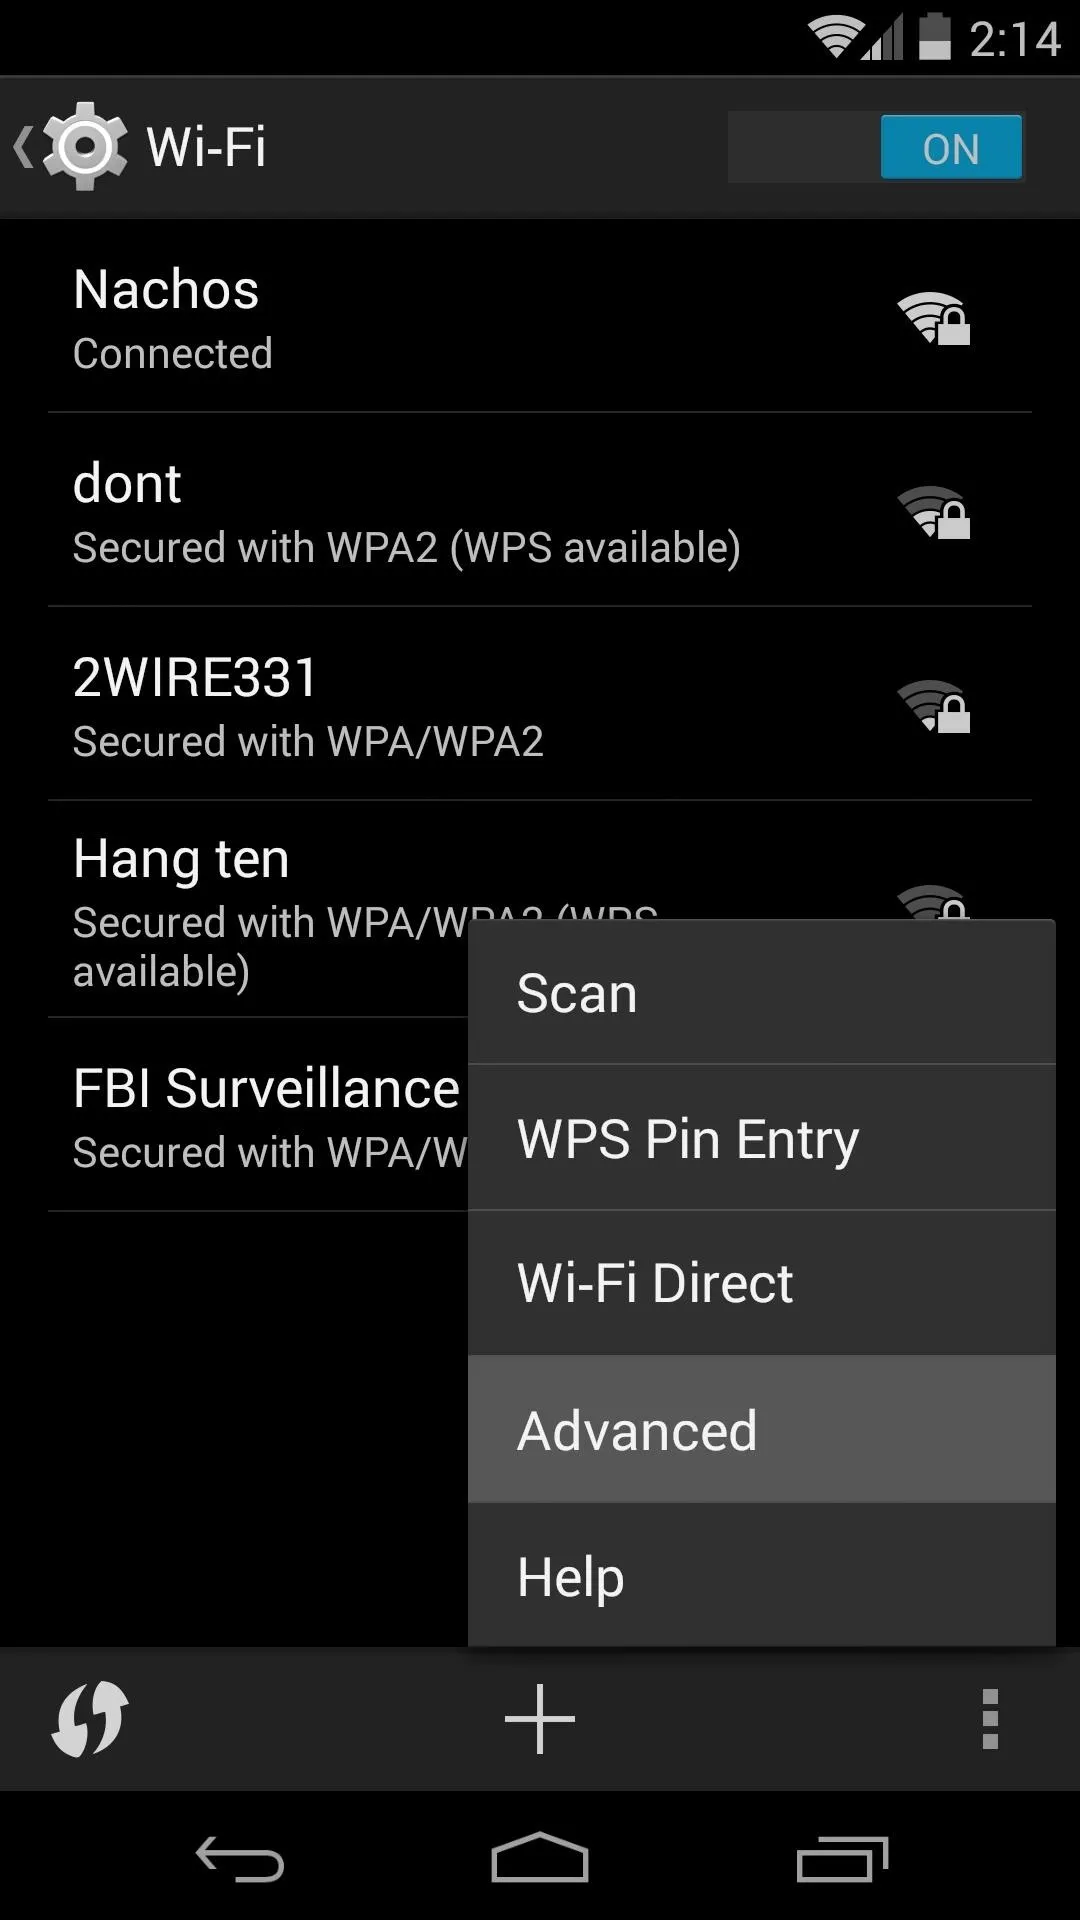
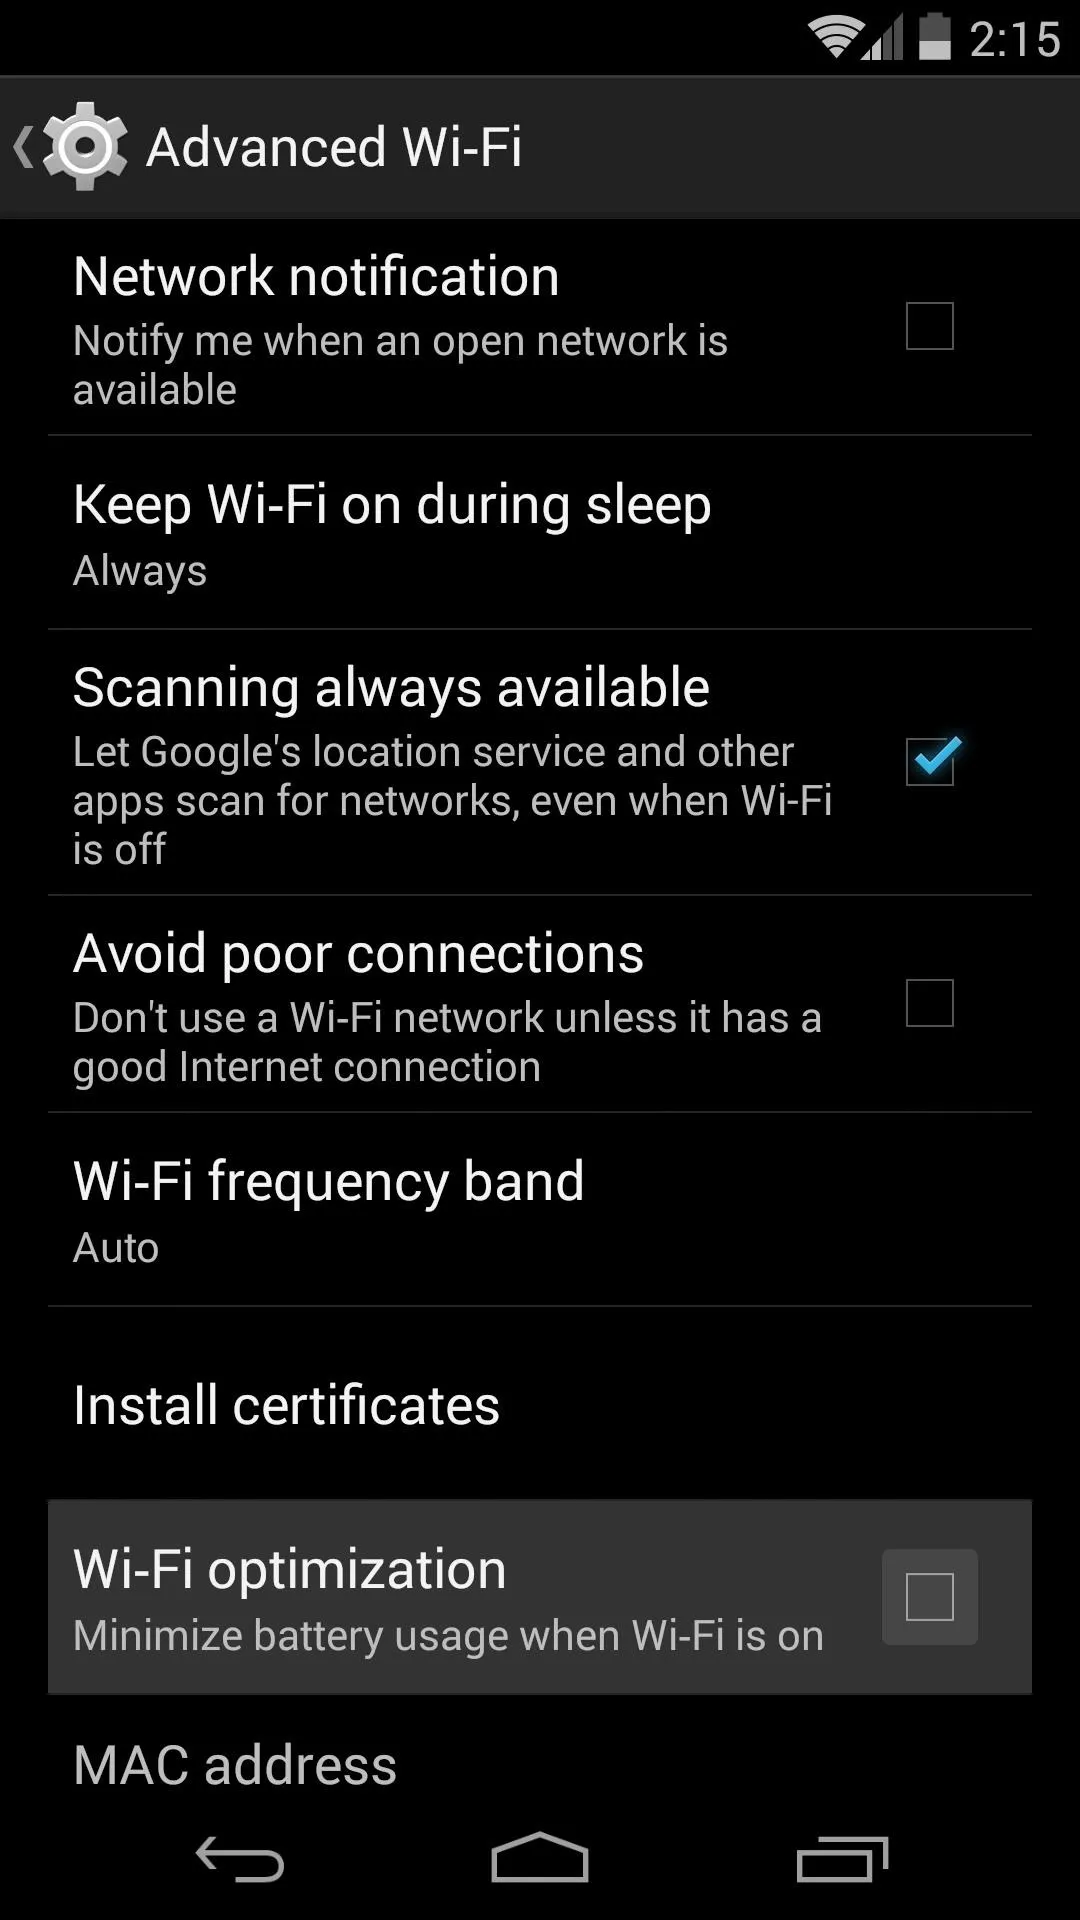
Turn Off Wi-Fi Optimizations
If you still have issues, experiment with turning off Wi-Fi Optimizations. You can find this option by going to Settings -> Wi-Fi and tapping the three-dot menu, then selecting Advanced. These optimizations do not improve your Wi-Fi performance but rather improve your battery life while connected to wireless networks. Some users have reported that disabling these optimizations has improved their Wi-Fi performance.
Note: Speedtest.net is a good tool to determine if these tweaks were effective, but the results it gives you are not absolute indicators of performance. It is often a good idea to run multiple speed tests and take their average.
You can also try enabling Avoid poor connections in your Wi-Fi settings. You can learn more about that here.
Tip #4: If All Else Fails, Perform a Factory Reset
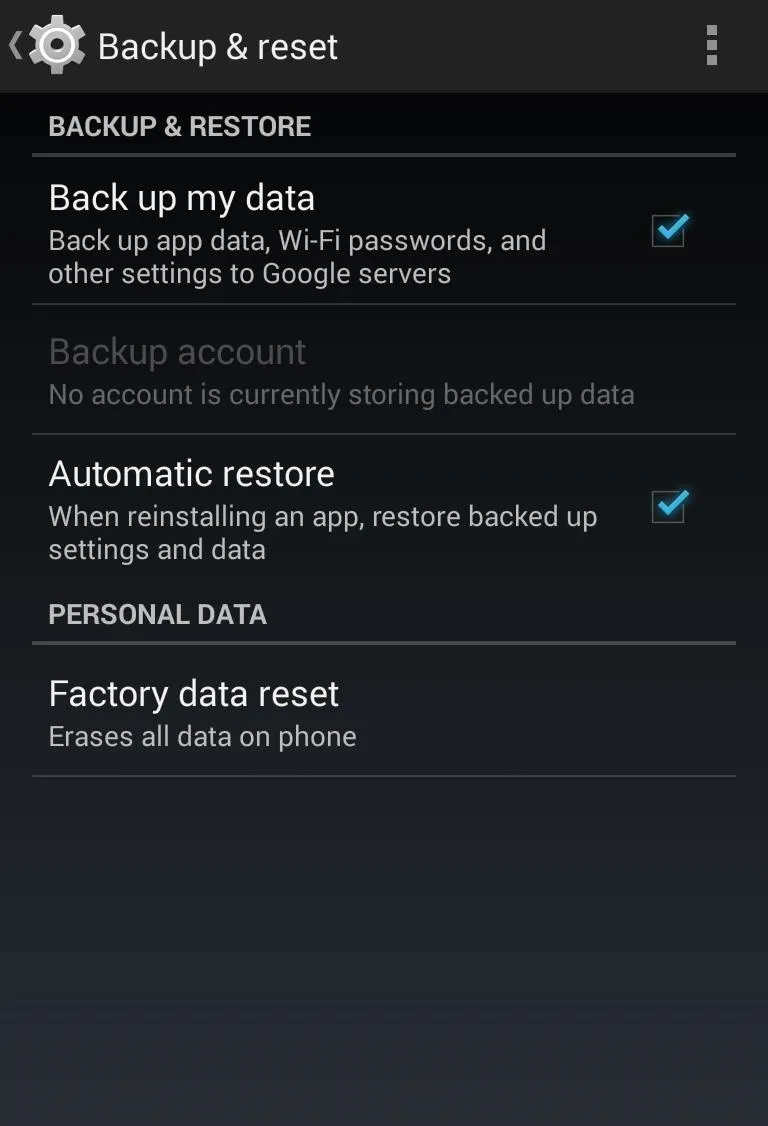
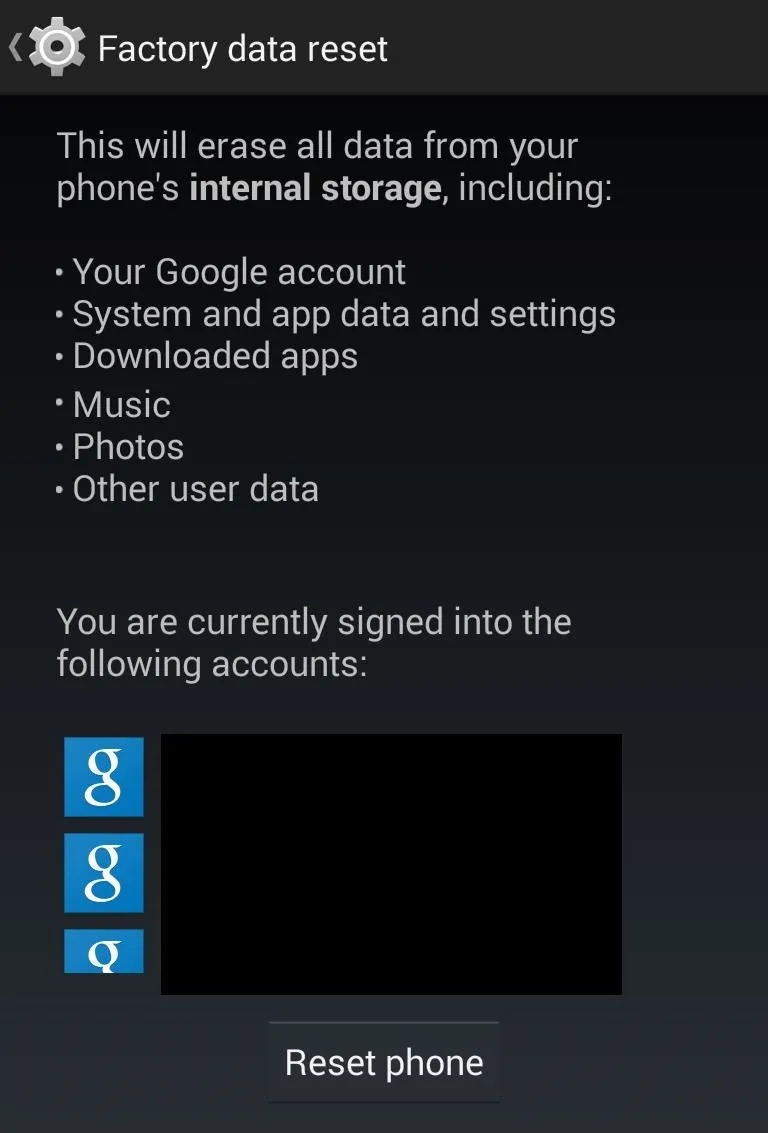
If your device still feels sluggish, it might be time to do a factory reset. First be sure to back up all your data to the cloud or your home computer. Once you are absolutely positive that you have everything backed up, go to Settings -> Backup & Reset and select Factory Data Reset.
Remember that part of resetting your phone to its factory defaults is returning to the Dalvik runtime. You will need to redo the process in Step 1 if you want to use ART again.
I find that many users are averse to resetting their phones, but personally, I find the experience to be fun, like getting a brand new device... but maybe that's just me.
Cover image via Anandtech


Comments
Be the first, drop a comment!