A rooted Android device means we're on our way to some truly amazing customization options. But there may be a few steps left to completing that journey, and a major one is installing a custom recovery.
A recovery is simply a skimmed down operations tool that runs between your ROM and bootloader. With a custom recovery, we can flash mods and new ROMs, make complete backups of our device's current configuration (called a nandroid), and even fully wipe the contents of our system.
All-in-all, a custom recovery is a must have for softModders. If you haven't taken the first step and rooted your device, I've got you covered with this quick and easy guide to rooting the Nexus 5. Once rooted, you can then continue on with this tutorial.
Install GooManager
Goo Manger is a great utility for any softModder, allowing us to do things from browsing, downloading, and flashing ROMs to installing custom recoveries. And just about everything is done in-app, making it super simple—and when it comes to modding our smartphones, we like simple.

Update:
Goo Manager (and Goo.im) is now defunct, but a similar utility can be found with ROM Toolbox, which can download ROMs, recoveries, and do a ton of other stuff. Check it out here.
Install Your Recovery from GooManager
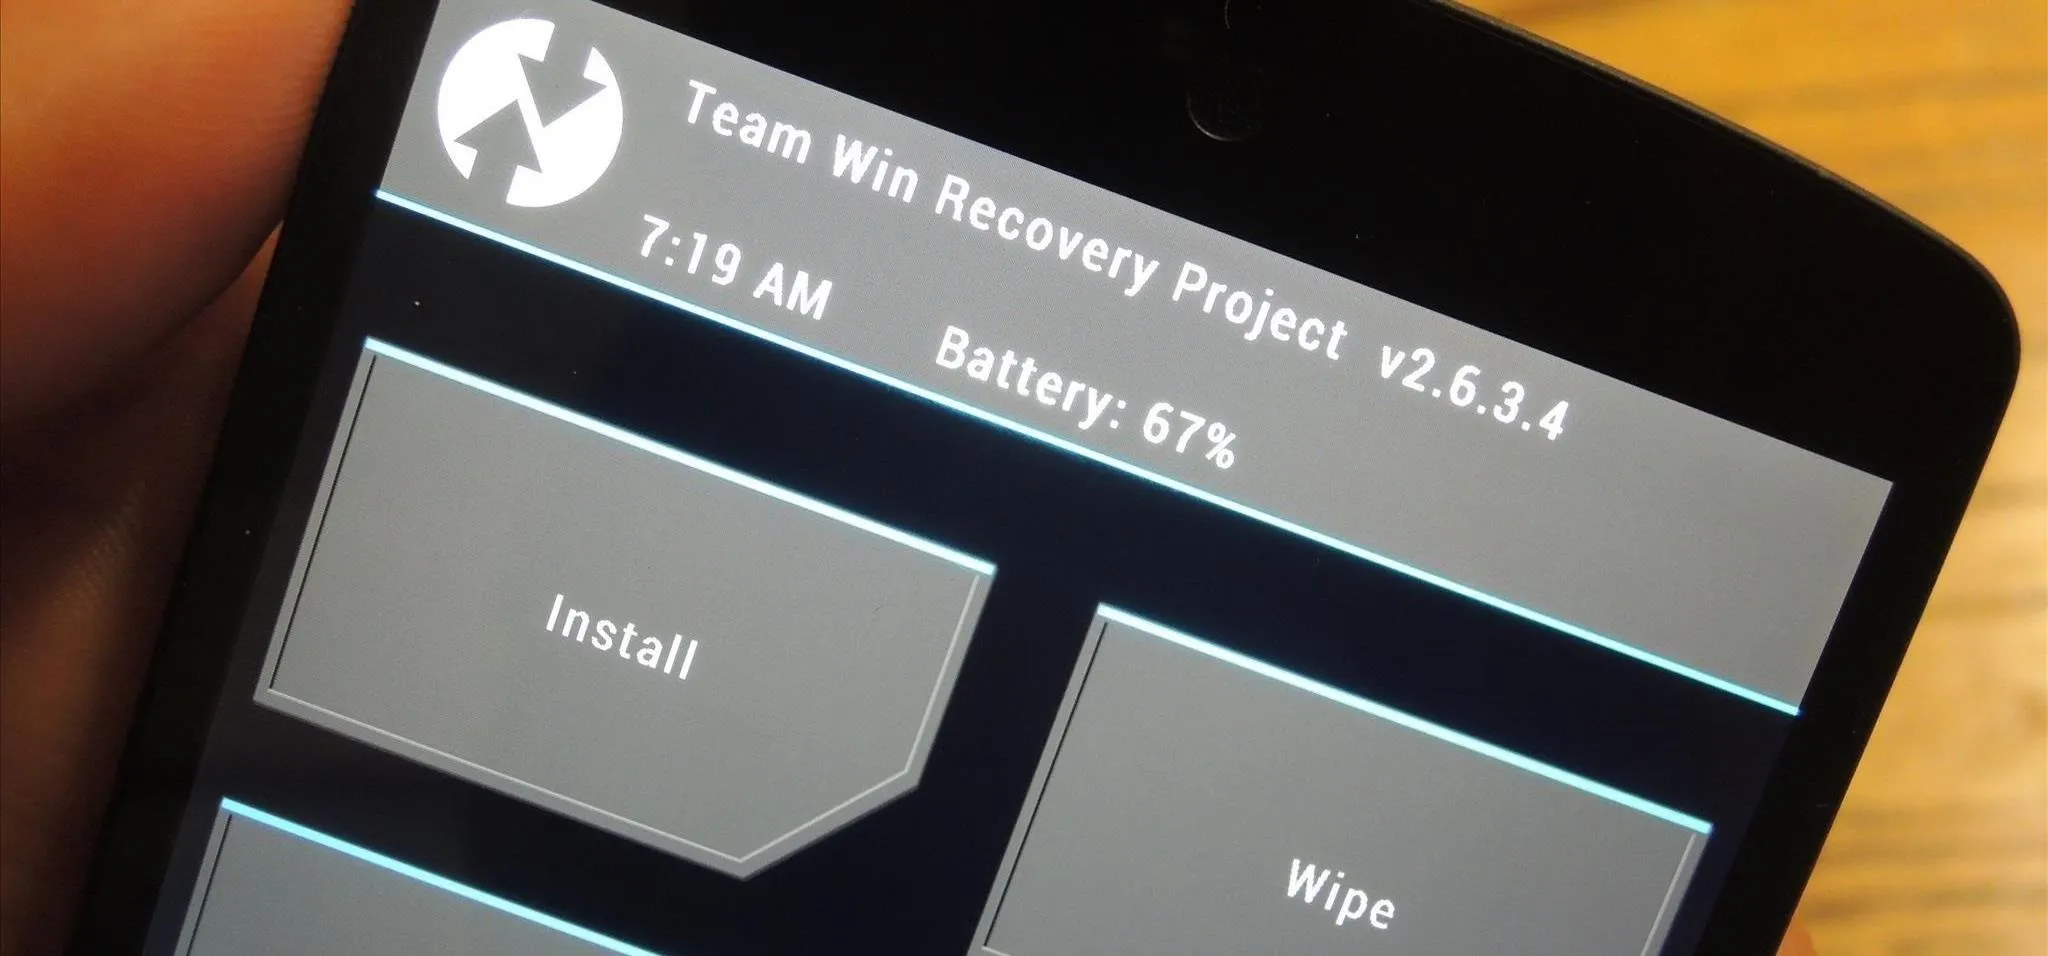
We have plenty of choices when it comes to recoveries, but most of them do pretty much the same thing in various ways. Personally, I'm a fan of TWRP, or Team Win Recovery Project, which has things laid out quite nicely with easy-to-navigate touch menus, making what we need to do fast and effortless.
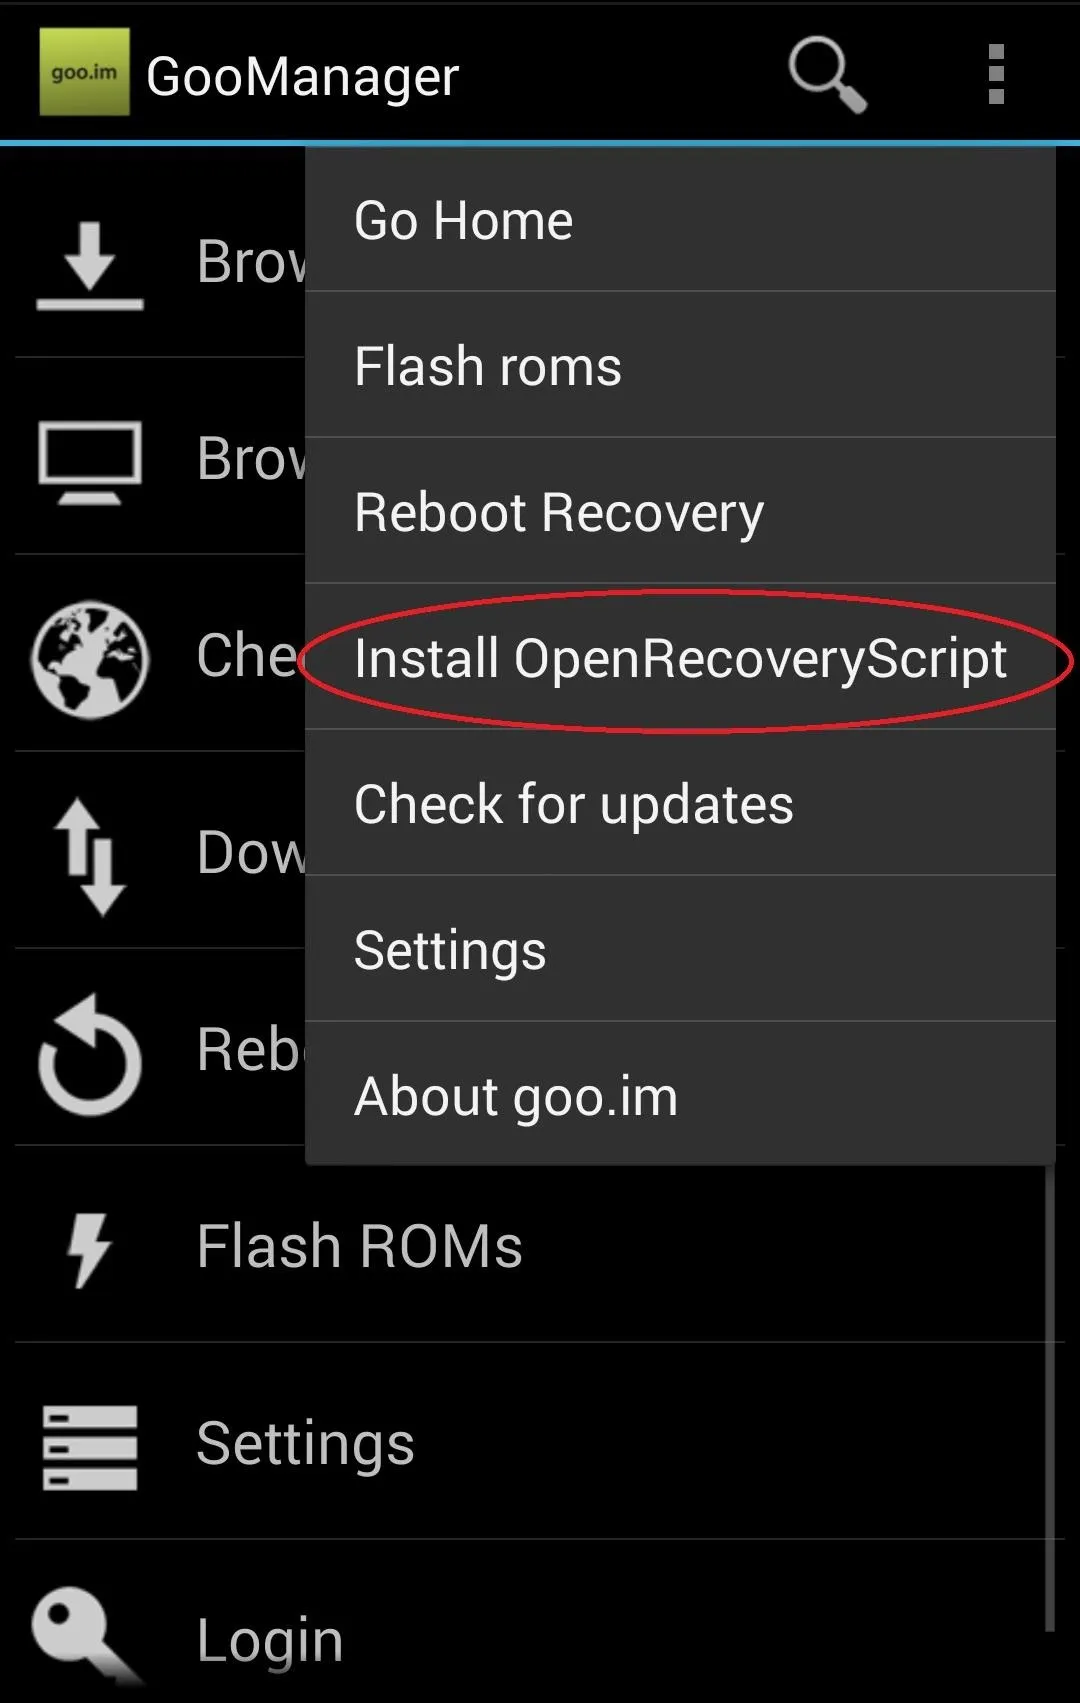
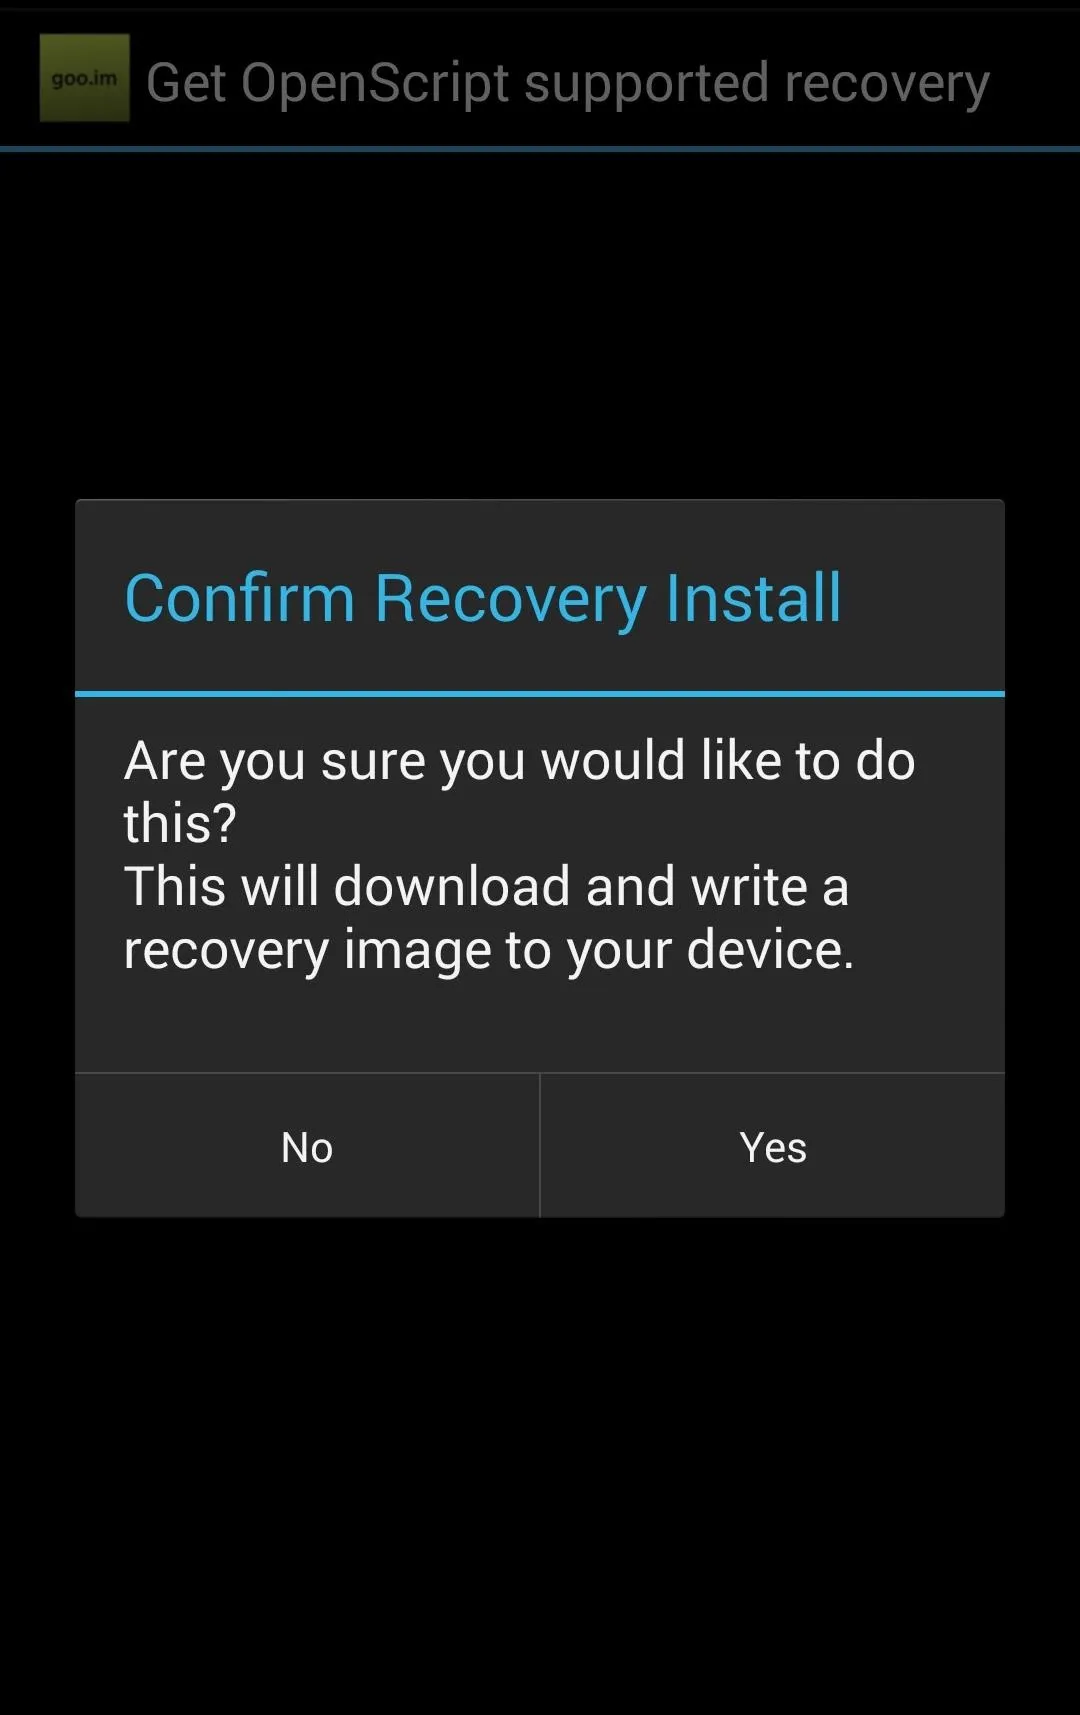
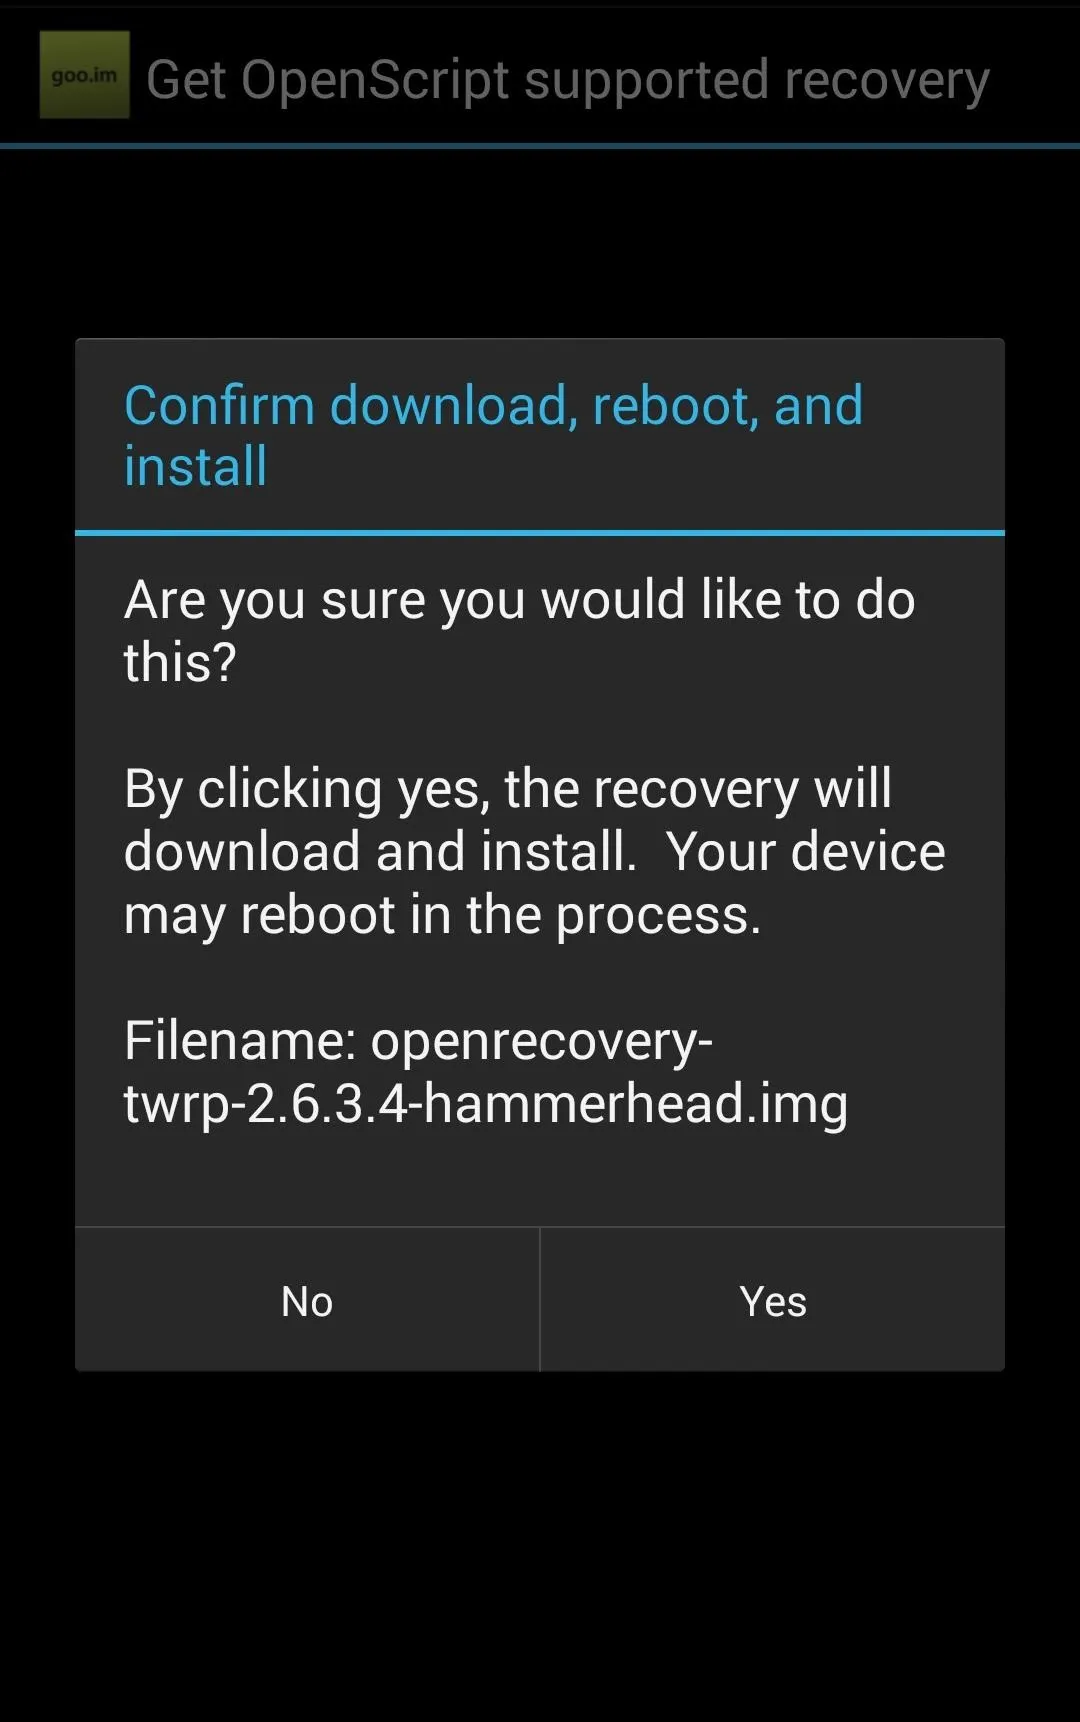
Installation is a cinch. Just open up the GooManager and tap the menu overflow icon on the top right. Now tap Install OpenRecoveryScript, verify everything through a couple of confirmation menus, and TWRP will download and install automatically.


Create a Backup
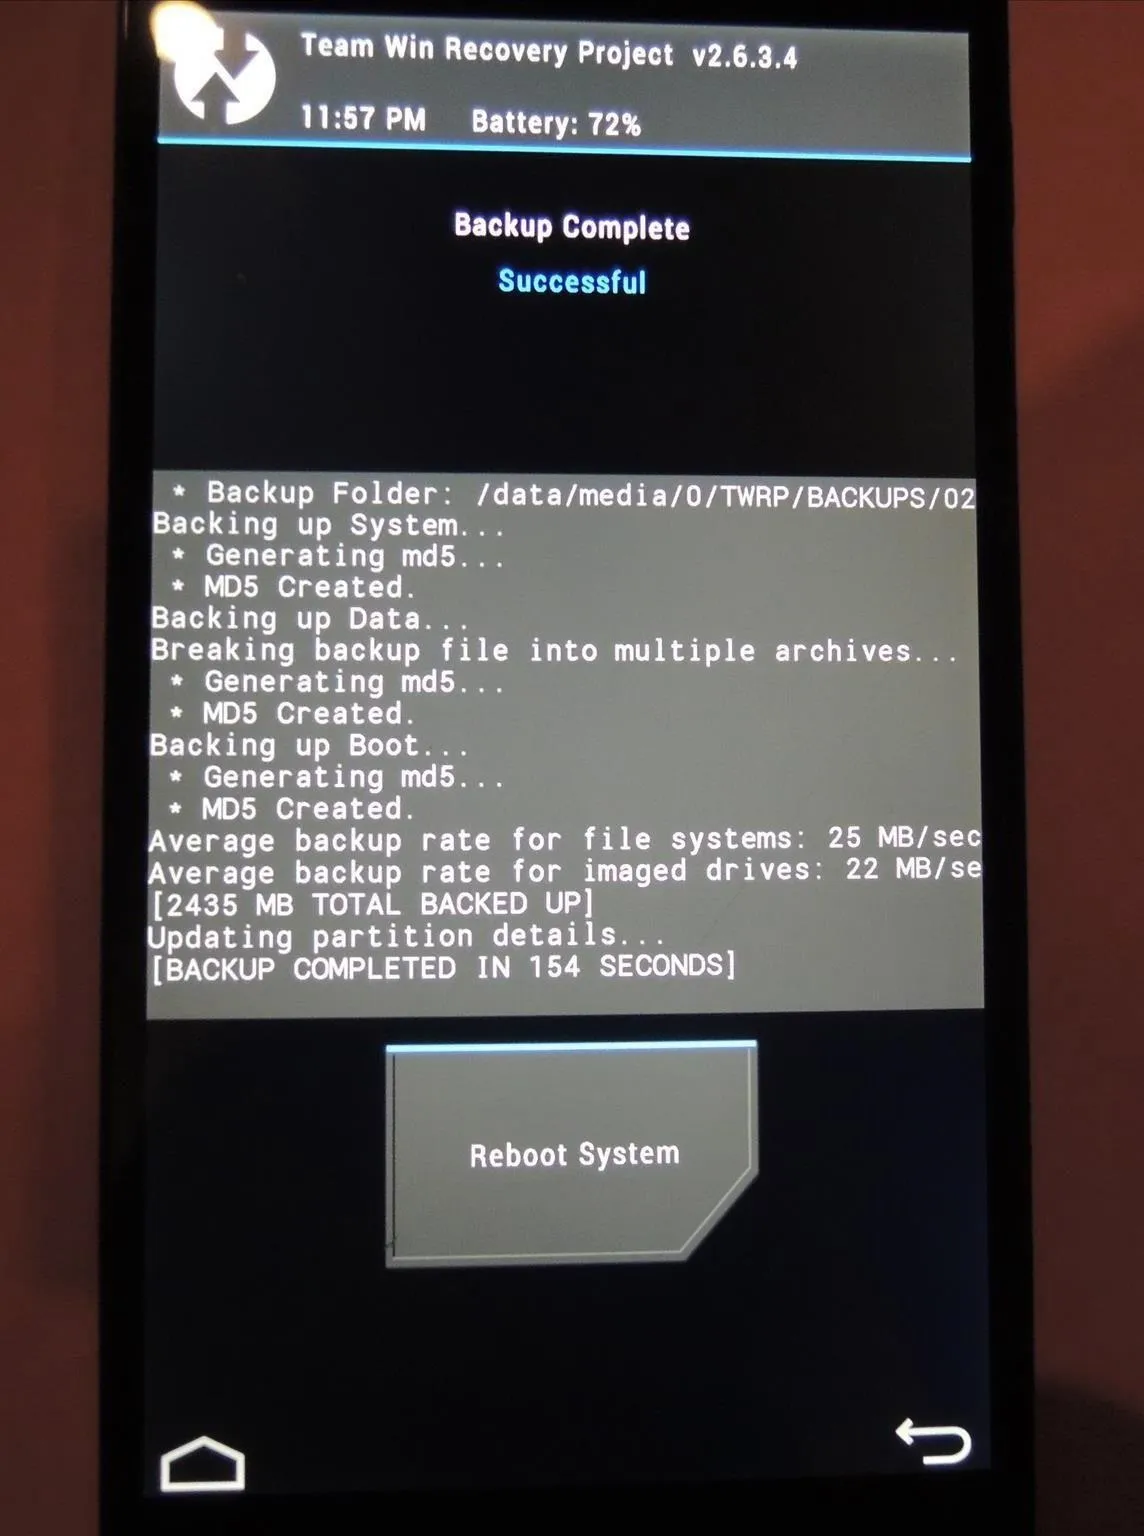
Now that we're armed with a recovery, let's create a backup and restore point, aka a nandroid. A restore works like magic if you ever go a bridge too far and get in over your head with modding, ensuring that all your apps, data, and everything else is replaced like it was never gone.
A. Access Recovery Mode
Reboot your Nexus into Bootloader mode by powering down, then powering back on while holding in the Volume Down and Power keys. Once you're in bootloader mode, as evident by the Android on its back, use the Volume keys to cycle through options until Recovery mode is displayed. Tap the Power key to make that selection. After the Google logo, Team Win's logo should appear on the screen.
B. Select Your Backup Options and Go
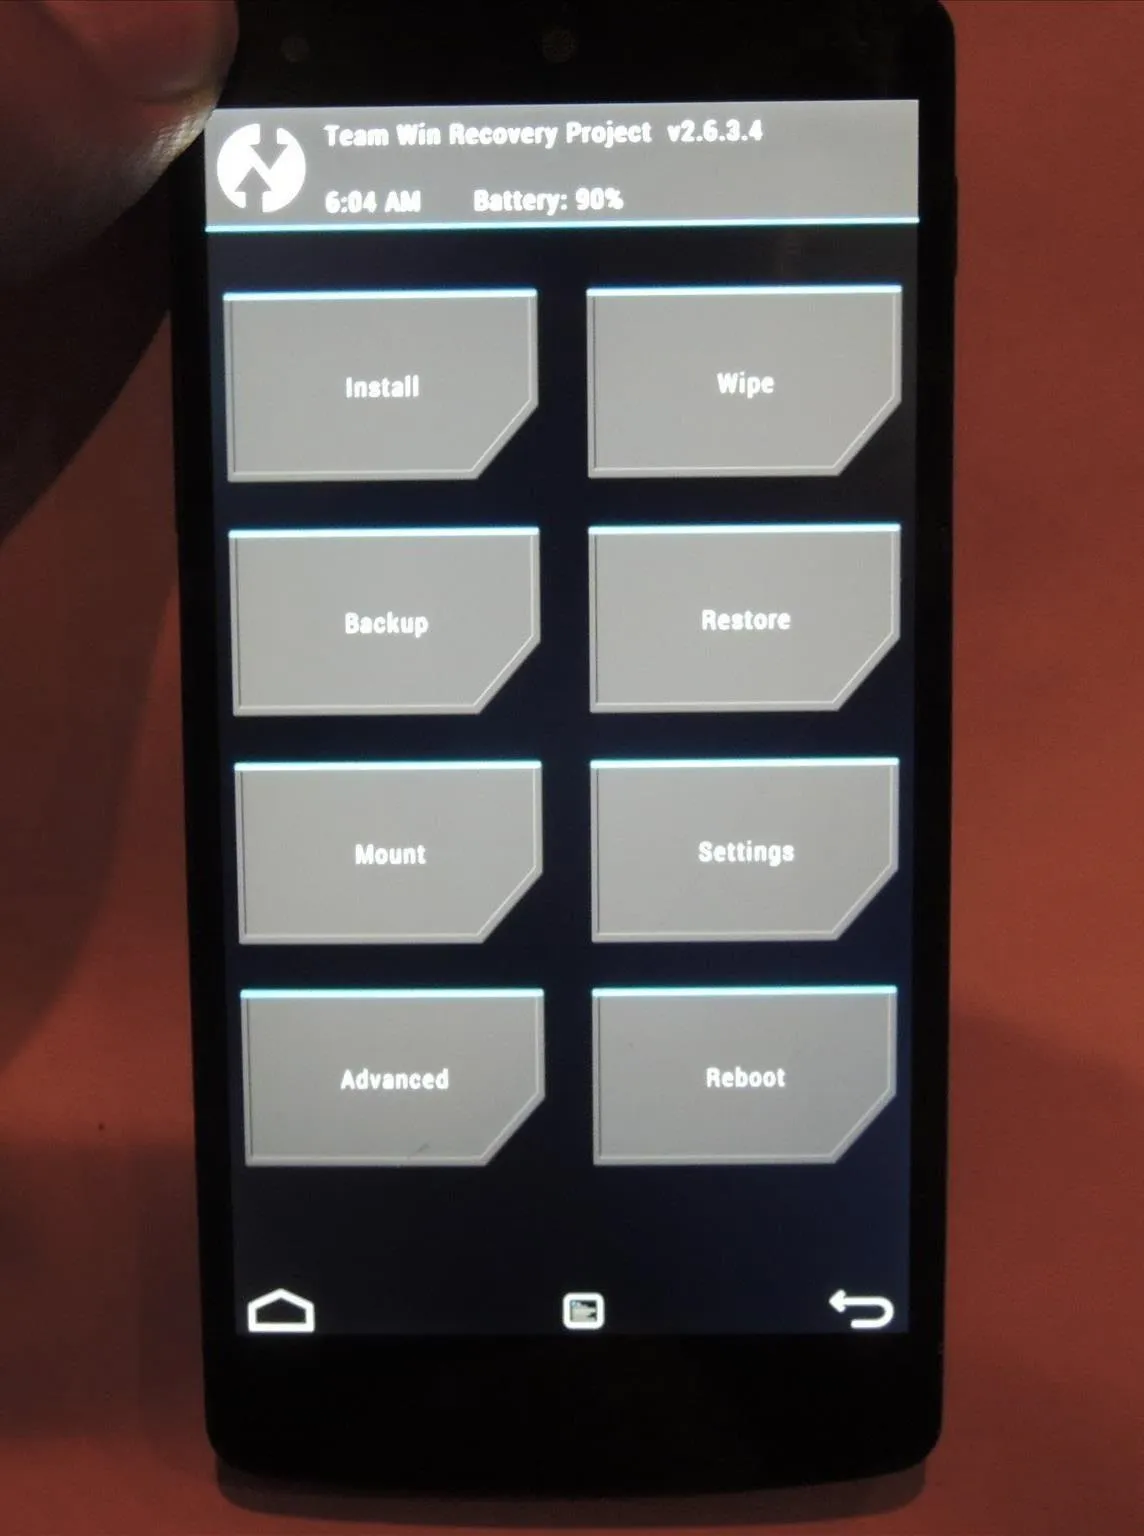
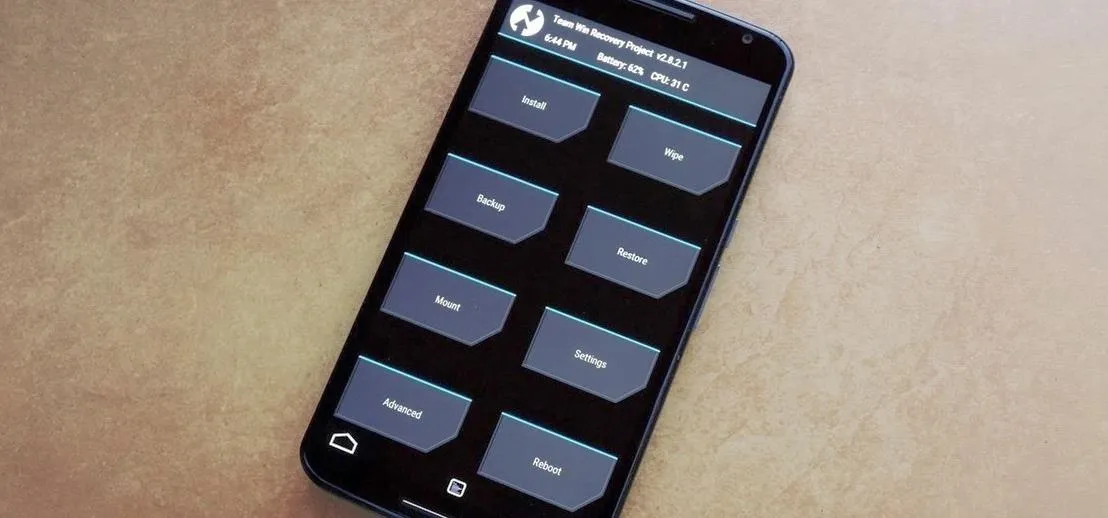
Once the TWRP loads, you'll see eight options. Tap the one that reads Backup. You'll now find a menu in which you can select which partitions to backup. I recommend selected System, Data, and Boot, as those are enough to get you out of any unforeseen jam.
You can name the backup by tapping on Backup Name at the top of the screen. When you're ready, swipe the arrow at the bottom of the menu to begin the process. Depending on your device, this can take anywhere from 5 to 30 minutes.


Restore to Your Backup (When Necessary)
If you get into trouble and need to restore your nandroid, boot into recovery mode, tap Restore, select the backup you want, and slide the bar to get started. As you tinker with your device, it's not a bad idea to regularly create updated backups that you can use as get out of jail free cards.
Now that you've got a custom recovery installed and a backup saved, you're ready to flash ROMs, mods, and whatever else without worry.
Alternative Method: Installing TWRP via Command Line
If you can't get TWRP to download through GooManager, you can flash the recovery image yourself manually. Make sure you've got the Android SDK tools on your PC, then download the image from this this link.
Boot your device into bootloader mode, connect it to your PC with a micro USB cable, then navigate to the platform-tools folder within SDK.
Drag the recovery image you just downloaded to this folder. Open a command window by holding in the Shift key, right-clicking, and selecting that option. Type in the command:
- fastboot flash recovery (recoveryfilename).img
This should get it done for you. If you're in need of further assistance, as always, hit up the comments bellow.










Comments
Be the first, drop a comment!