


If you've ever used a computer, you're surely familiar with the concept of a Recycle Bin (Windows) or Trash Can (Mac). To sum it up, files that you've deleted are not actually gone from your storage, they've just been moved to a different location. You can then restore the files if need be, or empty them, permanently deleting them forever to free up space.
This concept has been around a while, obviously, but it's conspicuously absent from the Android platform. Even Apple has begun testing features like this out for iOS 8 (specifically for photos). Well, thanks to developer Baloota, we can get this basic functionality on Android using his app, Dumpster. While the app can utilize Superuser permissions, root is not required.
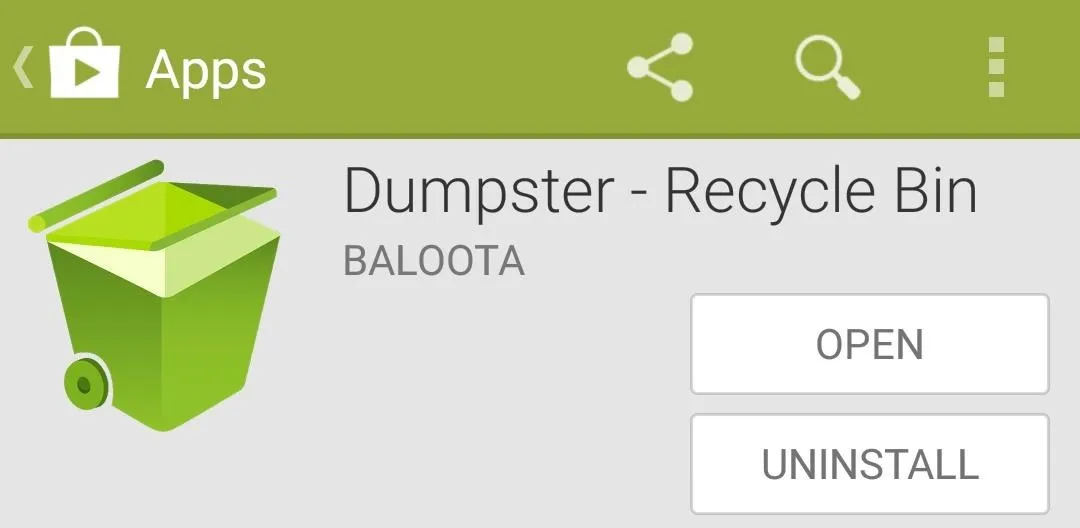
Install Dumpster
Baloota's app is available for free on the Google Play Store, so search Dumpster to get it installed. Alternatively, you can simply head to this link to jump directly to the install page.
The Initial Setup
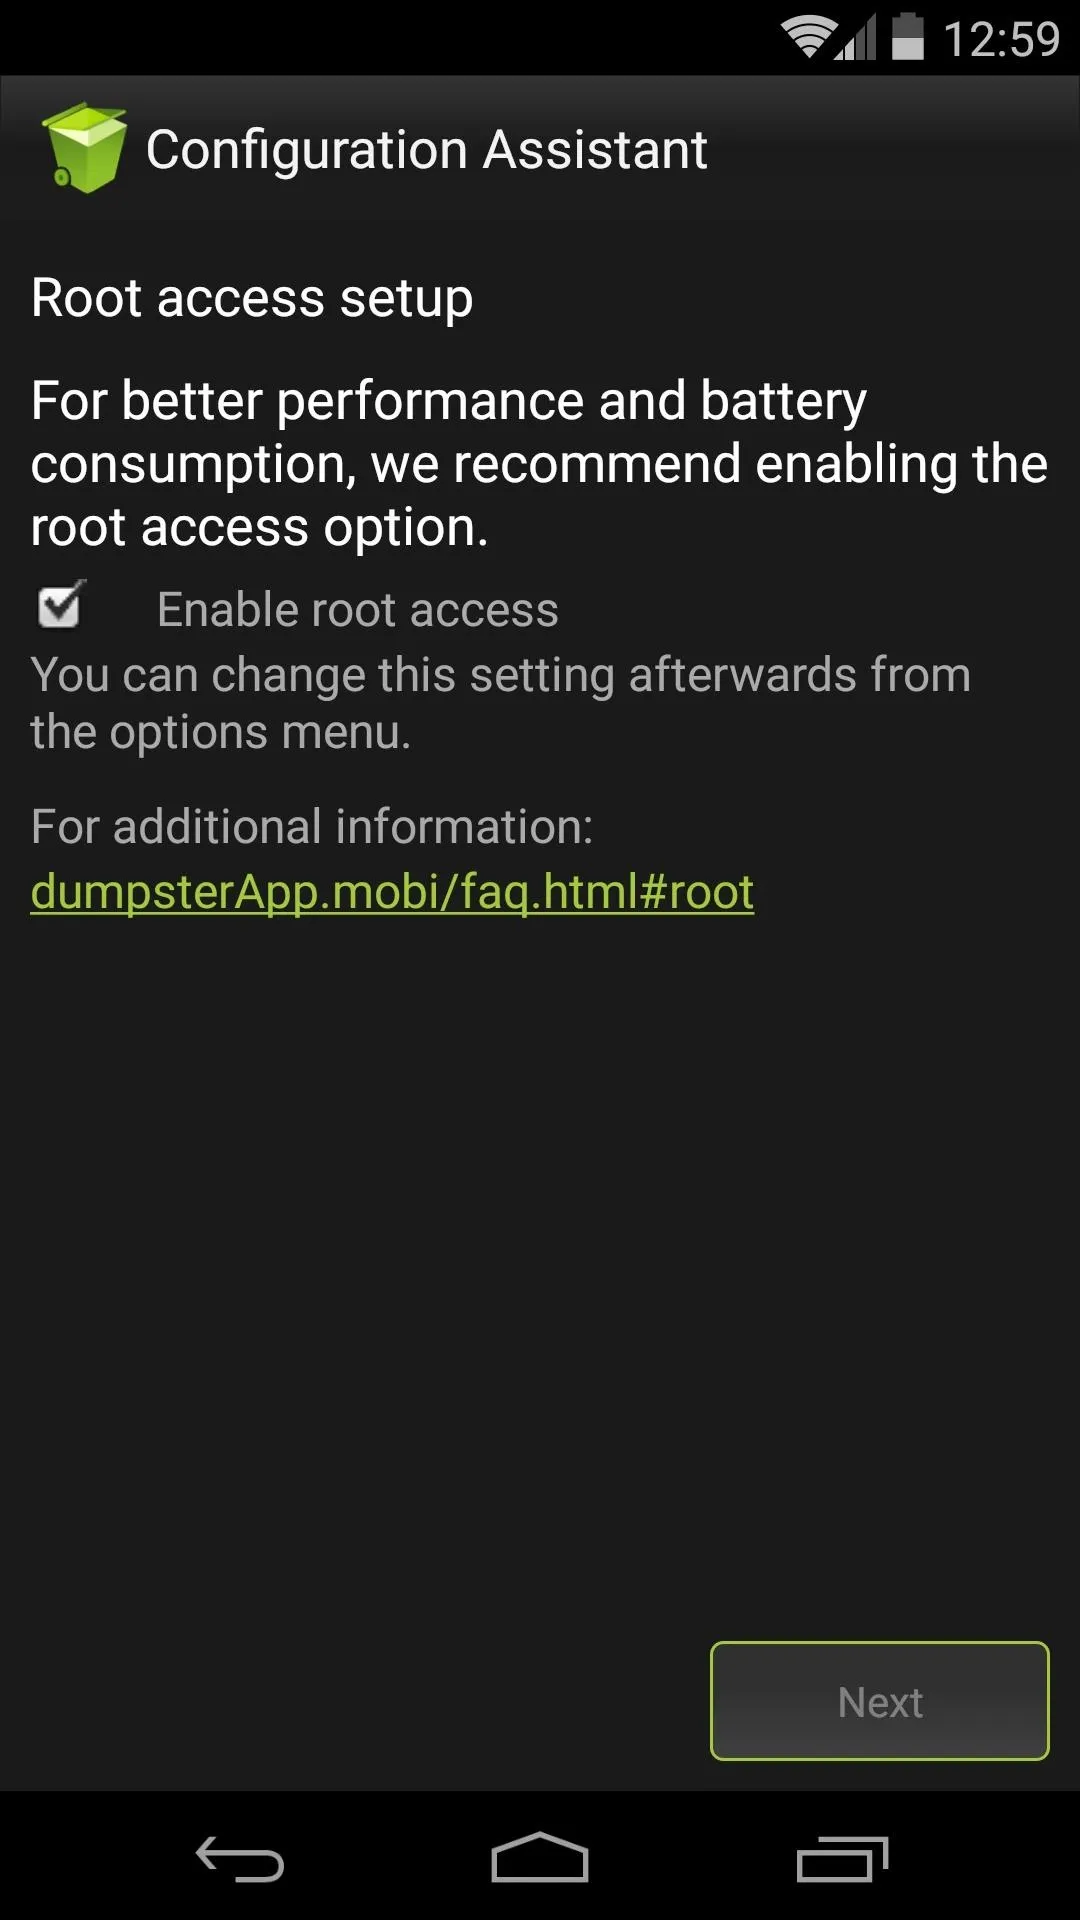
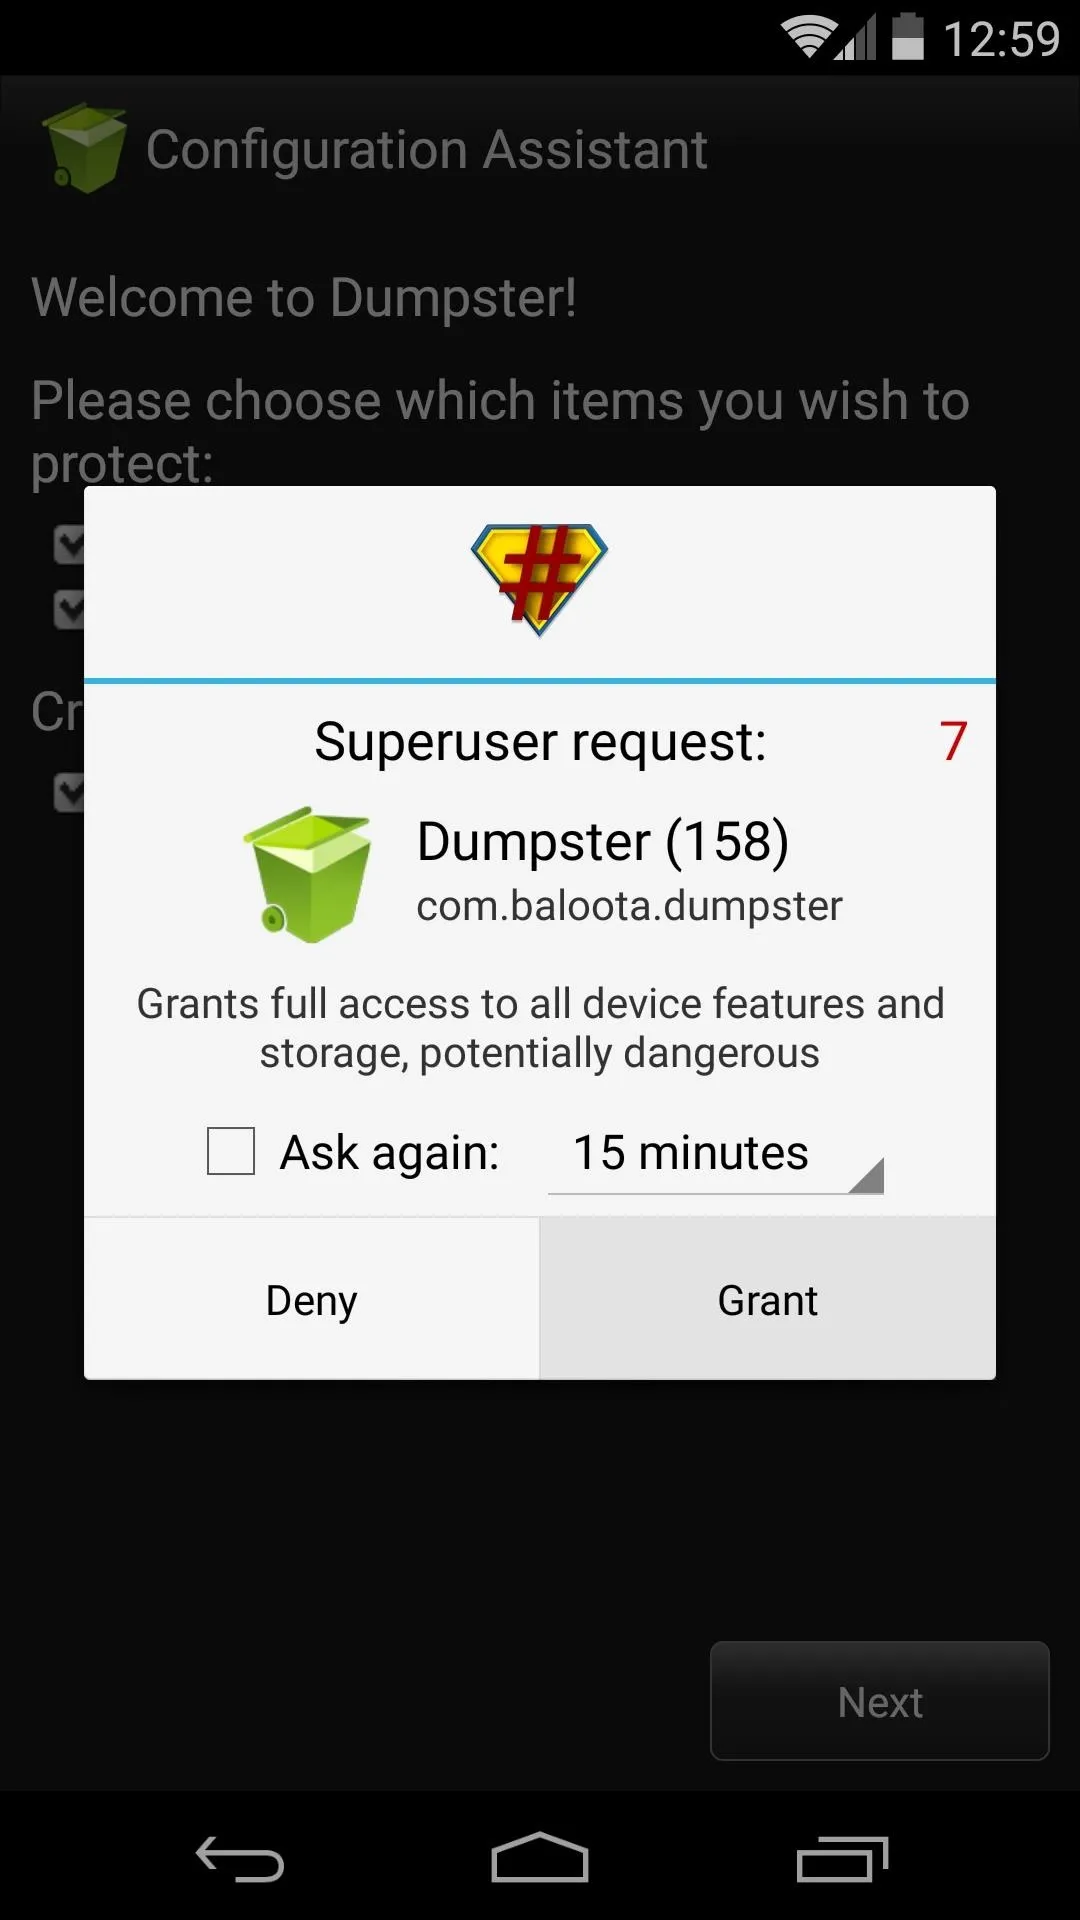
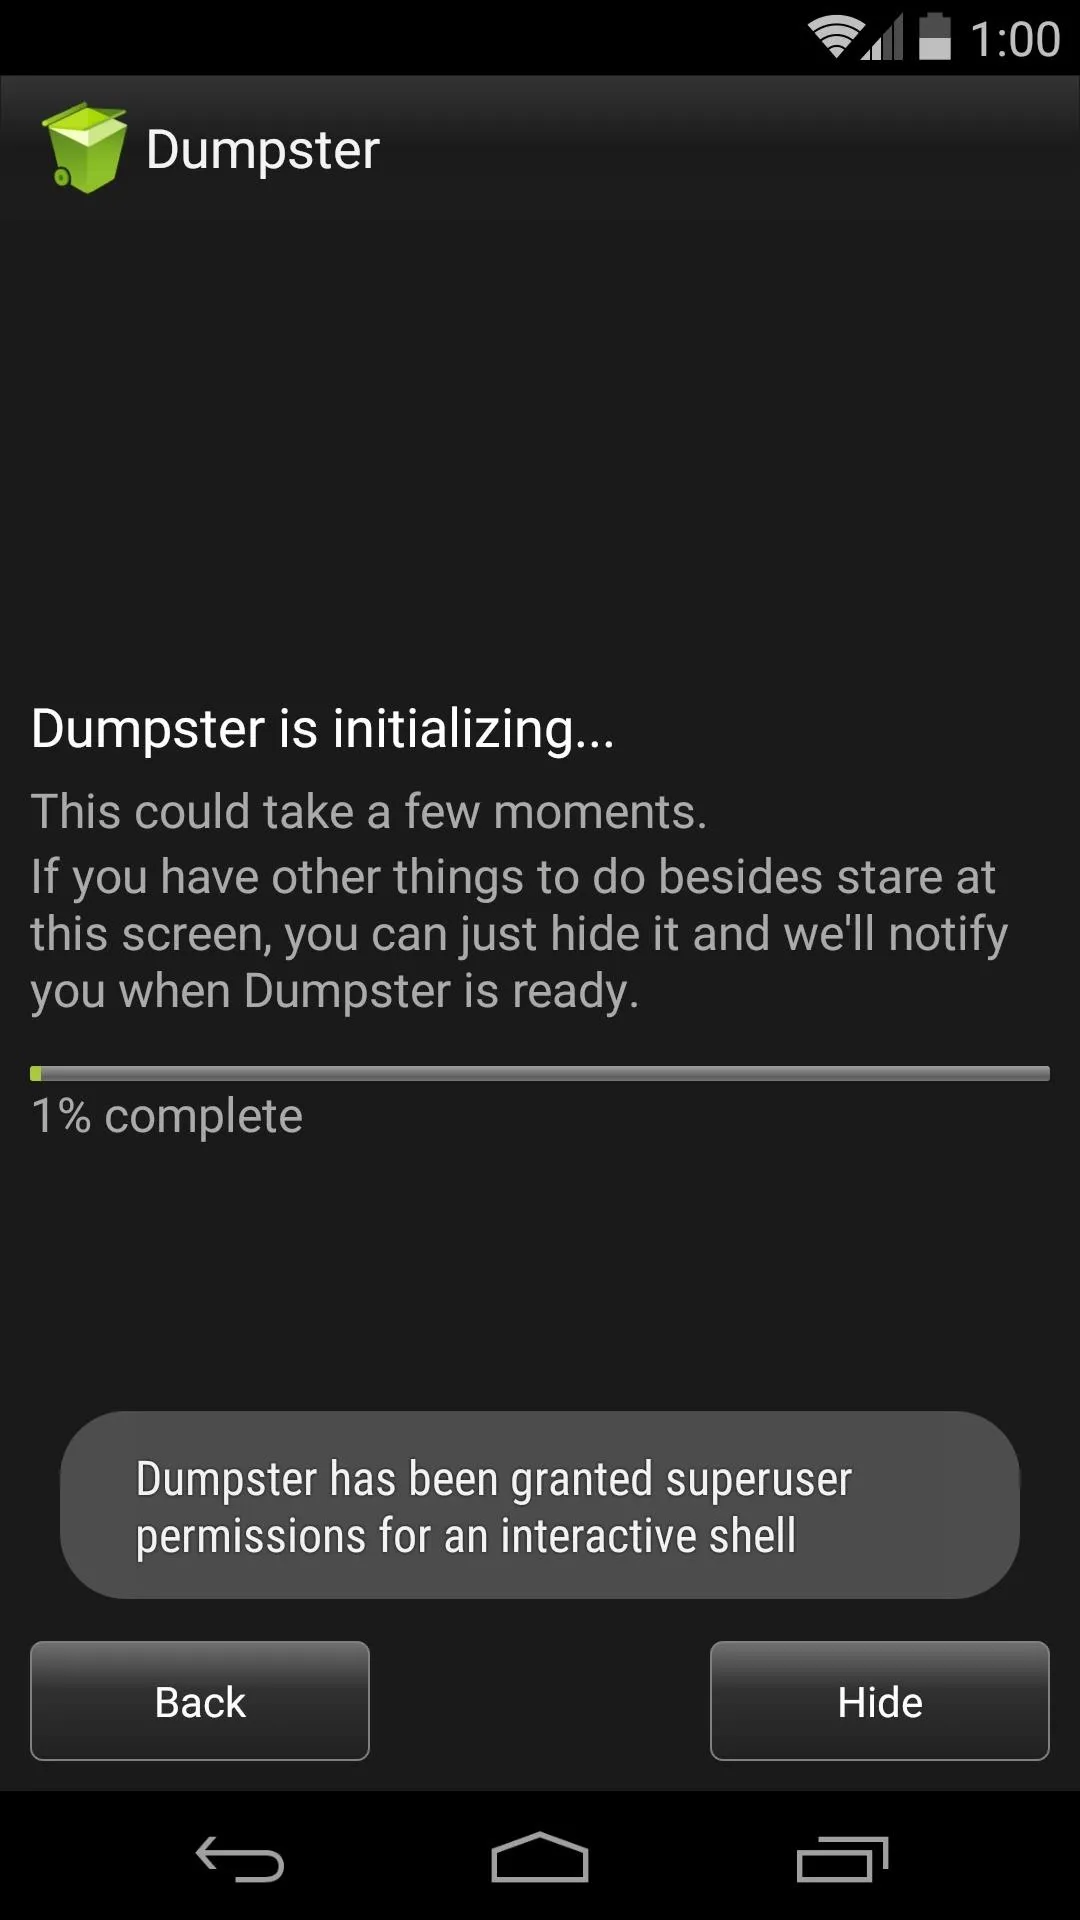
When you first launch Dumpster, you'll be shown the software's license agreement, so hit Accept. On the next screen, you can opt to provide Dumpster with Superuser access.
If you're rooted, this option helps Dumpster run more efficiently, so tick the checkbox next to Enable root access and press Next, granting Superuser privileges on the following screen. This is not a requirement, so if you aren't rooted, just make sure the root access box is un-ticked before proceeding.
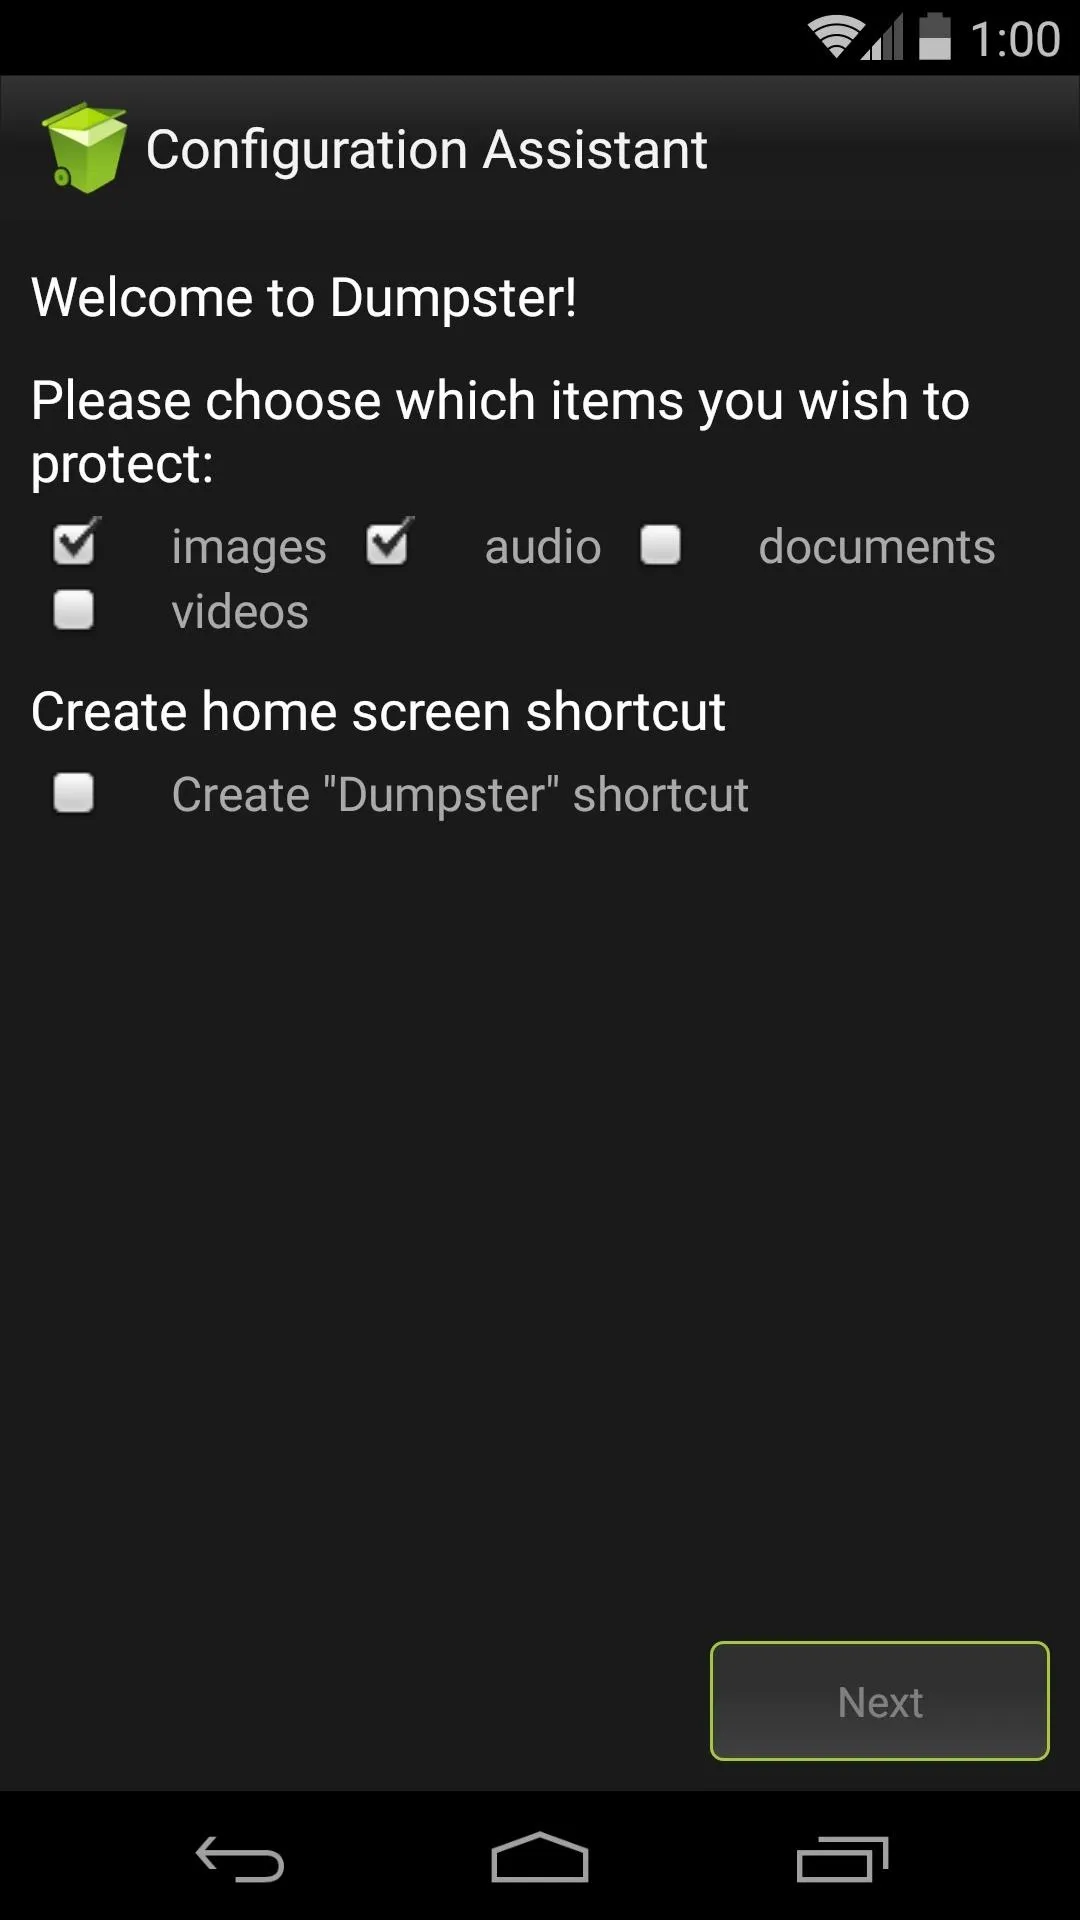
Choose Filetypes to Recycle
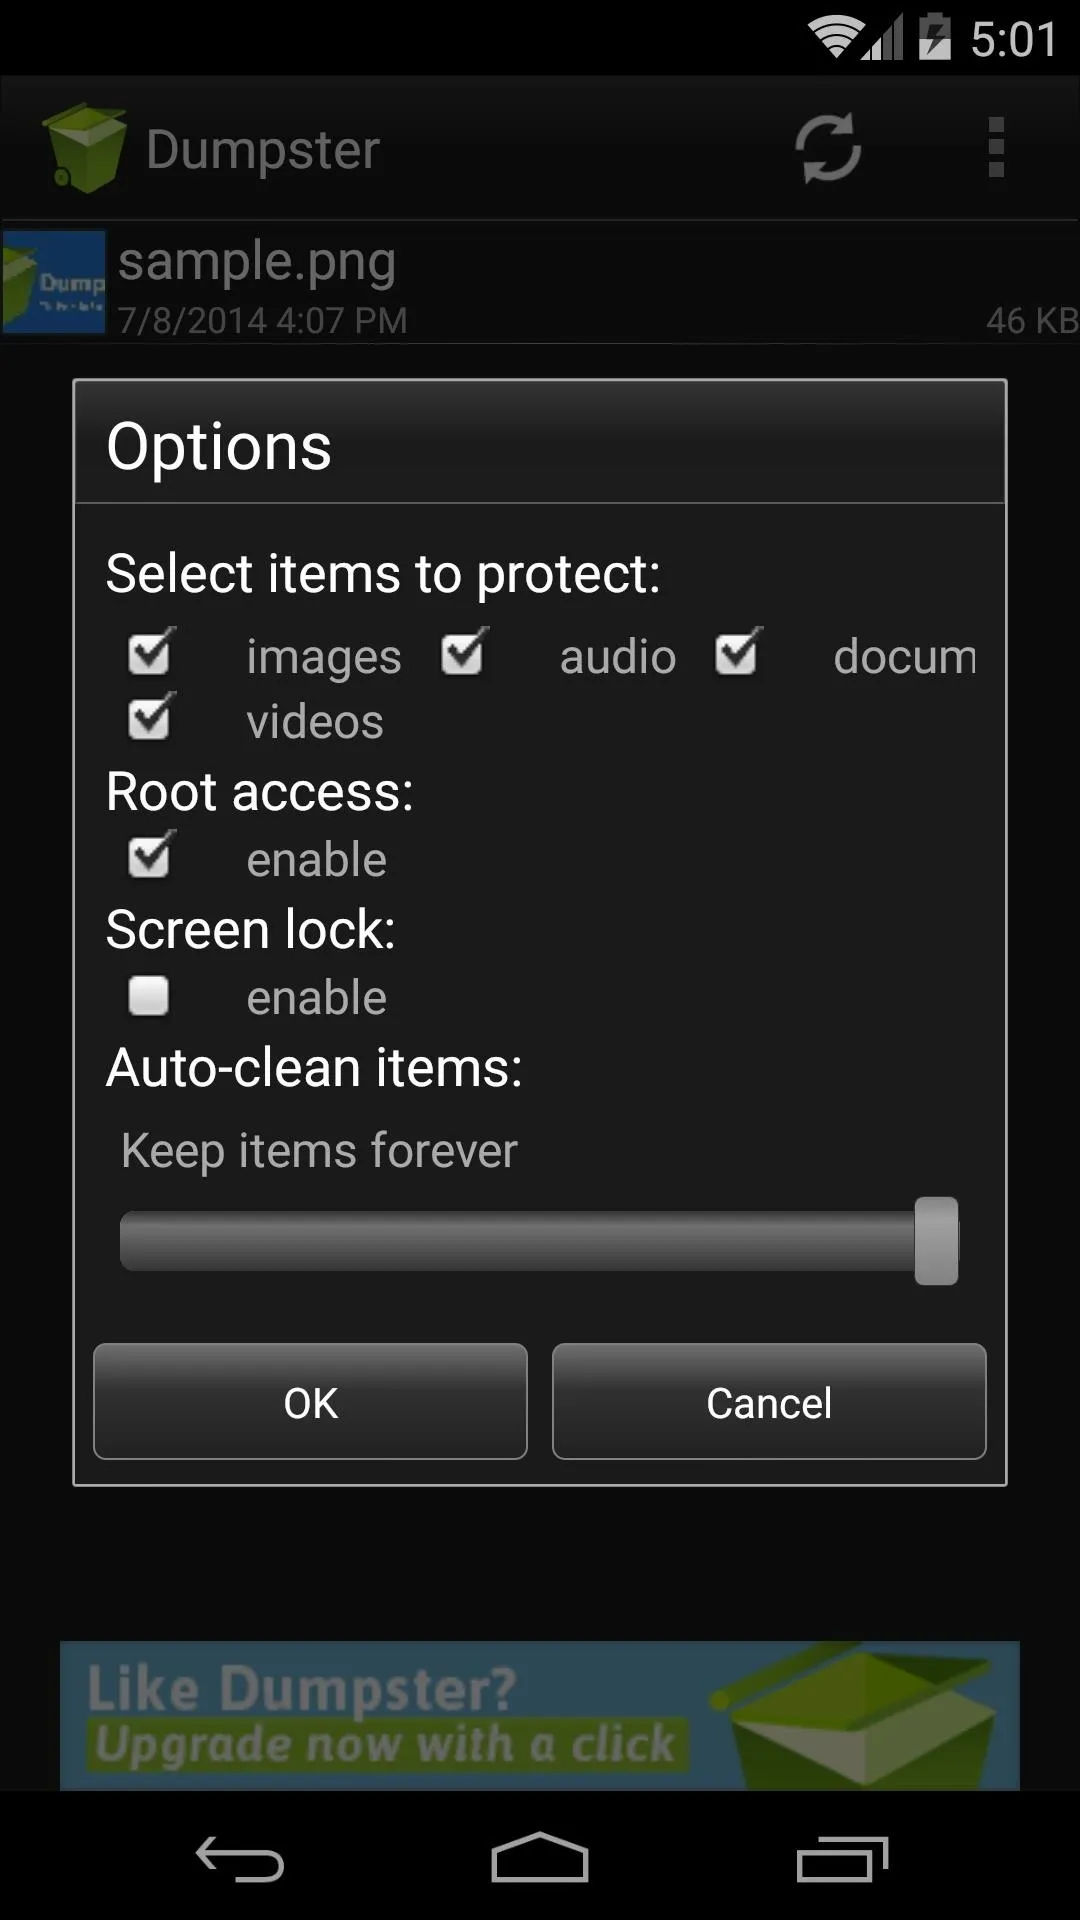
On the following screen, you can choose what types of files will be given Recycle Bin-style protection. All boxes are ticked by default, so un-tick those that you don't wish to "recycle." A second option here allows for adding a Dumpster icon to your home screen. After this, Dumpster will scan your storage, so give the app a few moments to do its thing.

Set Up Automatic Deletion by Time Frame
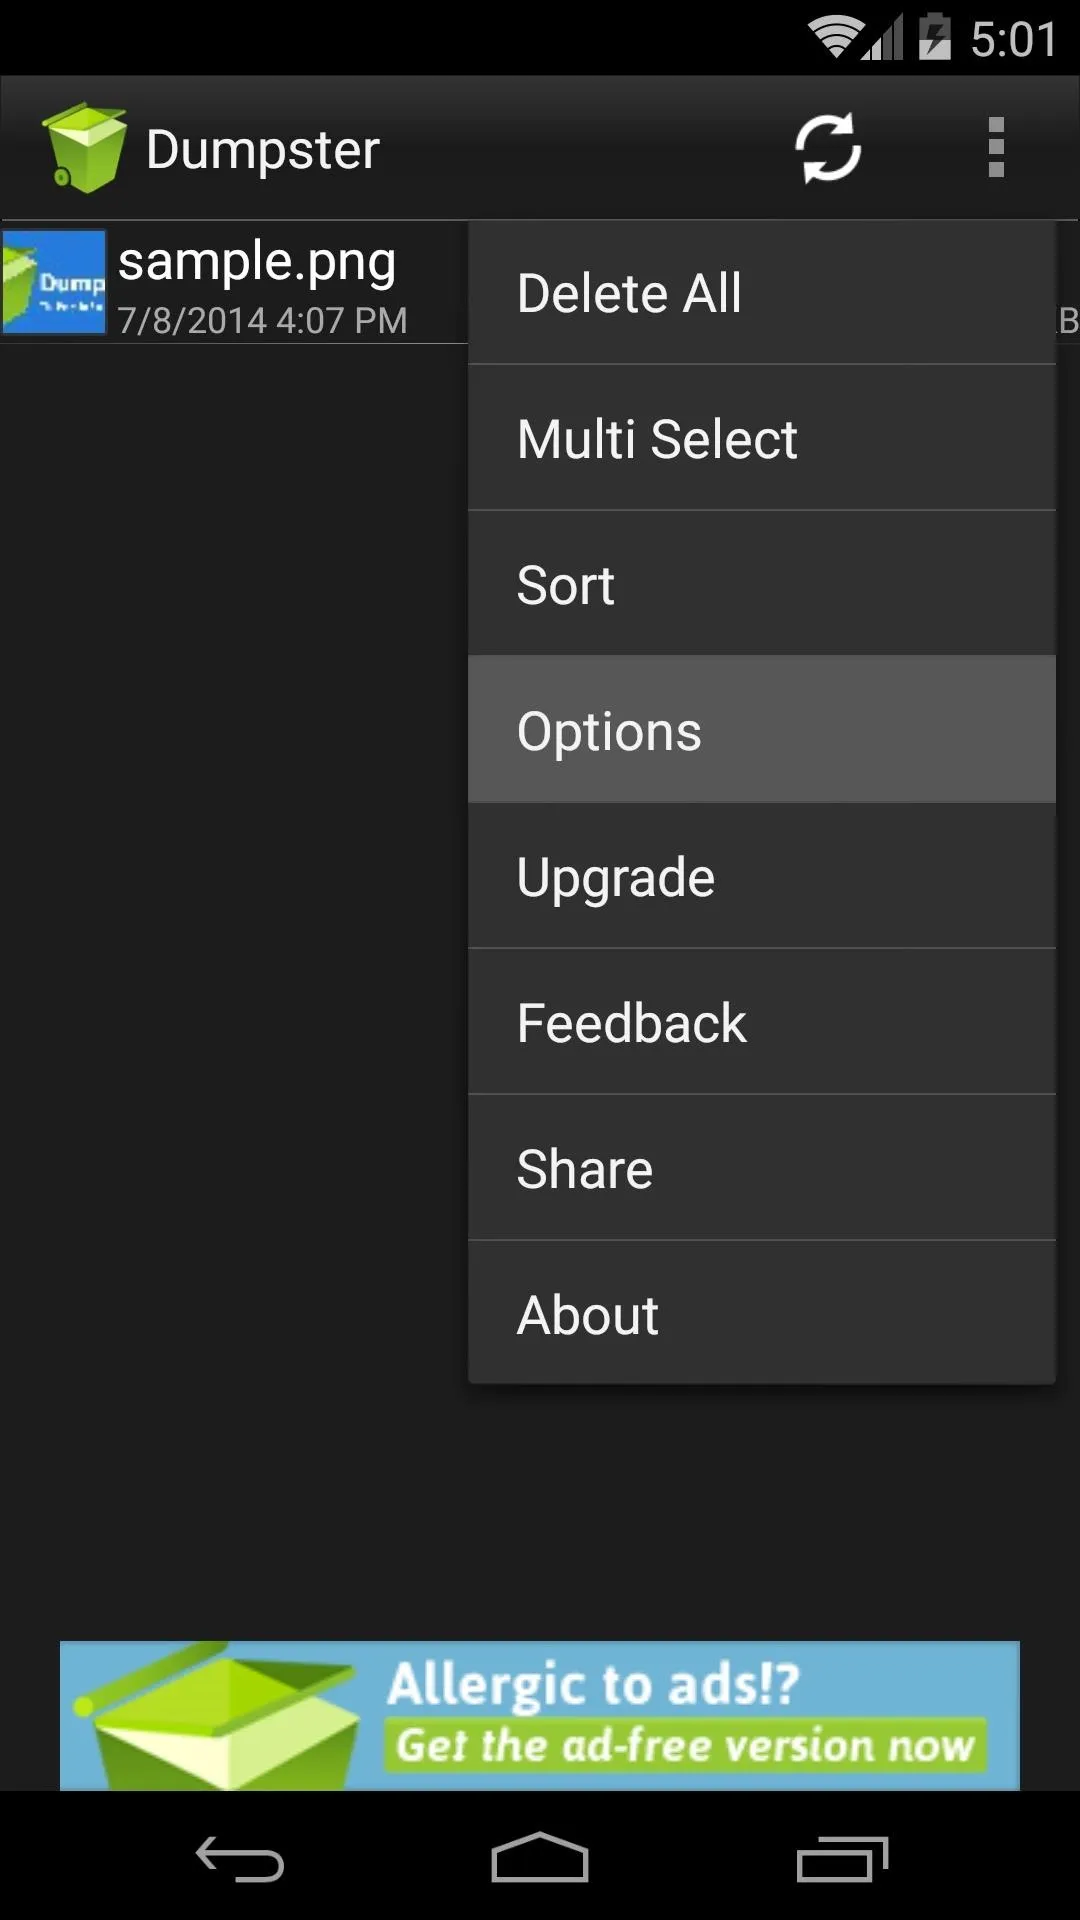
Finally, you'll be taken to Dumpster's main screen. From here, tap the three-dot menu button and head to Options. Most of these were already covered during first run, but the final option is one to consider.
Adjust the slider at the bottom of this menu if you'd like Dumpster to automatically delete files after a preset time frame. This will help keep storage space freed up on your device, and it will still allow you a grace period during which you can restore accidentally-deleted files.

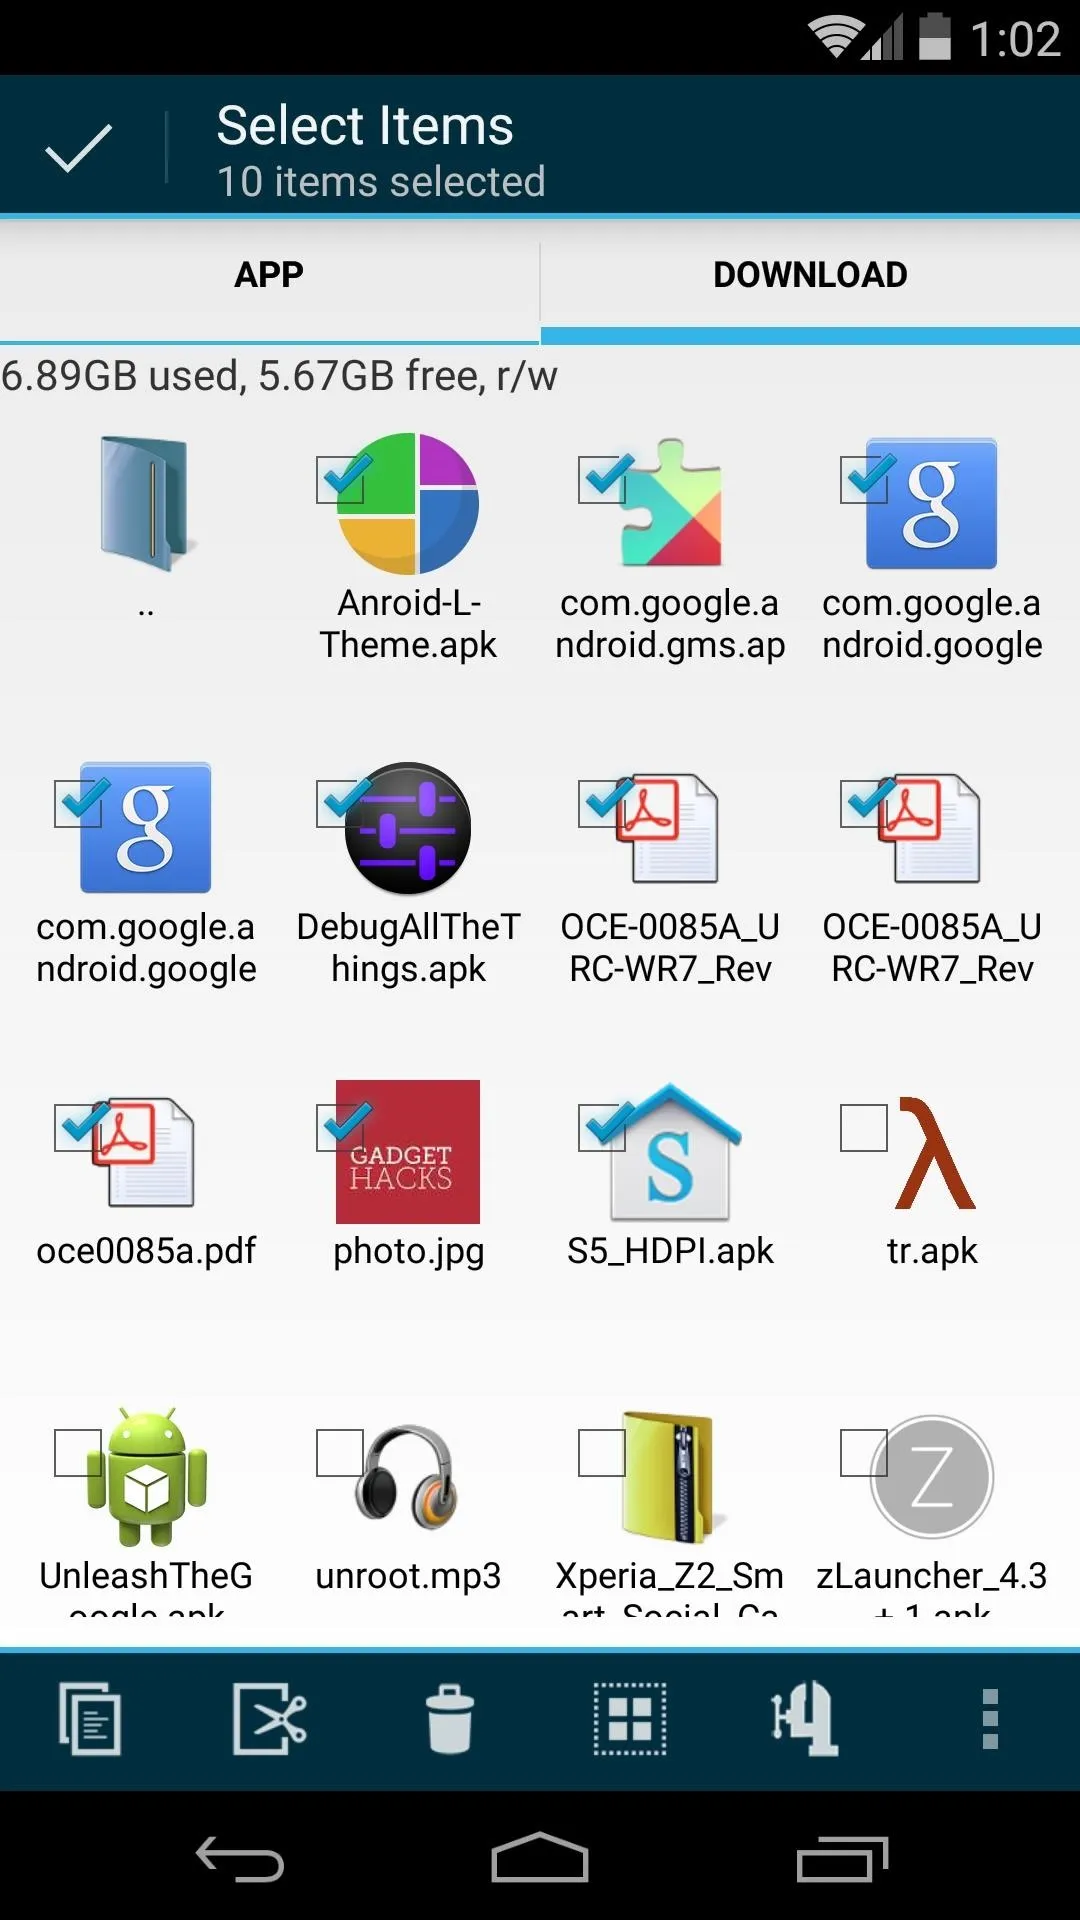
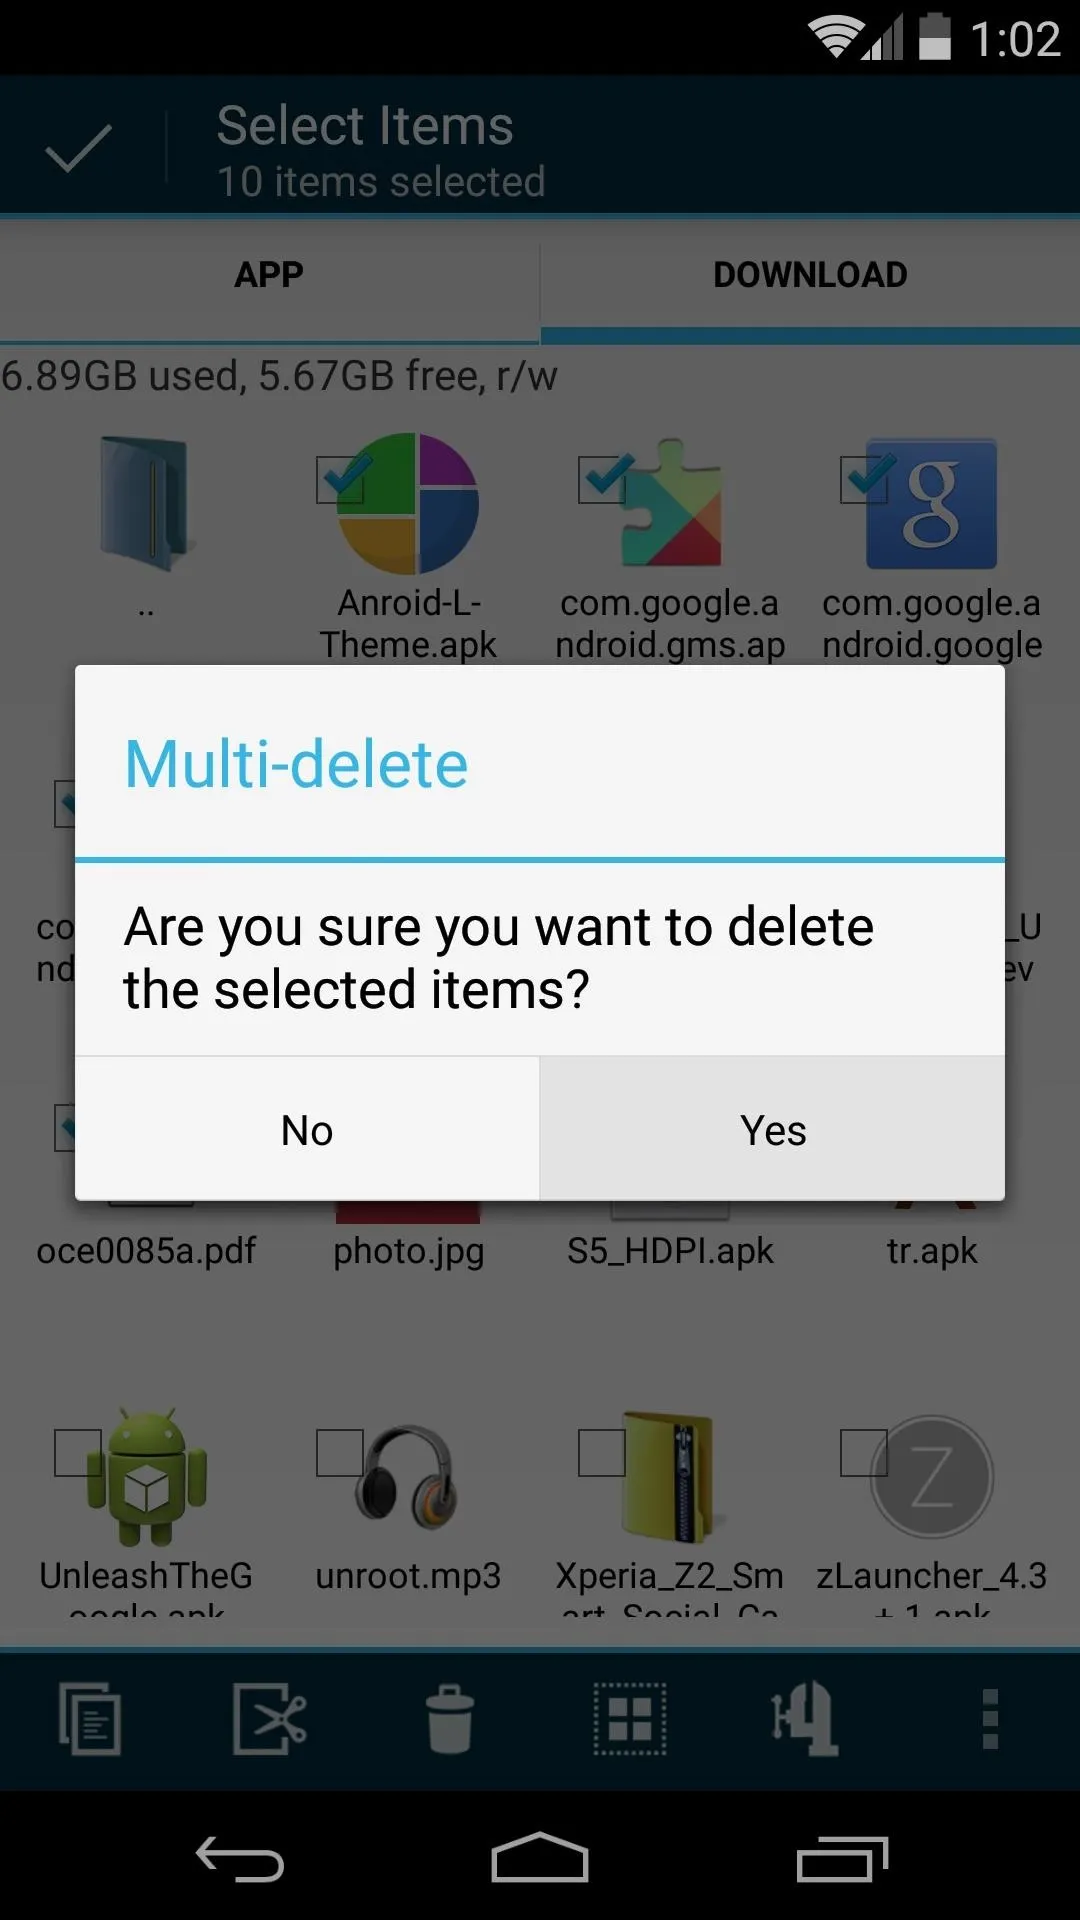
Delete Files (i.e. Recycle Them)
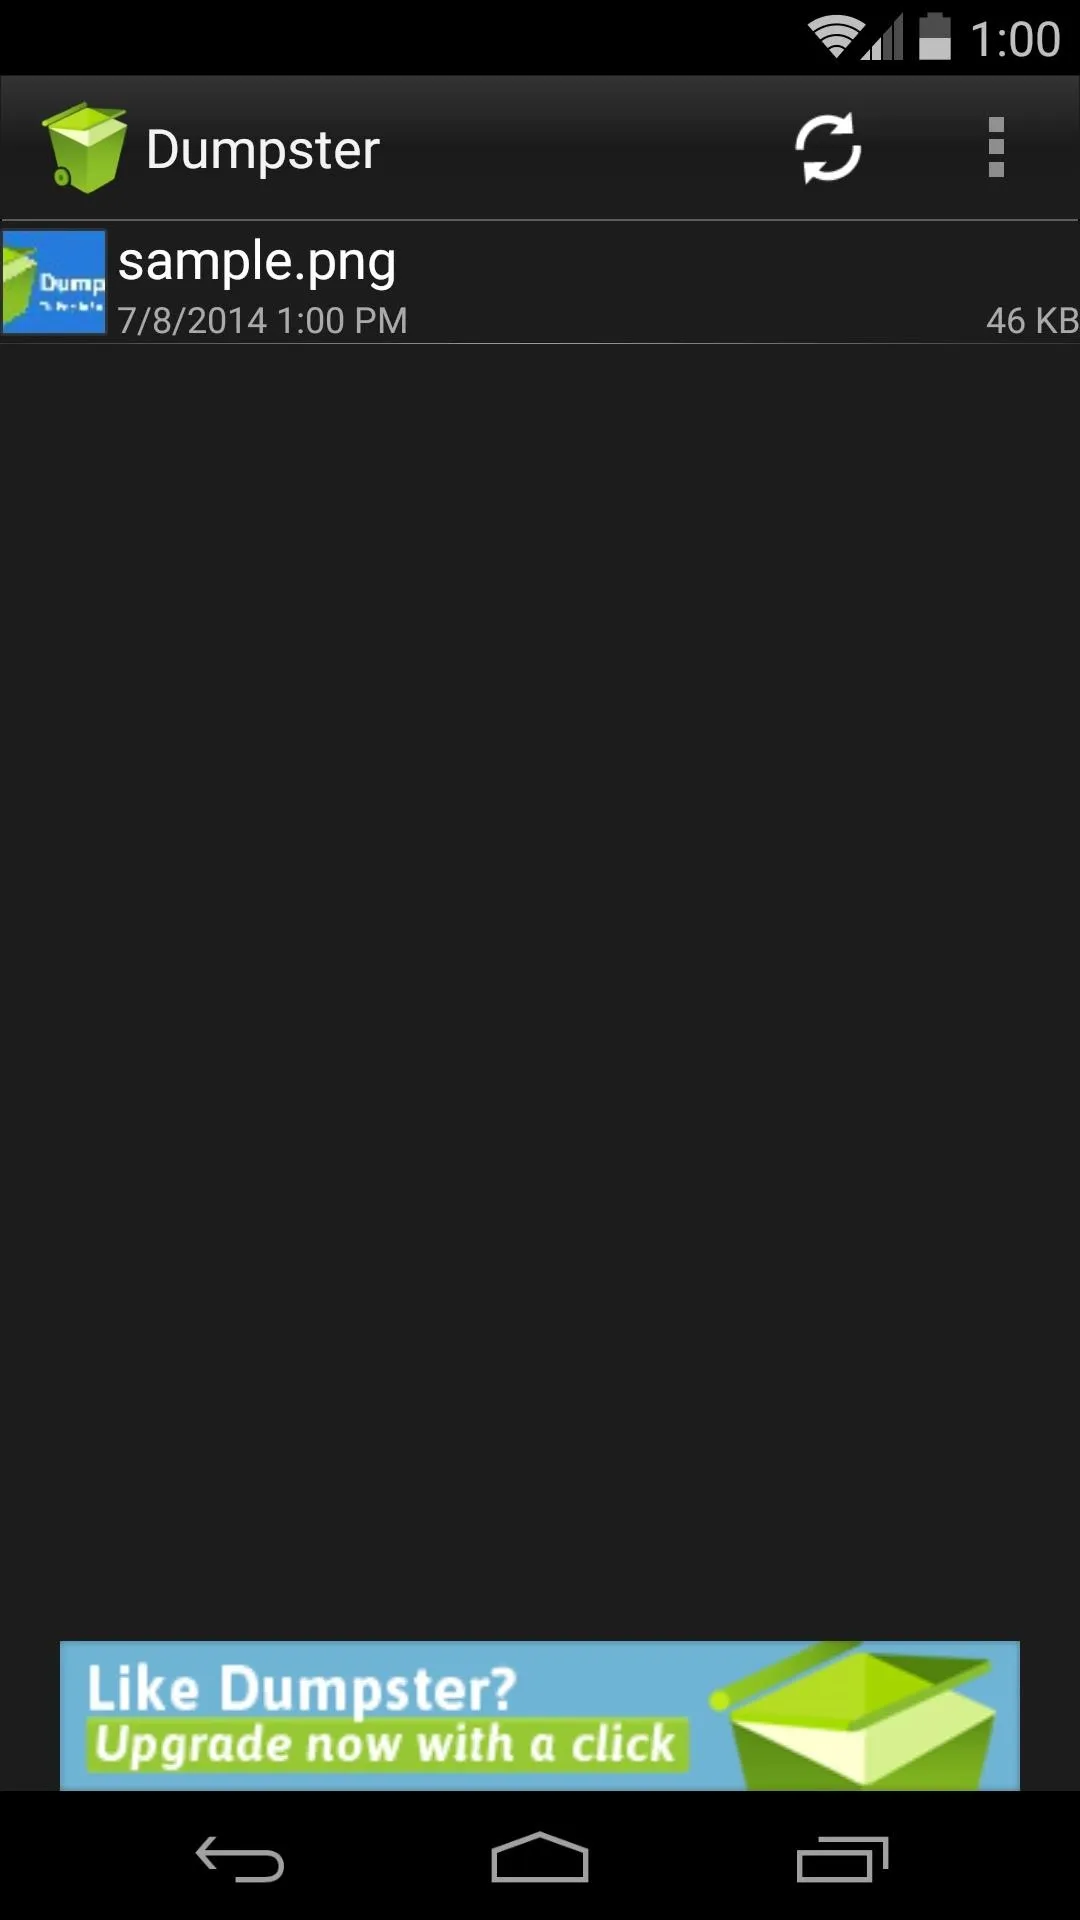
Since you haven't deleted any files while you've had Dumpster installed, there are no items shown other than a sample file. In the future, just delete files as you normally would, and they'll be stored in a temporary folder rather than permanently removed from your storage.
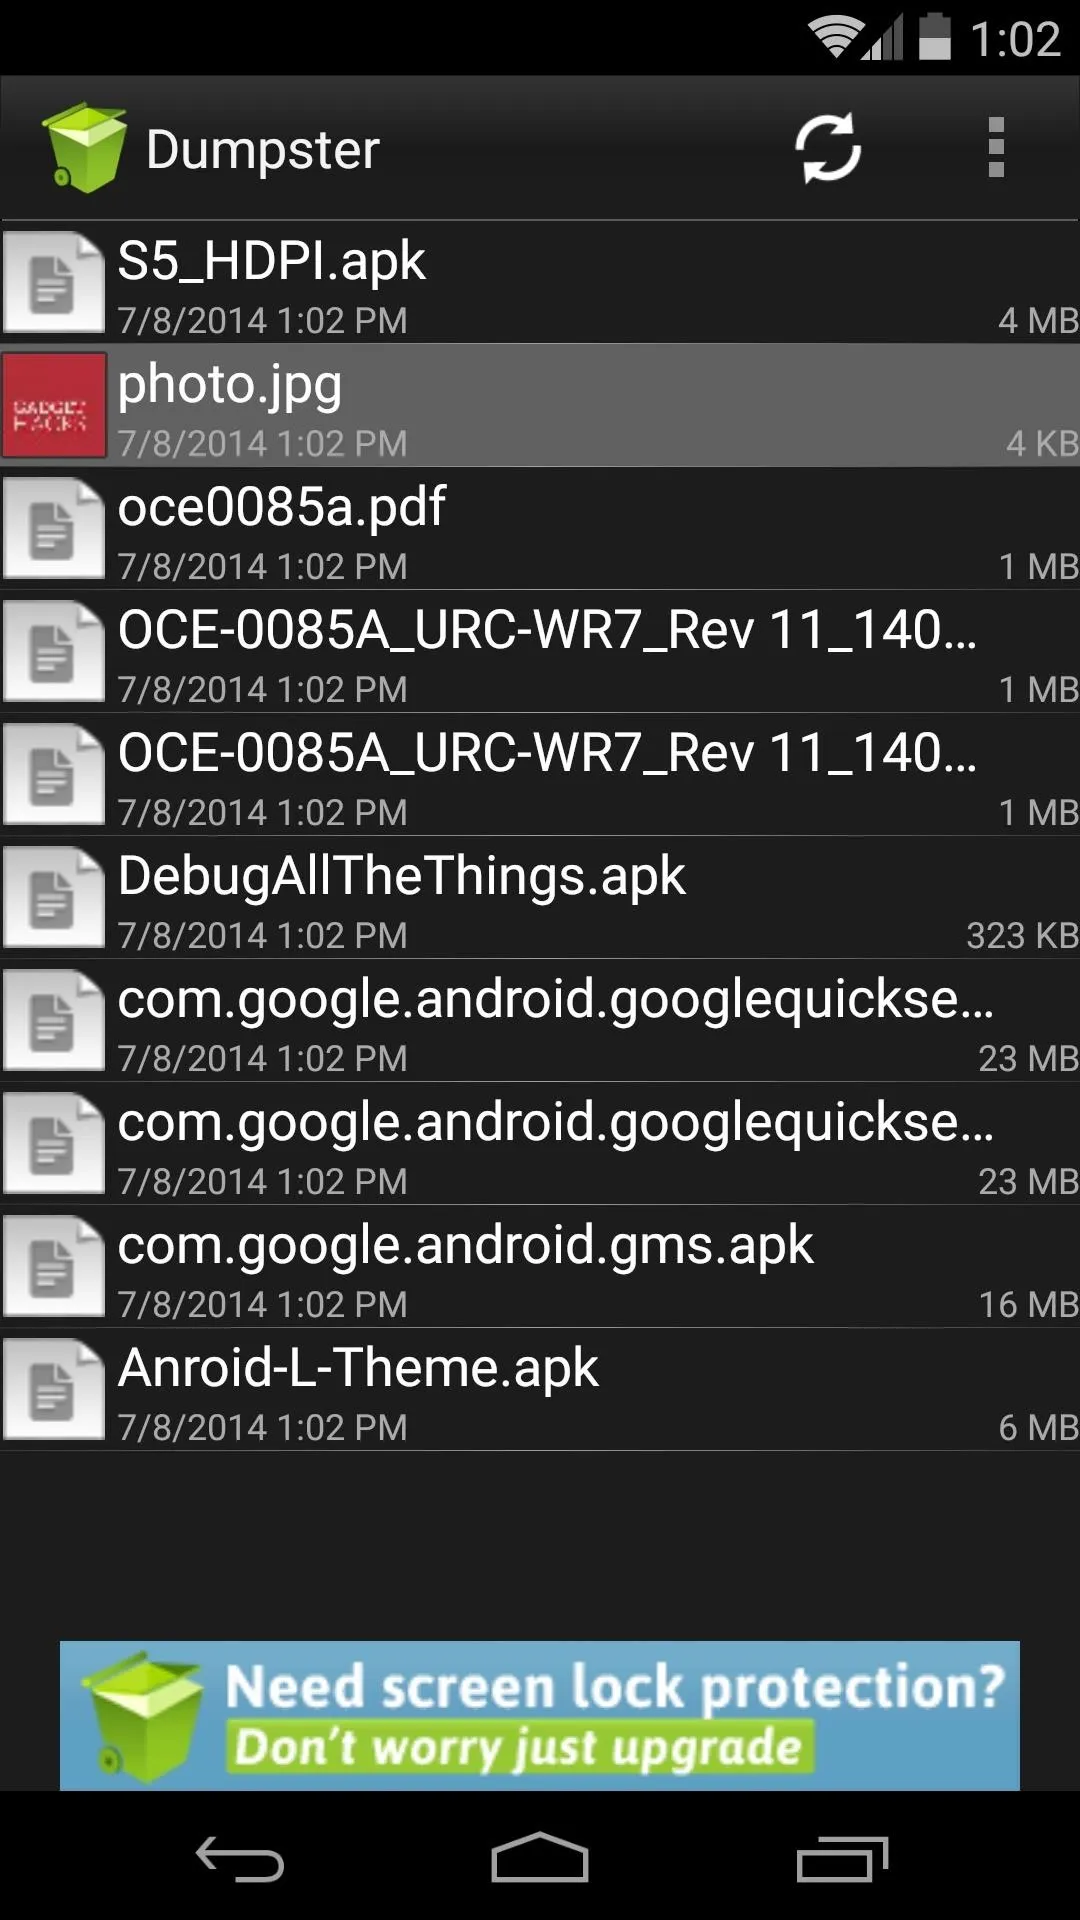
Restore Deleted Files
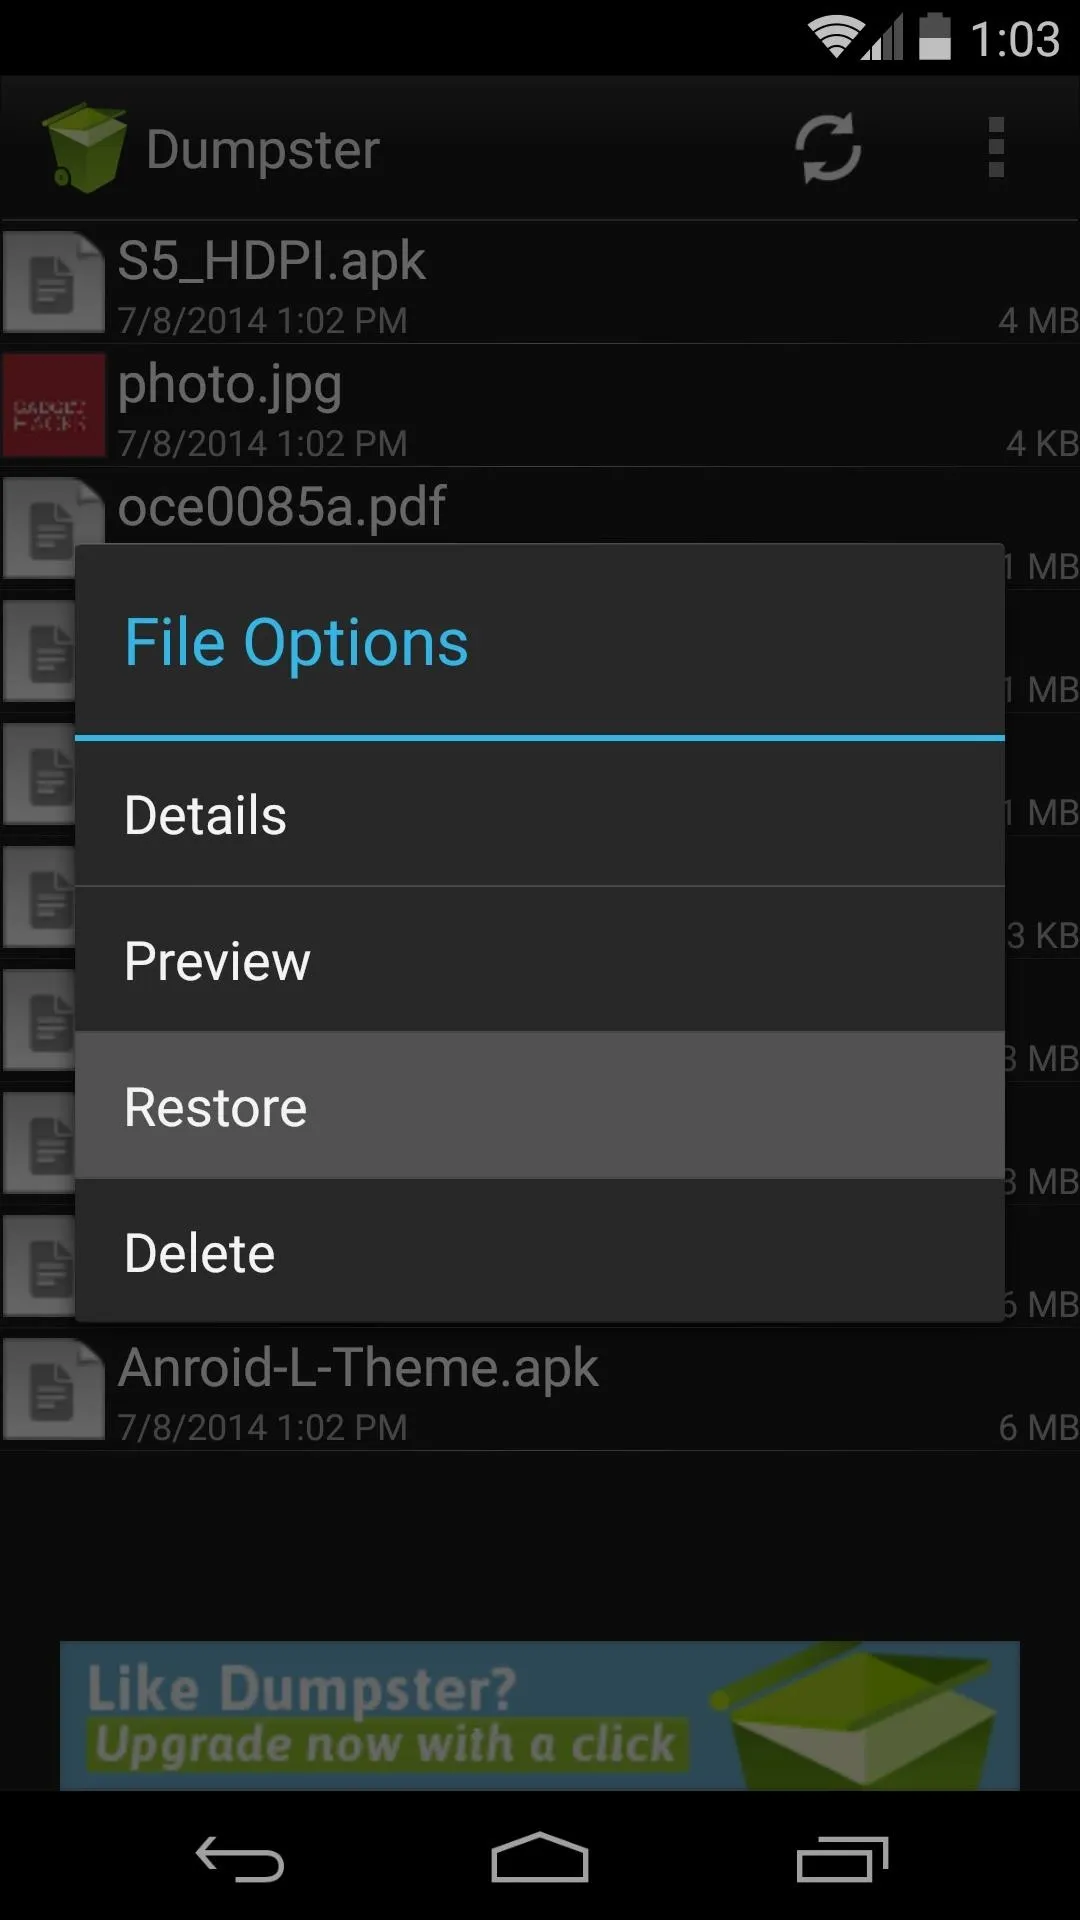
When you open Dumpster after having deleted some files, you'll see all of the files in question. Long-press any file and press Restore, then the file will automatically be transferred back to its original folder as if nothing happened.
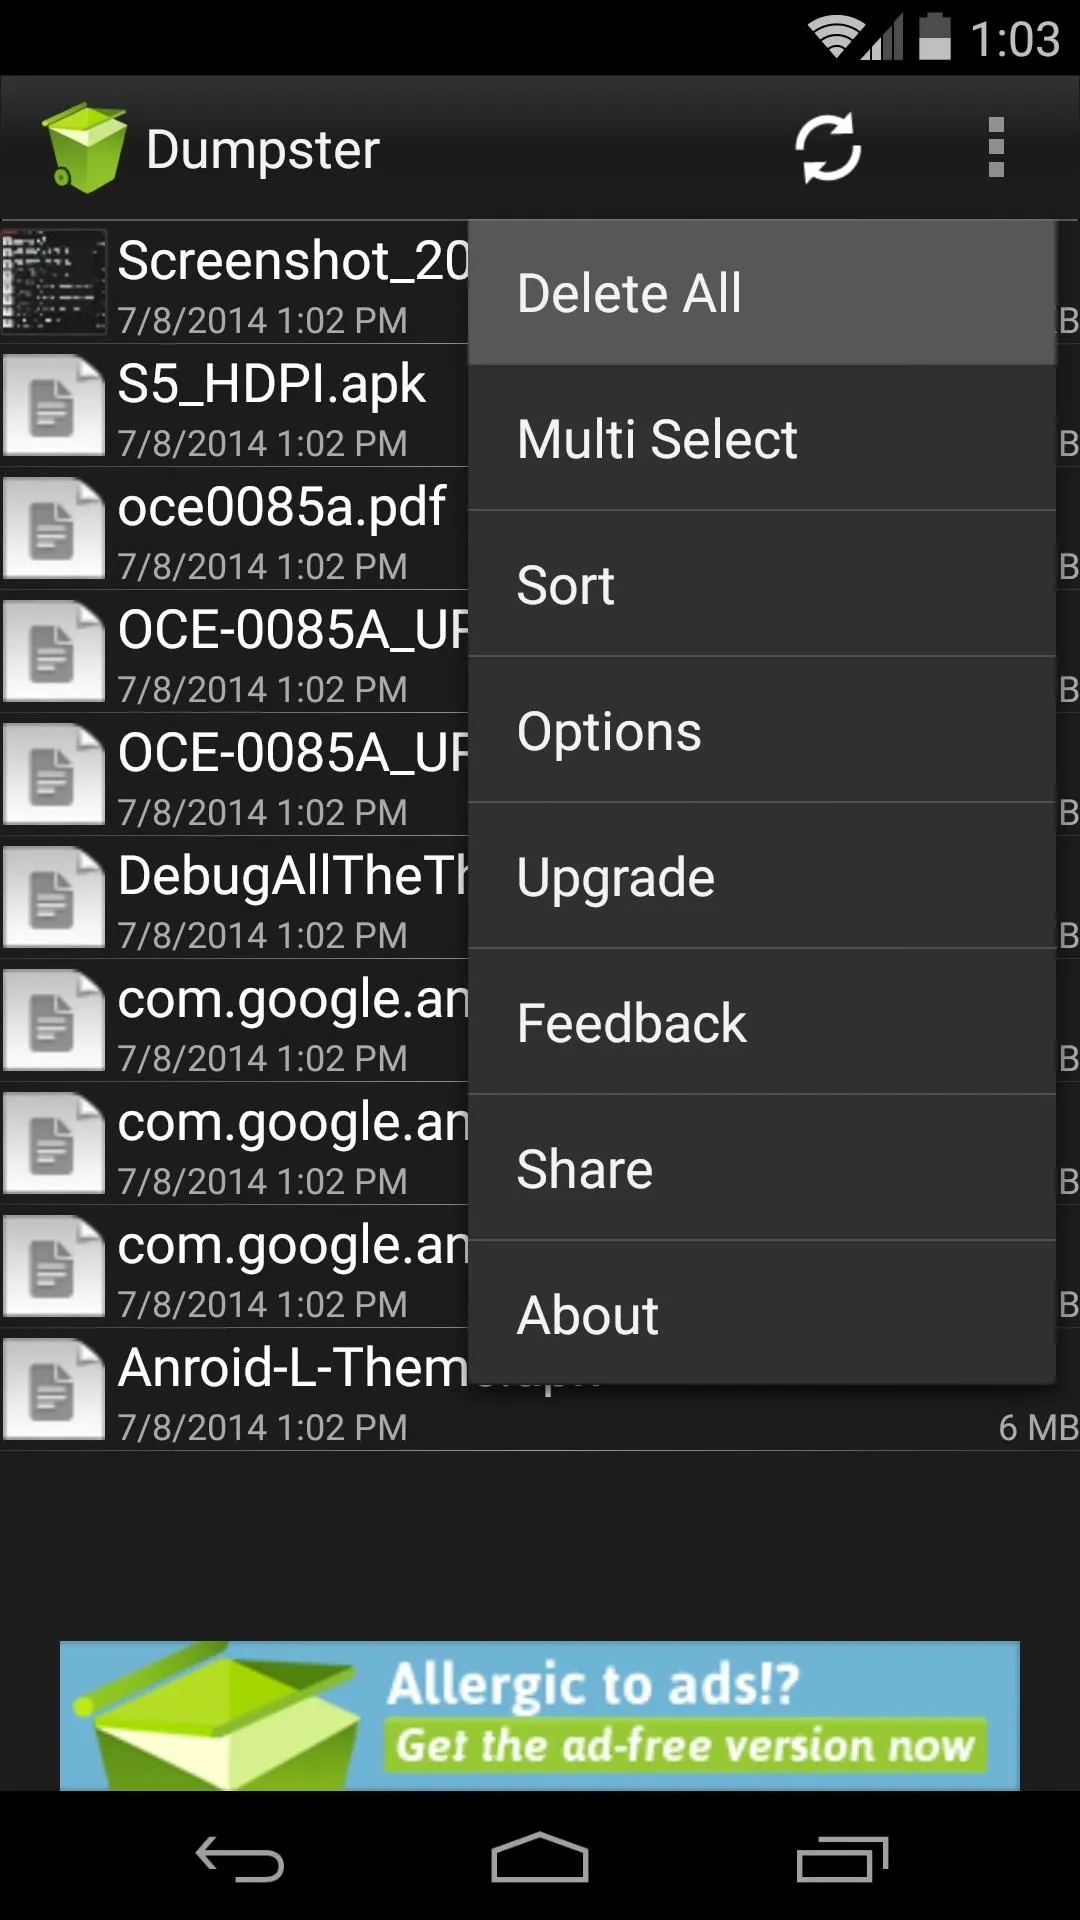
Manually Delete All Recycle Files
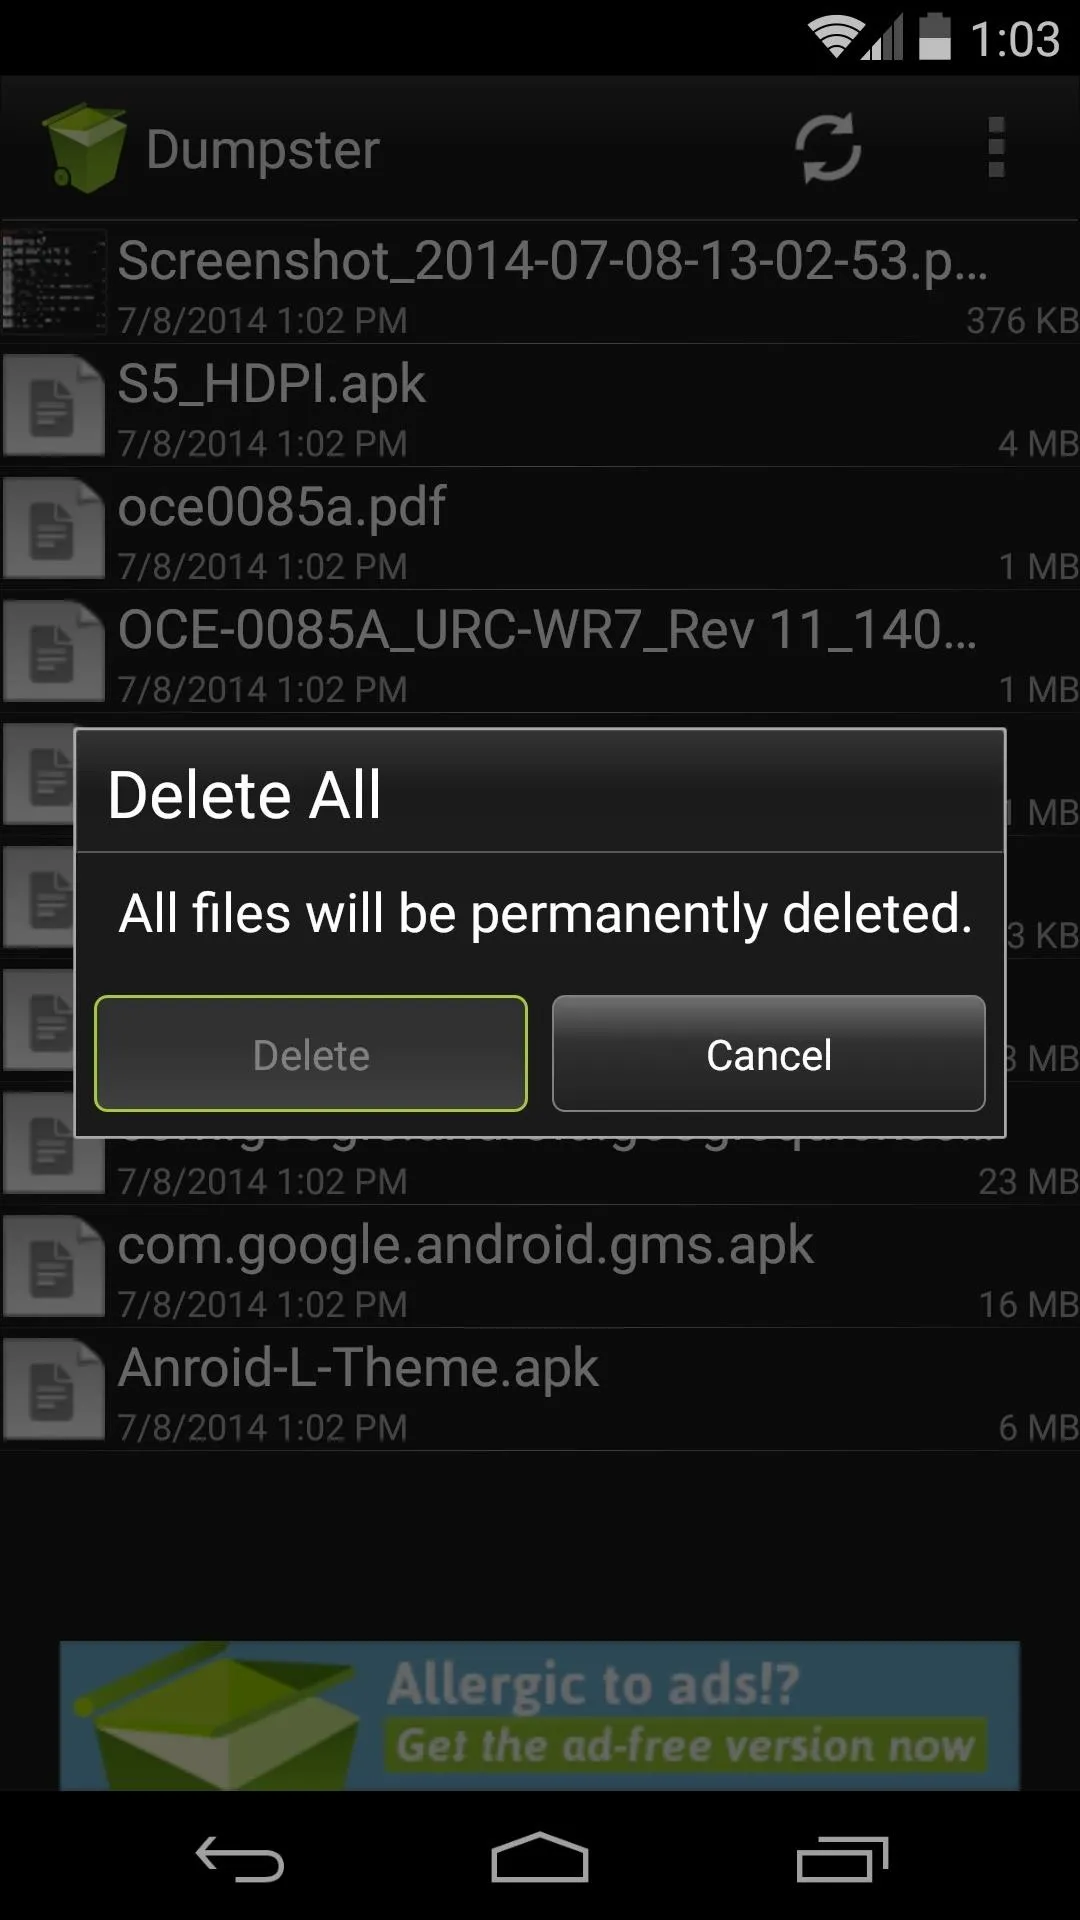
If you'd like to manually clean out your Dumpster, just tap the three-dot menu button at the top and choose Delete All. This will permanently delete all items in your Dumpster.
This is a feature that I feel should be integrated into Android already. How are you liking your new Recycle Bin? Let us know in the comments section below.


Comments
Be the first, drop a comment!