

On Thursday morning, May 28th, Google announced an upcoming version of Android—and within a few hours, a preview build of this so-called "Android M" release was made available to select Nexus devices.
If you're one who likes to stay on the cutting edge, this build offers lots of awesome new upgrades like simplified volume controls, increased battery life, and much, much more. Installing the preview build is relatively simple with a Windows computer, and I'll outline the process below.
Before You Begin
This new preview build is only available for the Nexus 5, Nexus 6, Nexus 9, and Nexus Player. It doesn't require root to install, but you should be aware that you will lose root and all of your data if you install this build.
The following guide is meant for Windows users only, so if you don't have a Windows PC, check out my easy tutorial on installing the Android M preview on a Mac or Linux machine.
Step 1: Enable USB Debugging
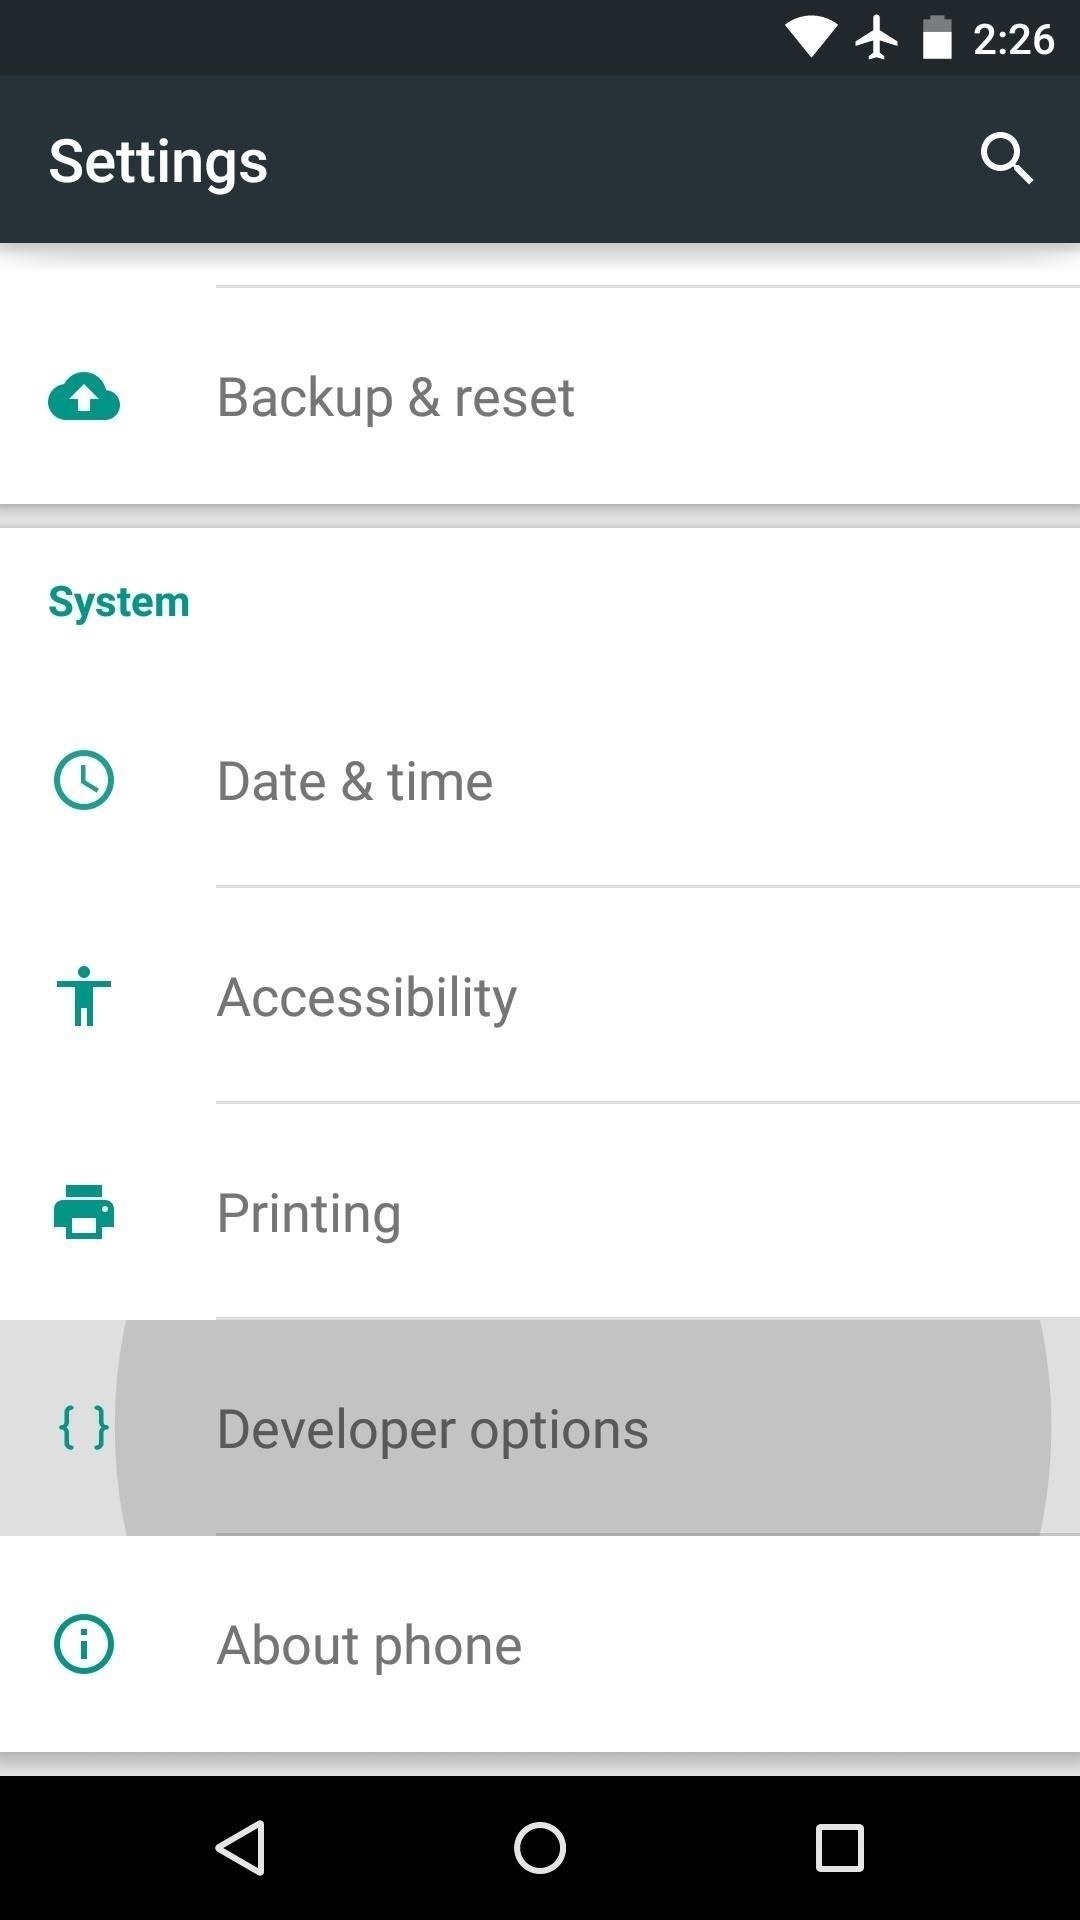
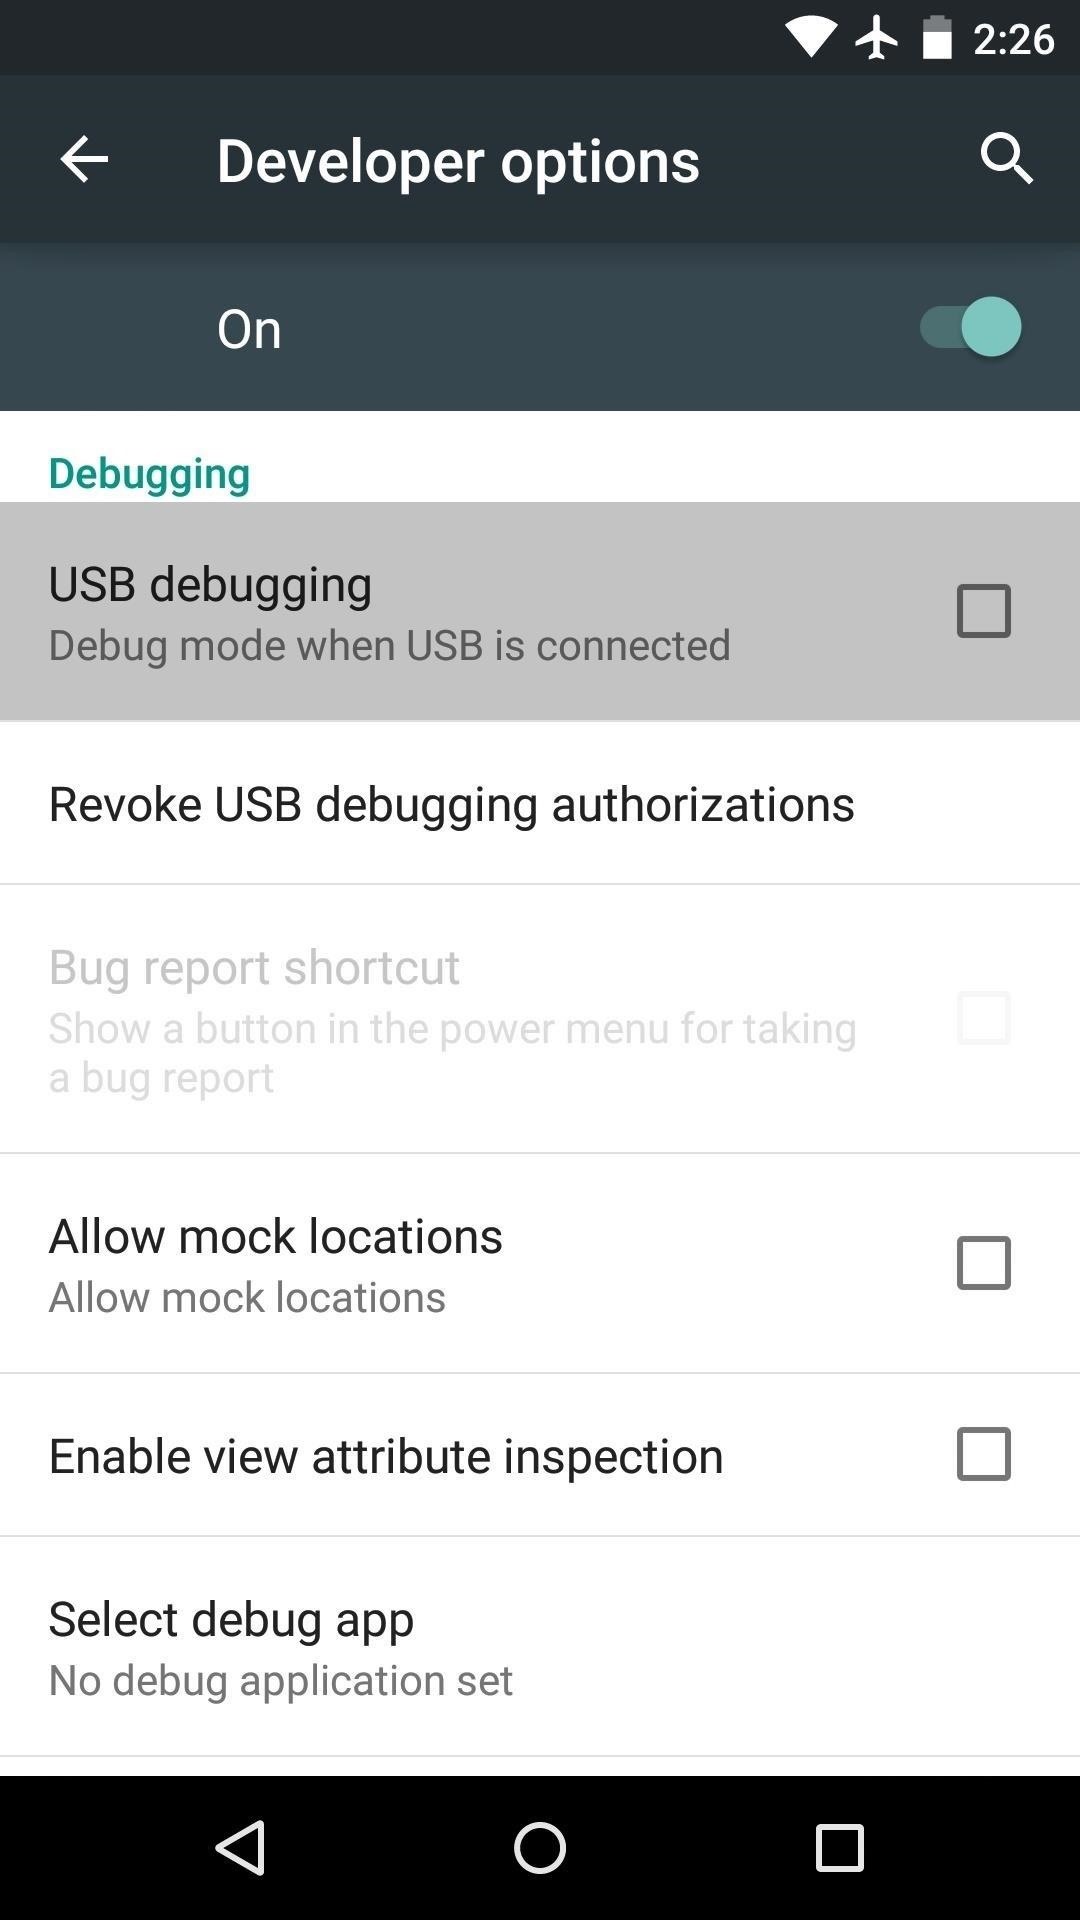
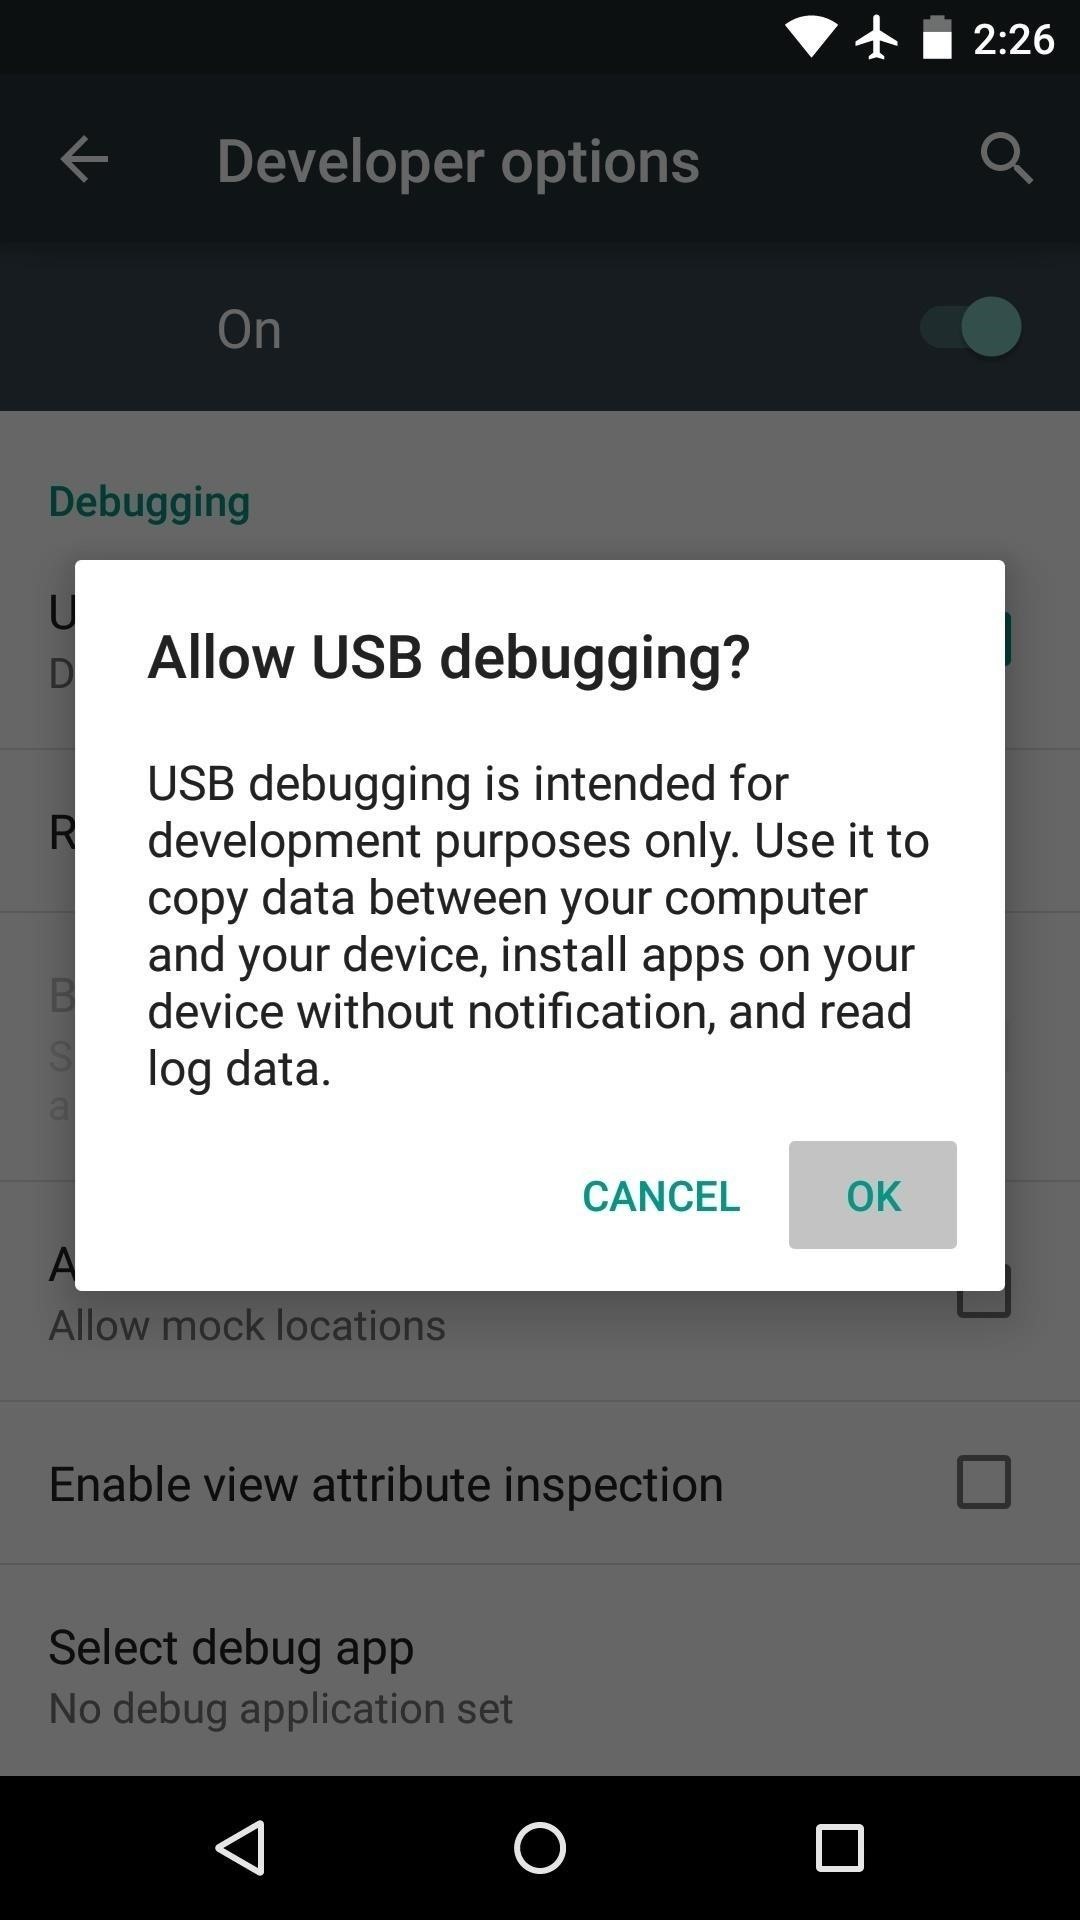
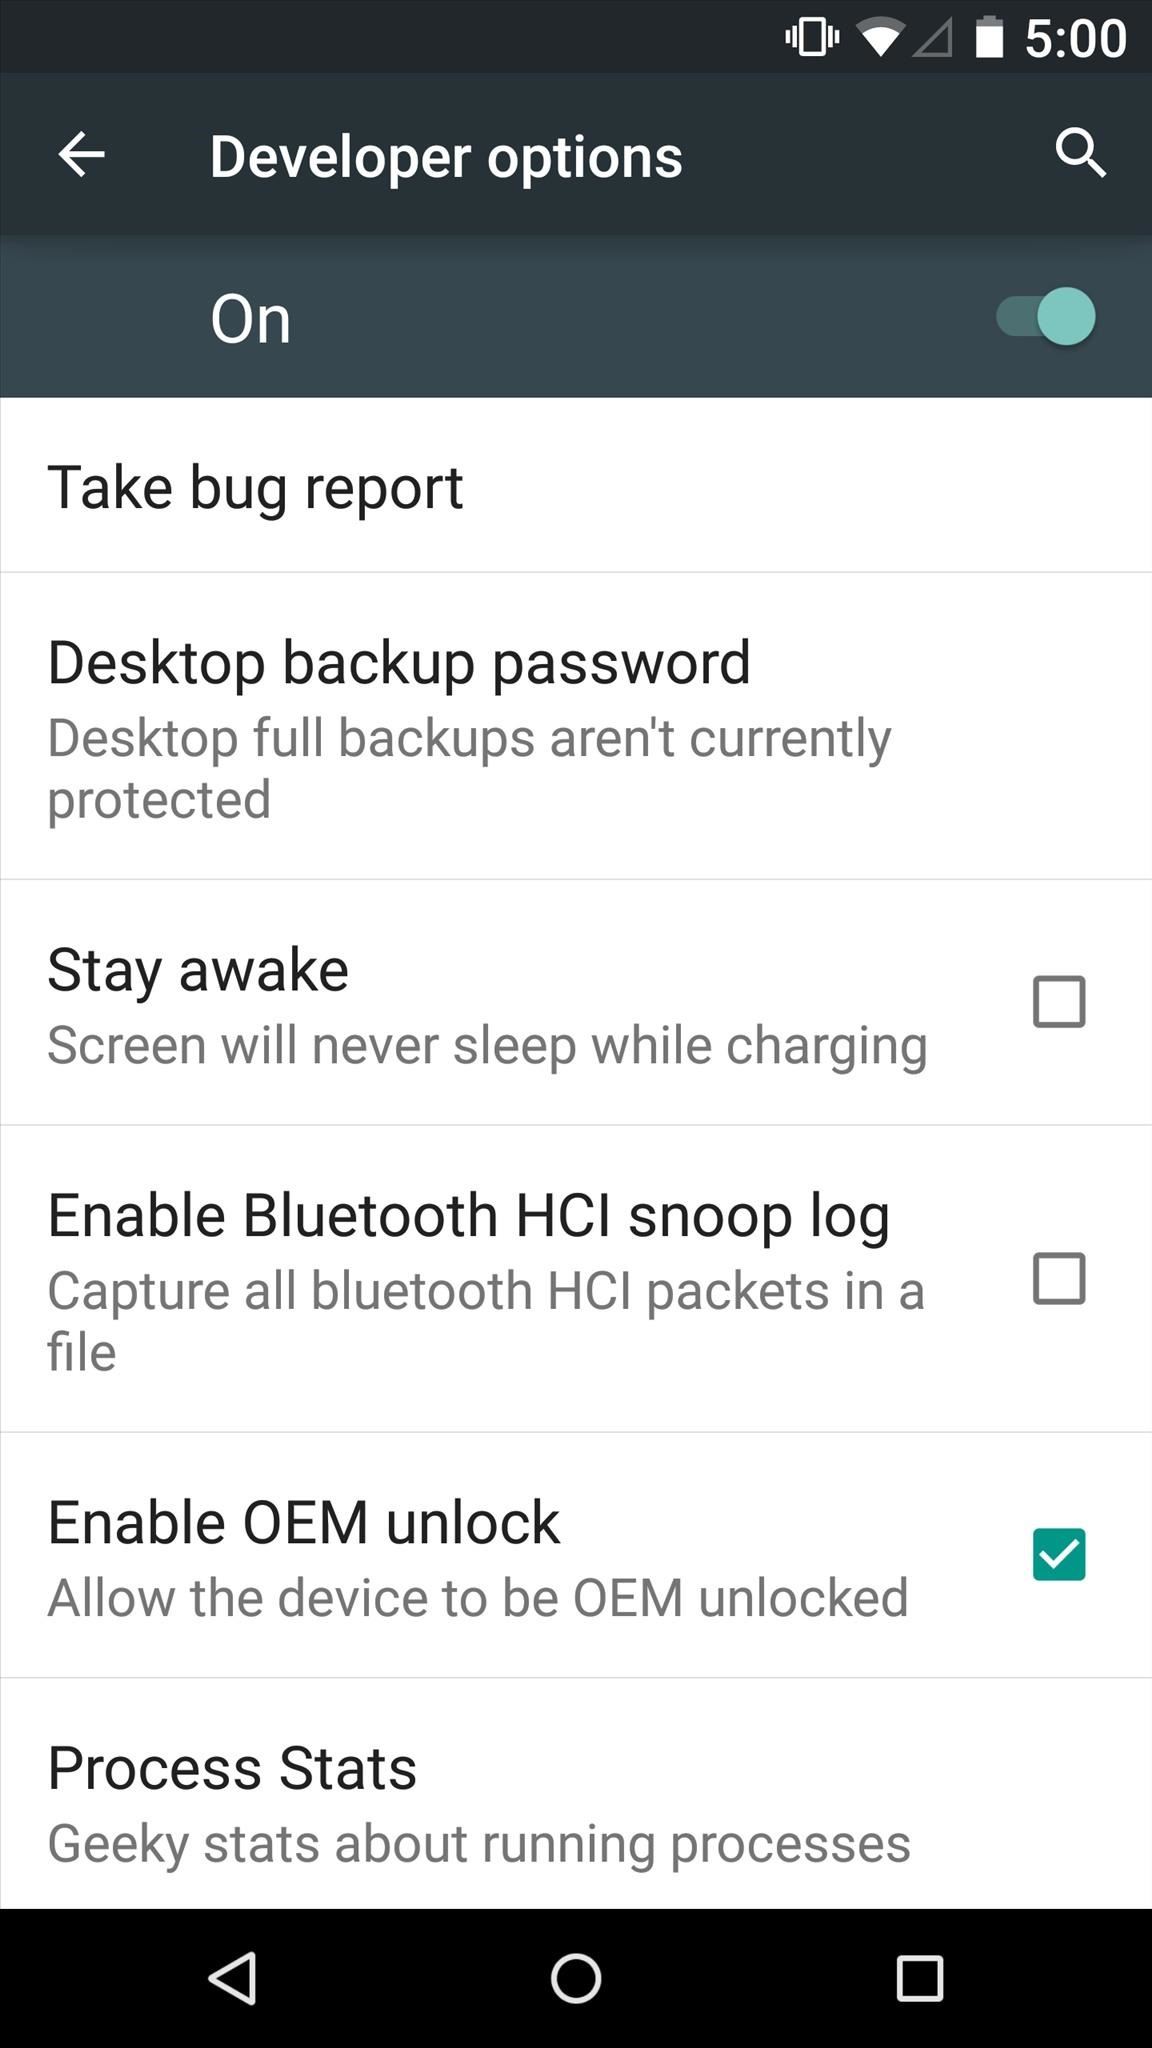
To begin, head to the main Settings menu on your Nexus, then select the "Developer options" entry. (If you don't see this menu option, here is how you unlock it.) From here, tick the box next to "USB debugging," then press "OK" on the popup.
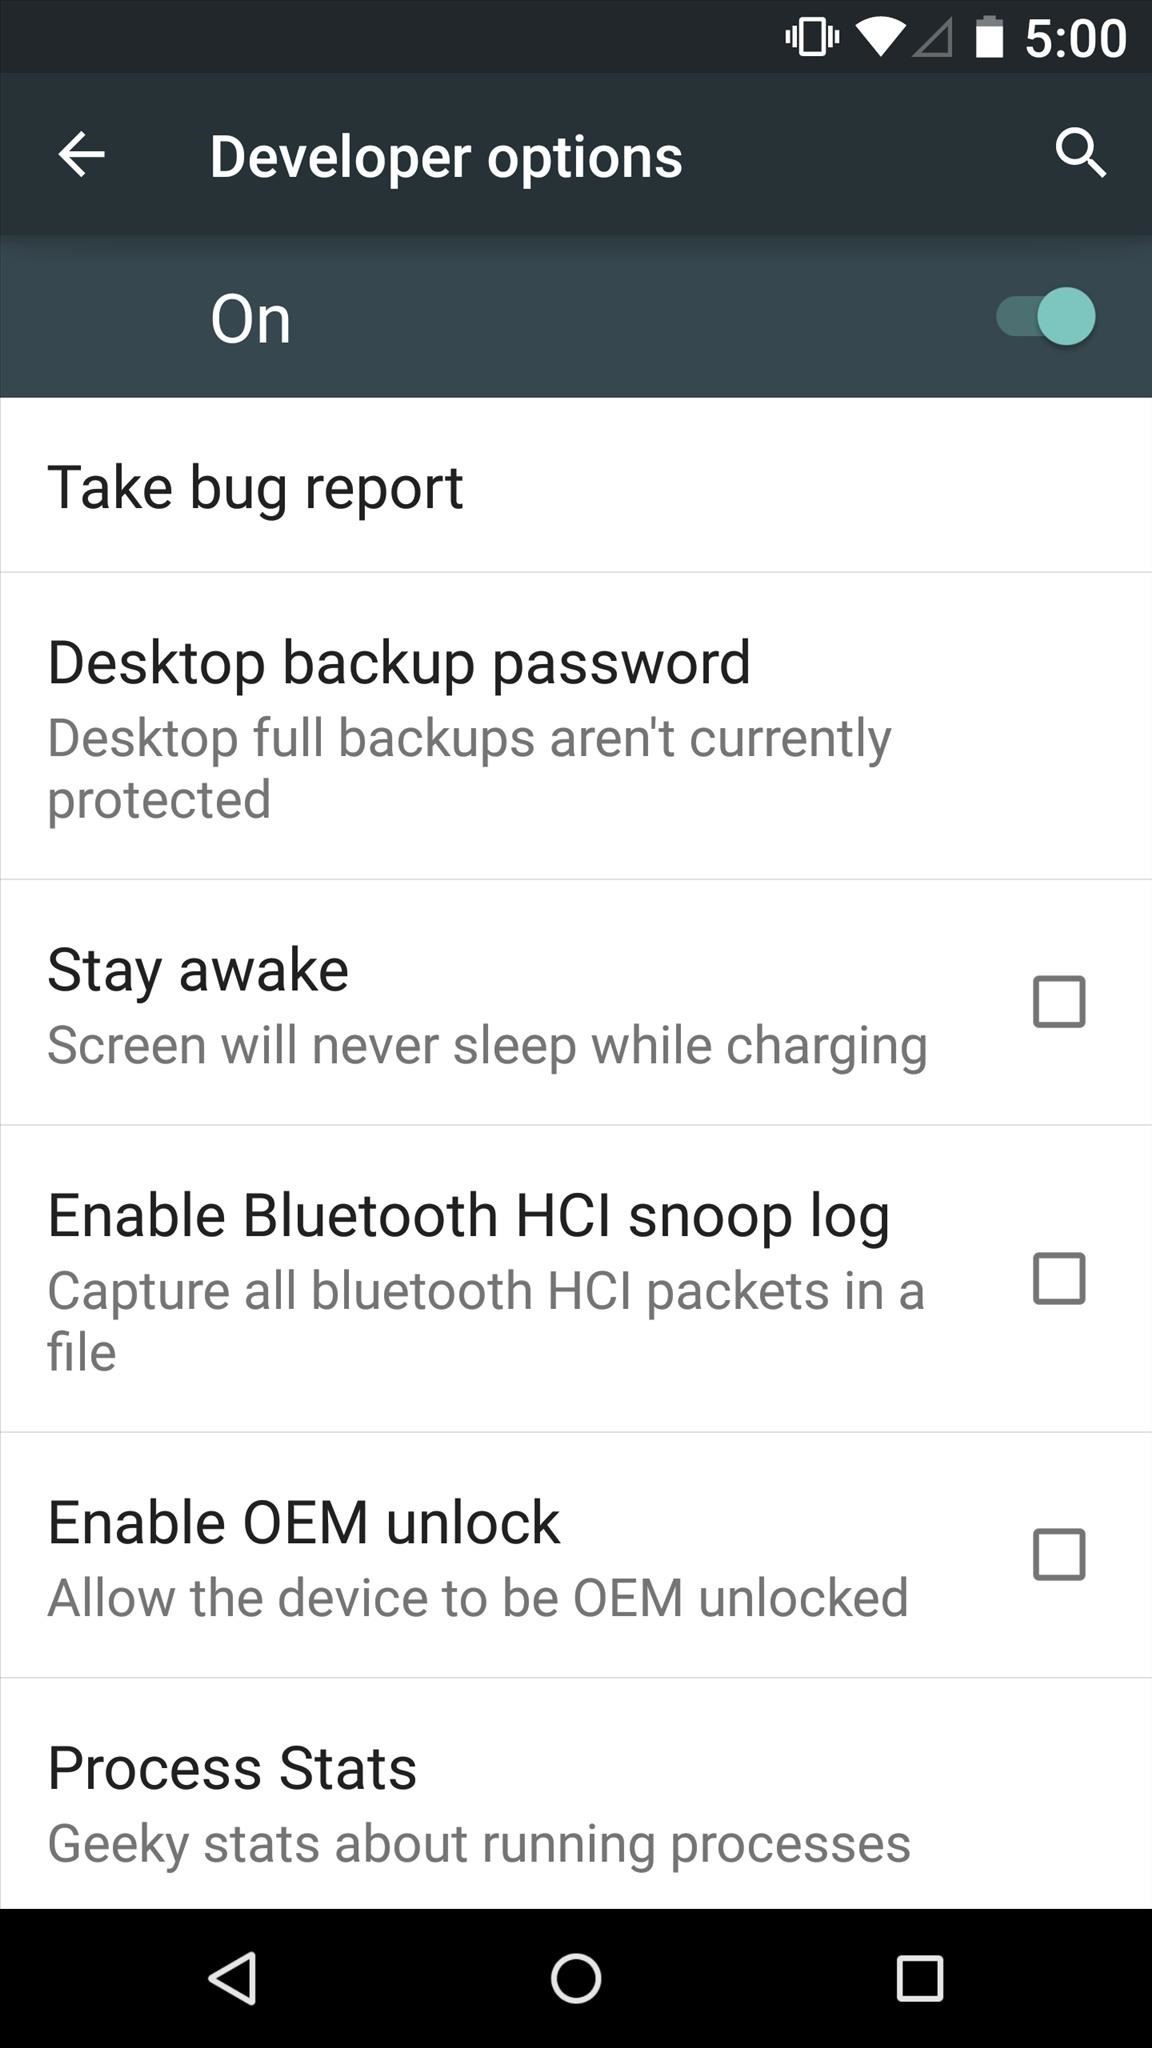
Step 2: Enable OEM Unlock (Nexus 6 Users Only)
Nexus 6 users will have to enable another option in this same menu. Be sure to tick the box next to "Enable OEM unlock" before you go any further if you own Google's latest phablet.
Step 3: Connect Your Nexus to Your PC
Next up, go ahead and connect your phone to your PC with a USB data cable. At this point, you should see a message on your Android device asking if you'd like to allow your computer to connect. Tick the box next to "Always allow" on this popup, then press "OK." If you don't see this message right away, just keep an eye out for it, and it will pop up at some point during the process.

Step 4: Download the Android M Preview on Your PC
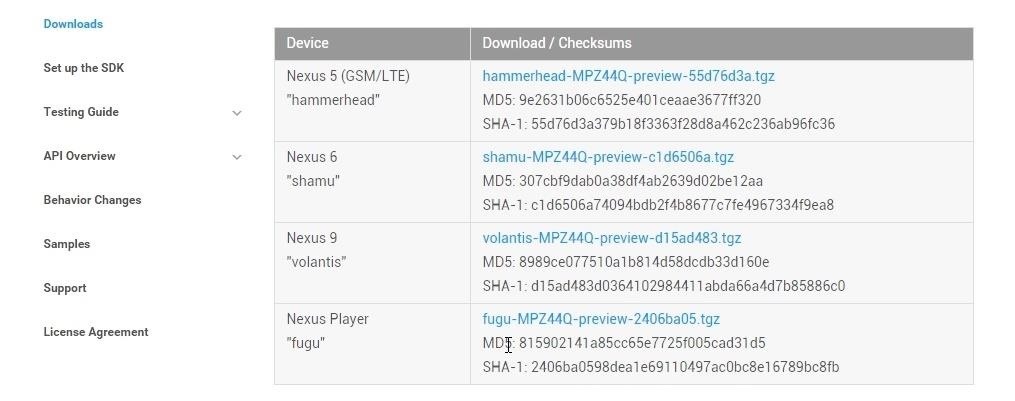
With your Nexus all set up, it's time to download the new Android M preview build on your PC. Head to the official site at this link, then choose your device from the list to download the factory images.
Step 5: Download the Nexus Root Toolkit on Your PC
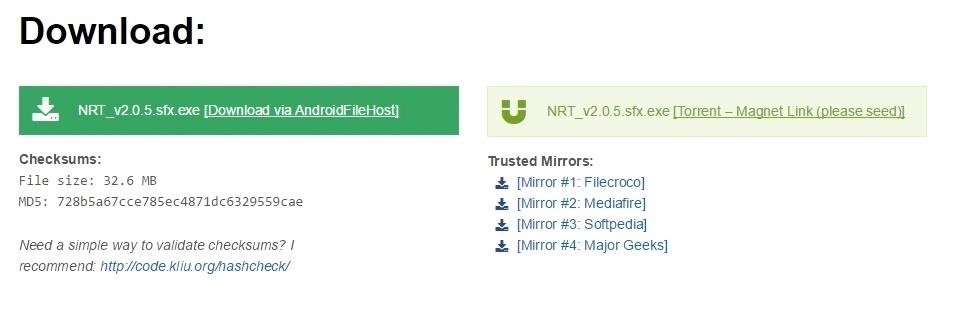
While the Android M file is downloading, go ahead and grab a copy of Wugfresh's Nexus Root Toolkit (NRT) program, which we'll be using to install the factory images.
Step 6: Set Up Nexus Root Toolkit
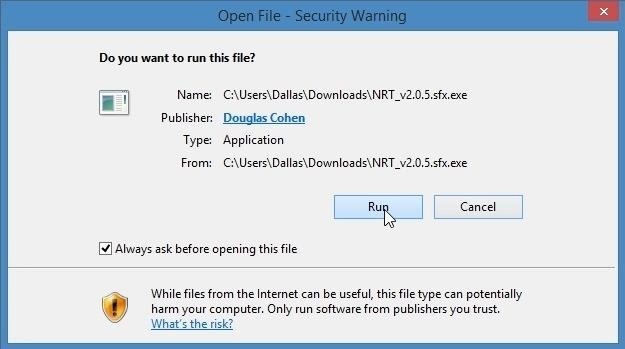
Once the Nexus Root Toolkit has finished downloading, go ahead and launch the EXE file. From here, just follow the prompts to get NRT installed on your computer.
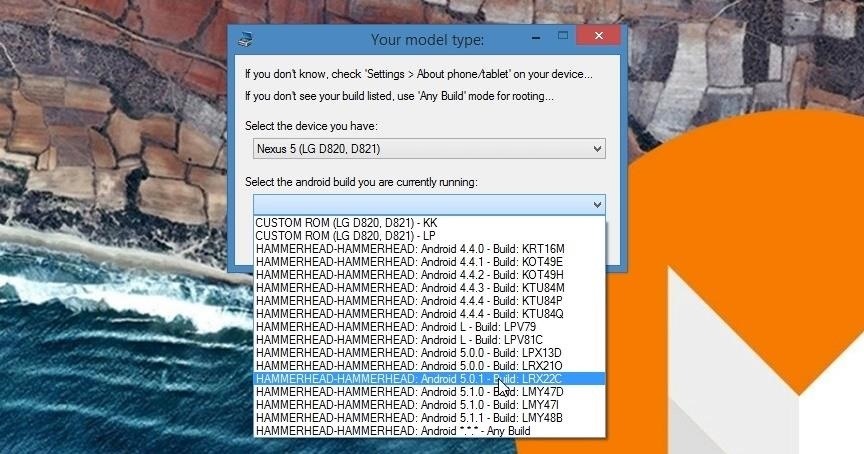
When installation has finished, NRT will ask what device you have and which Android version it's currently running. Select your device from the top menu here, then choose your Android build number from the second list. (If you're not sure which Android version you're currently running, refer to the Build number entry found in "About phone" or "About tablet" in your Settings menu.)
After clicking "Apply," you'll get a message telling you to enable USB debugging on your device. You've already taken care of that part, but if you didn't get that "Allow USB debugging" popup earlier, now would be a good time to check your phone to see if it showed up.

Next, NRT will ask you to download several files. You can skip this part if you want, but I'd recommend letting it download everything it needs.

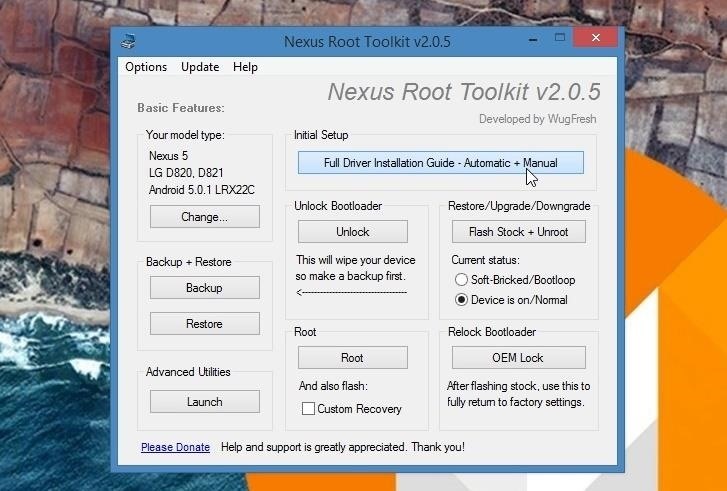
After that, you'll be taken to NRT's main menu. From here, click the "Full Driver Installation Guide" button at the top of the screen.
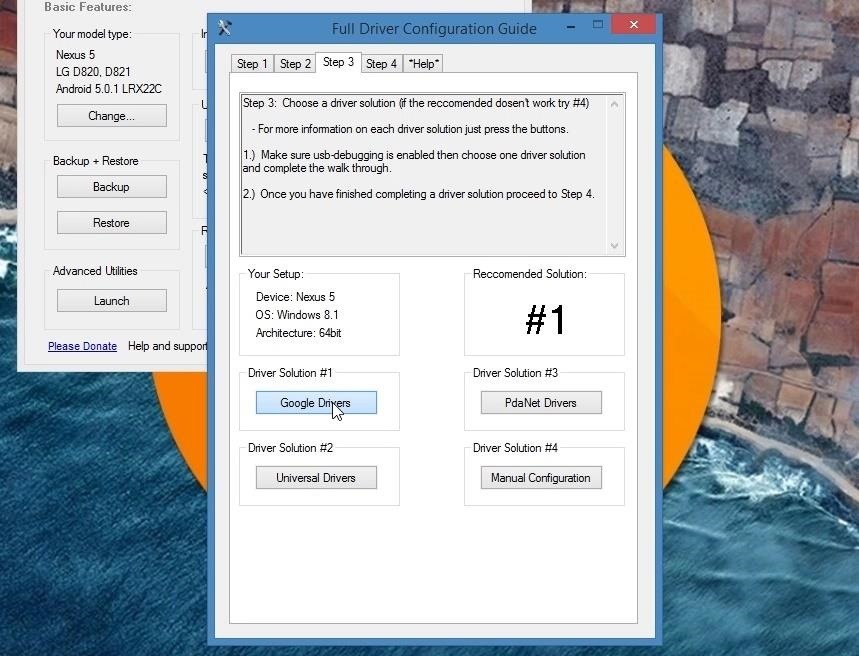
Next, skip ahead to the "Step 3" tab, then click the button under the "Driver Solution #1" section. From here, just follow the prompts to get all of the ADB and Fastboot drivers installed on your system.
Step 7: Install the Android M Preview Build
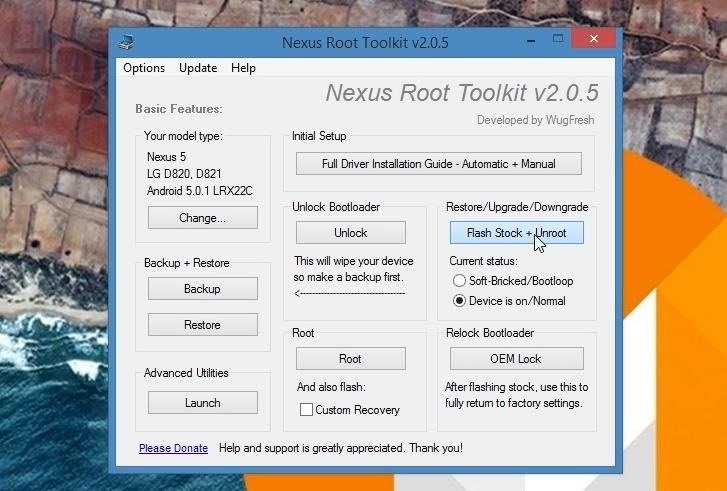
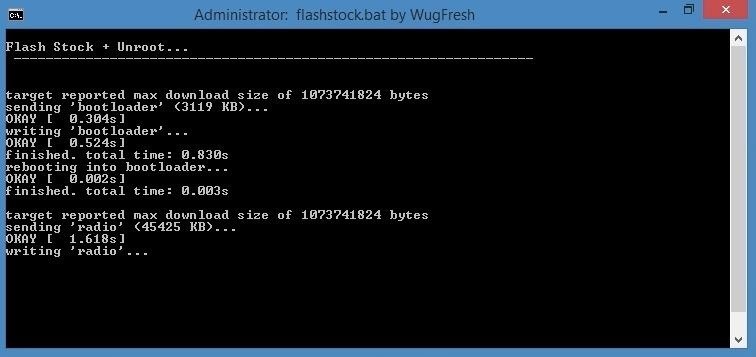
At this point, you're ready to install the Android M preview build. Click the "Flash Stock + Unroot" button to begin.
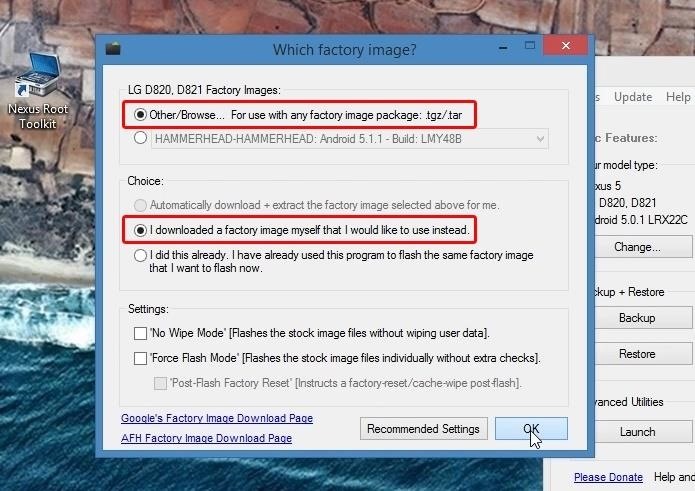
On the next screen, tick the box next to "Other/Browse," then make sure that the "I downloaded a factory image myself that I would like to use instead" option is selected and click "OK."
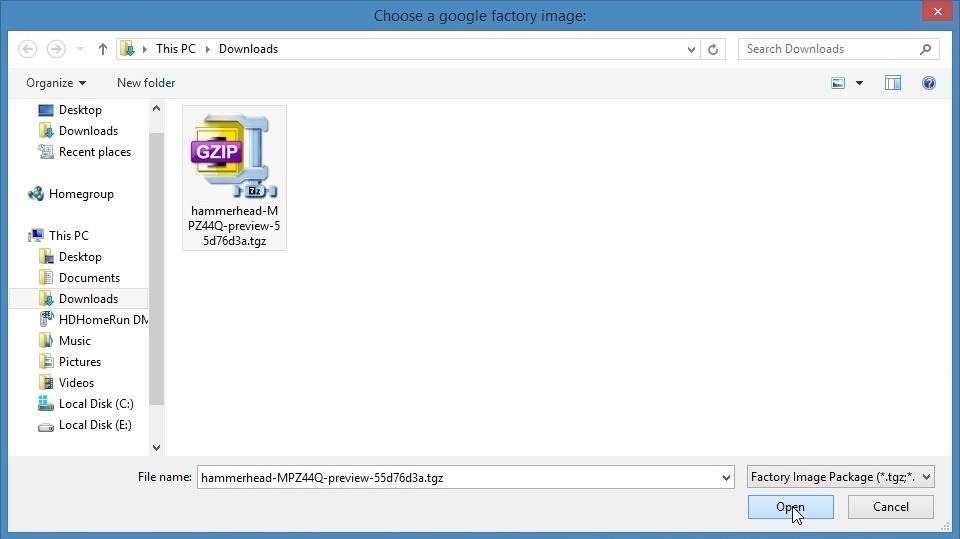
At this point, a file browser window will pop up. Use this menu to select the factory image file that you downloaded earlier.
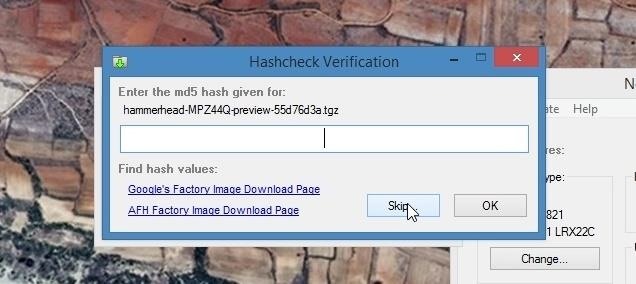
Next, NRT will prompt you to provide an MD5 number. This can be found at the factory image download page if you want to be on the safe side, but otherwise, you can just click "Skip" to speed things up a bit.
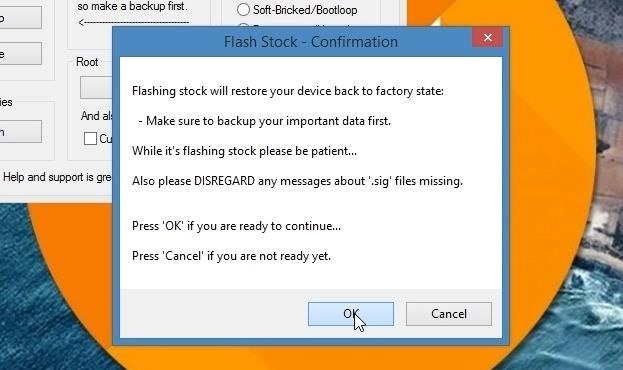
After that, you'll get a confirmation dialog informing you that NRT is about to flash the Android M preview build on your device. Click "OK" on this message if you're ready to begin.
Step 8: Wait for a Reboot & Enjoy Android M
The process will take a good 5 or 10 minutes, but when it's done, your phone should automatically reboot. It will take longer than normal to boot up this first time, but when it does, you'll be ready to try out Android M.
Some of the key features in this release include a new app permissions interface, a system-wide mobile payment service, and automatic app backup. There are plenty more tweaks here and there, so have fun exploring your new OS.
Follow Android Hacks over on Facebook and Twitter, or Gadget Hacks over on Facebook, Google+, and Twitter, for more Android tips.
Just updated your iPhone? You'll find new emoji, enhanced security, podcast transcripts, Apple Cash virtual numbers, and other useful features. There are even new additions hidden within Safari. Find out what's new and changed on your iPhone with the iOS 17.4 update.


9 Comments
Hey Dallas I am rip inning CM12 with android version 5.0.2. Do I select the custom rom option from the drop down menu or just the android 5.0.2 option?
I think you should go with the custom ROM option, but it shouldn't really be an issue if you choose either option.
Thanks.
What will happen to the Android 5.1.1 and contents of phone if this build is installed? I am a nexus 5 user.
With this method, everything on your phone will be completely overwritten. Once you sign back into your Google account, though, many things like app settings and contacts should be re-synced. You could potentially flash the M Preview Build with "No Wipe Mode" enabled in Nexus Root Toolkit (see the 2nd screenshot in Step 7), and that would preserve your personal data, but you would run the risk of experiencing bugs from the leftover 5.1.1 data and settings.
Hi Dallas,
I followed all the steps..but endup nothing happened after I click start(in fastboot mode). My Nexus 5 start in 5.1.1 as before.
Is there any other step that i'm suppose to do on the phone during fastboot mode?
Can I also root my Nexus 6 with android "M" after installing it?
Can I do that with Nexus root toolkit?
i have followed the given steps as it is shown. But after final reboot it's not getting start and stuck on the main screen written Google on the main screen.. what should i do.. plzz hepl me out
That seems to happen from time to time, but it's an easy fix. Just unplug the USB cable, then hold the power button for 10 seconds to reboot and you should be good.
Share Your Thoughts