
It used to be easy to hack tethering—root your device and install a third-party or modded tethering app. But snuck in amongst the changes in Android 4.3, a new data-monitoring service of sorts made its debut. There used to be a time when your data connection was yours. You paid for it, so you were free to use it for whatever you wanted. Unfortunately, those days are long gone.
Now, when you have your phone's data connection tethered to another device to provide it with internet service, a tag is sent upstream that labels this traffic as "tethering".
This means that your carrier knows when you've been tethering another device to your phone, and they can block or limit this traffic accordingly. But this is Android we're talking about—throw root privileges at a problem and it becomes a thing of the past. Modify a file, change a setting, and you can tether all you want without your carrier butting in.
What You'll Need
- Rooted Nexus 5
- Windows PC
Step 1: Install FX File Explorer
The central hack in this mod involves adding a single line to a database file. This can be done with an awesome Android app called SQLite Editor, but unfortunately, it's a paid app. So if you're a Mac person or you don't mind paying a few bucks, this is probably the easiest way to edit the database file.
But for a free option, you'll just need to copy this file over to your PC so that you can use one of Windows' many free SQL editors. To get that started, grab FX File Explorer by tapping this link from your Nexus 5.
Step 2: Copy the Database File to Your SD Card
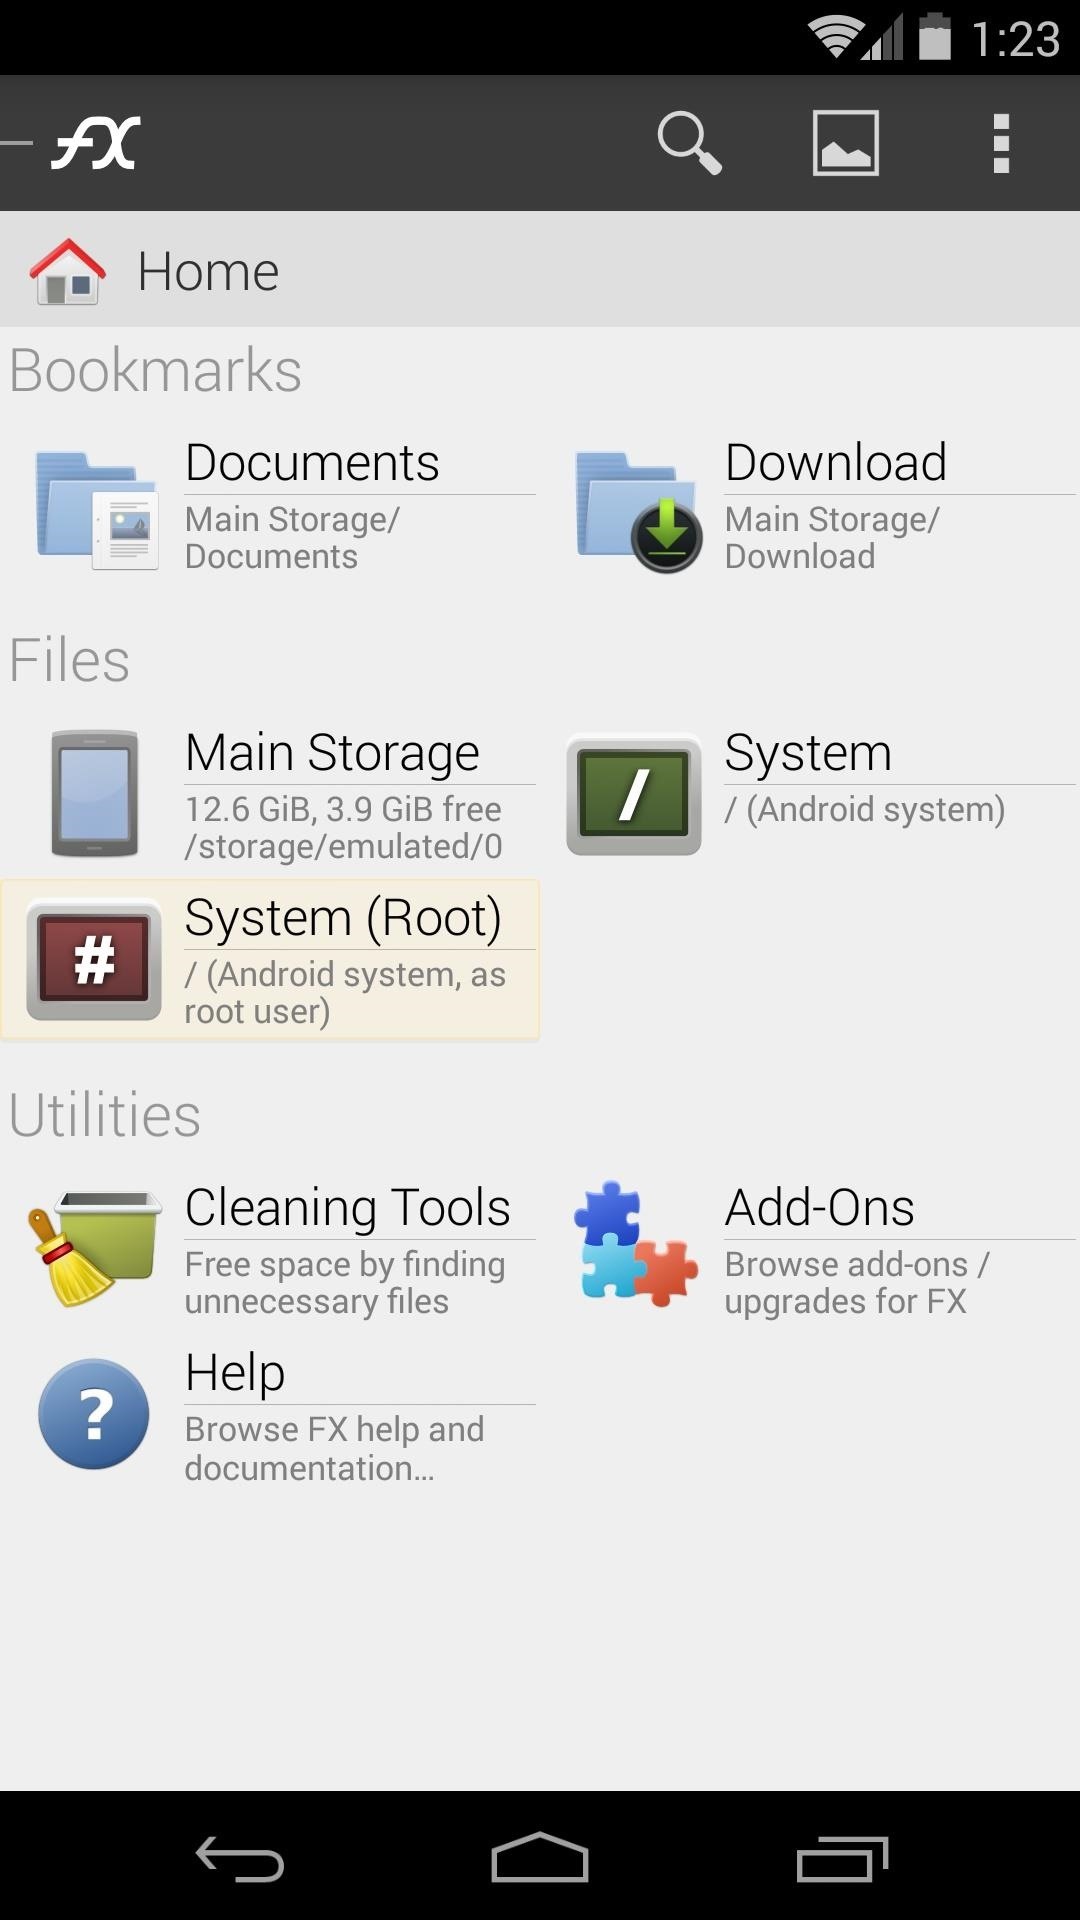
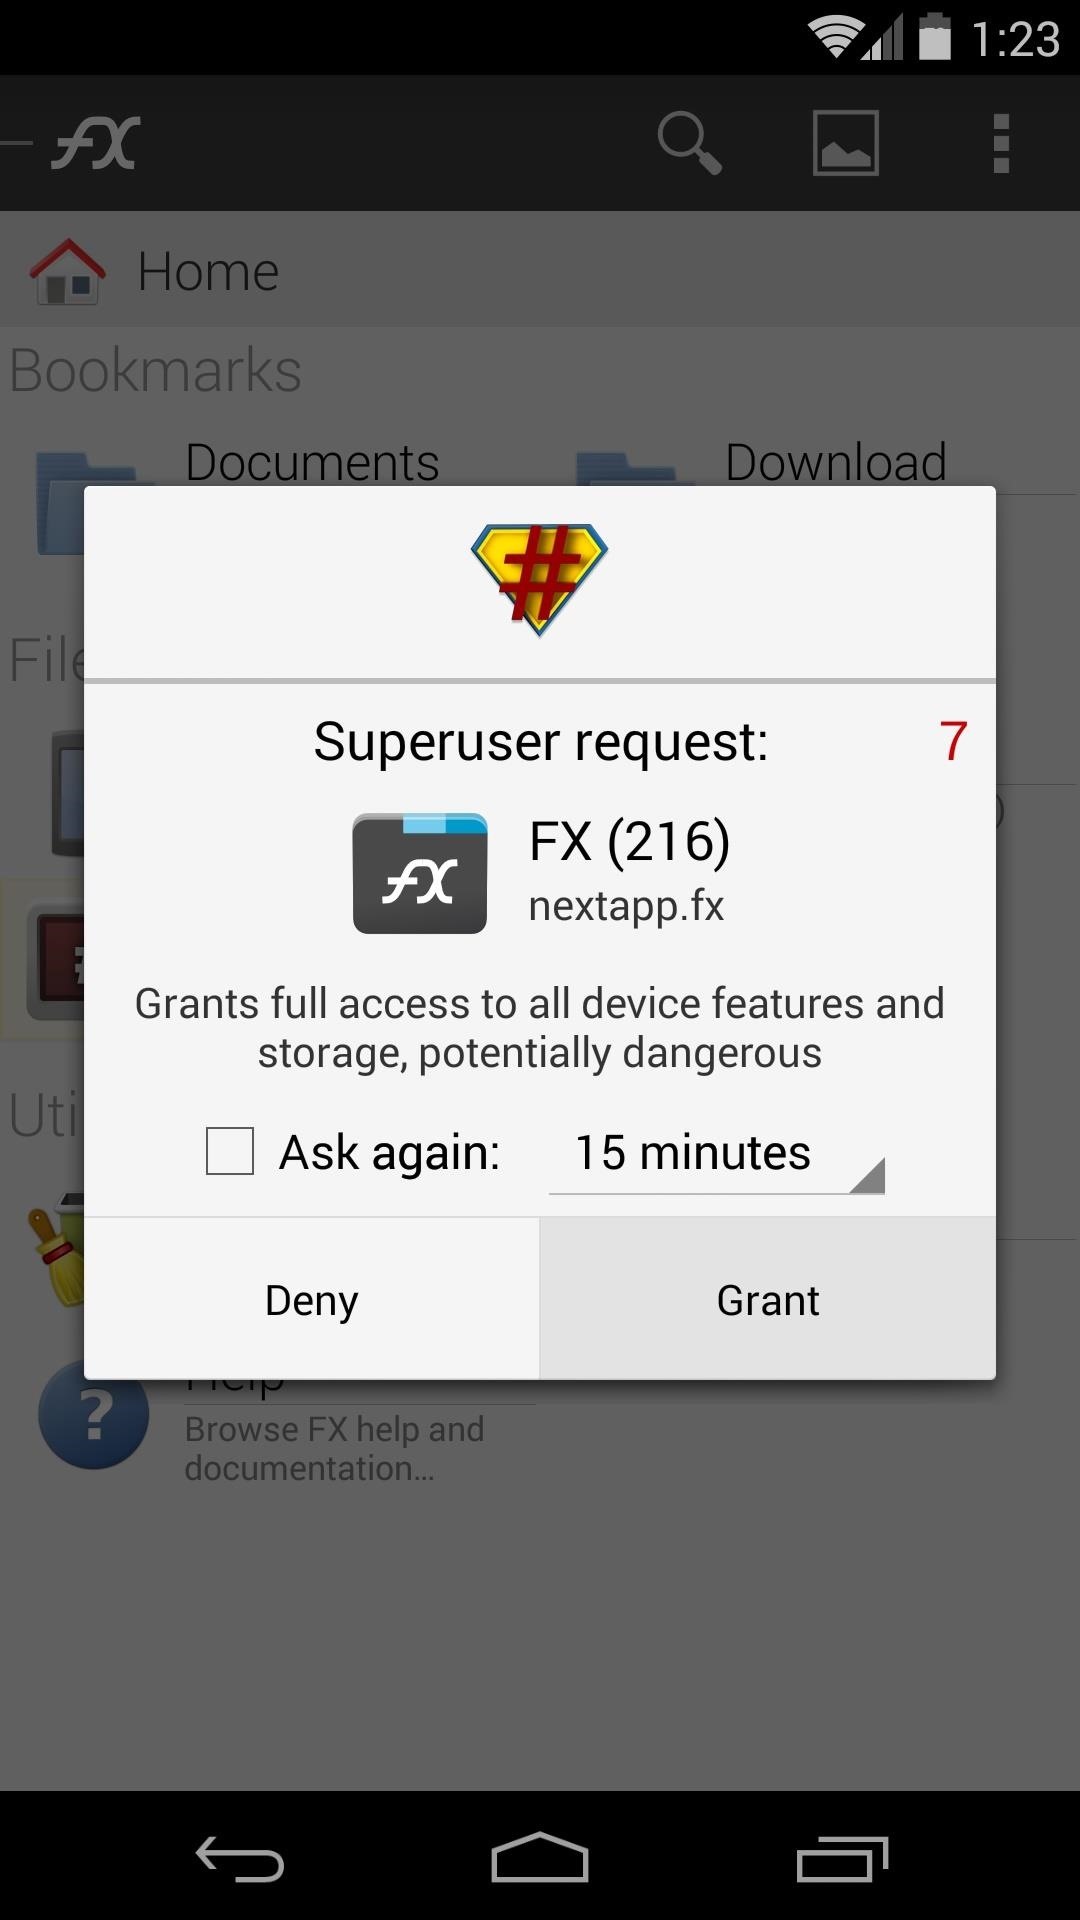
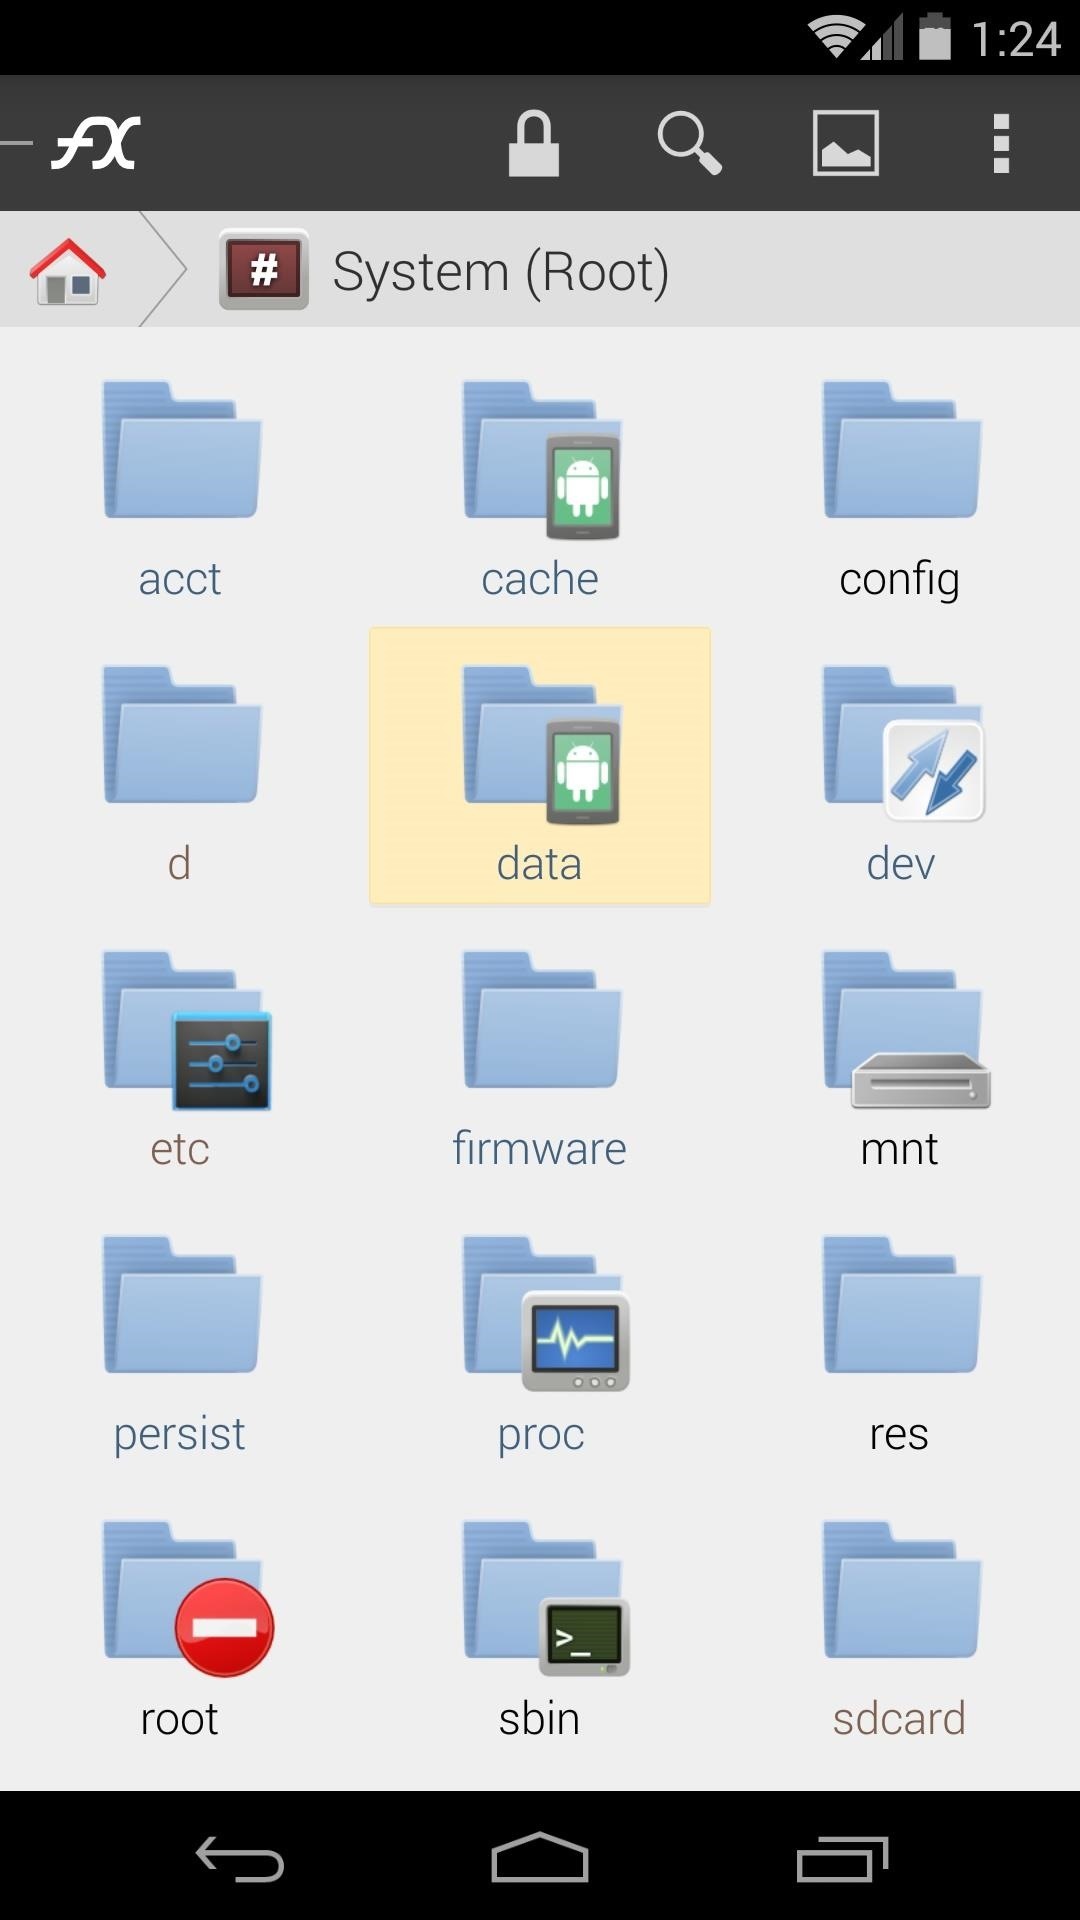
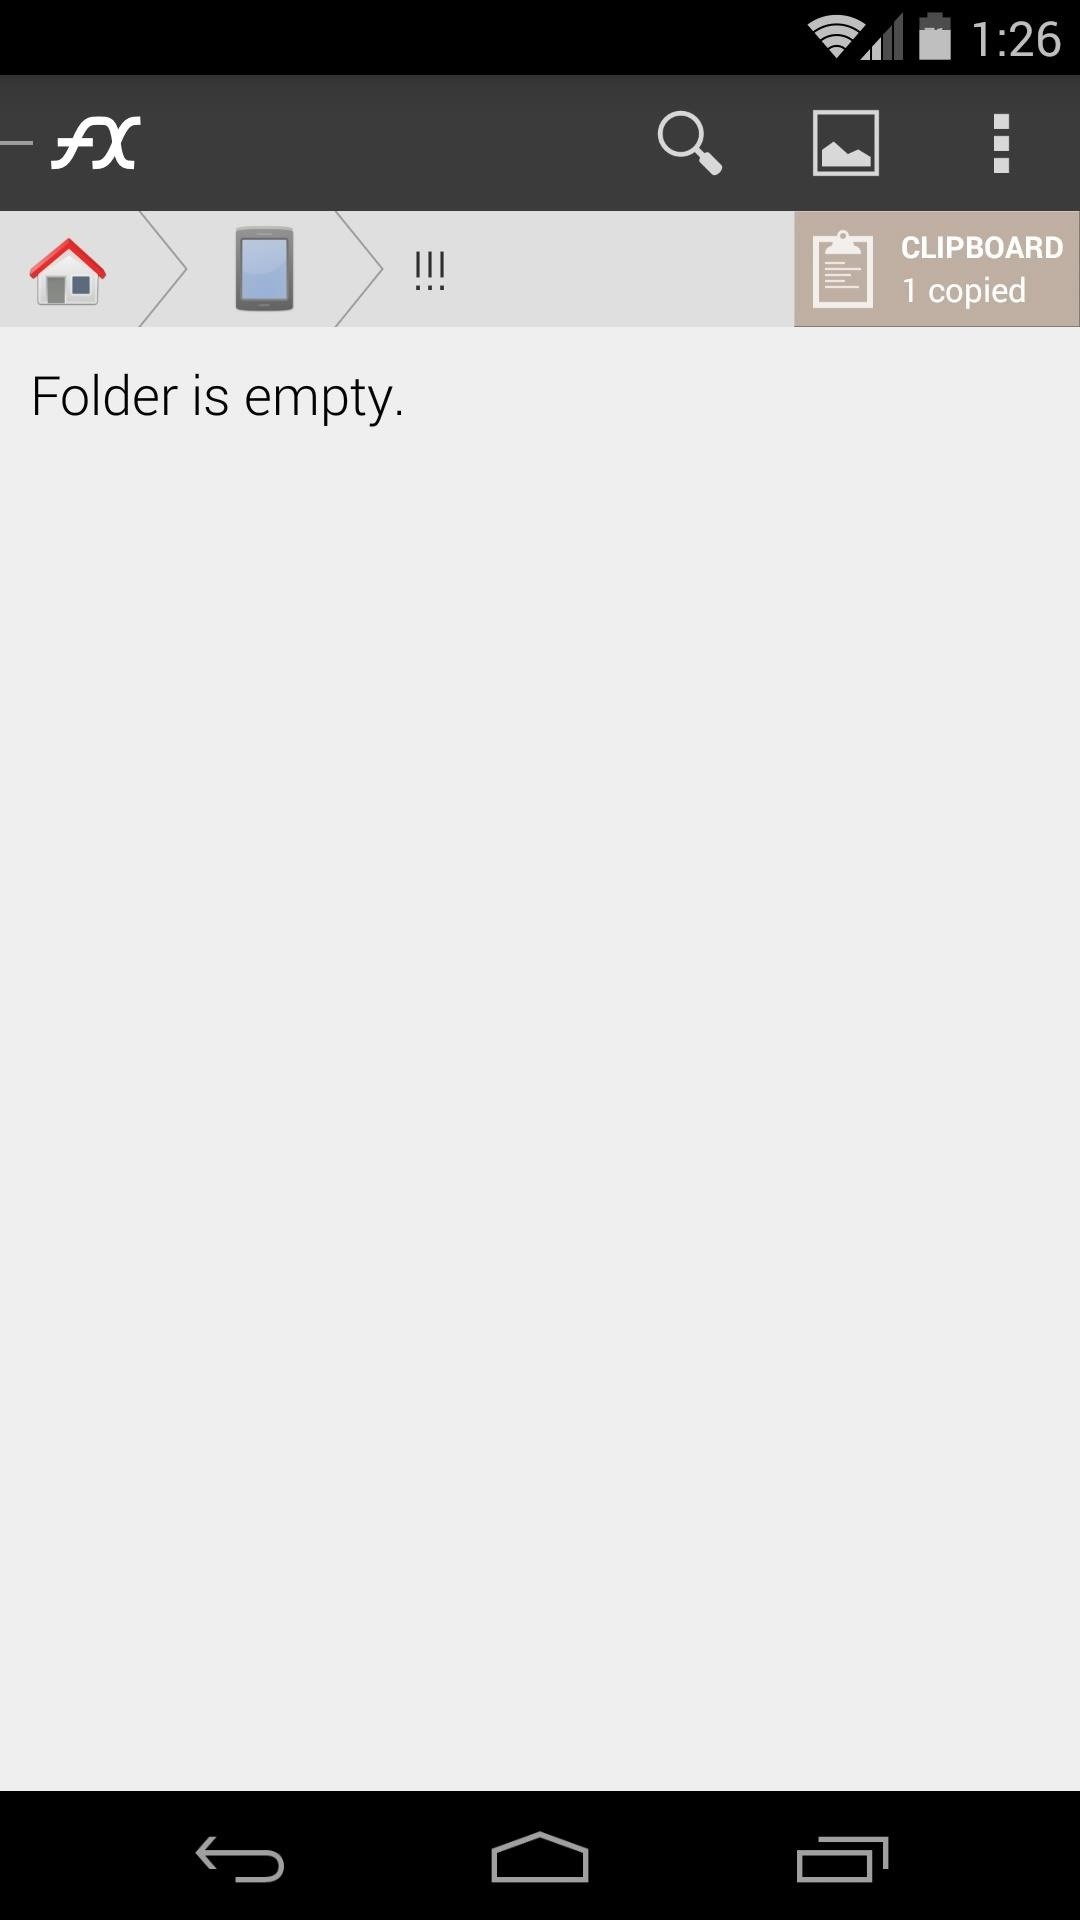
After going through FX's initial feature tour, just tap System (root). You'll be asked to give FX root permissions, so grant it those.
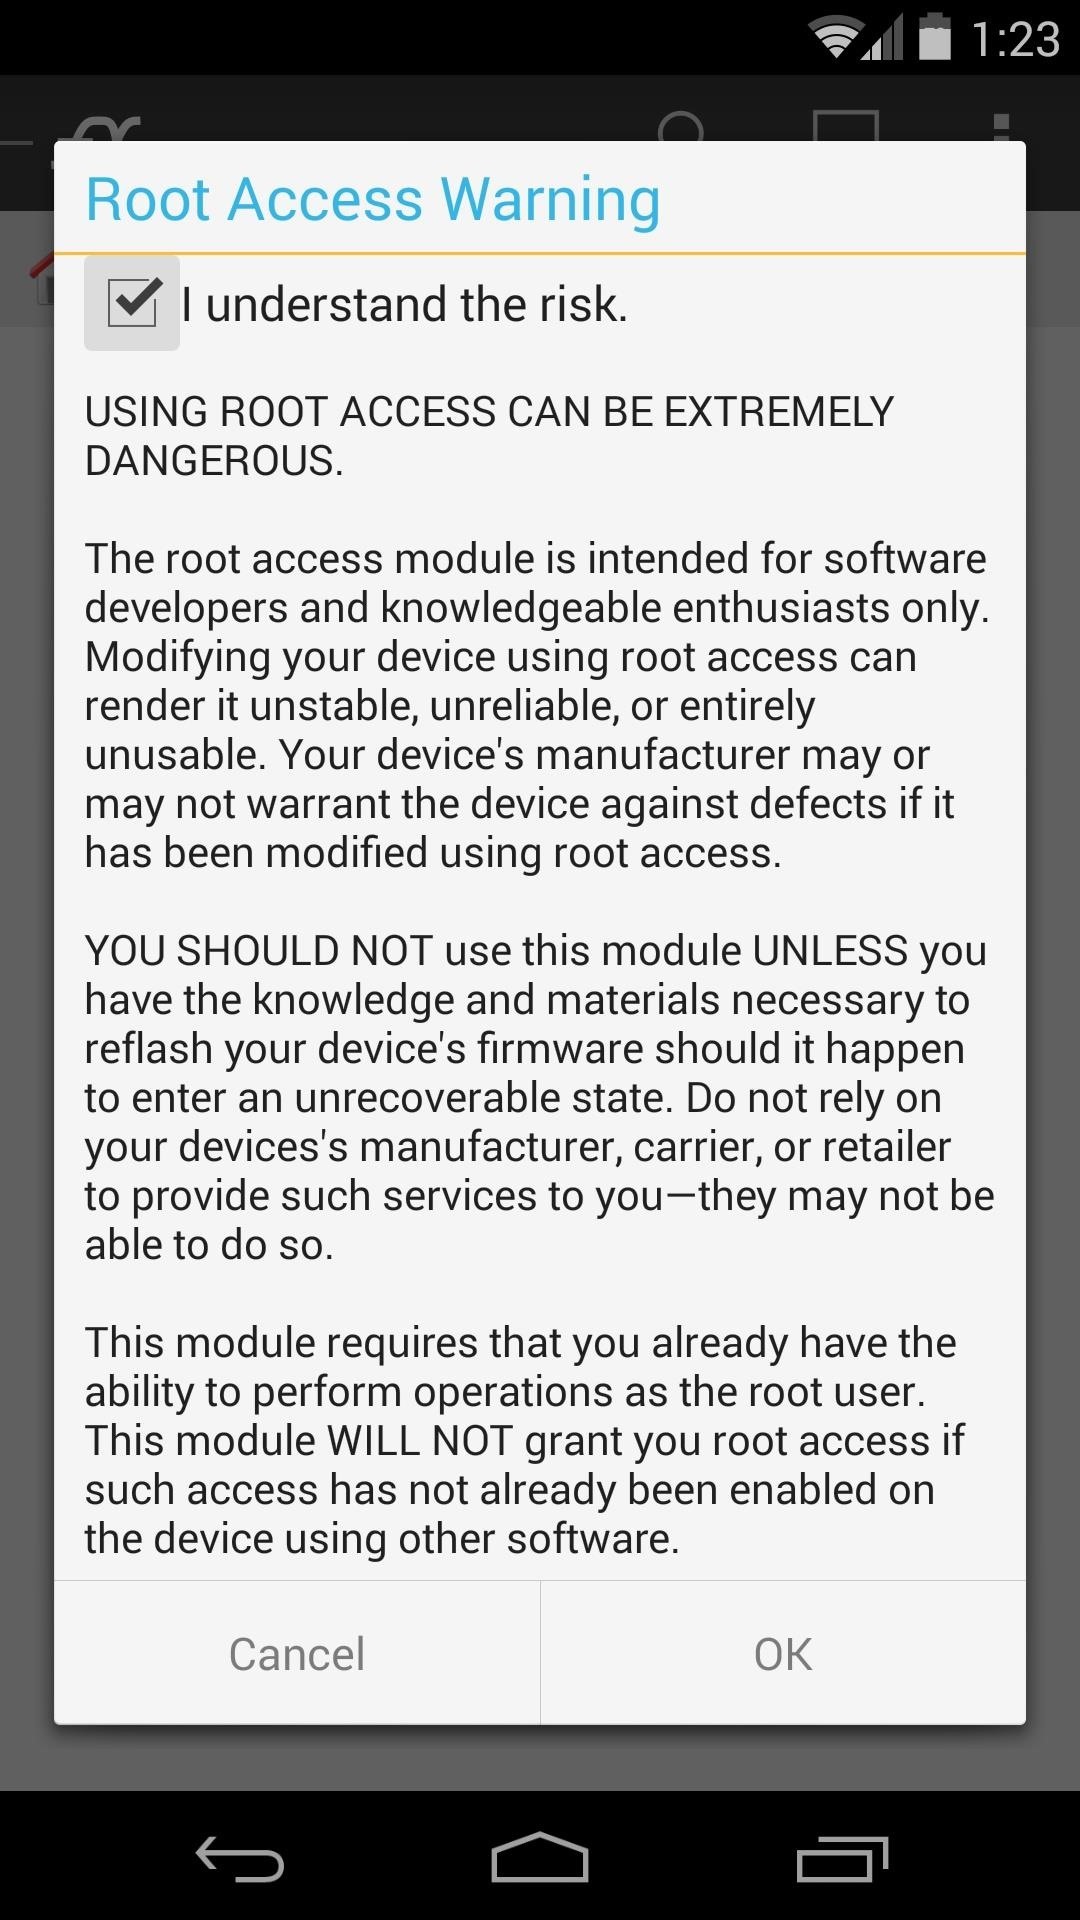
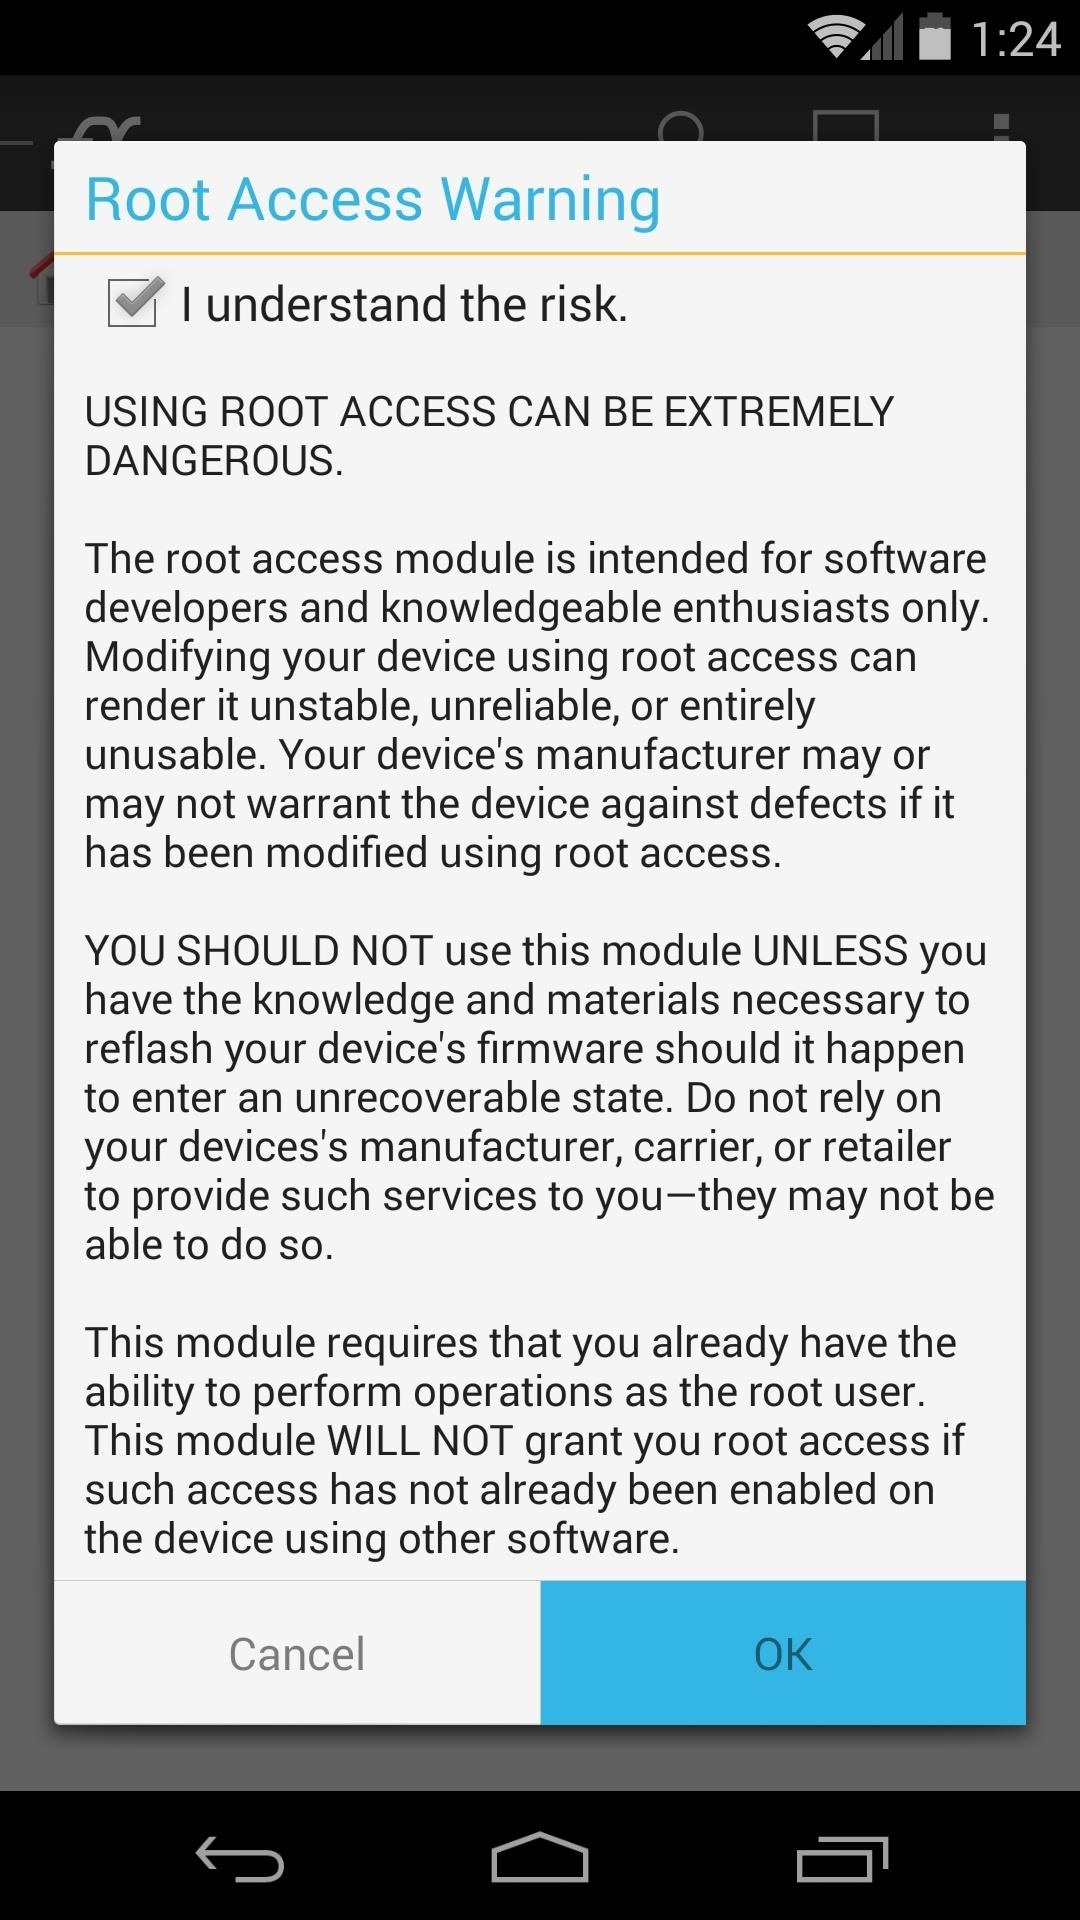
Next, FX will ask you if you're sure you'd like to proceed, essentially. Tick the box at the top of the screen that says I understand the risk, then press OK.
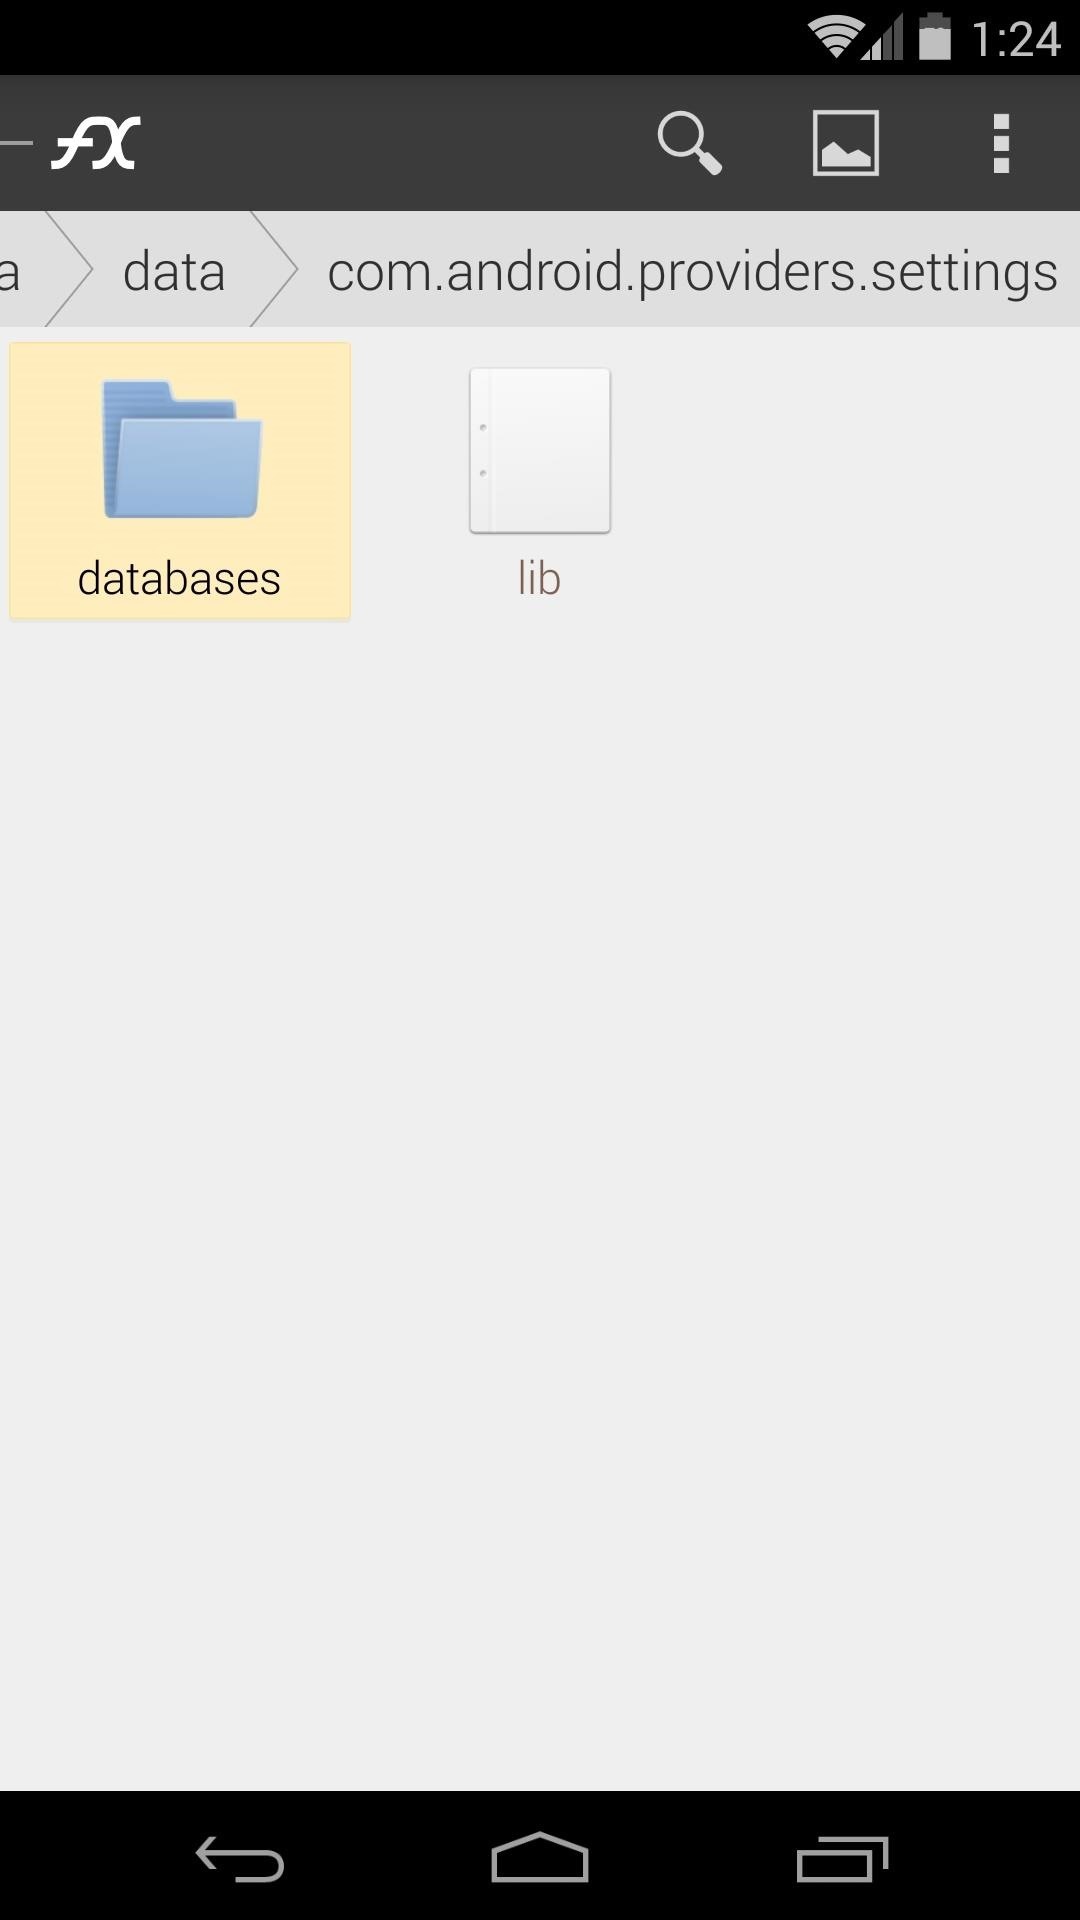
From here, tap the folder named data. Inside this folder, find yet another folder named data and tap it.

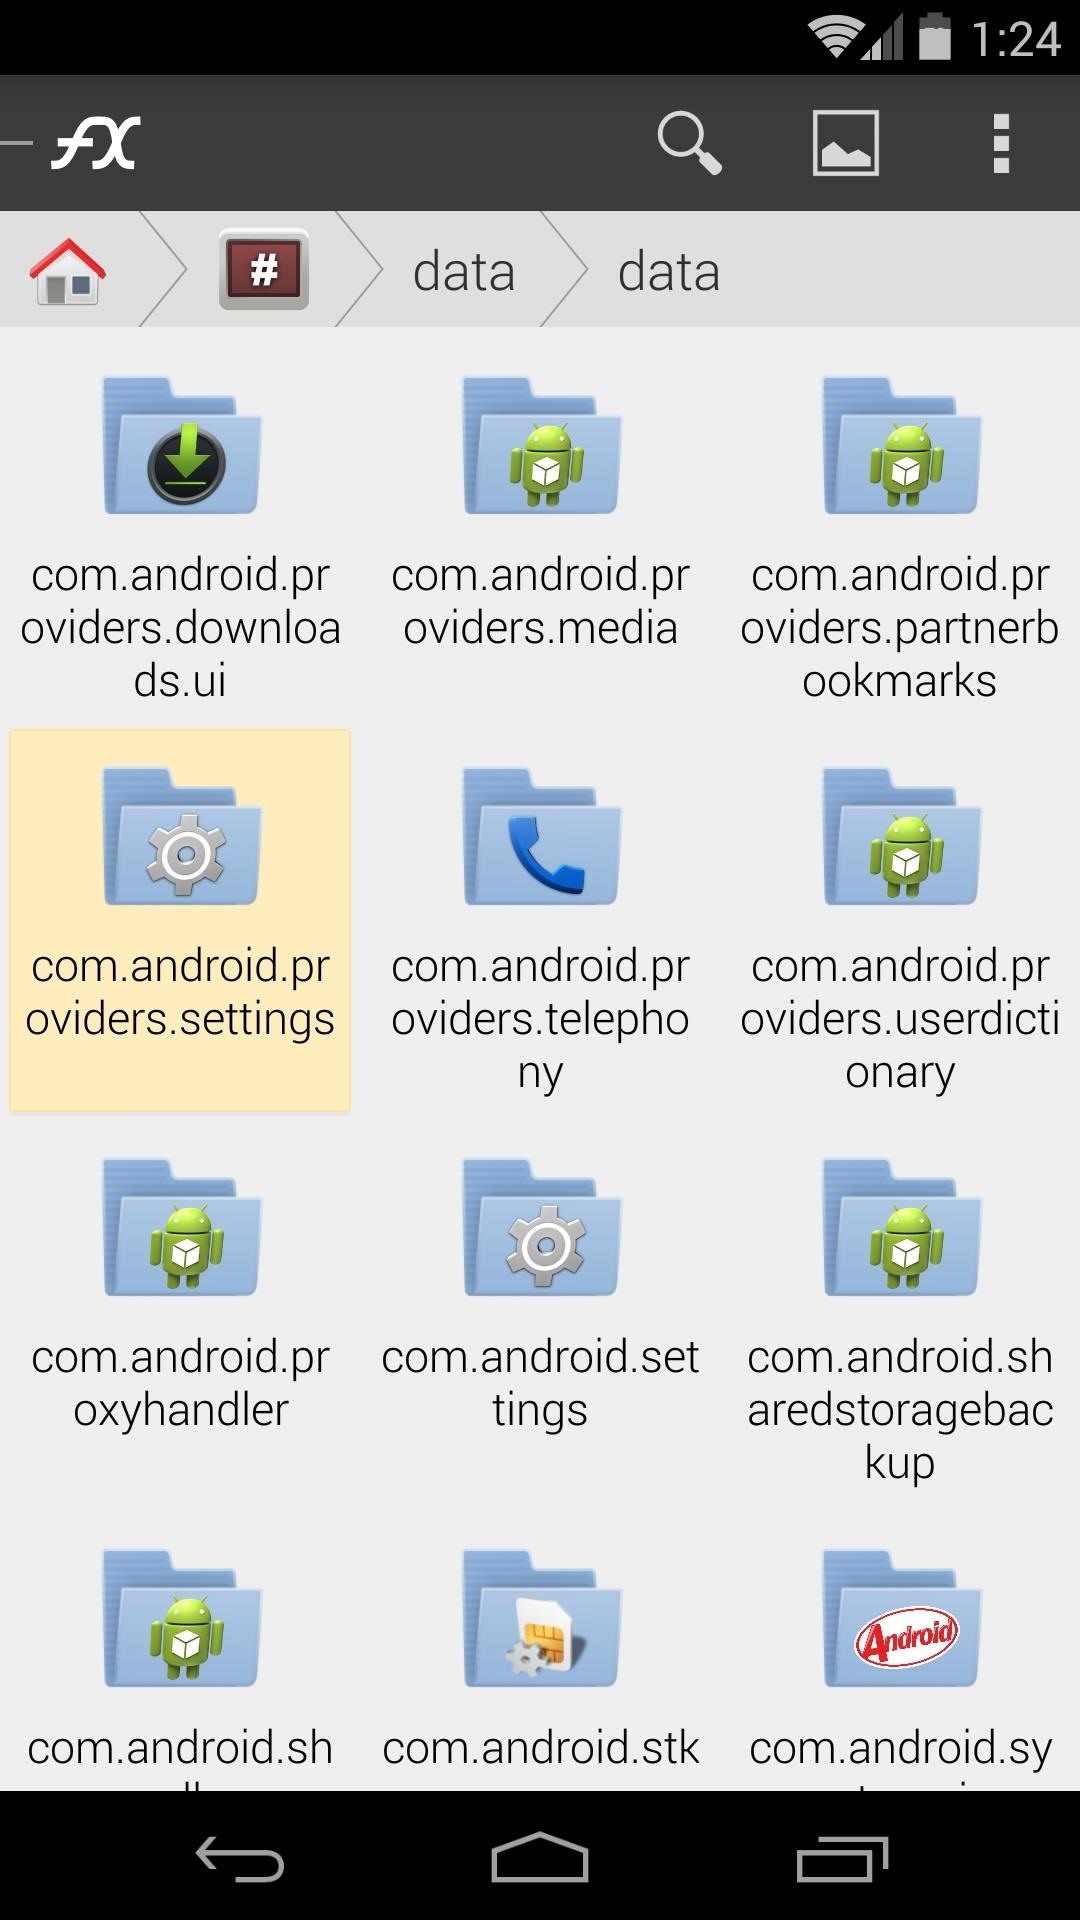
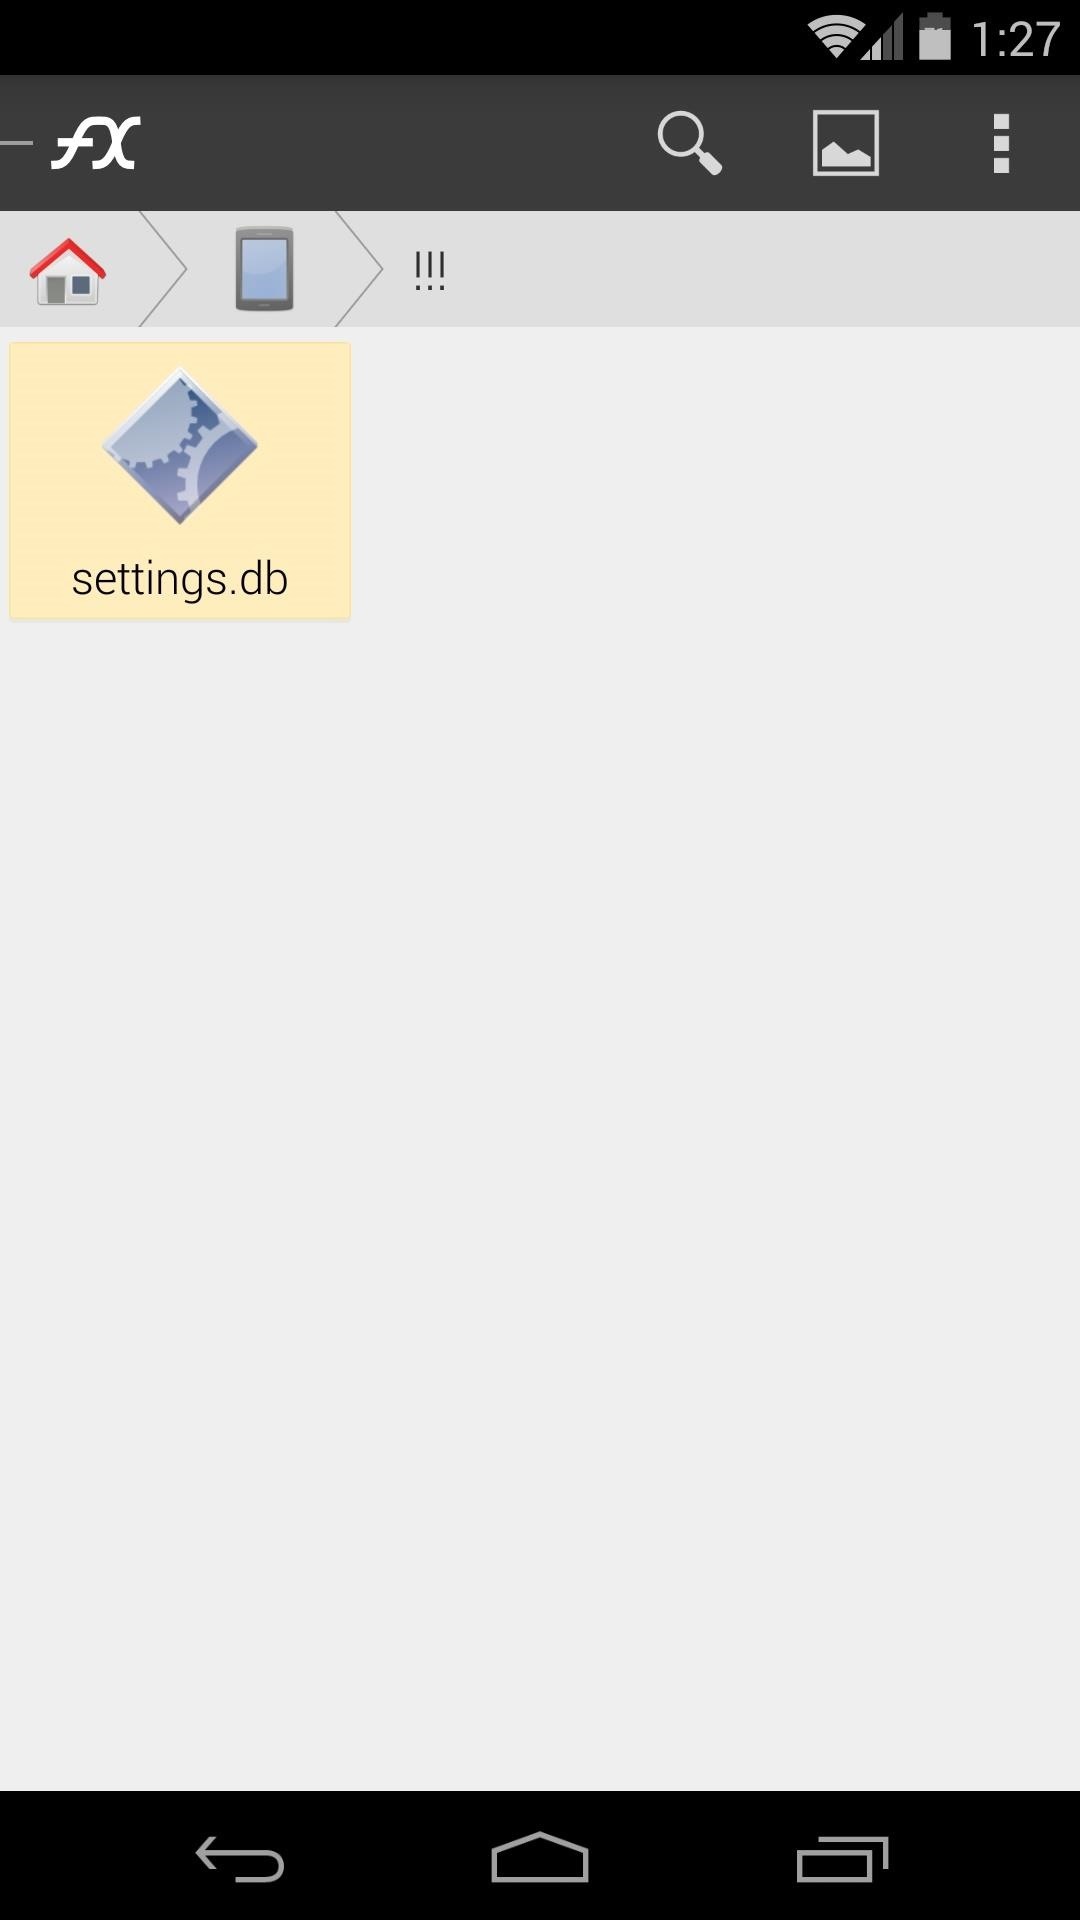
Scroll through this list of folders until you find one named com.android.providers.settings. Open this one, then hit the one inside of it named databases.
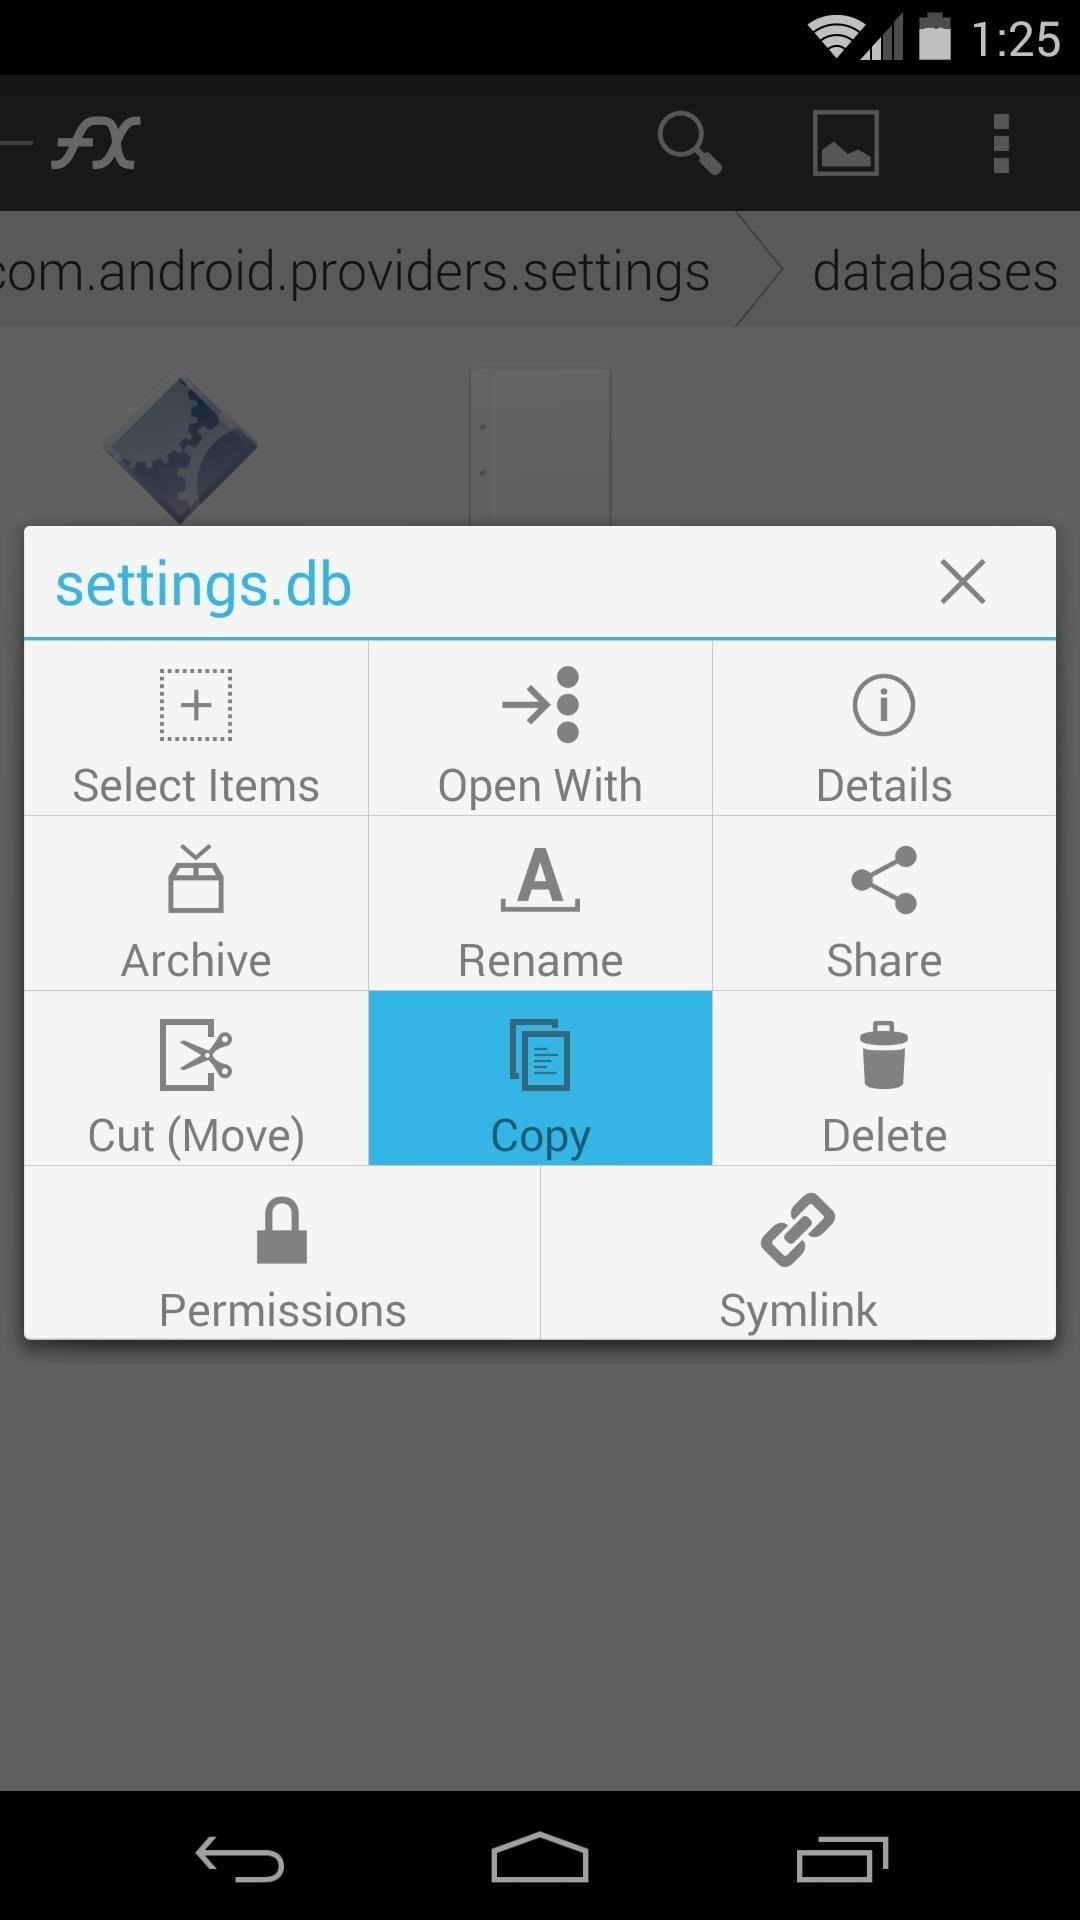
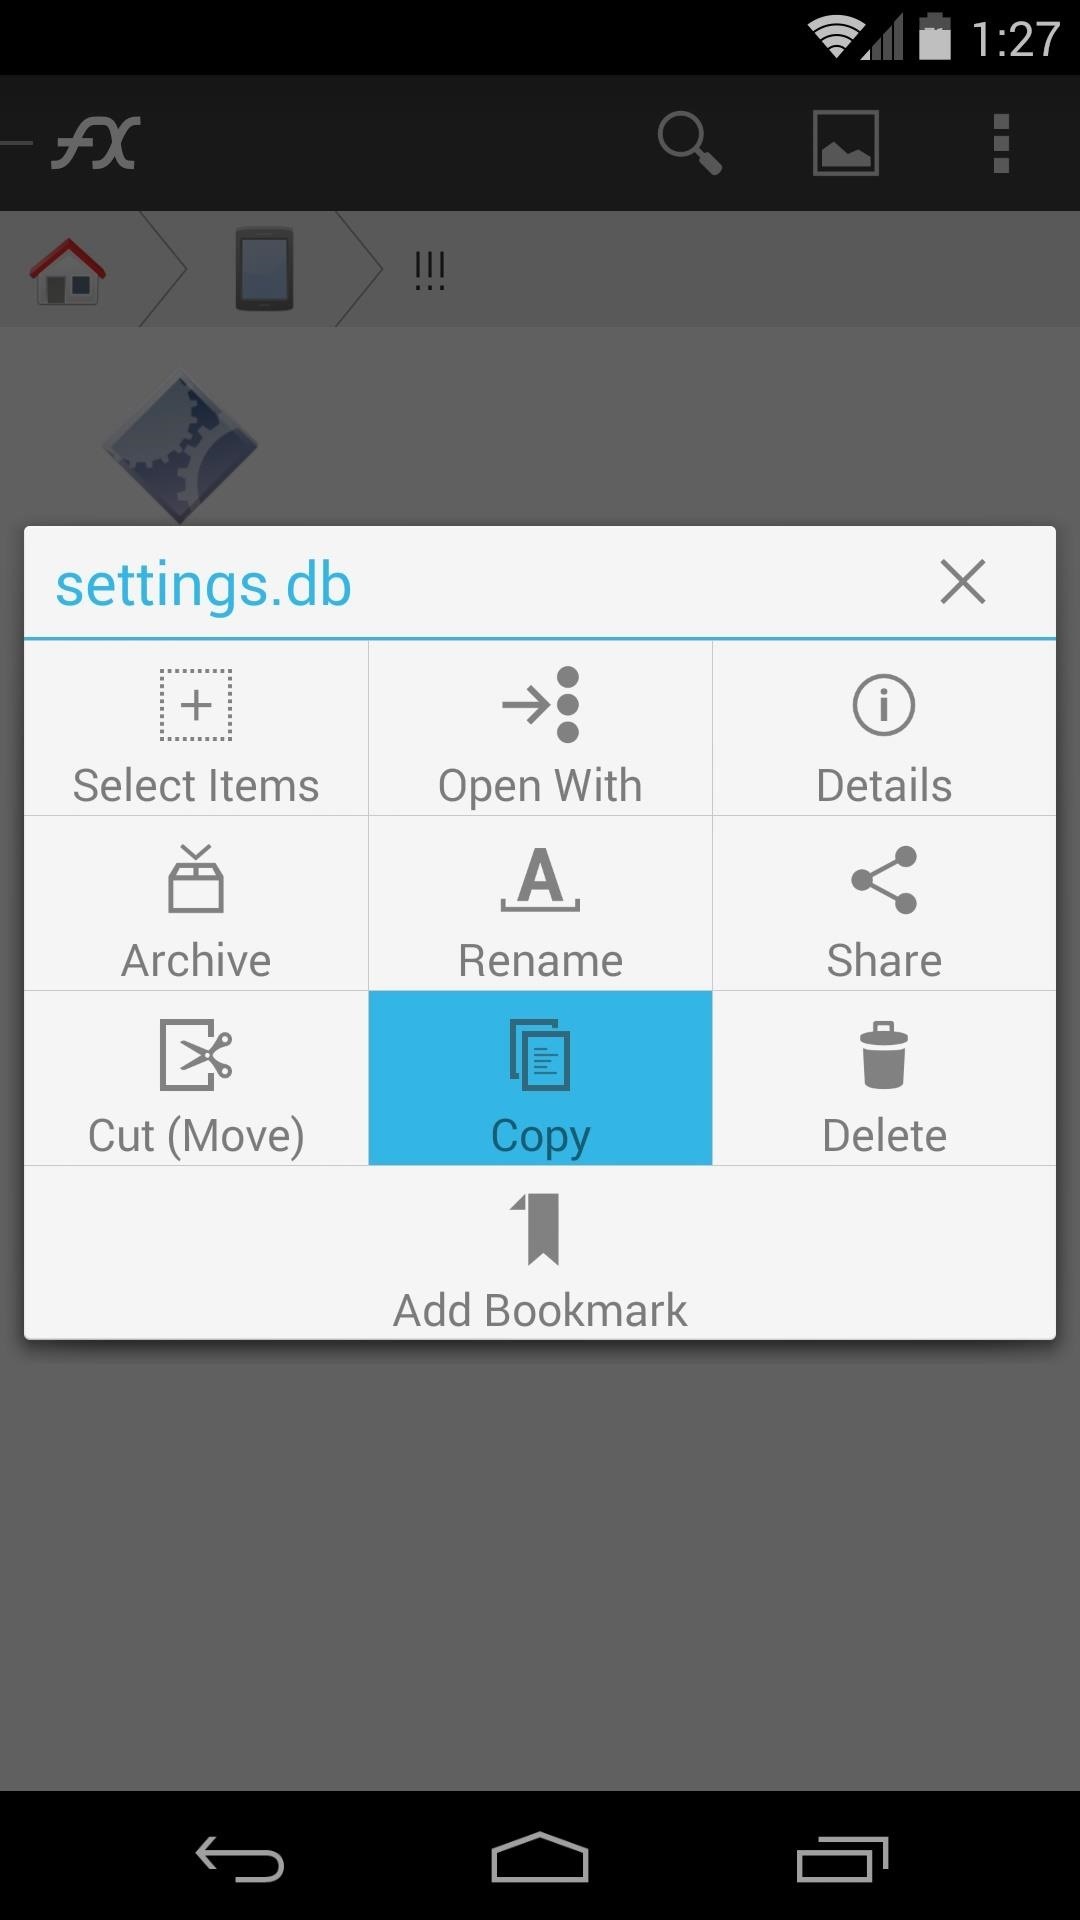
In here, you'll find a file named settings.db—this is the file that you'll need to add a line to. Long-press it, then select Copy from the menu.

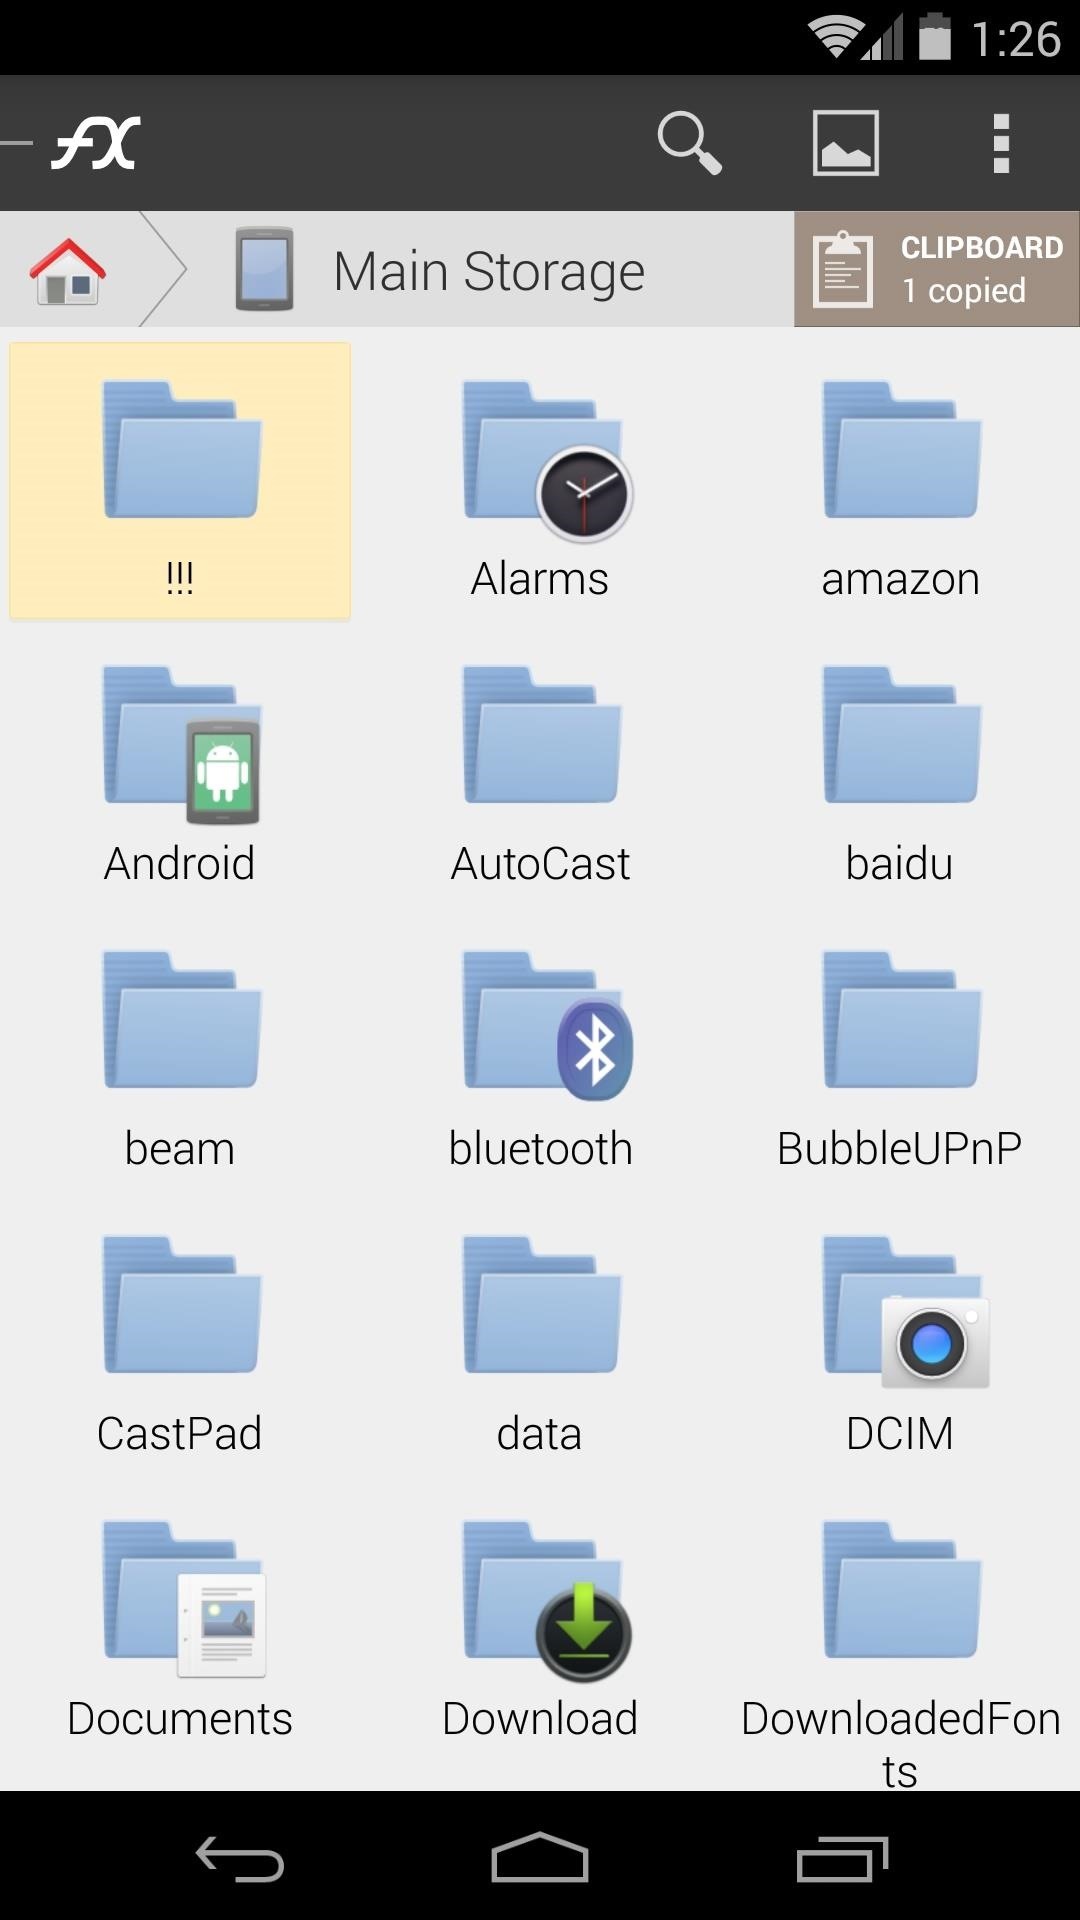
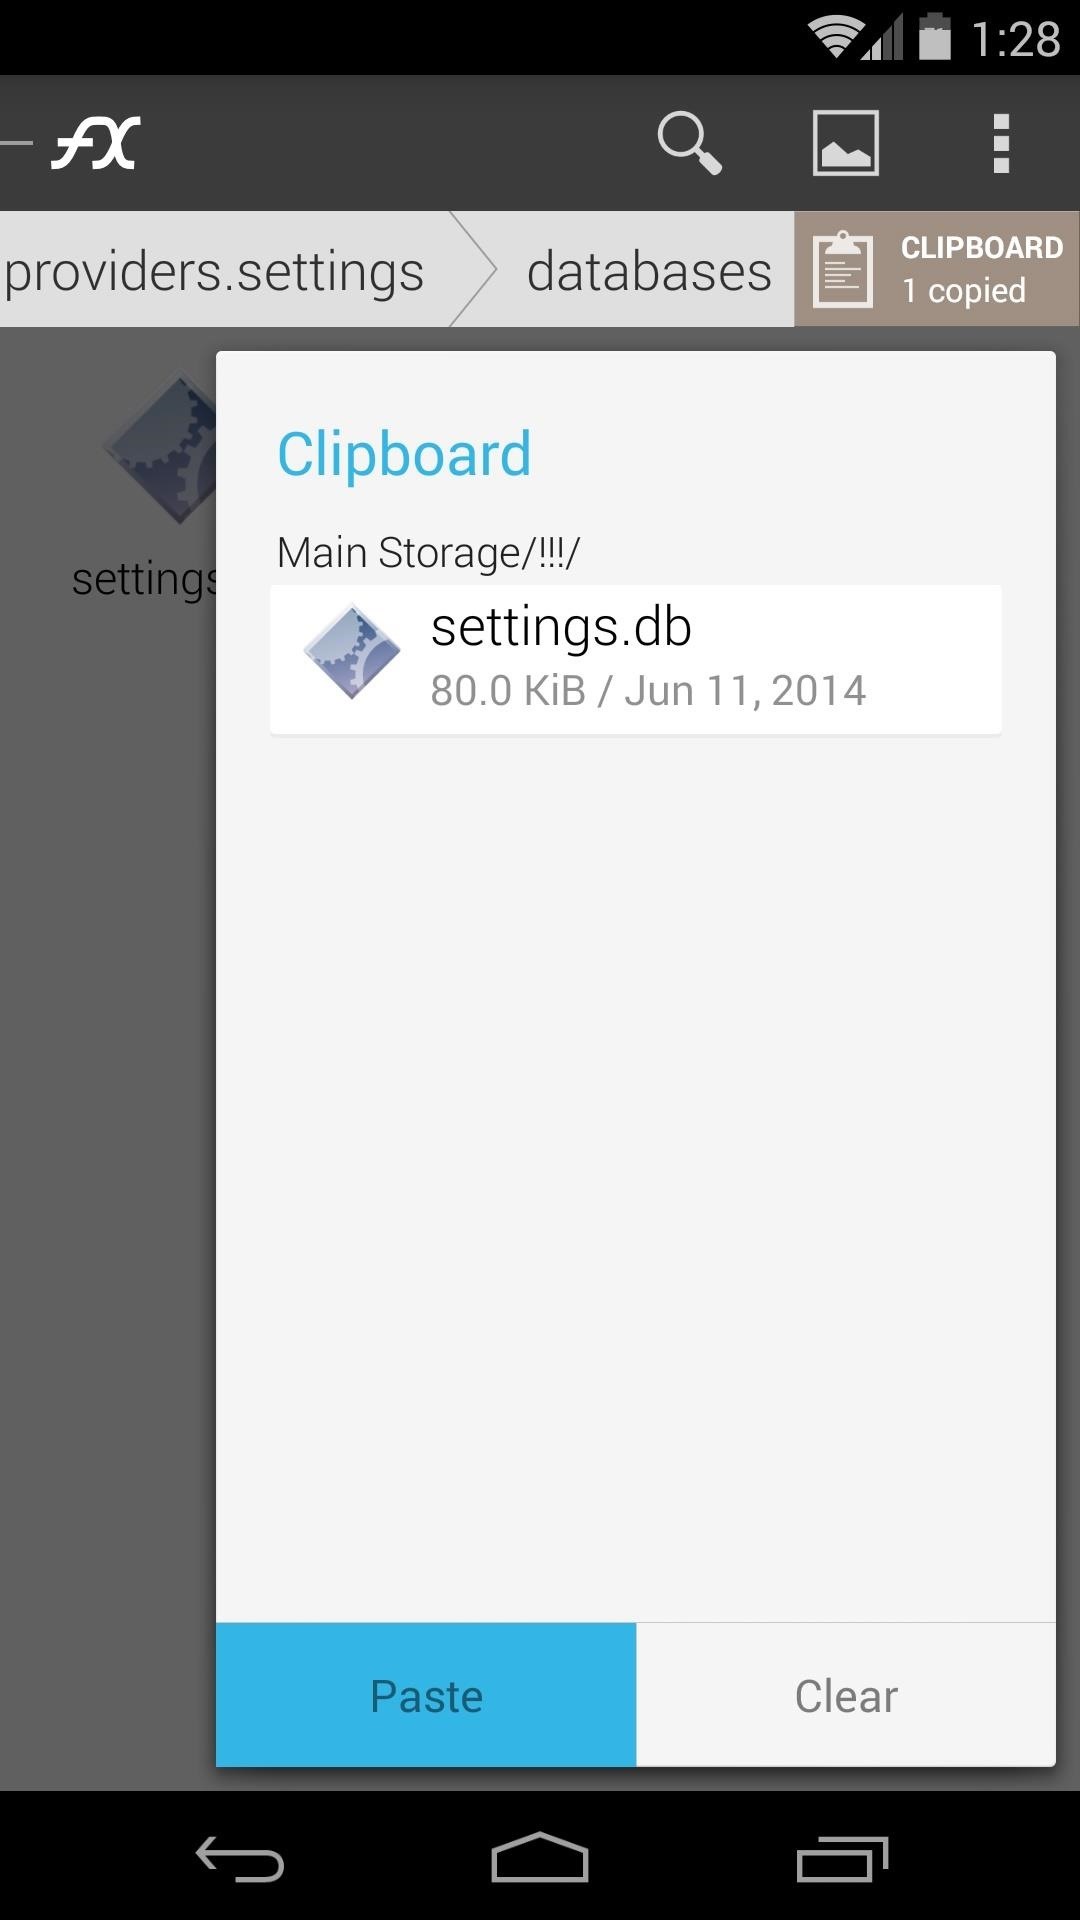
Next, back out to FX's home page and tap Main Storage. From here, find a folder that you can easily get to once your phone is connected to your PC. Any folder will do the trick, just be sure to remember which one you chose.
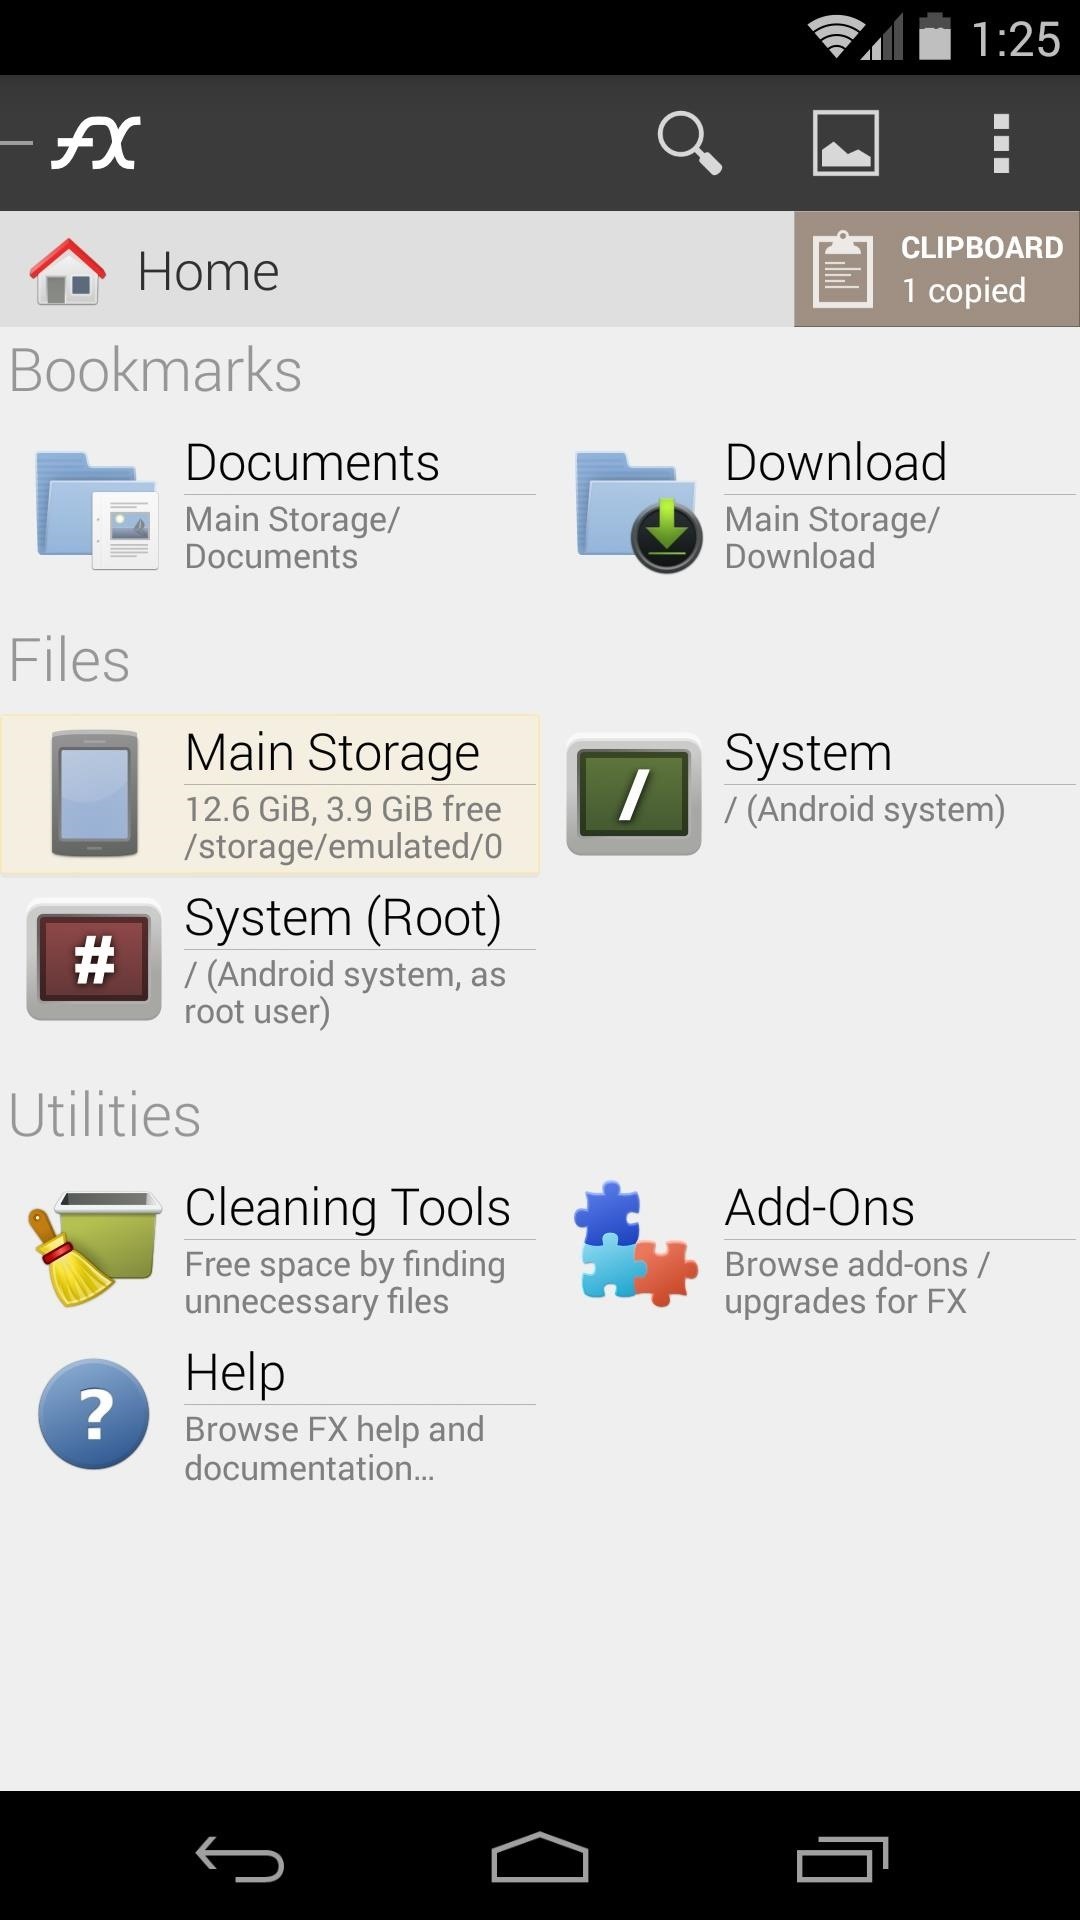
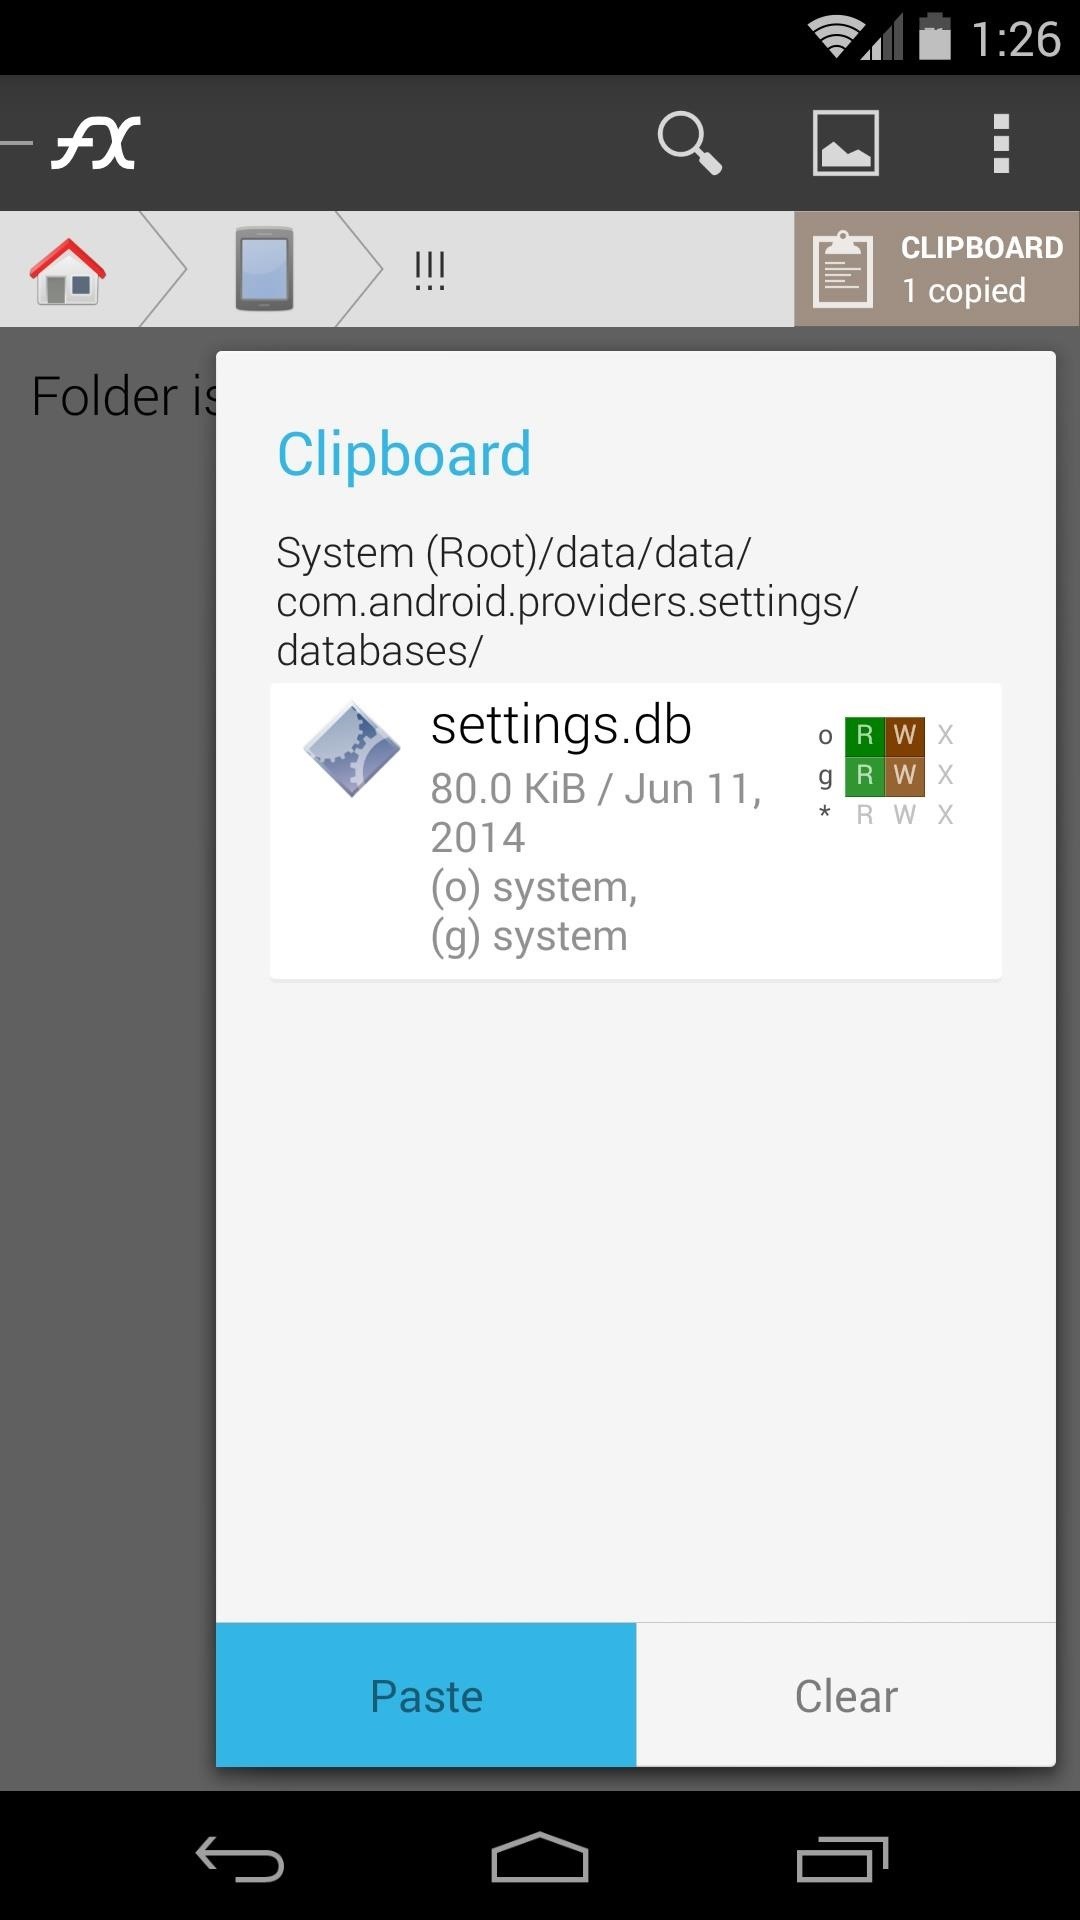
Next, tap the Clipboard button near the top-right of the screen. Select Paste from the next menu.
Step 3: Connect Your Phone to Your PC & Copy the Database File
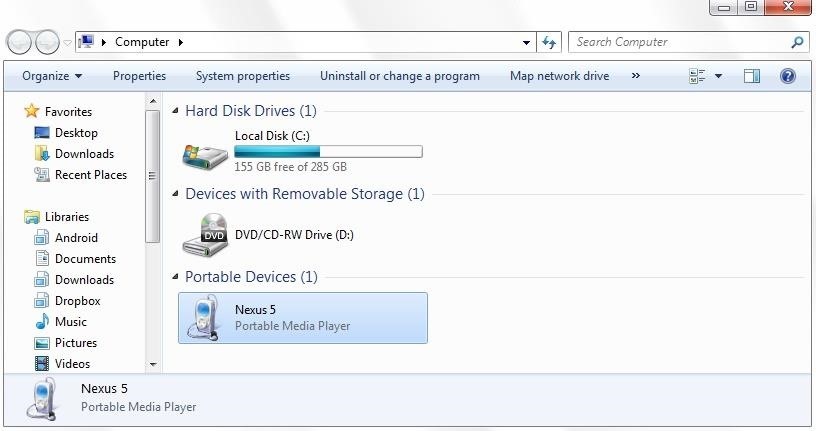
Like I said earlier, the whole point of copying that file to your SD card was to make it accessible to your PC for free editing. Just plug your phone into your PC with any USB cable so that it can be accessed from Windows.
From the Windows Start Menu, head to Computer, then browse to the Nexus 5 entry and open the Internal Storage folder.
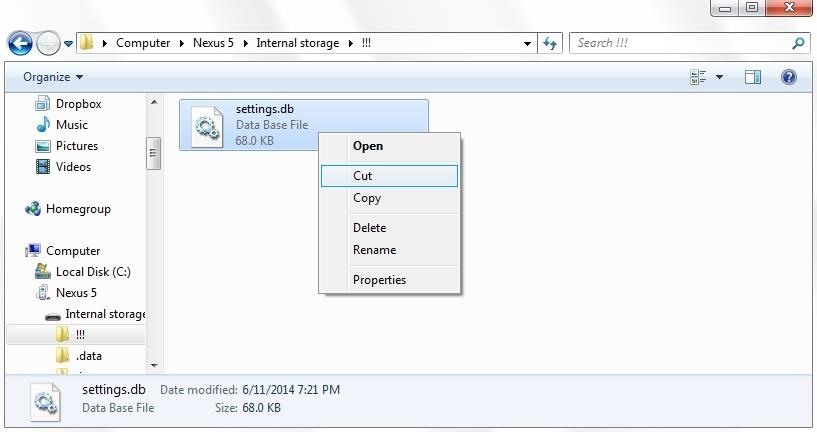
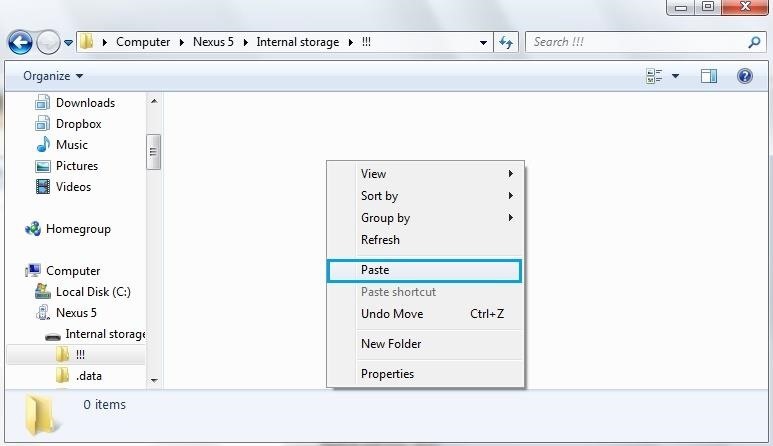
Next, locate the settings.db file that you copied to your SD card in the previous step. Right-click the file and select Cut.
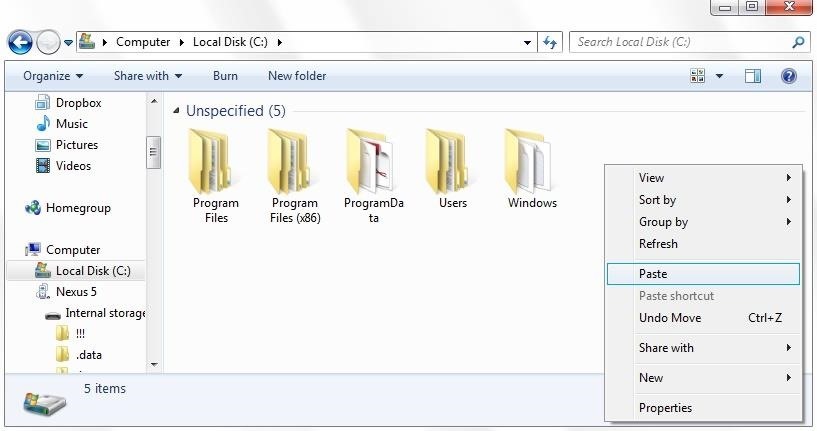
Now, browse to the C: drive on your PC and right-click an empty space. Hit Paste here.
Step 4: Download SQLite Browser for PC
There are several free SQL editors for Windows, but the one I'll be demonstrating today is called SQLite Browser. From your Windows PC, click this link to download the installer file.
When the download is finished, click the notification in your web browser. Hit Run on the next screen, then follow the prompts for installation.

Step 5: Edit the Database File
Next, open the newly-installed SQLite Browser that you can find under the Start Menu in All Programs. Start by clicking the Open Database button right up top.

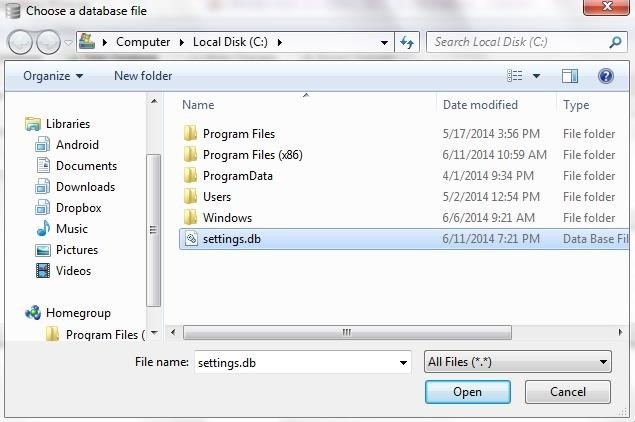
From the next screen, browse to your C: drive. Select the settings.db file and click Open.
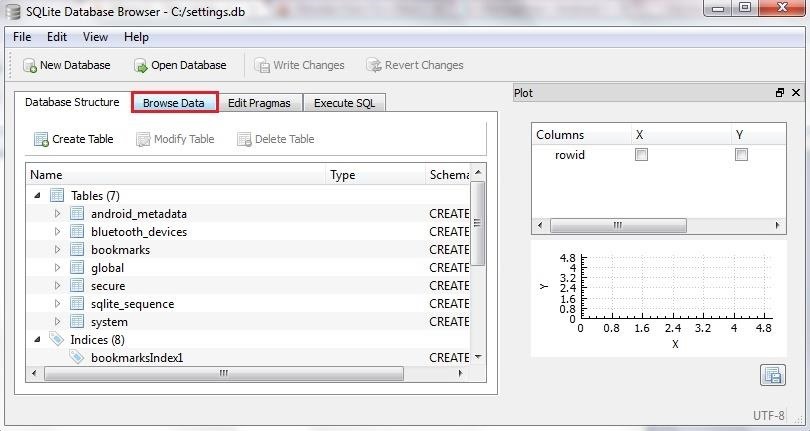
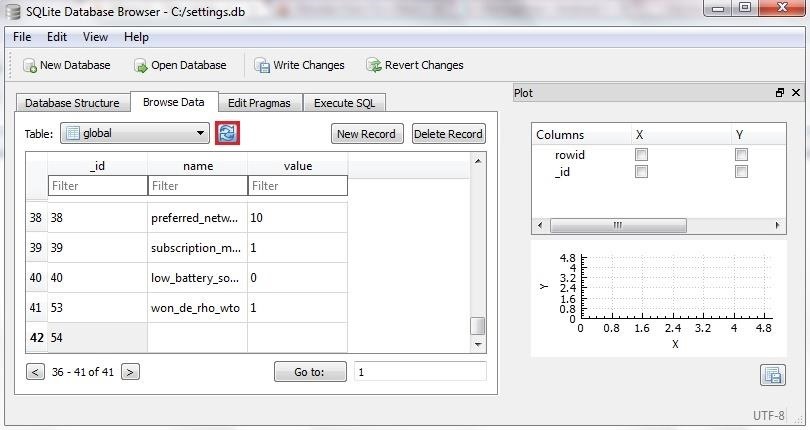
At this point, you'll be taken back to the SQLite Browser's main screen, where you should click the Browse Data tab.
From here, click the drop-down menu next to Table and select Global.

Next, just click the New Record button.
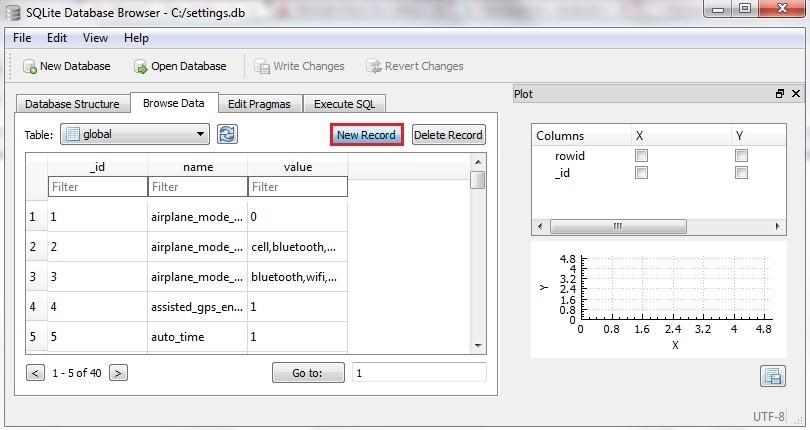
Take a look at the numbers in the id field above your new entry. They'll be different than the ones pictured here, but click the id field and type in a number that is higher than the last number shown above your entry.

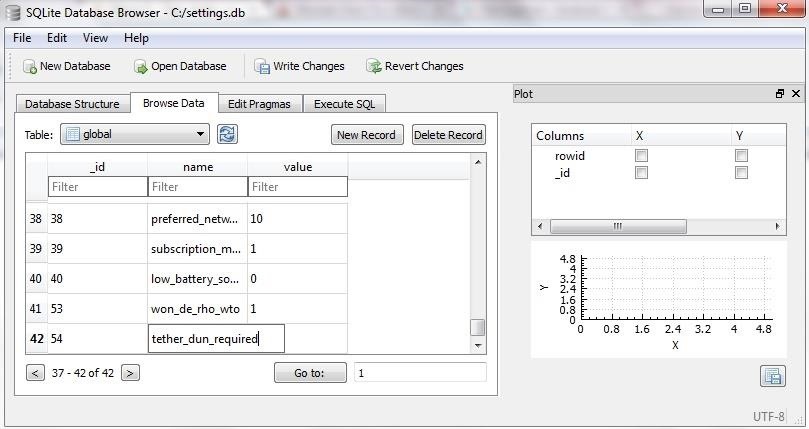
Next, click the Refresh button to load your new entry.
Now, click the name field of your new entry and type in tether_dun_required, then press the enter key on your keyboard.
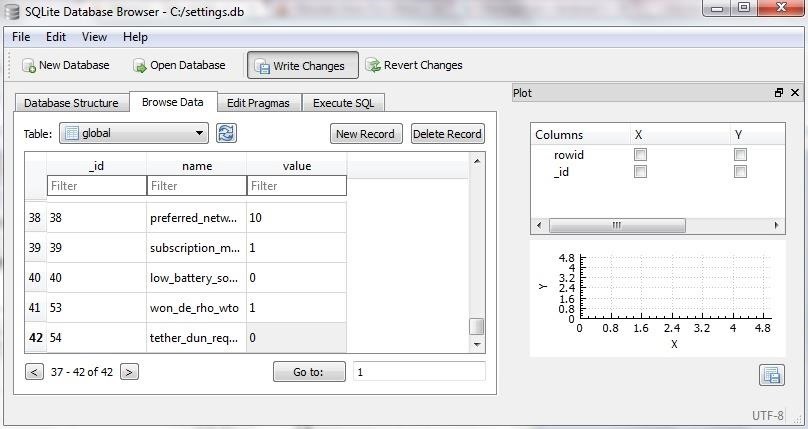
After that, click the value field of your new entry and enter the number 0. Hit the enter key again when you're finished.

To save your new entry, click the Write Changes button near the top of this window. After that, it is safe to close out the SQLite Browser window.
Step 6: Copy the Edited File Back to Your Phone
Now that you've added the one line to your database file, you just need to put it back on your phone.
Navigate to the C: directory of your computer and right-click the settings.db file. Choose Cut from this menu.
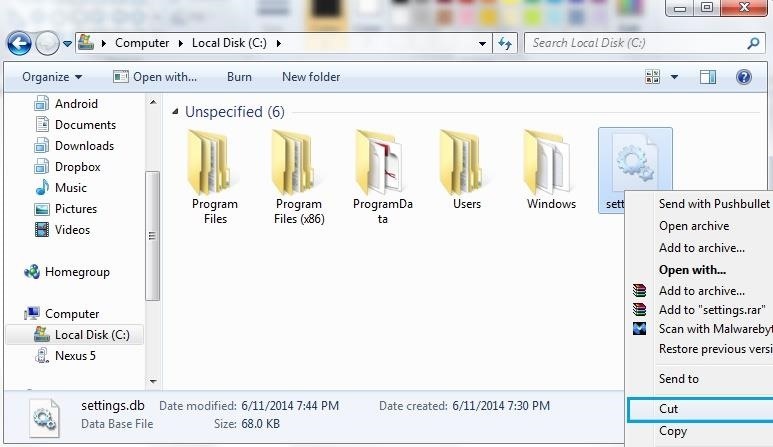
Next, browse to the folder you pulled this file from on your Nexus 5 using Windows Explorer. Right-click any empty space and select Paste.
At this point, it's safe to unplug your Nexus 5 from the computer.
Step 7: Copy the Edited File Back into Its Original Folder
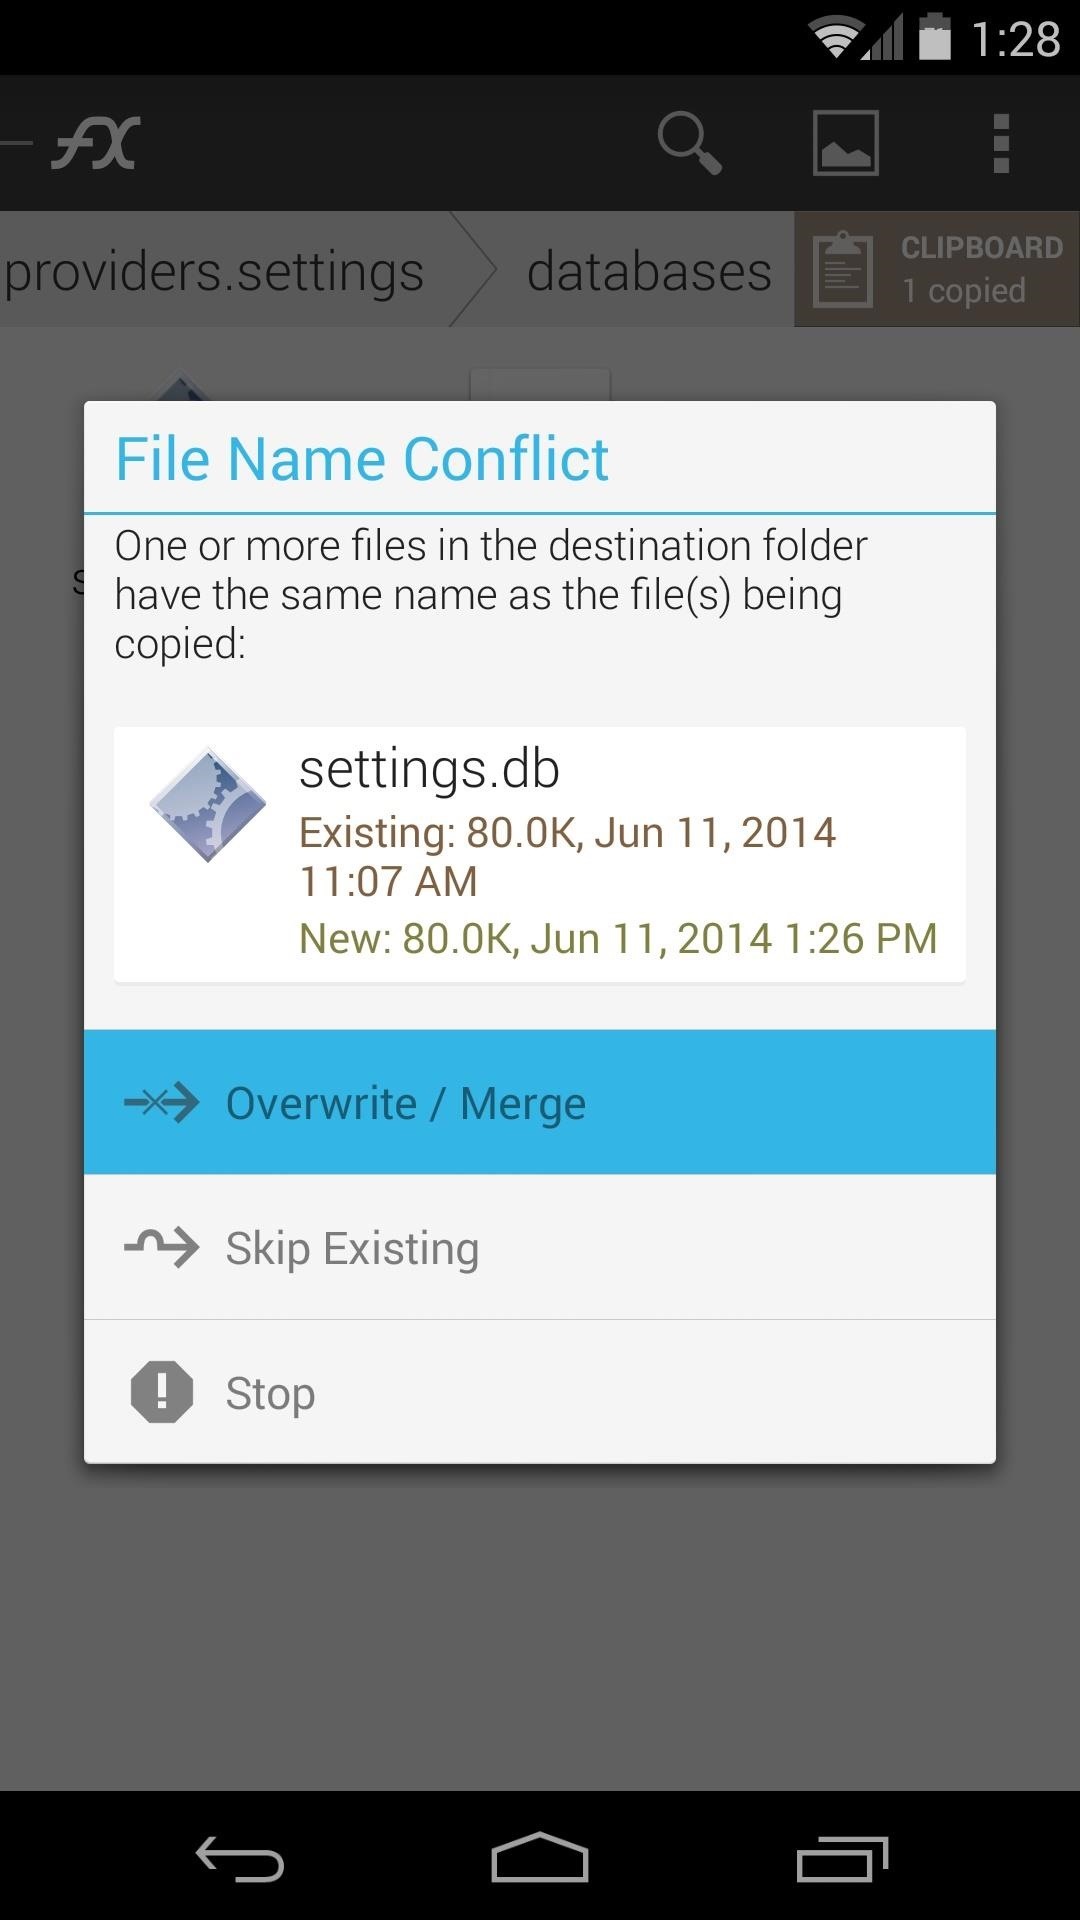
Back on your Nexus 5, open up FX File Explorer again. Navigate to the folder that you just pasted the settings.db file into and long-press it. Select Copy from the menu.
Now, as outlined in Step 2, head back to the /data/data/ com.android.providers.settings/databases folder where this file originated. Press the Clipboard button at the top-right, then select Overwrite / Merge from the following dialog box.
Step 8: Change Your APN Settings
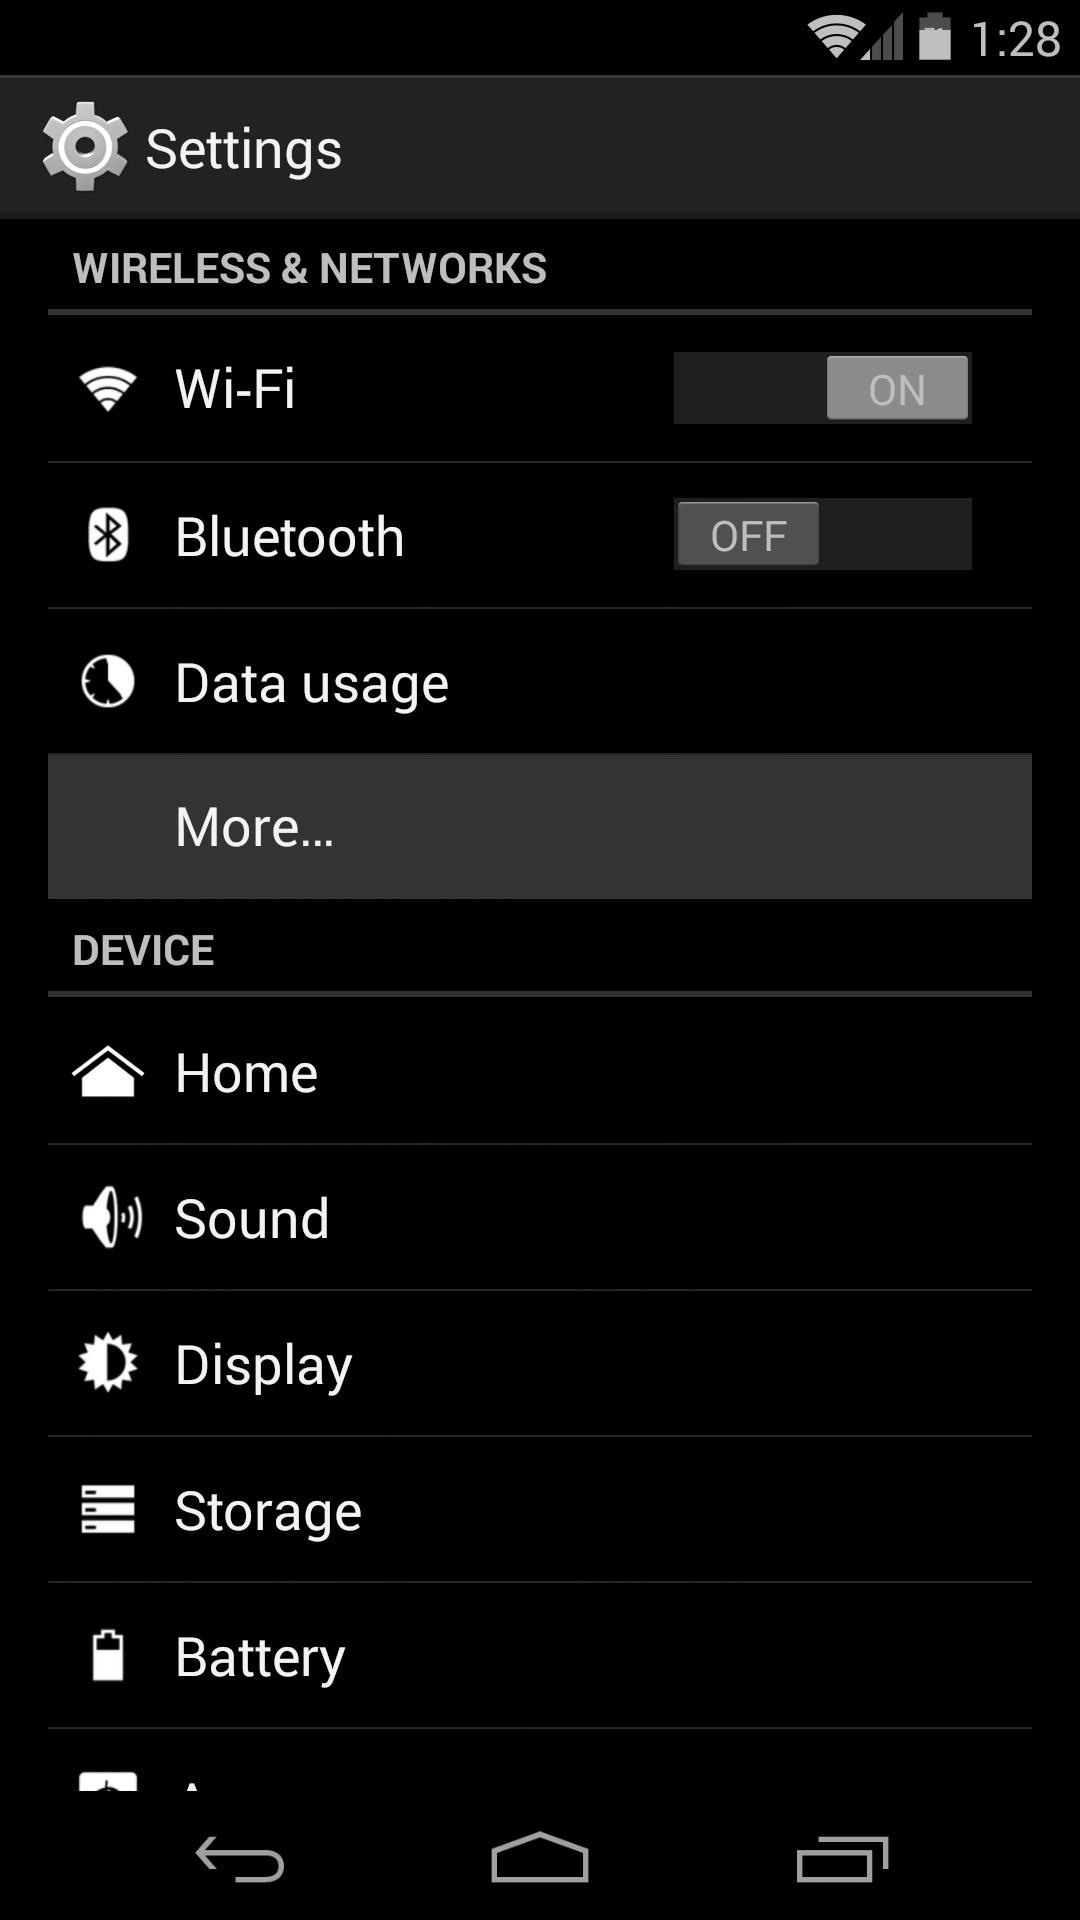
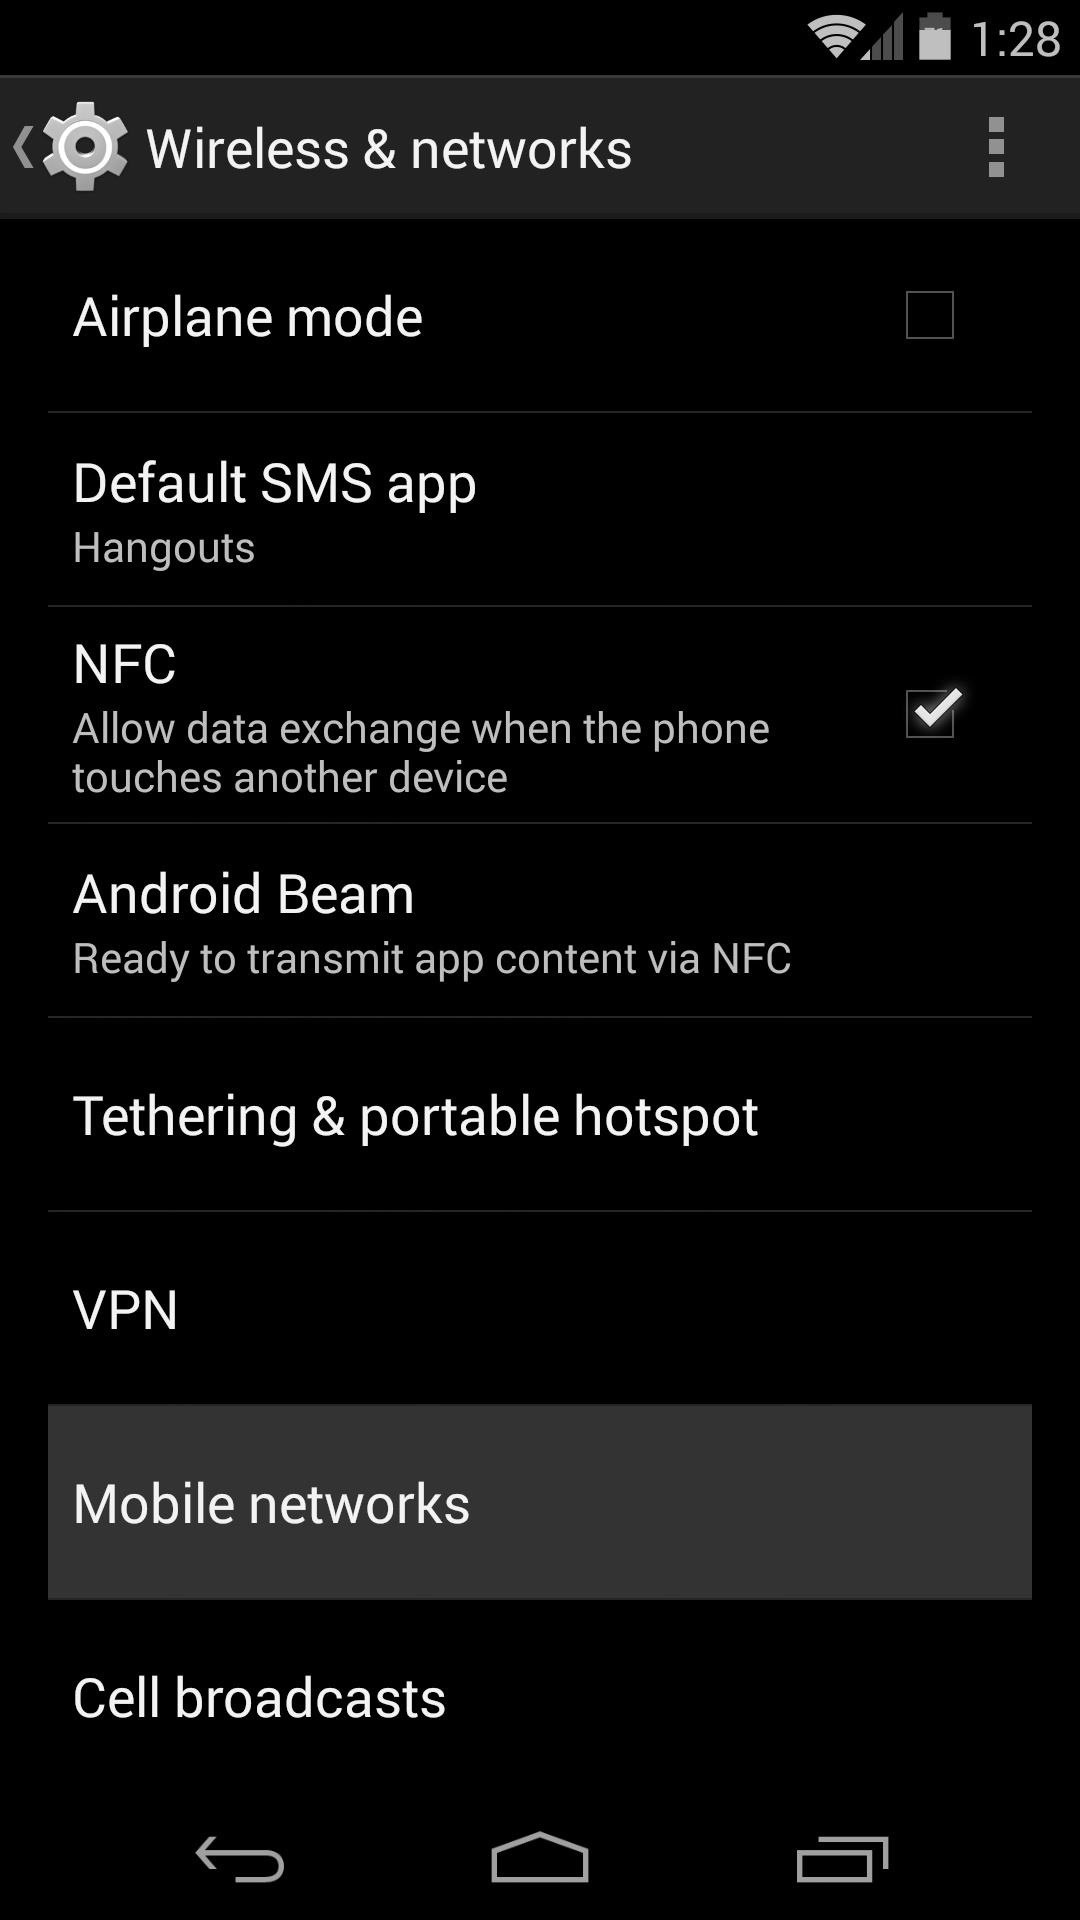
Head to your phone's Settings and tap More... On the next screen, select Mobile Networks.
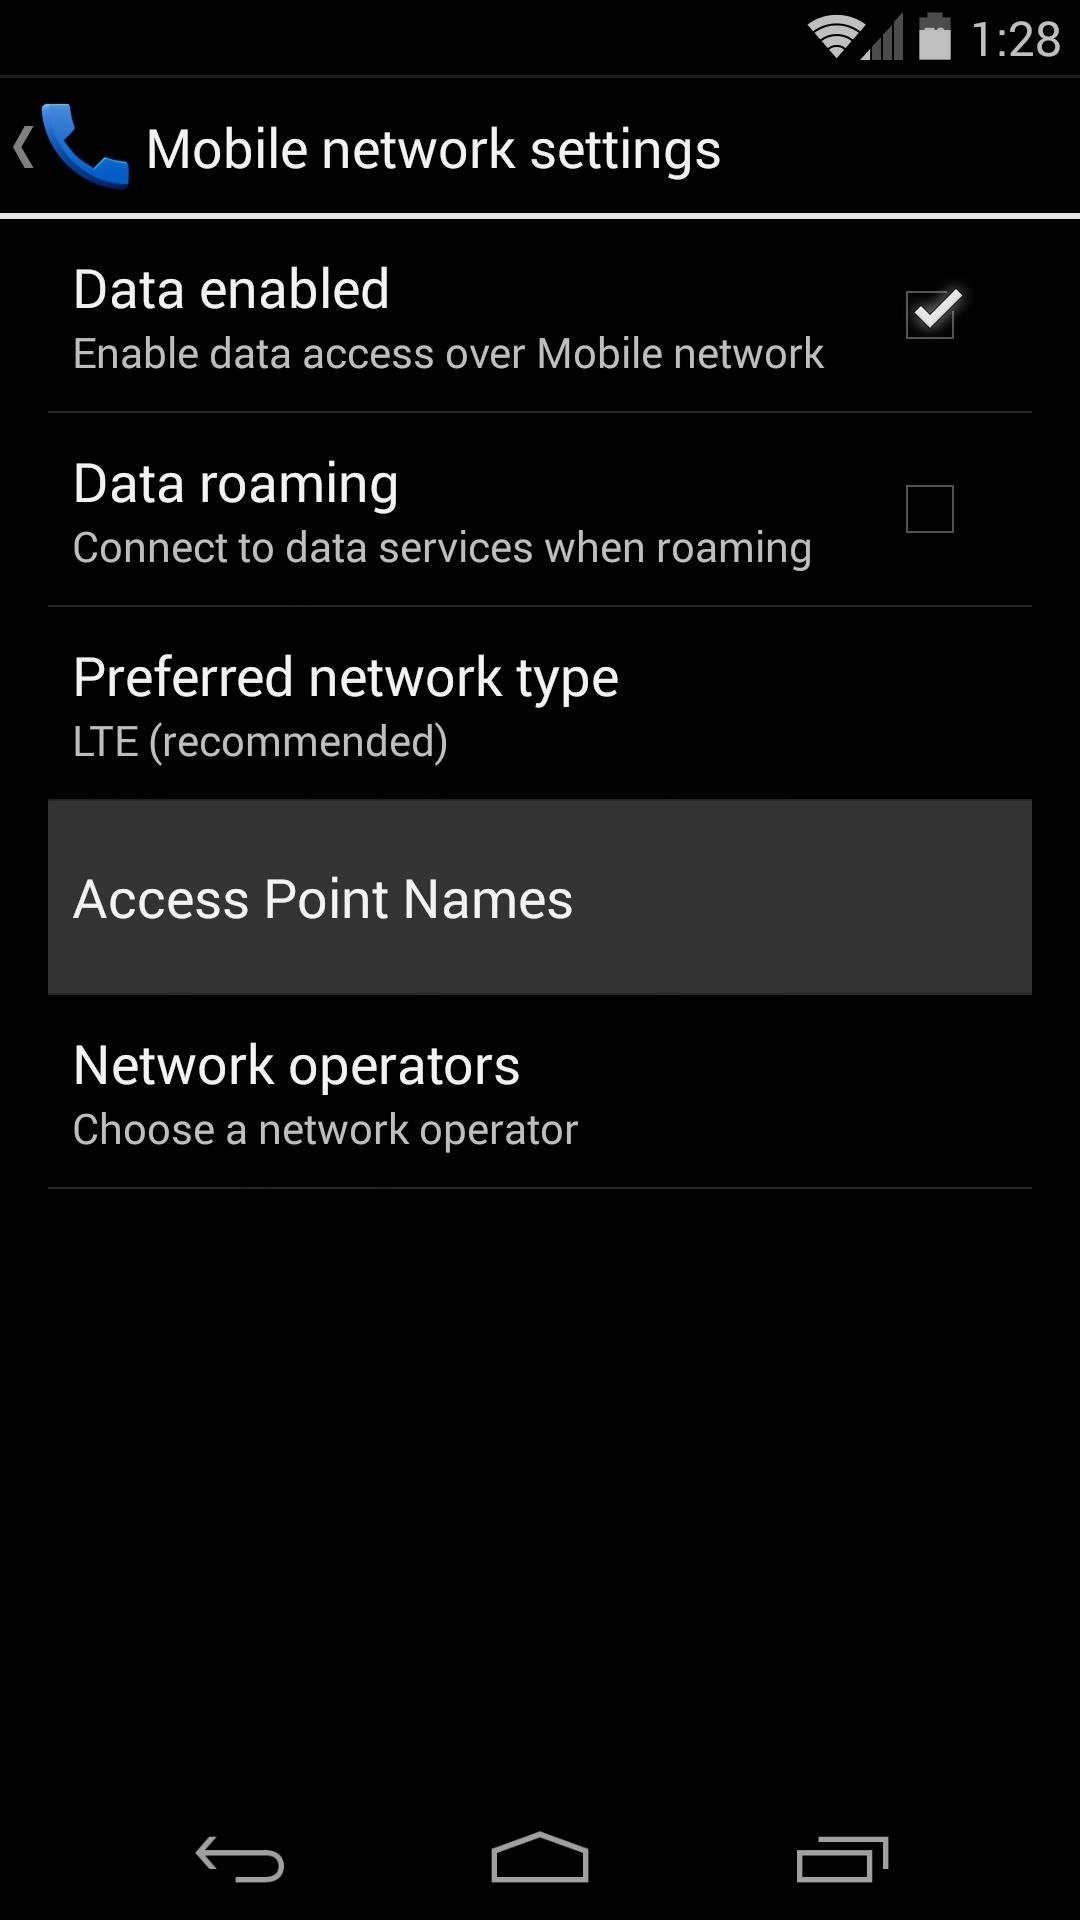
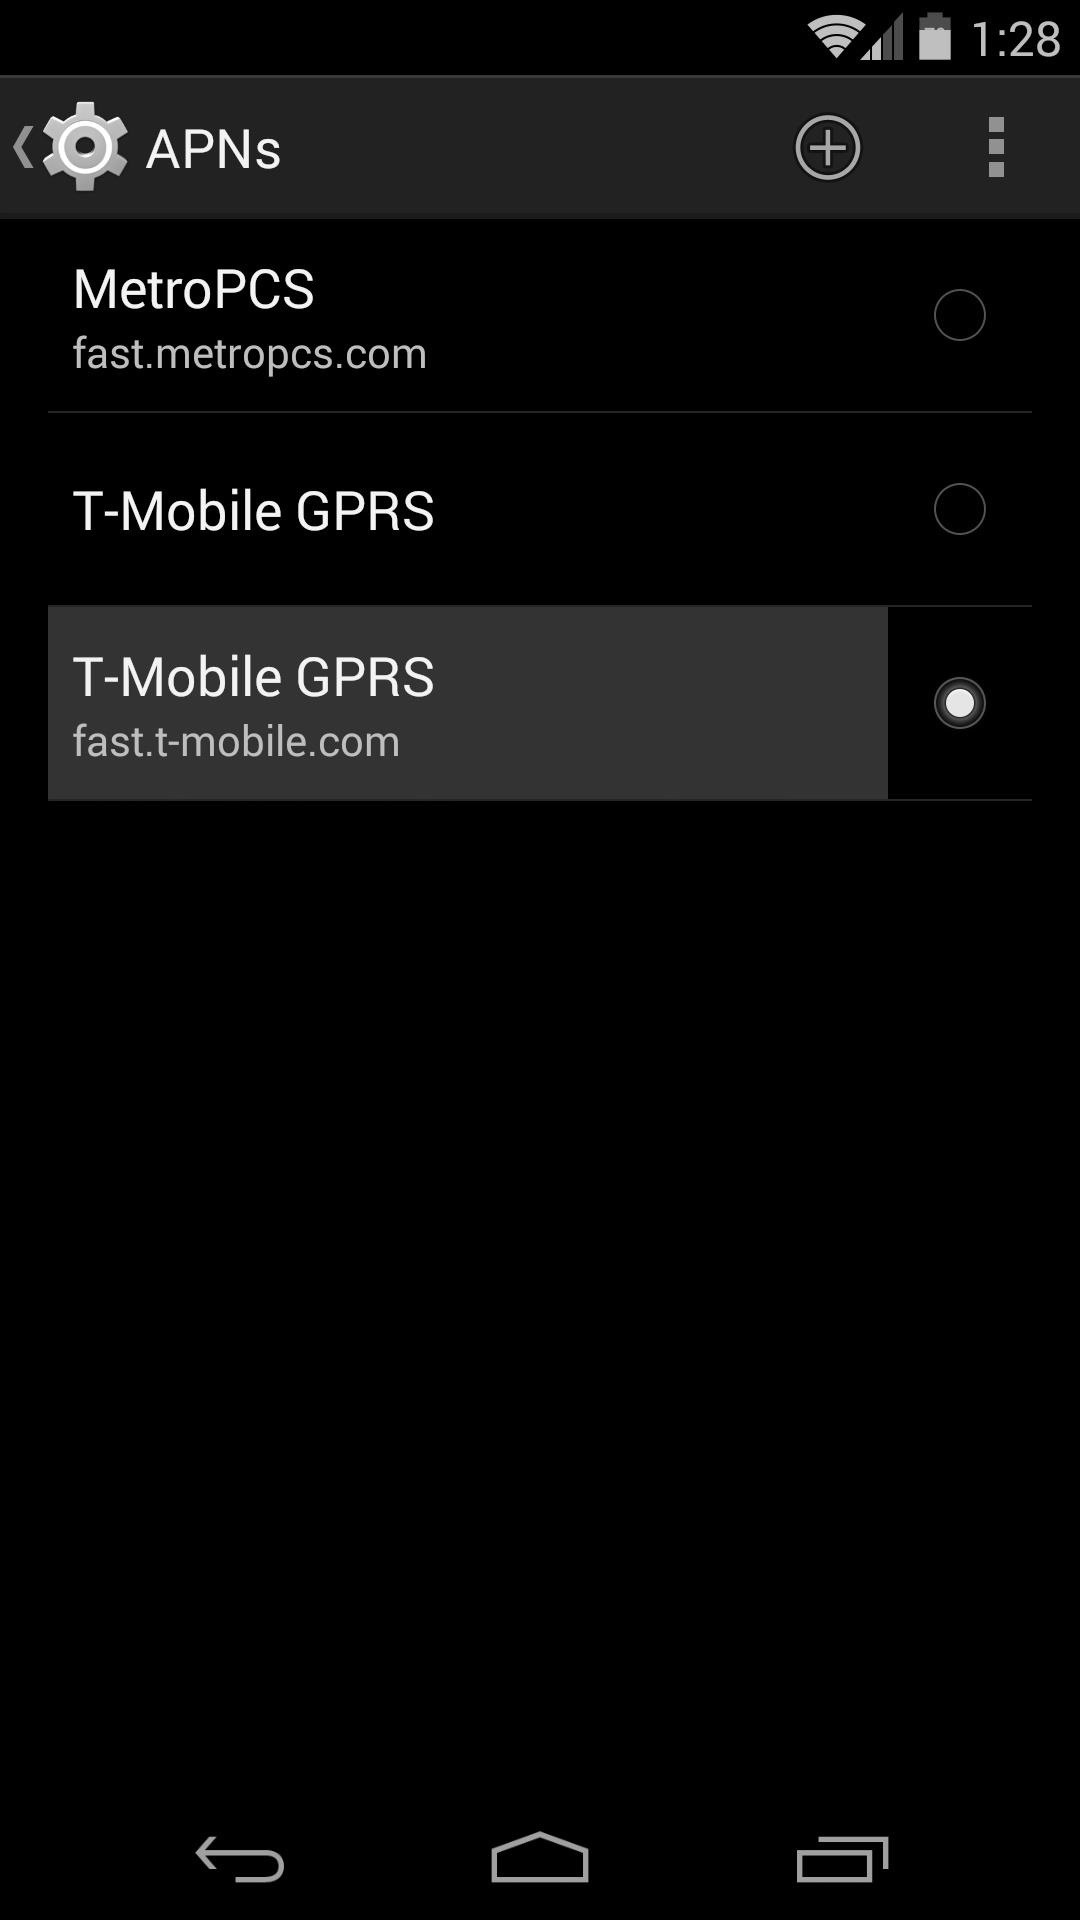
Hit Access Point Names, then tap the menu entry that's already selected. It varies by carrier, but yours will have the radial button to the right of it highlighted.
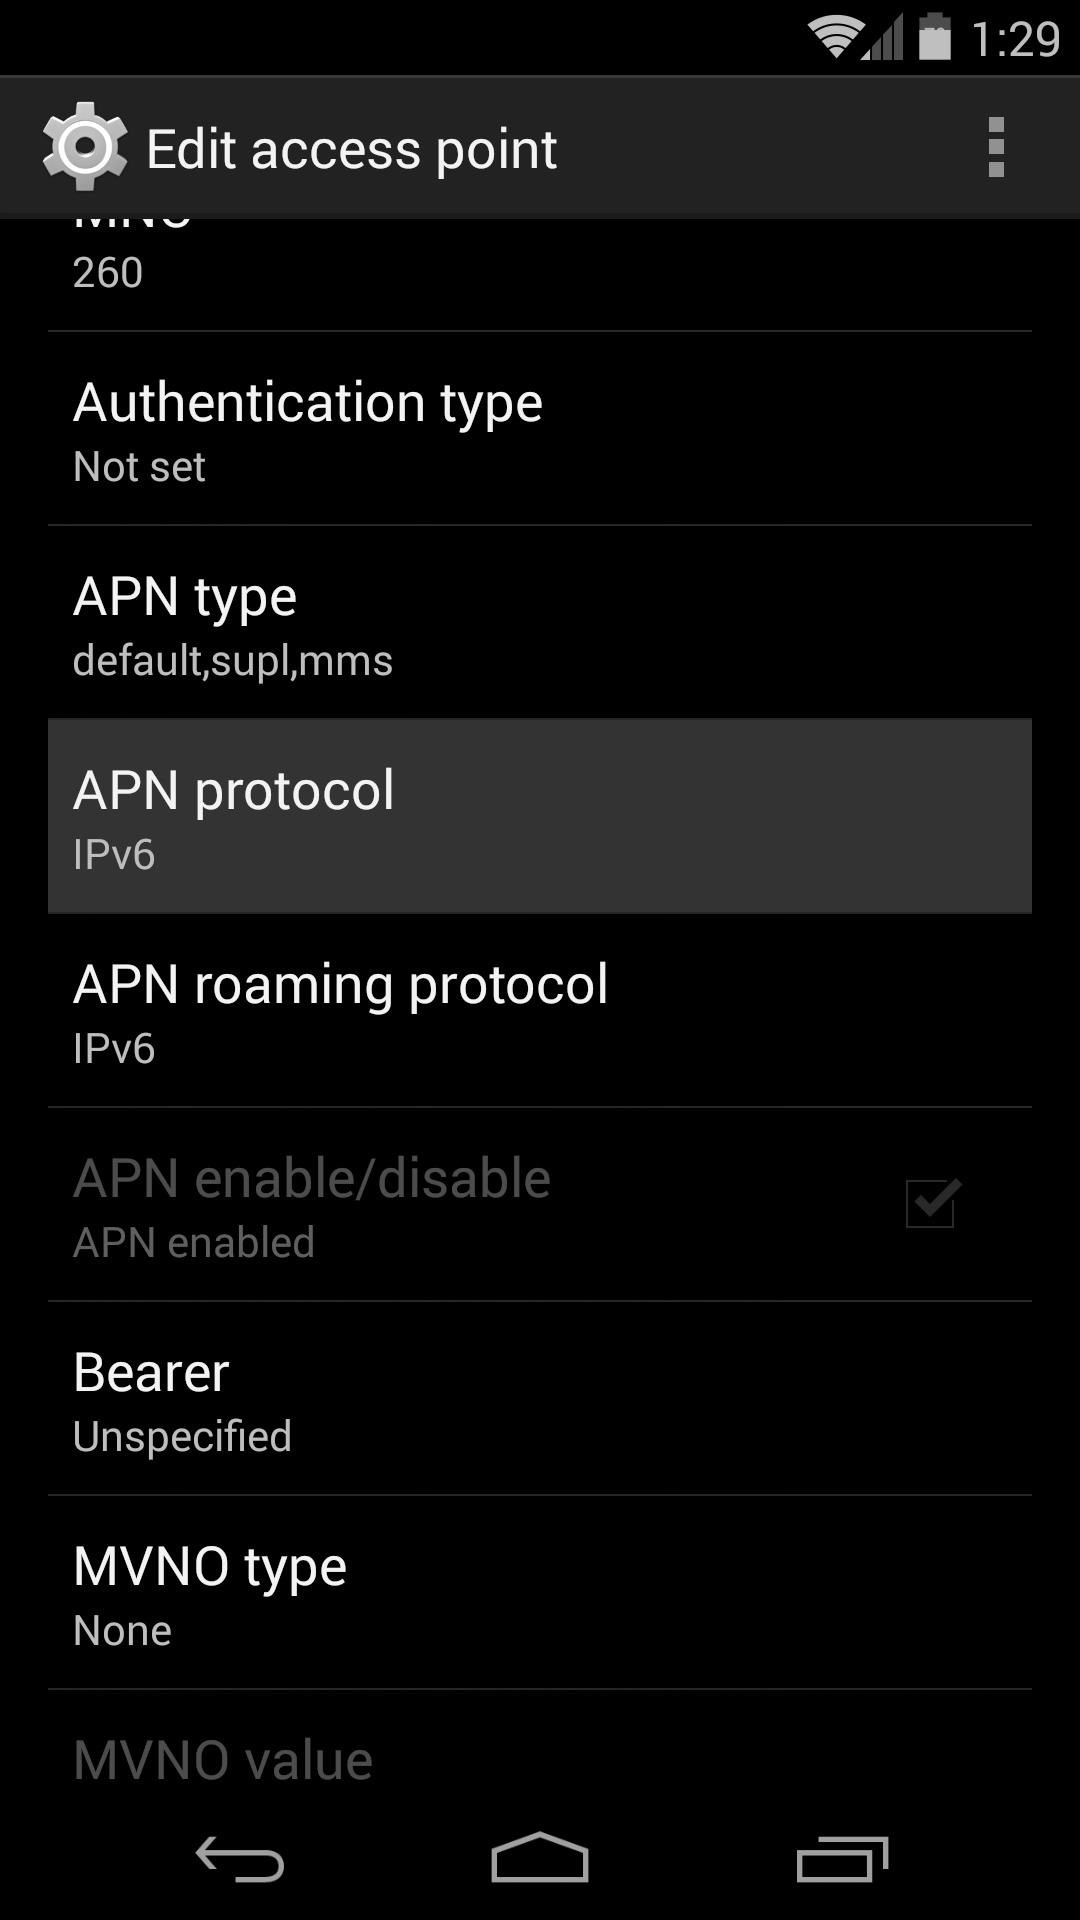
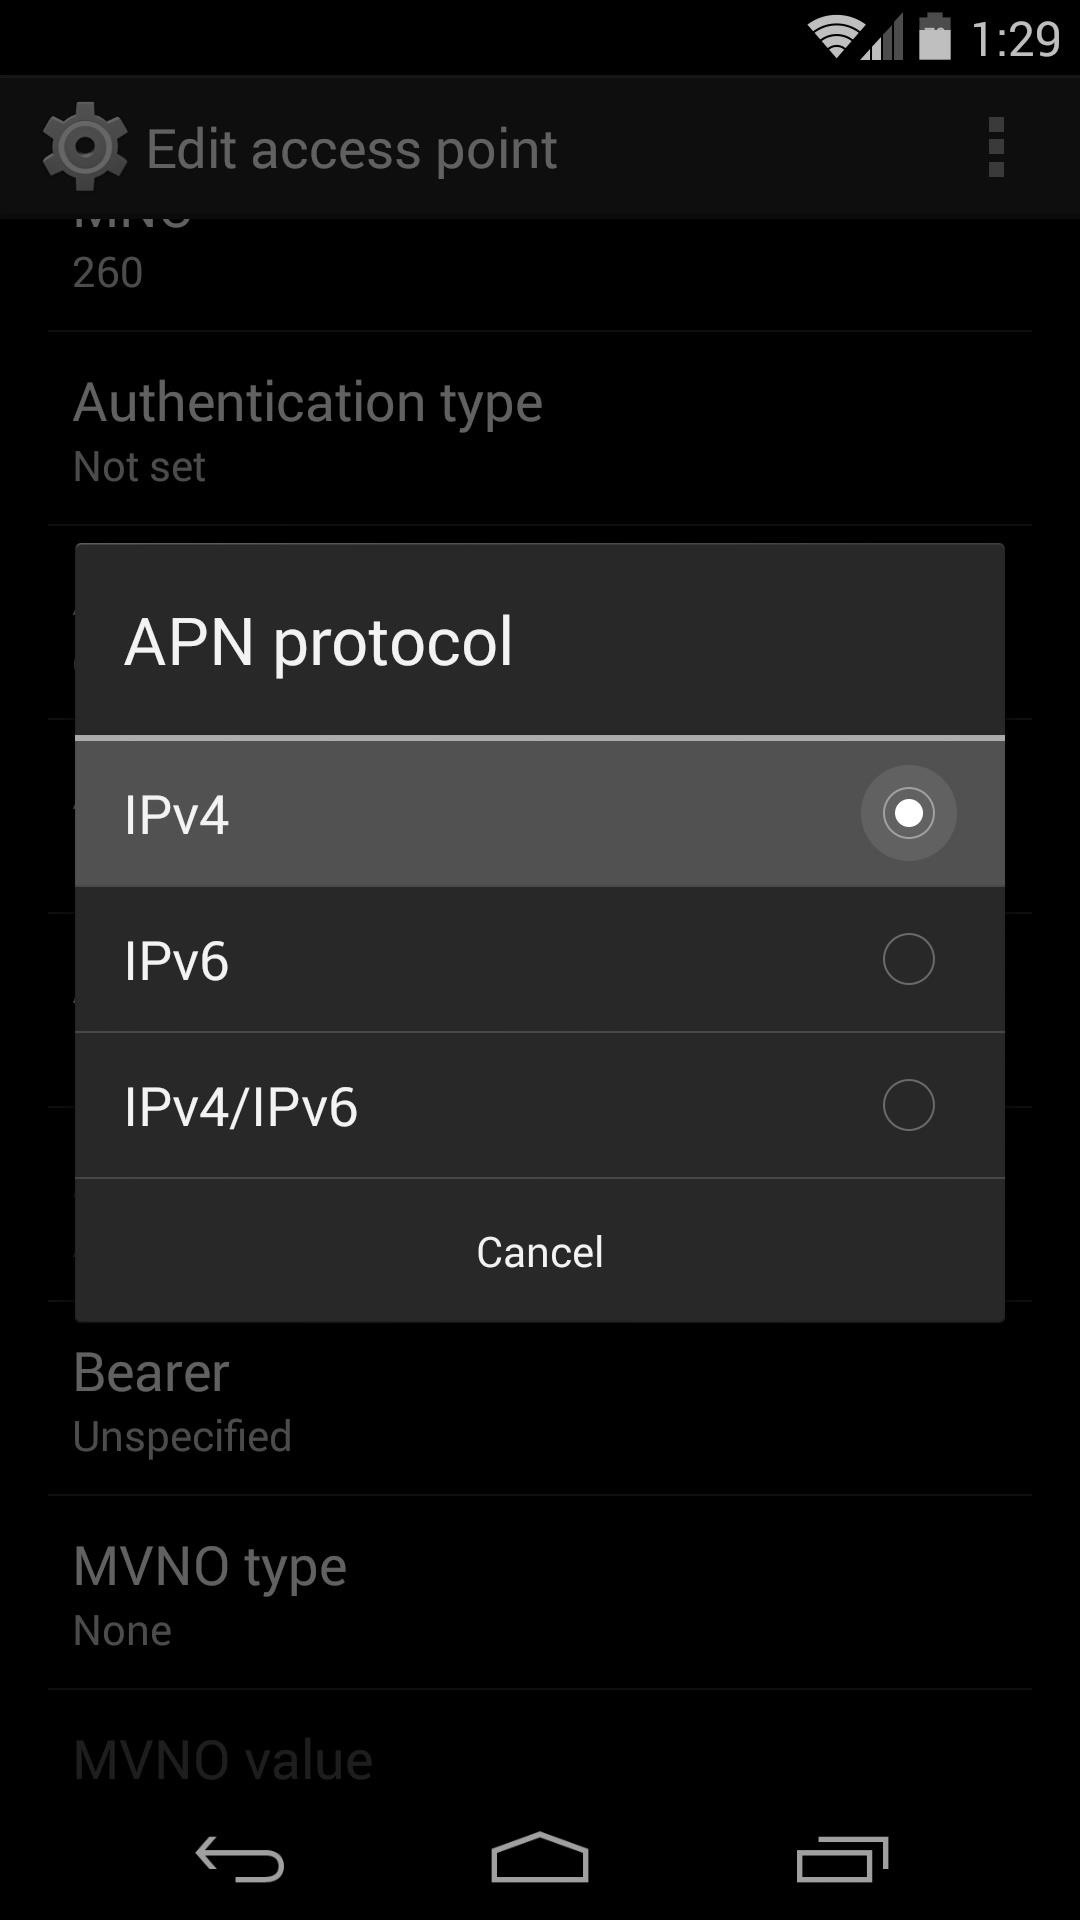
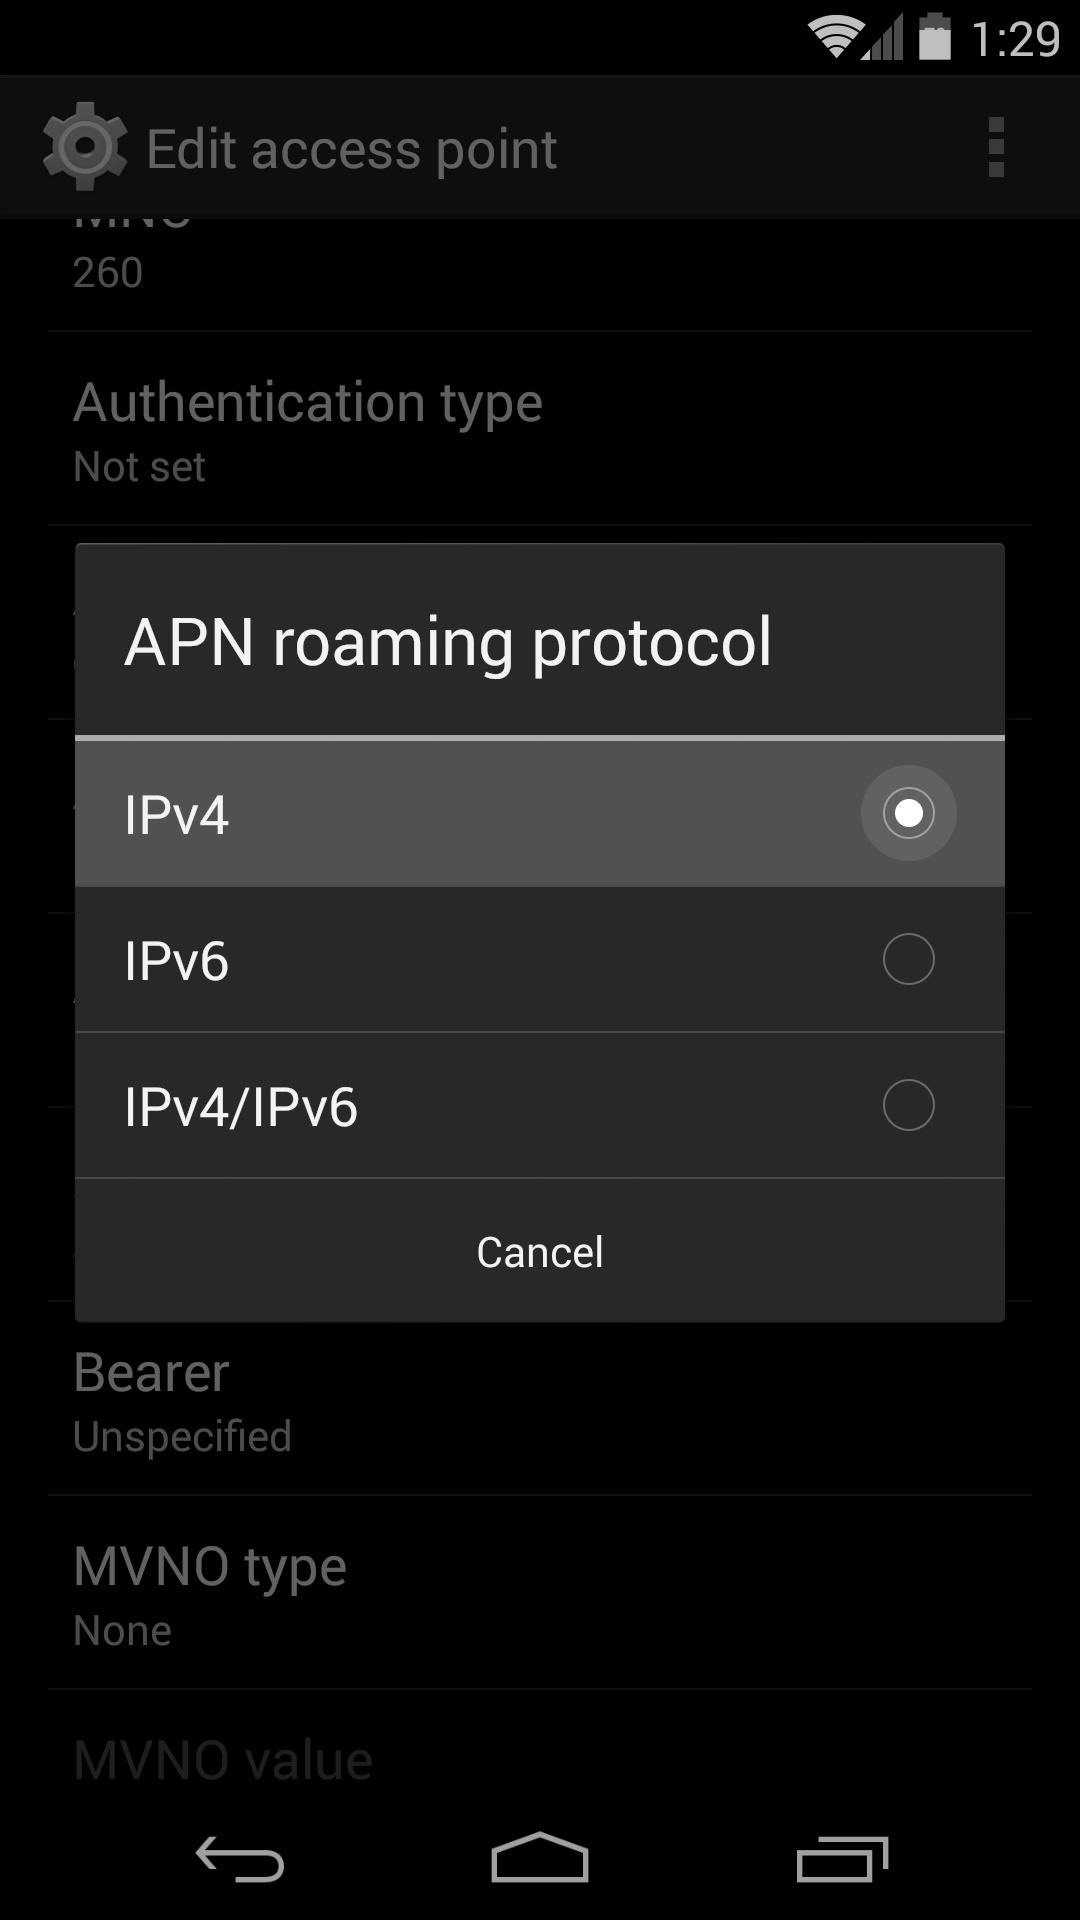
Scroll down the next list and tap APN Protocol, then select IPv4.
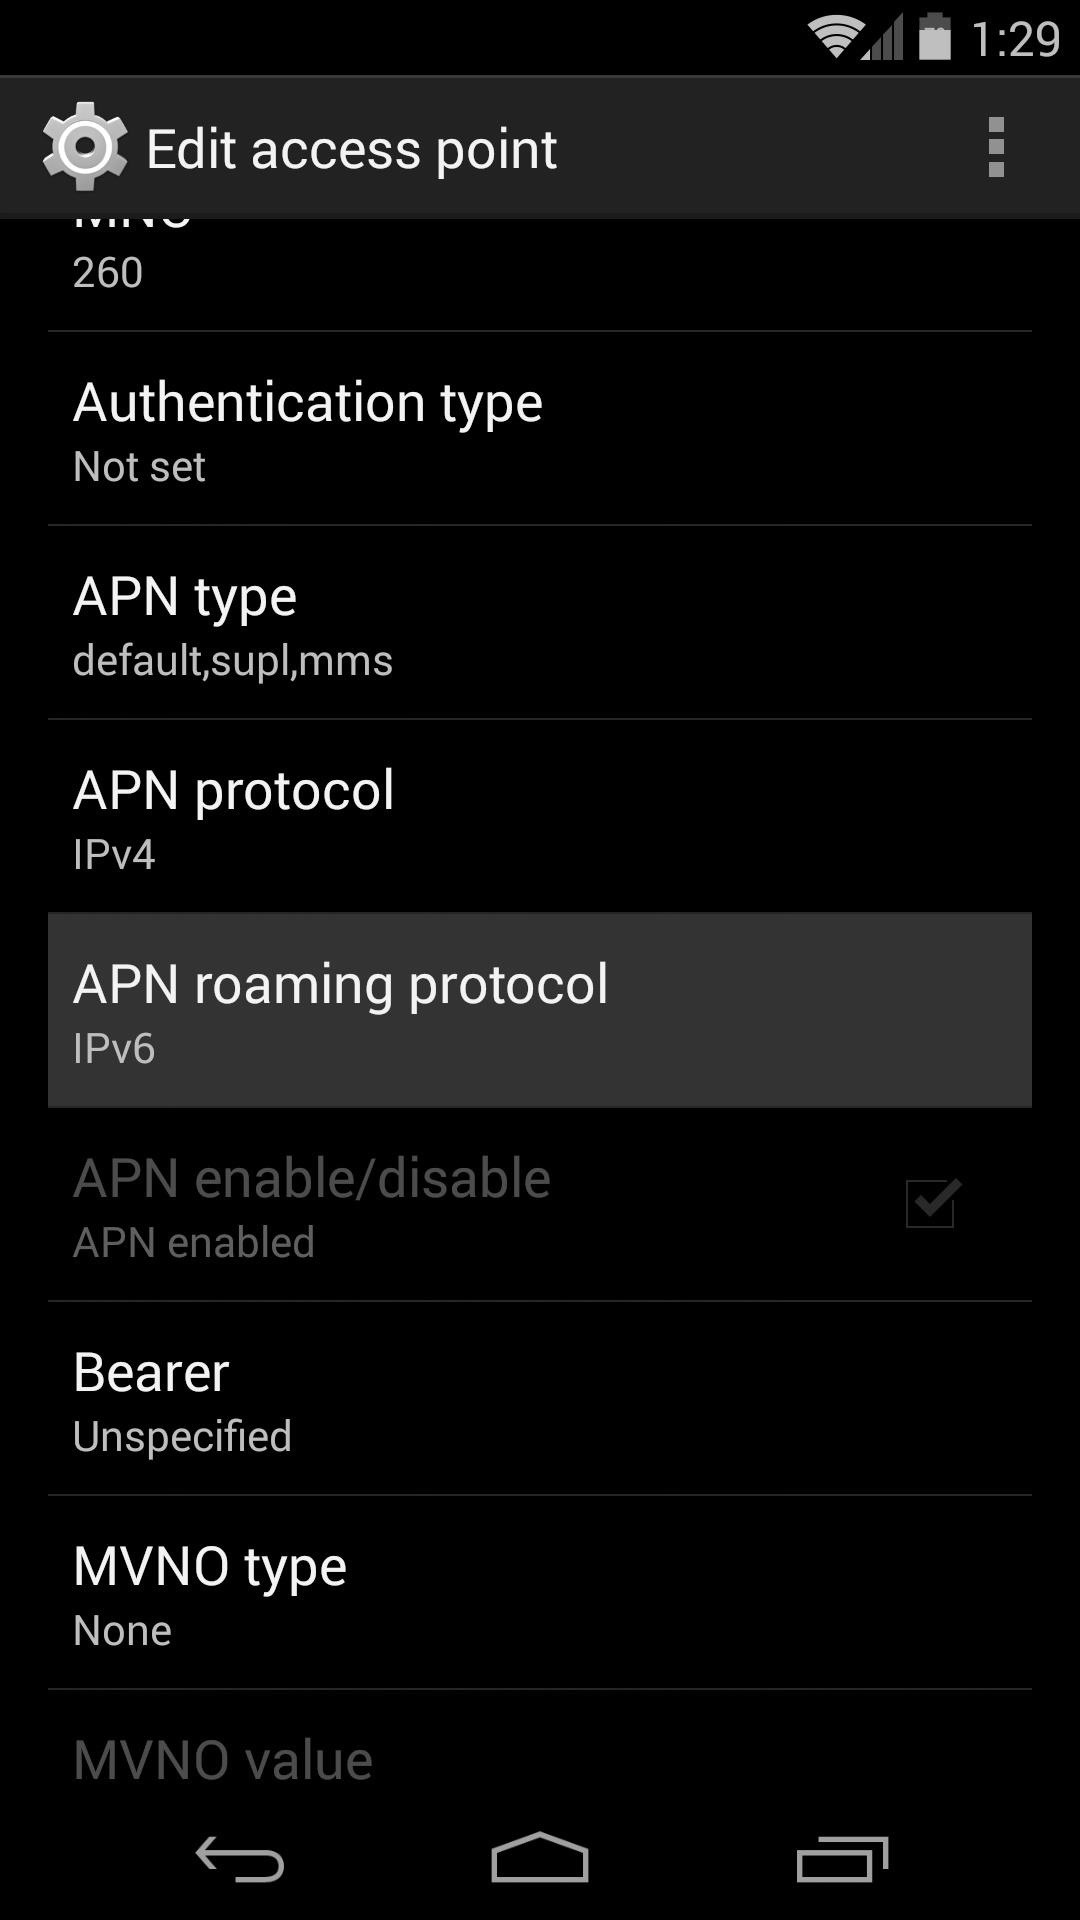
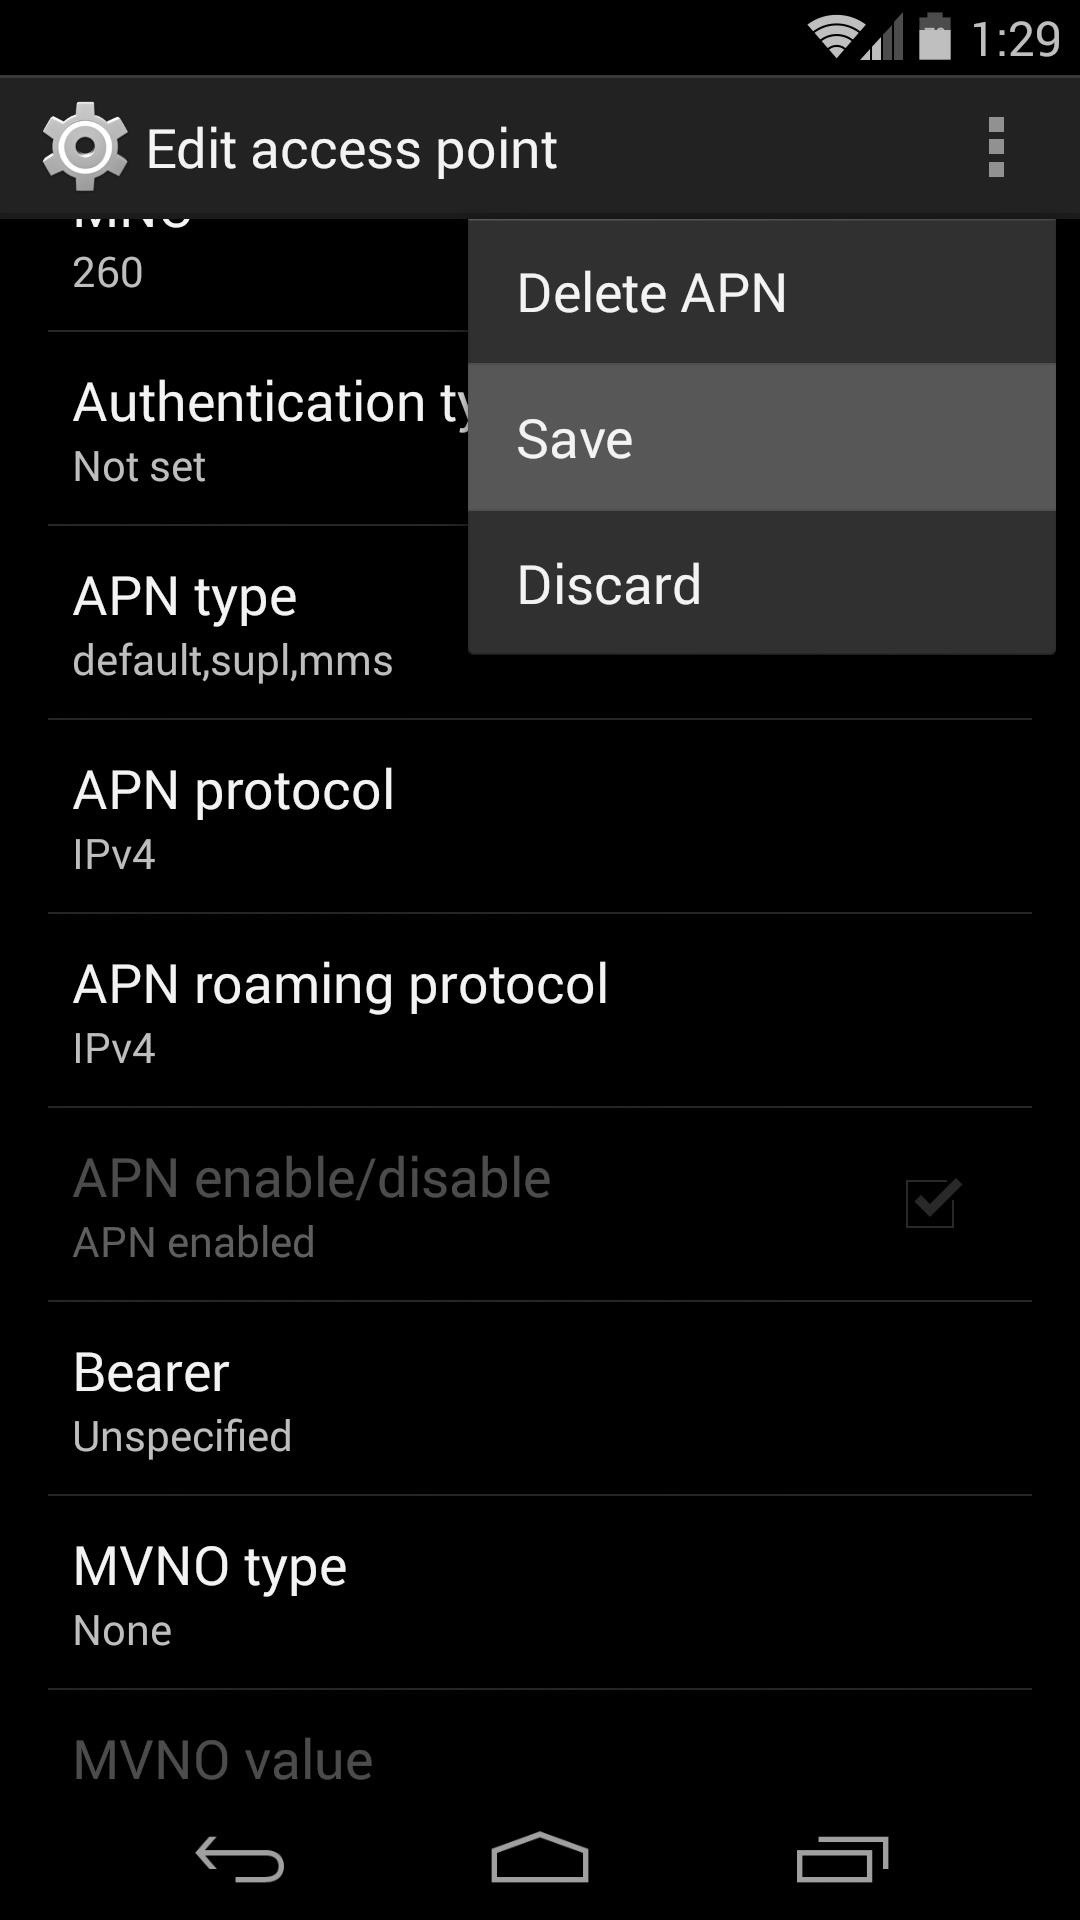
Do the same thing for the very next entry in this list, APN roaming protocol. When you're finished with that, tap the three-dot menu button and hit Save.
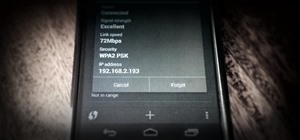
At this point, a simple reboot will make all of your changes take effect. Once you've done that, you can begin enjoying tethered data without your carrier nagging you—just head to Settings -> More... -> Tethering & portable hotspot to set up a connection.
This mod should work with any carrier, but just to be on the safe side, you should monitor your data usage from your carrier's website until you're certain it did the trick.
Just updated your iPhone? You'll find new emoji, enhanced security, podcast transcripts, Apple Cash virtual numbers, and other useful features. There are even new additions hidden within Safari. Find out what's new and changed on your iPhone with the iOS 17.4 update.


19 Comments
Will this work on other devices as well or is it Nexus/AOSP only?
Other devices may not share the same folder structure as AOSP devices. But if the database file is in the same folder, adding this same line should do the trick.
Followed the instructions exactly now my phone will not boot past startup screen. Quick google shows others with the same issue. Thanks. Forced to wipe phone.
I just did this whole step, twice, and it didn't work for me. Damn METROPCS with their T Mobile network didn't work for me. Any other alternatives?
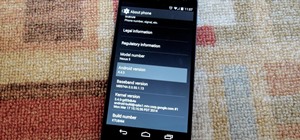
Nexus 5 4.4.4, Build # KTU84P.
Did it exactly as you listed and i'm still getting blocked, but it's weird because some sites like facebook and google are still accessible but others are not, including this site.
Any recommendations? Is there some specifics I could give you to help troubleshoot?
when i try to paste settings.db in the c drive...it tells me access denied
can you help me please ...thanks
Have tried to do this on three network (UK). It seems that 3 use something to know whether one is tethered. As the second I connect tether up my connection locks up.
I saw around and maybe it's "Deep packet inspection" software they use at their end. Is there anyway around this?
Same process for lollipop? I'm using the sqlite editor app
It got a little bit more involved with Lollipop. First, you have to add this line to your build.prop file (located in the "system" folder):
net.tethering.noprovisioning=true
Then, in addition to adding the "tether_dun_required line" to the database file, you also have to add this line:
package_verifier_enable
And give it a value of 0. Everything else stays the same, I think.
Please help
@DallasThomas - where in the text do I add these lines? Thanks
You can just add them to the bottom
Yo my man Dallas good shit for your work! OK I did this with nexus 5, the day you dropped this it was perfect. Now I can tether but I flashed android m on nexus 5 and I can't redo cause it says original file saved as a .bak file.so my question is am I good or do I have to redo the processso somehow ,or rebuild build. Prop. Please respond asap and thanks for so many post bro??
Oh just so u know added both lines you said to add when you got more involved with lollipop
This worked perfectly on my Nexus 5! Thank you so much. Only heads up is that SQLite Database Browser has changed its name to DB Browser for SQLite but the layout is still exactly the same as your screenshot. Thanks so much!! :)
On Android 6.0 Marshmallow they got rid of the database altogether. Now what?
Good question. I honestly have no idea right now, but I'll definitely keep an eye out for a Marshmallow solution because I tether all of the time.
This means that the process is actually a lot easier...add one line to build.prop, reboot, and you're done.
Check out our guide here.
Can this be done on a pixel?
Share Your Thoughts