

With Geohot's Towelroot allowing us to root our Nexus devices in under a minute without ever leaving Android, many of you are probably enjoying all of the Gadget Hacks that root access has unlocked.
But some tweaks, such as interface themes and Custom ROMs, come in the form of a flashable ZIP file—these hacks need a custom recovery to apply.
Normally, installing a custom recovery involves using your PC and executing complicated ADB commands. Even worse, you lose all of your data when you unlock the bootloader to begin the process of installing recovery. But if you're rooted already, you have another option—you can install a custom recovery without ever leaving the comfy confines of Android.
Note that this method is also compatible with the Galaxy Nexus, Nexus 4, Nexus 7 (2013), and the Nexus 10.
Prerequisite
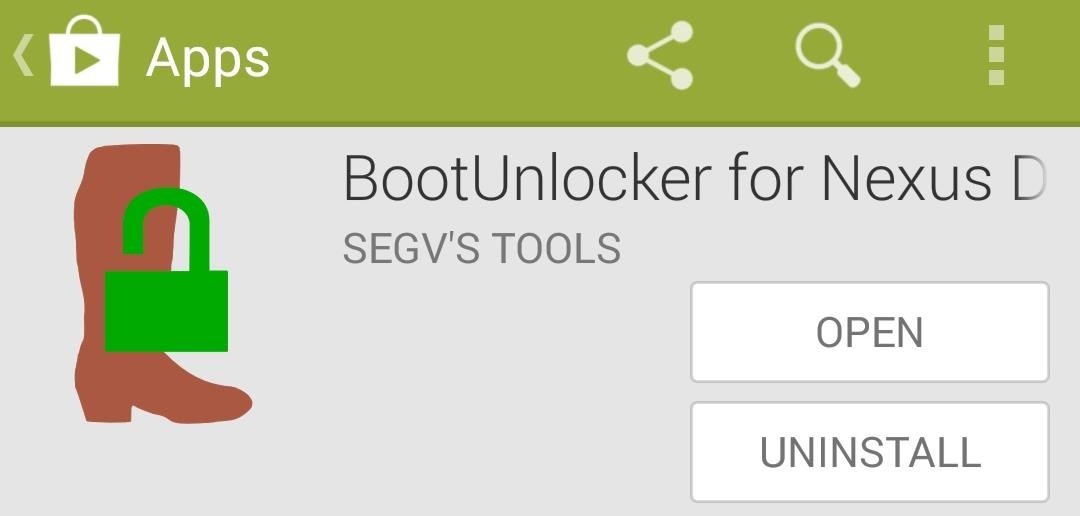
Step 1: Install BootUnlocker for Nexus Devices
Developer Segv's Tools has created a nifty app that will allow rooted users to unlock the bootloader on Nexus devices without losing any data. Just tap on this this link to head directly to the install page on Google Play when you're ready.
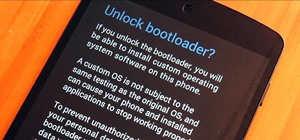
Step 2: Unlock Your Bootloader
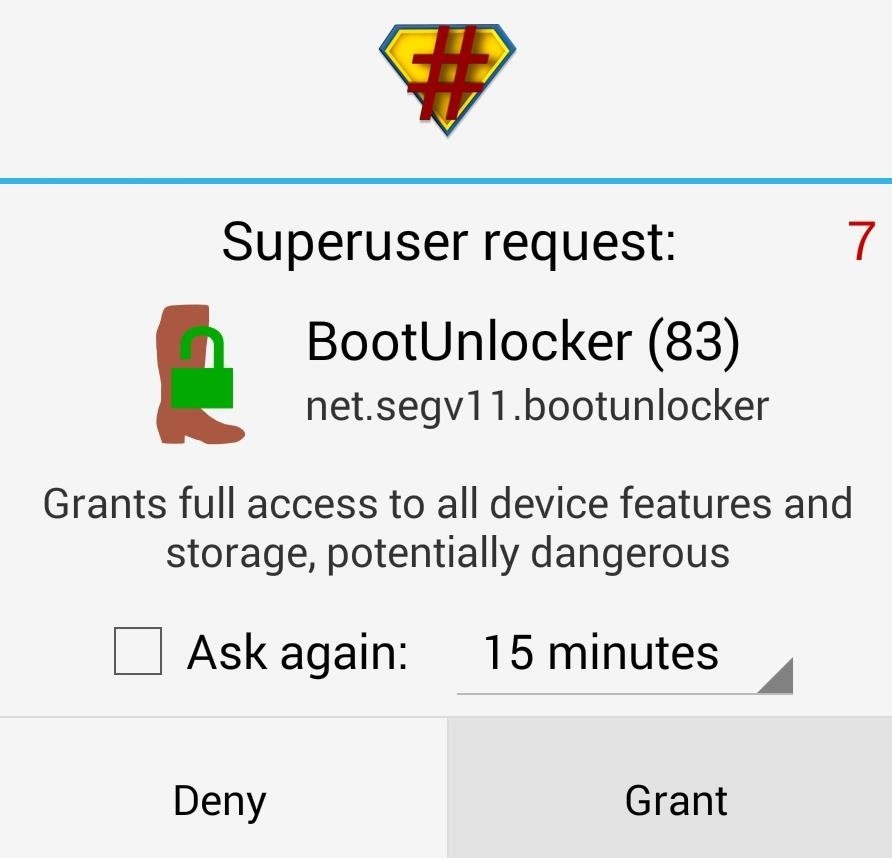
When you first launch BootUnlocker, you'll be asked to give the app Superuser permissions. Grant it those, and you'll be taken directly to the app's main screen.
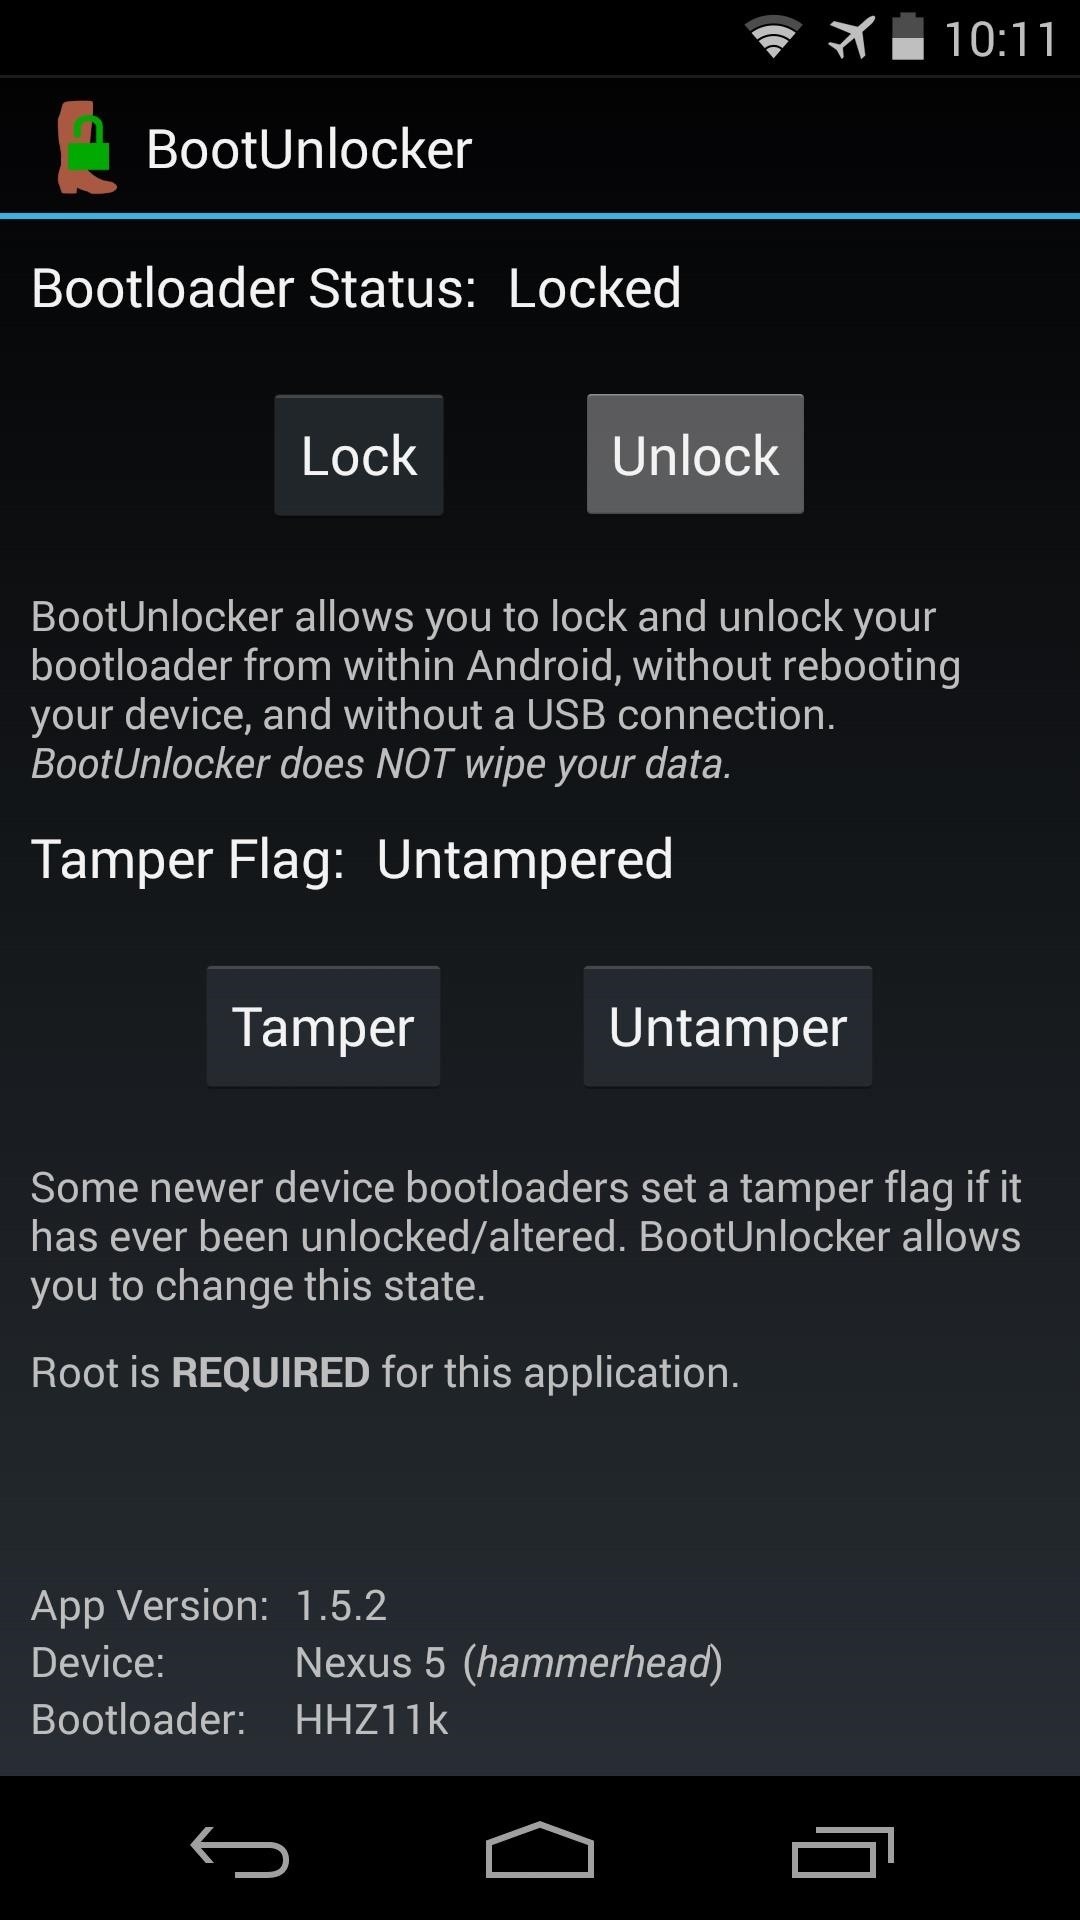
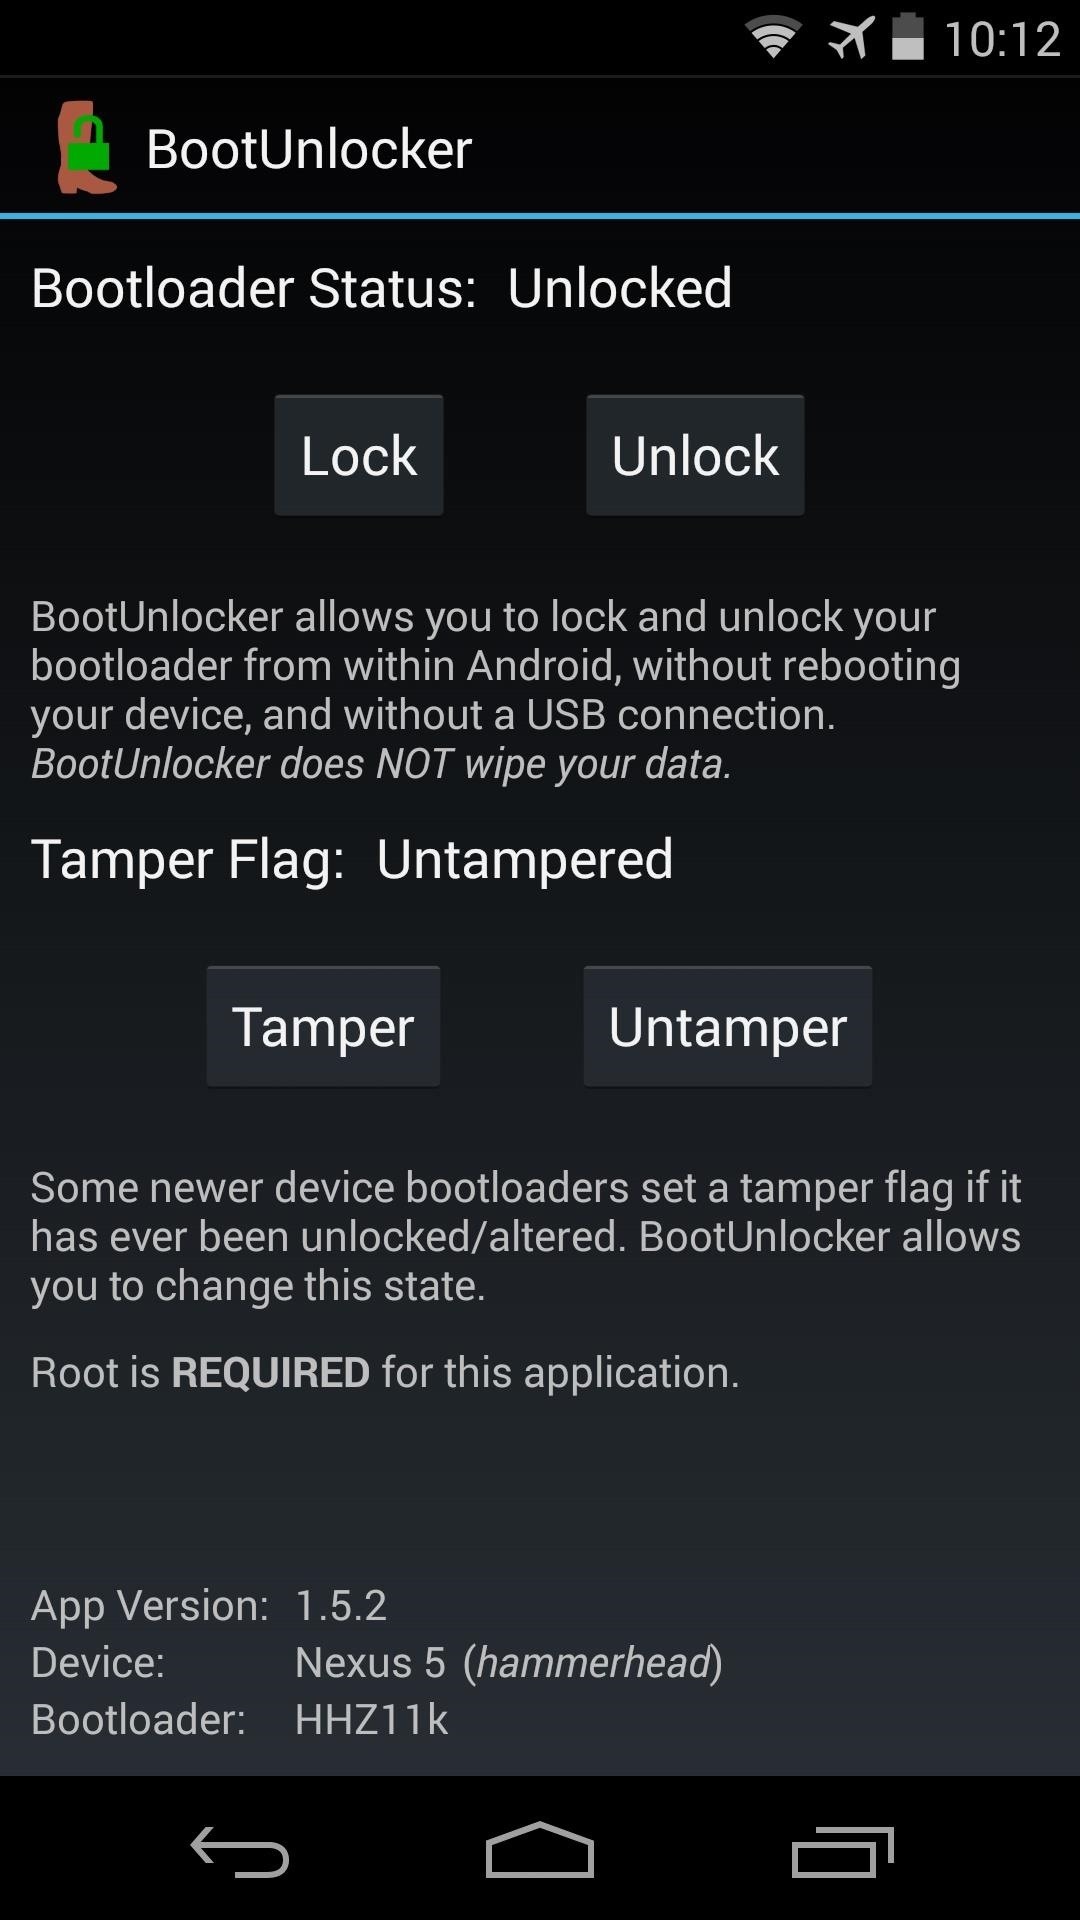
You'll notice that there's not much to this wonderfully simple tool—just buttons for locking and unlocking the bootloader and setting the tamper flag. To unlock your bootloader so that a custom recovery can be installed, just tap Unlock. You'll immediately see the results in the status at the top of the app.

Step 3: Install Flashify
Now that your bootloader is unlocked, you can install a custom recovery. A great tool to do just that was created by Christian Göllner, and he's made it available for free on Google Play. Tap this link to head directly to the Google Play Store install page.
Step 4: Install a Custom Recovery
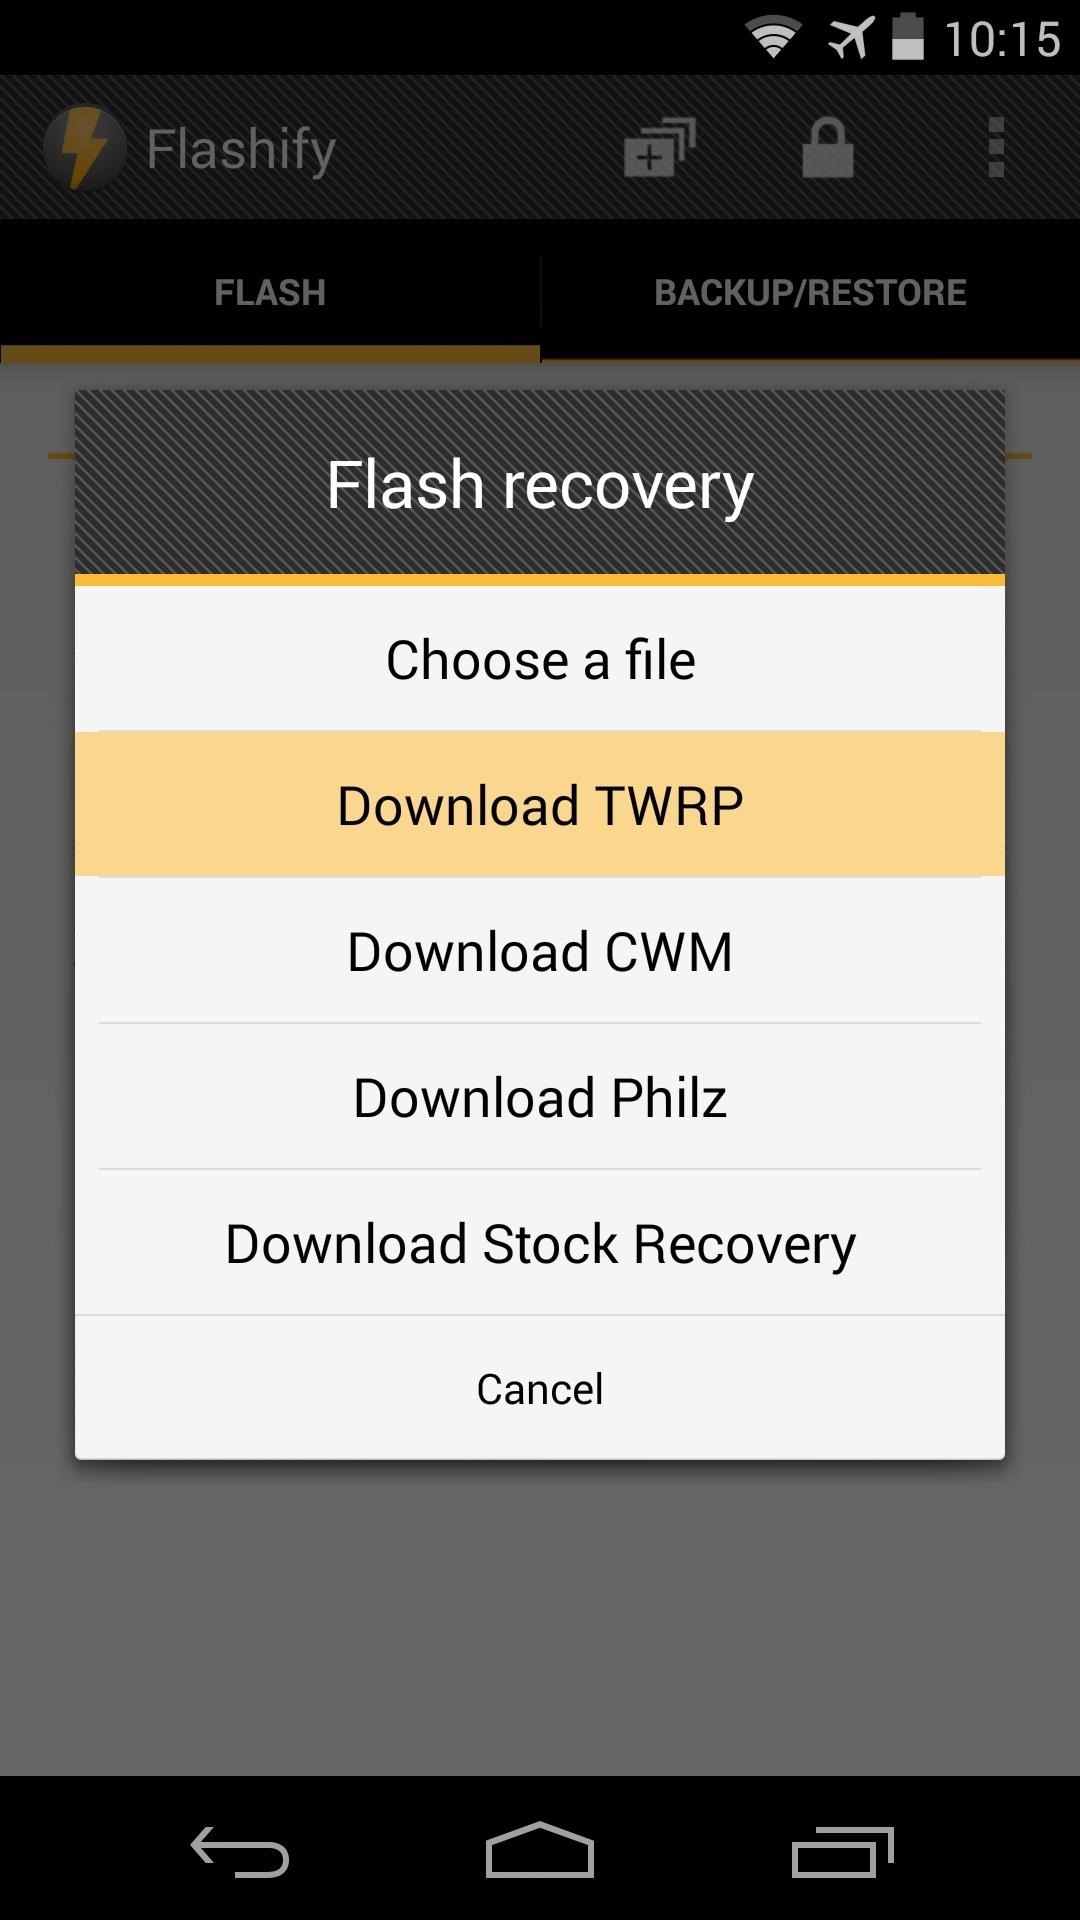
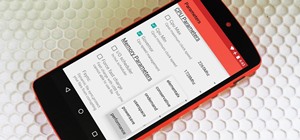
When you first launch Flashify, be sure to grant it root privileges. From the app's main screen, tap Recovery Image to get things started.
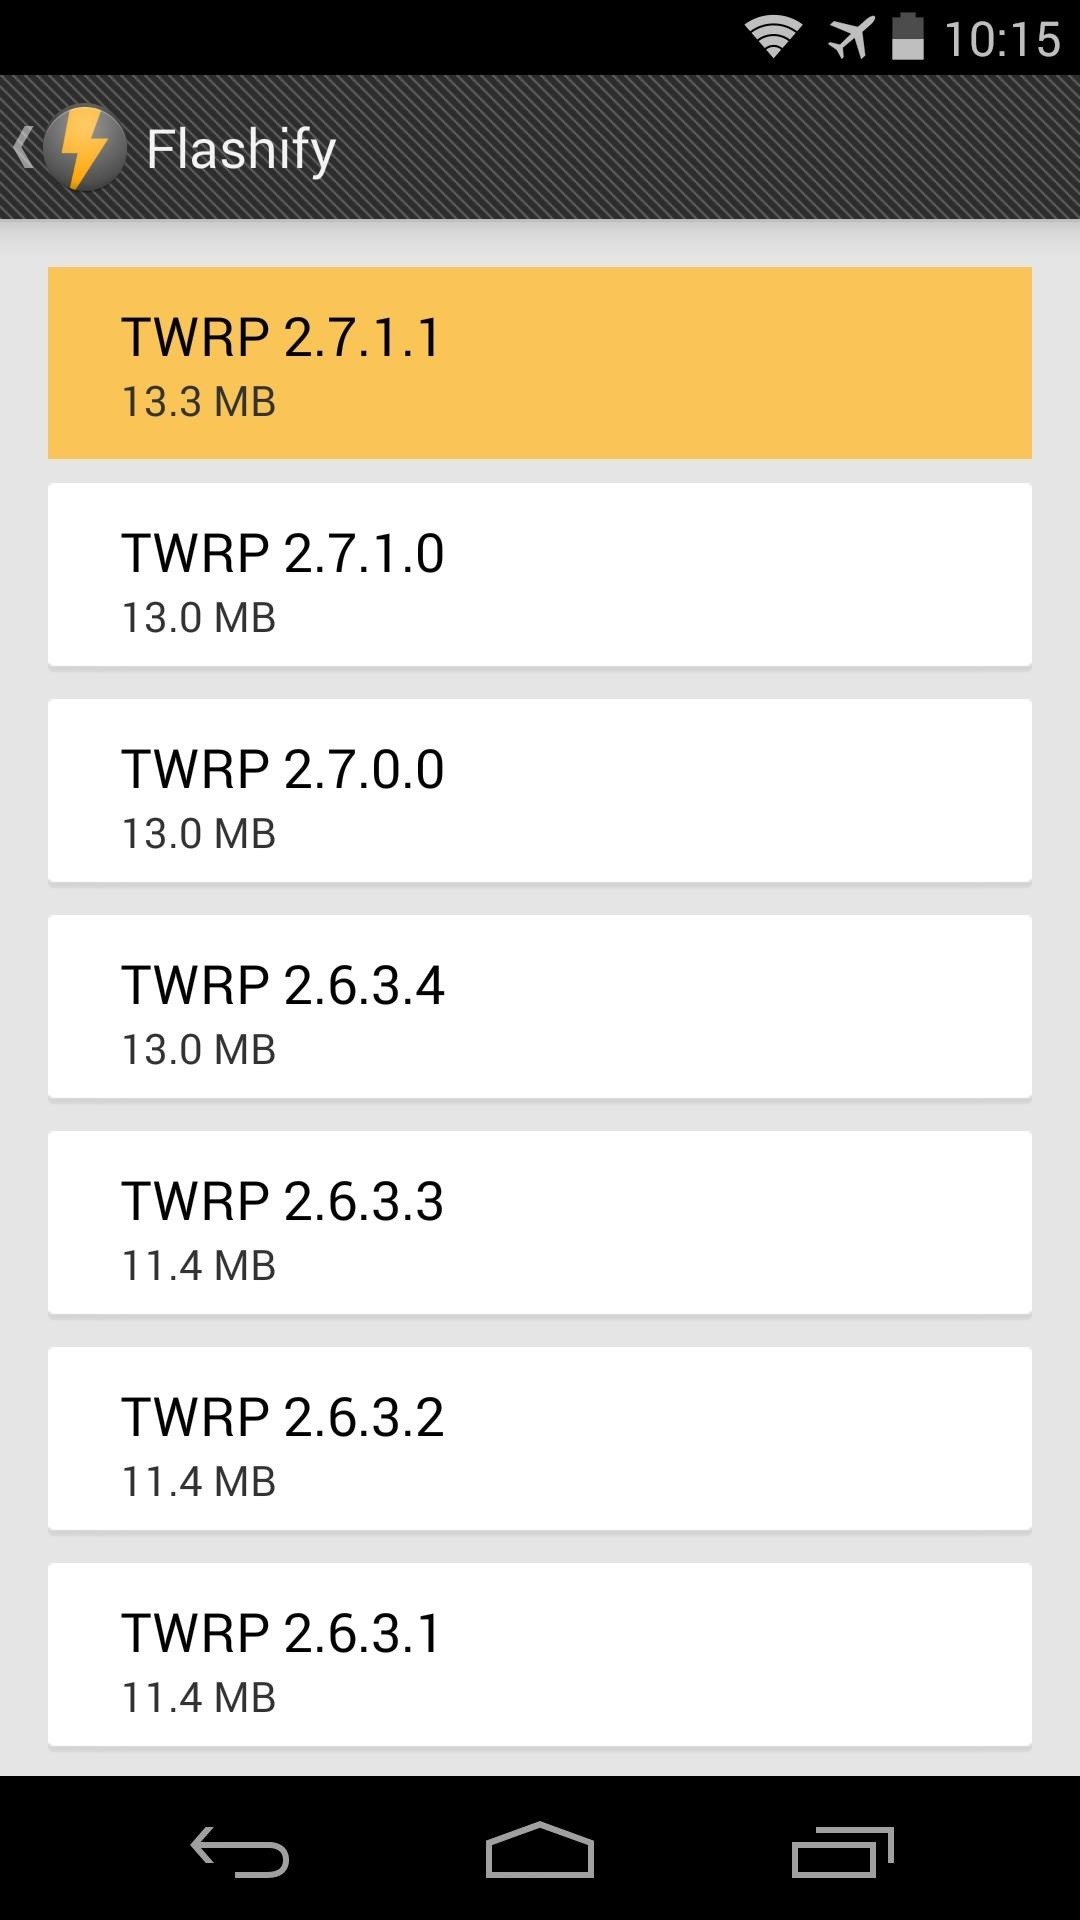
This will give you a list of all the custom recoveries that are available for your device. The best one of the lot is Team Win's TWRP Recovery. Tap this result, and then a list of all available versions will be populated. Choose the latest version from here, which is the top result.

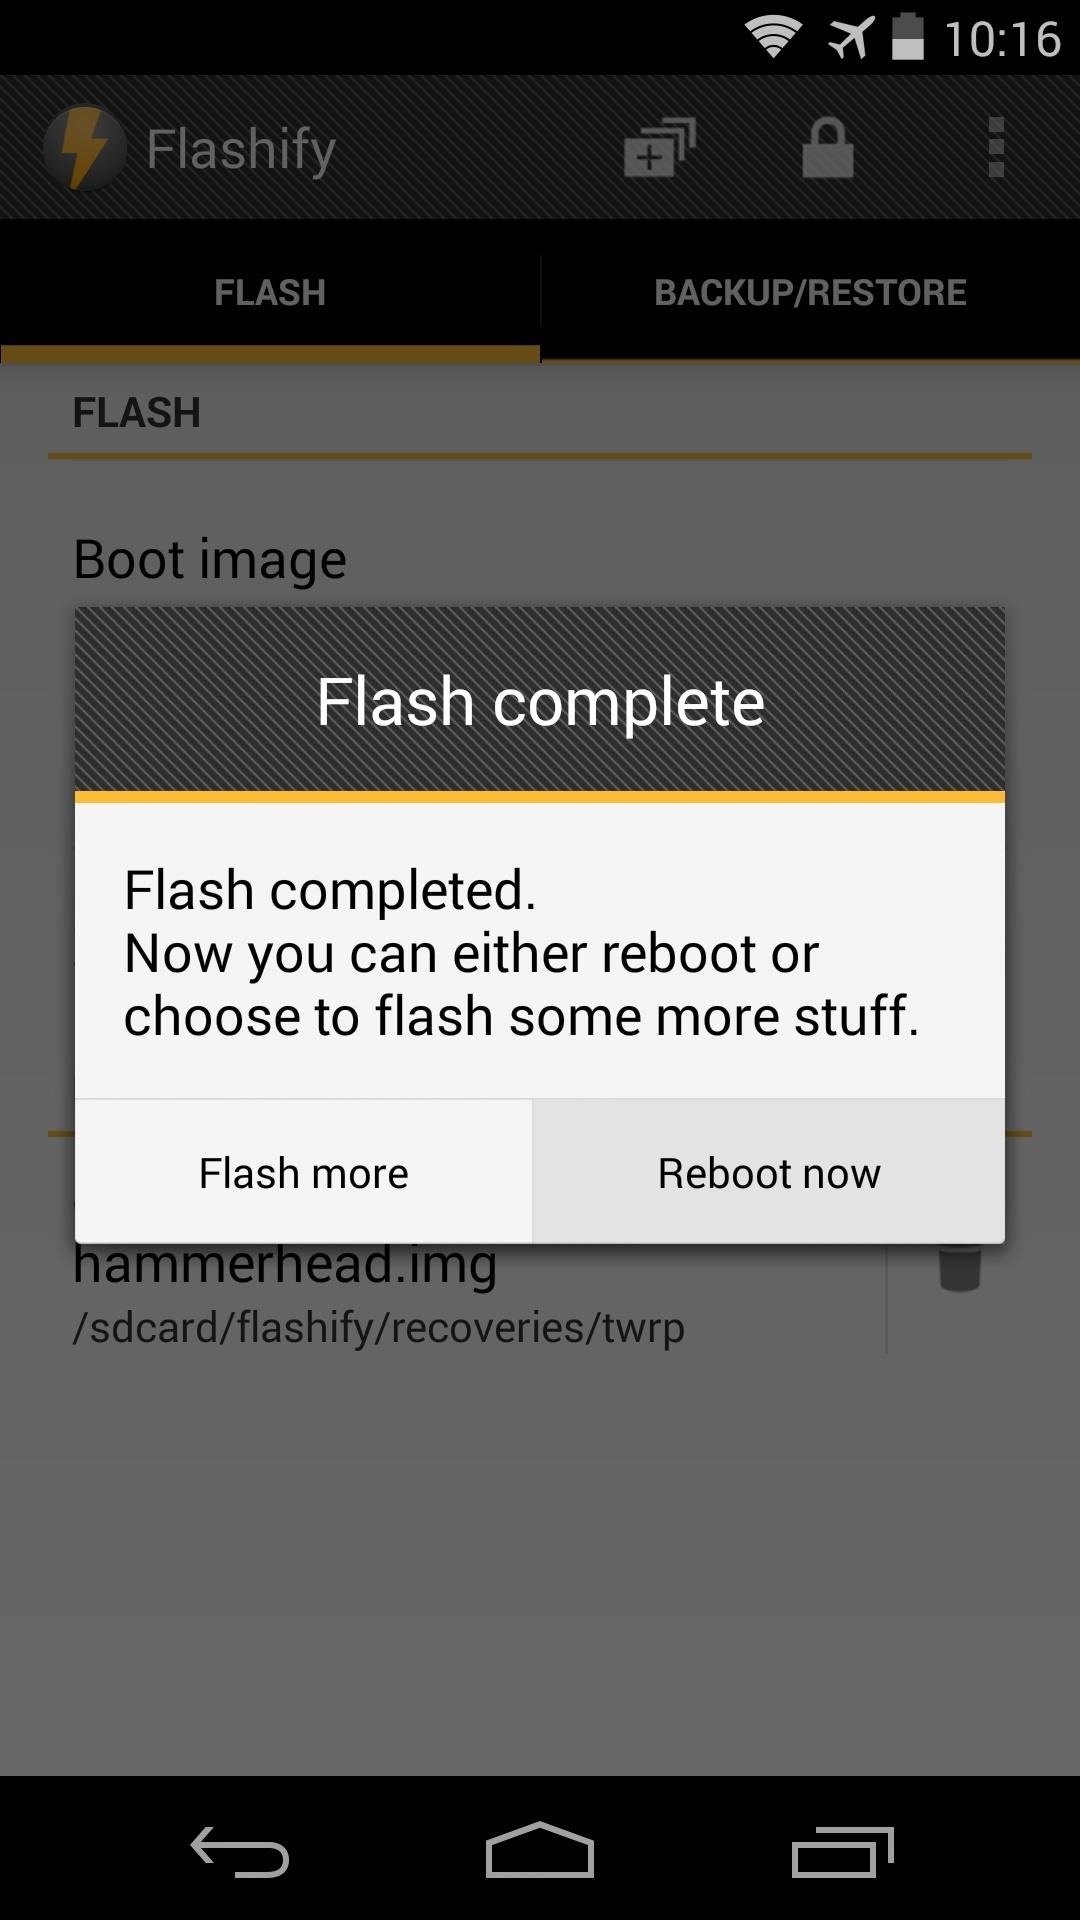
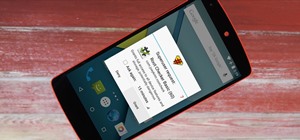
After Flashify has finished downloading TWRP Recovery, you'll be asked if you want to flash this file. Tap Yup! to start the process, and when it's finished, hit Reboot now to check out your new custom recovery.

Before you get too far ahead of yourself with all of the flashing, be sure to make a backup of your existing setup. You can do this by tapping the Backup button in TWRP, then swiping the slider at the bottom to initiate the process.
Now you should have root and a custom recovery installed. The world of Android Gadget Hacks is now your oyster. What are some of the ZIPs you've flashed so far? Let us know in the comments section below.
Just updated your iPhone? You'll find new emoji, enhanced security, podcast transcripts, Apple Cash virtual numbers, and other useful features. There are even new additions hidden within Safari. Find out what's new and changed on your iPhone with the iOS 17.4 update.


6 Comments
Dallas,
Good evening sir...
Question for you...will this work with a Nexus 6?
Unfortunately, no. BootUnlocker doesn't support newer devices.
thank you so much :)
when I downloaded bootloader, the app did not ask me for permission and it wont let me unlock anything. It also says "Bootloader Status: No root access" Please help!!!
nevermind i fixed it
please tell me how you fixed it i got the same thing :(
Try going to your SuperSU app and see if there's an entry for BootUnlocker for Nexus Devices. If there is, delete it from the list, then clear BootUnlocker from your recent apps. When you launch again, it should ask you to grant root access this time.
Share Your Thoughts