
It's really amazing how much you can do with root access on an Android device. From various themes to porting exclusive funtionality from other devices, the power of Superuser privileges is truly awesome.
Adding another entry to this great list, developer Ouadban Youssef has created an app that will allow you to control your device without touching the screen. Tilt Scroll (free on Google Play) lets you hold your smartphone at an angle, then responds by scrolling the page you're viewing in that direction.
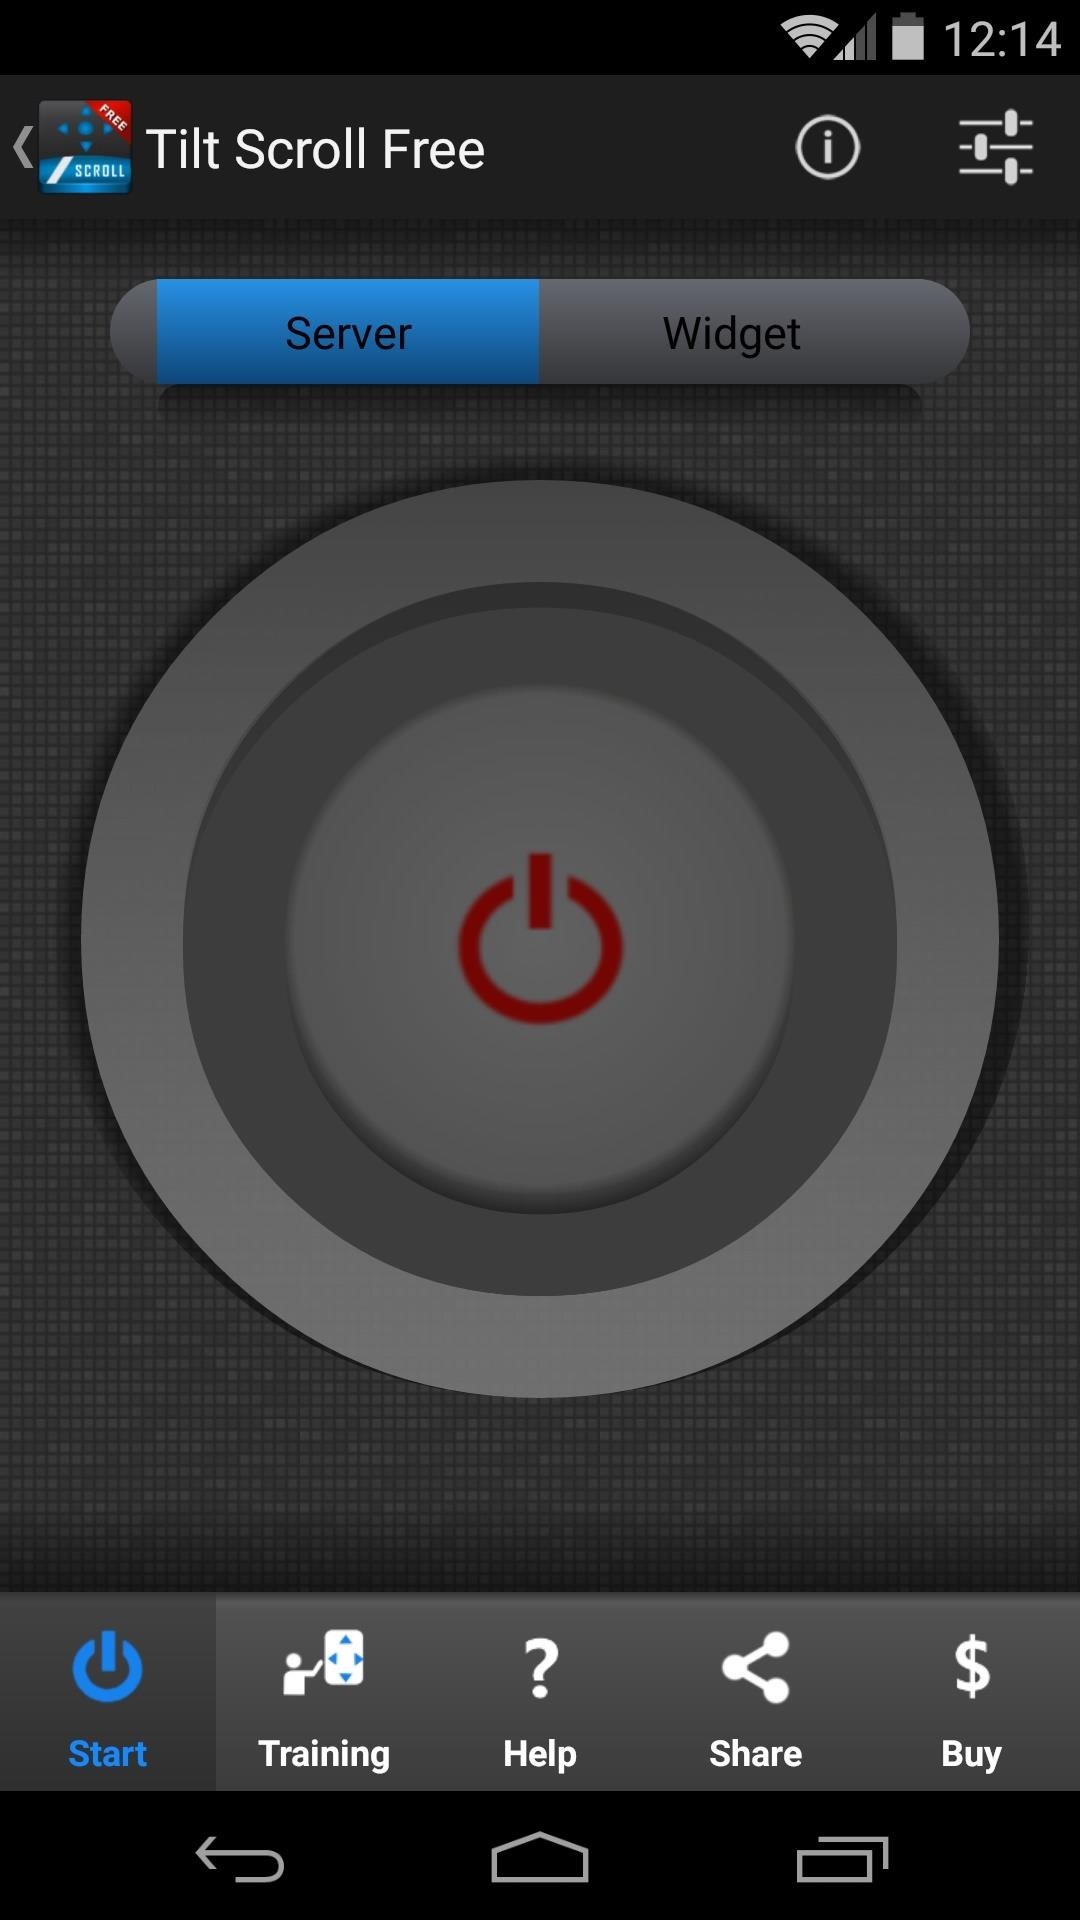
Step 1: Enable the Server & Widget
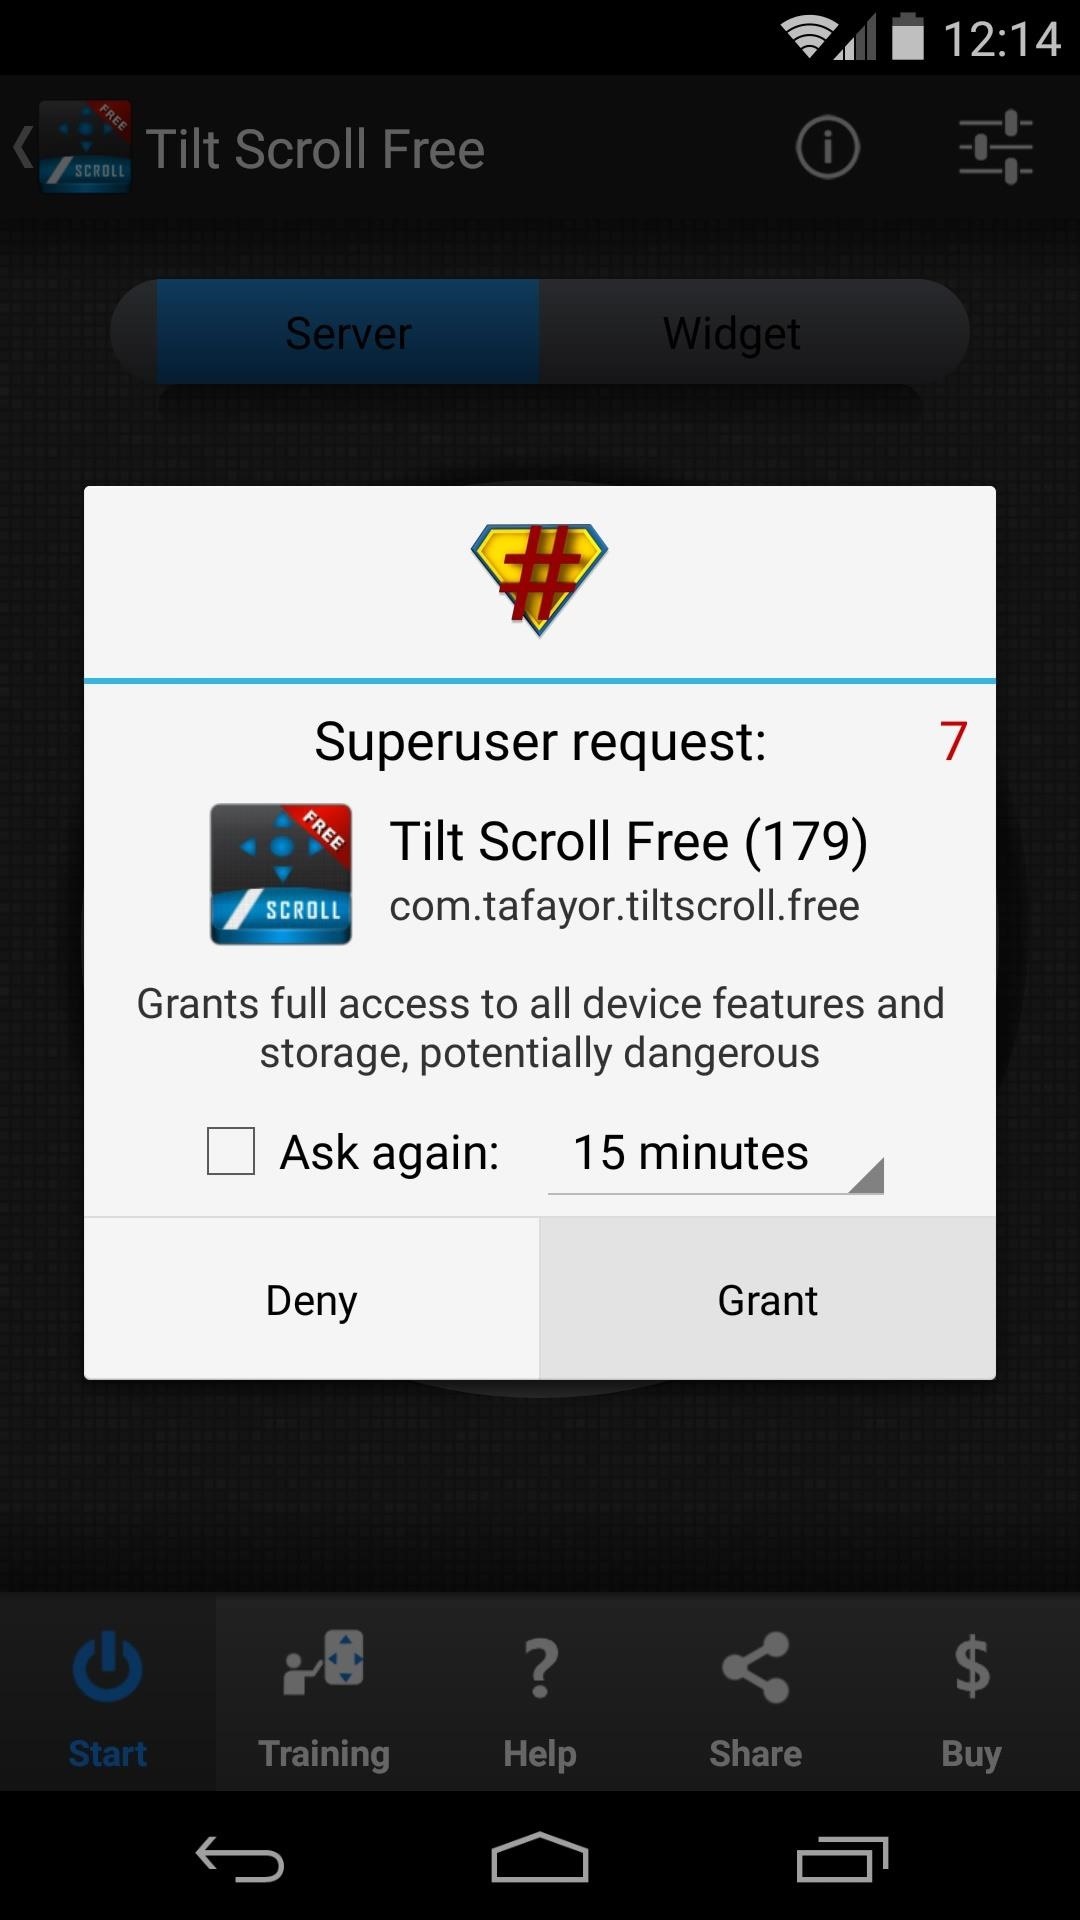
Once you've got the app installed, go ahead and open Tilt Scroll to do a bit of initial setup. From the main screen, tap the Power Button icon to enable the tilt gesture server. At this point, the app will ask for Superuser privileges, so hit Grant on the pop-up.
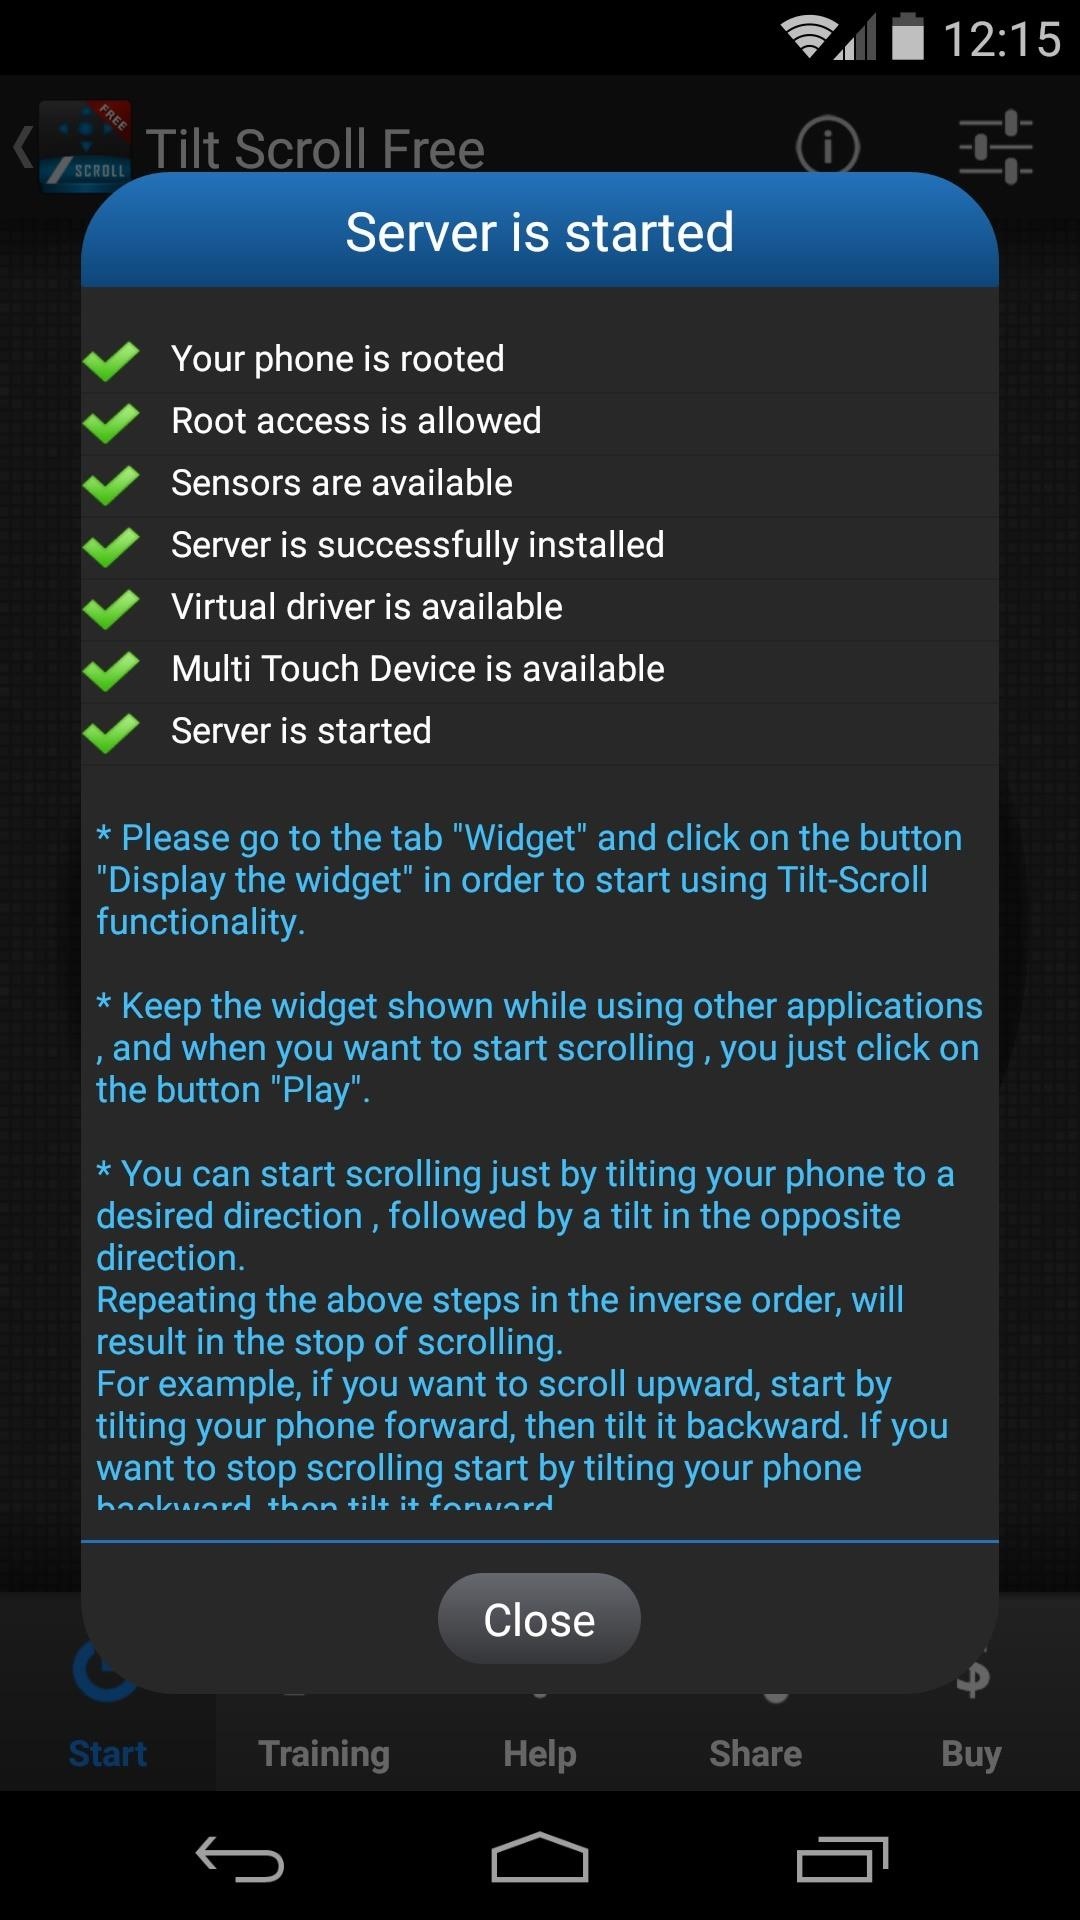
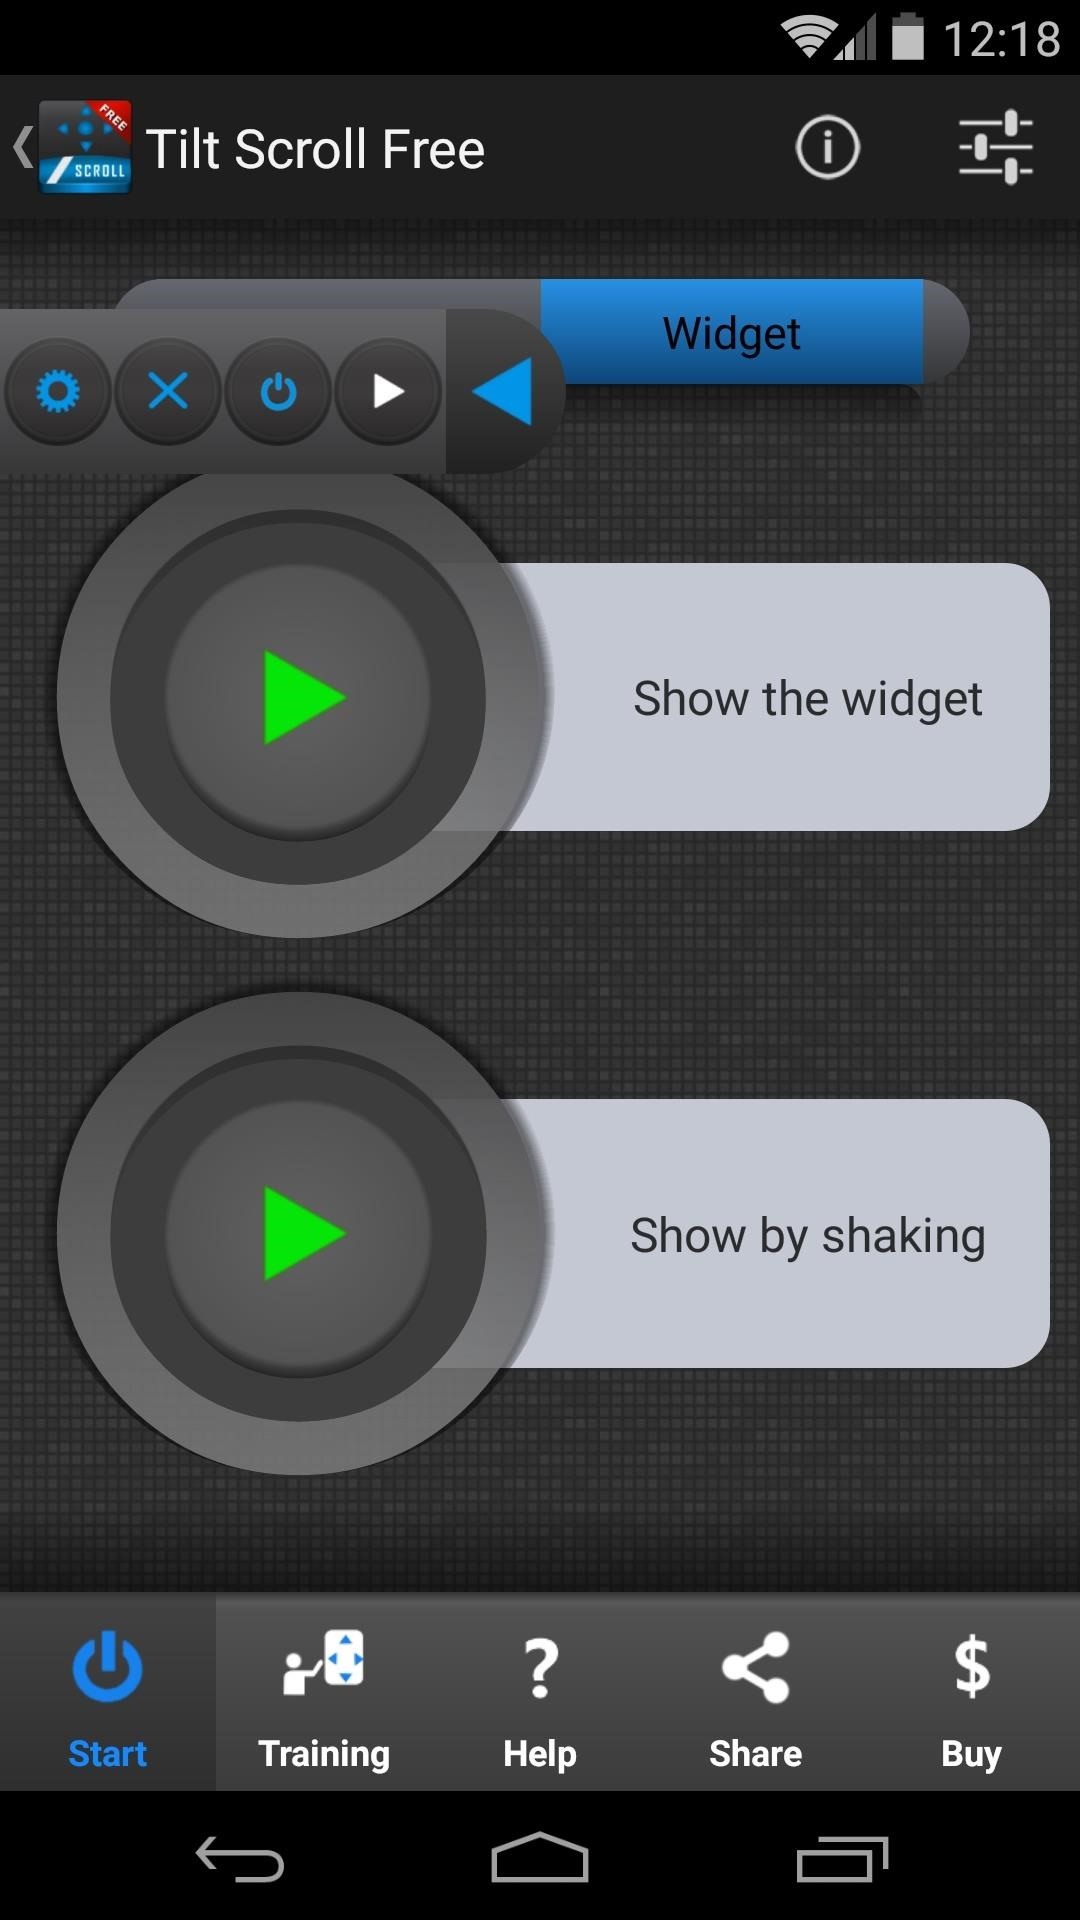
After closing out the Server is started message, head to the Widget tab. From here, tap the Play Button next to Show the Widget, and a small popup menu will appear that persists on each screen. This menu allows you to start the tilt gesture service.
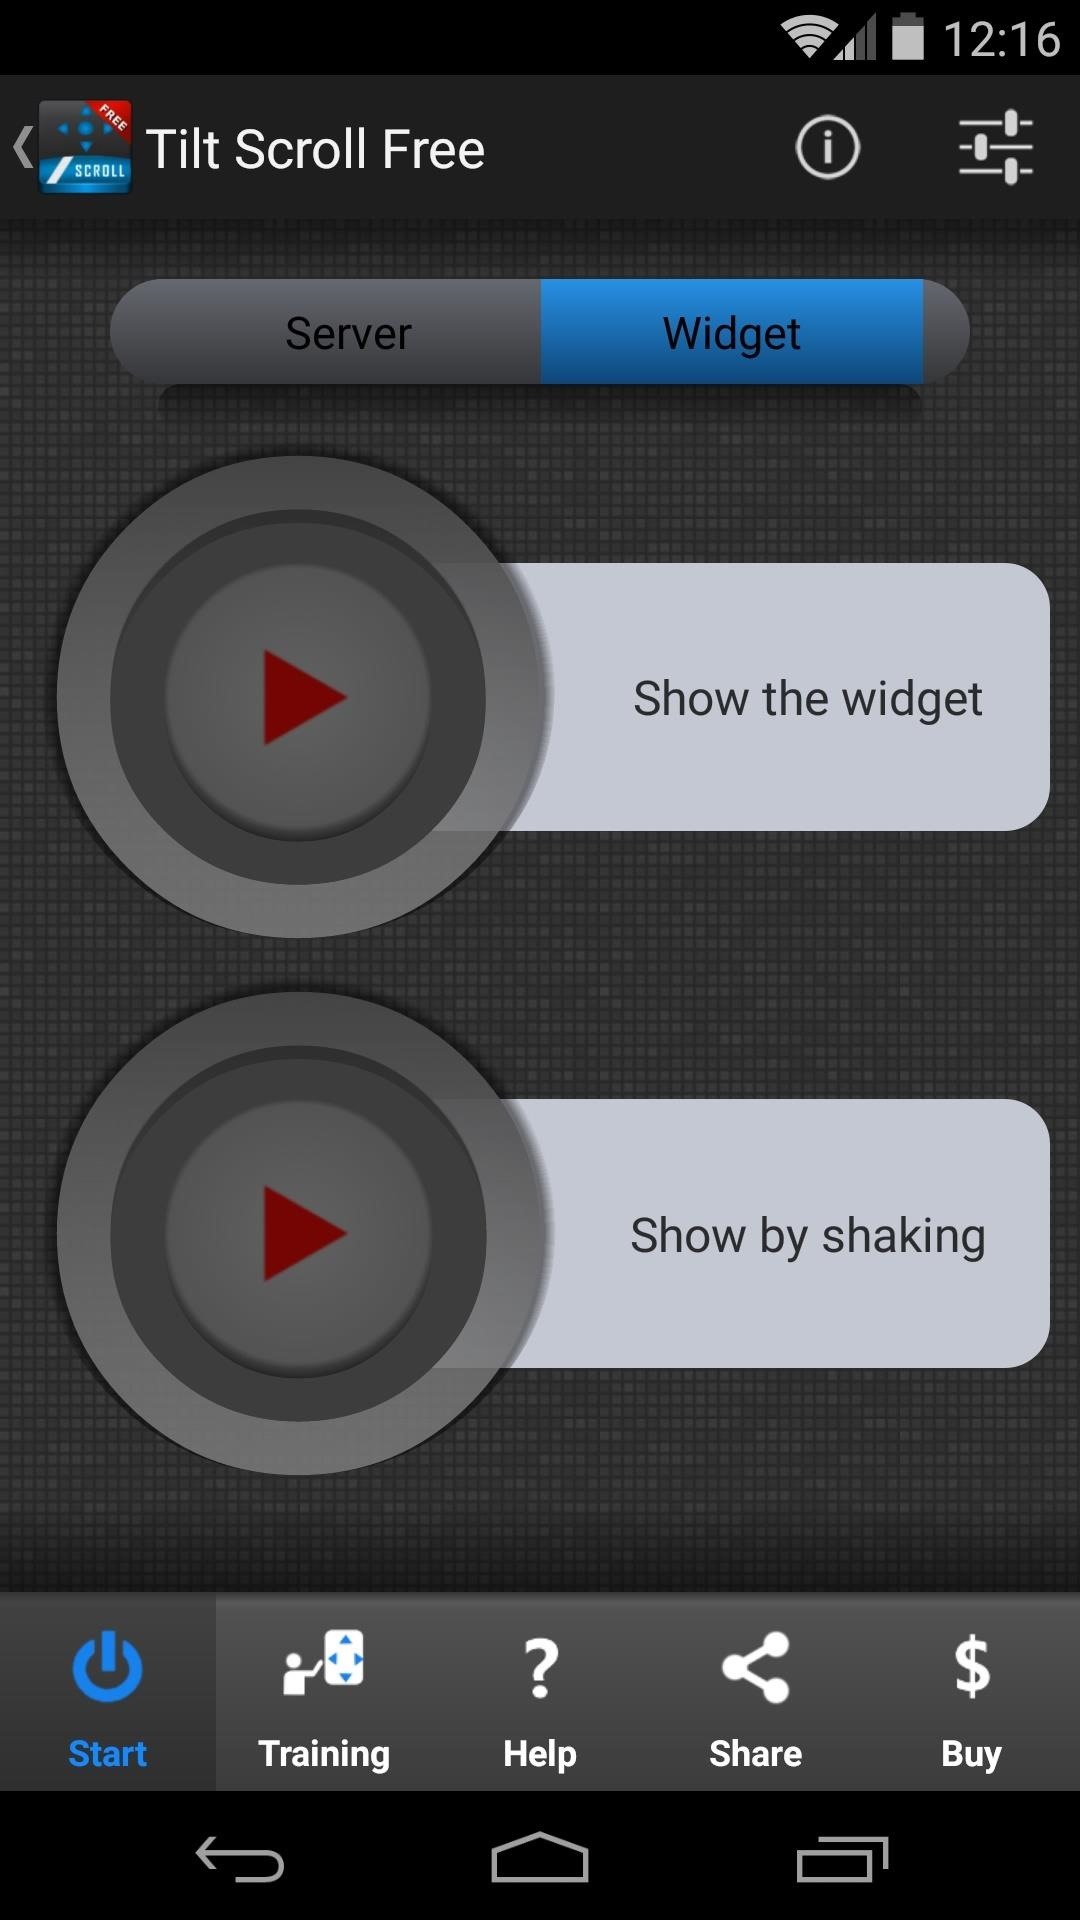
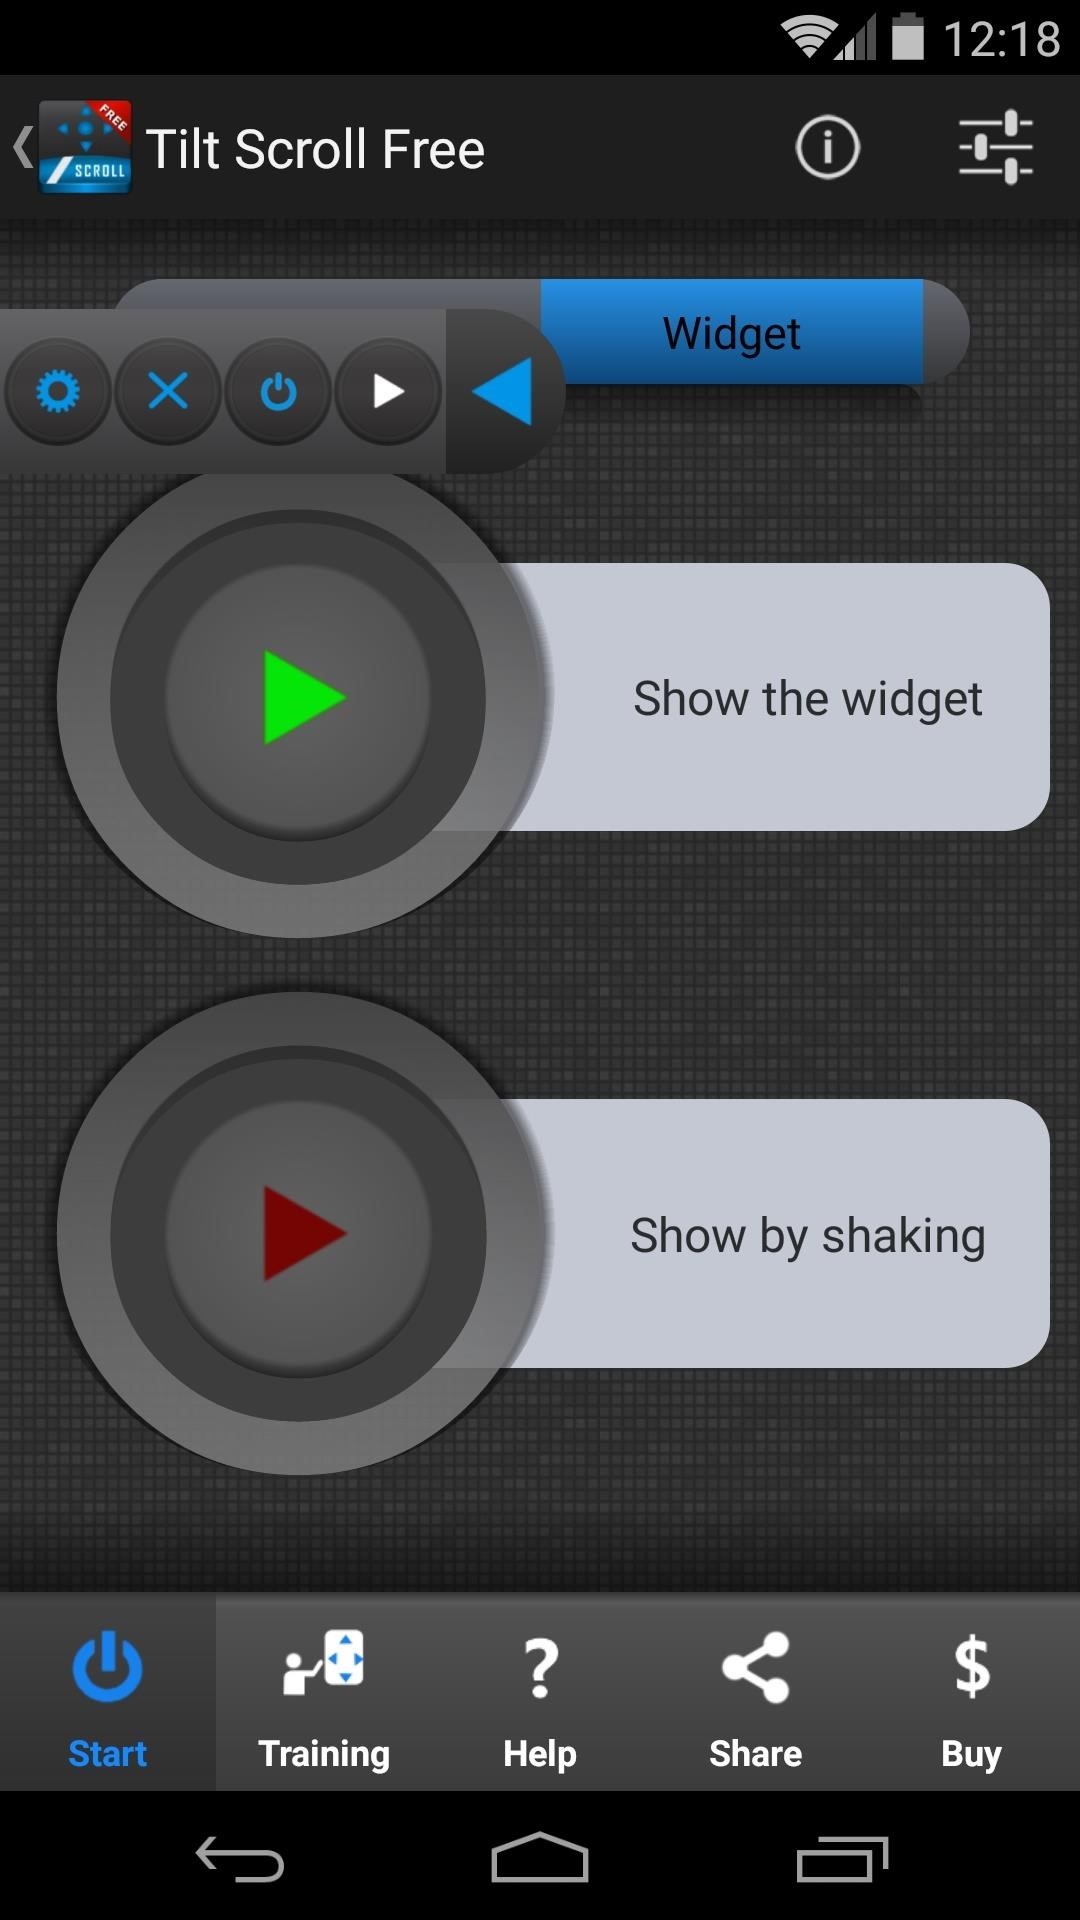
Optionally, if you'd prefer not to have the widget floating on top of every screen at all times, you can tap the Play Button next to the Show by shaking entry. This will allow you to hide the widget, then call it back up with a simple shake gesture whenever you'd like to use the tilt scrolling functions.

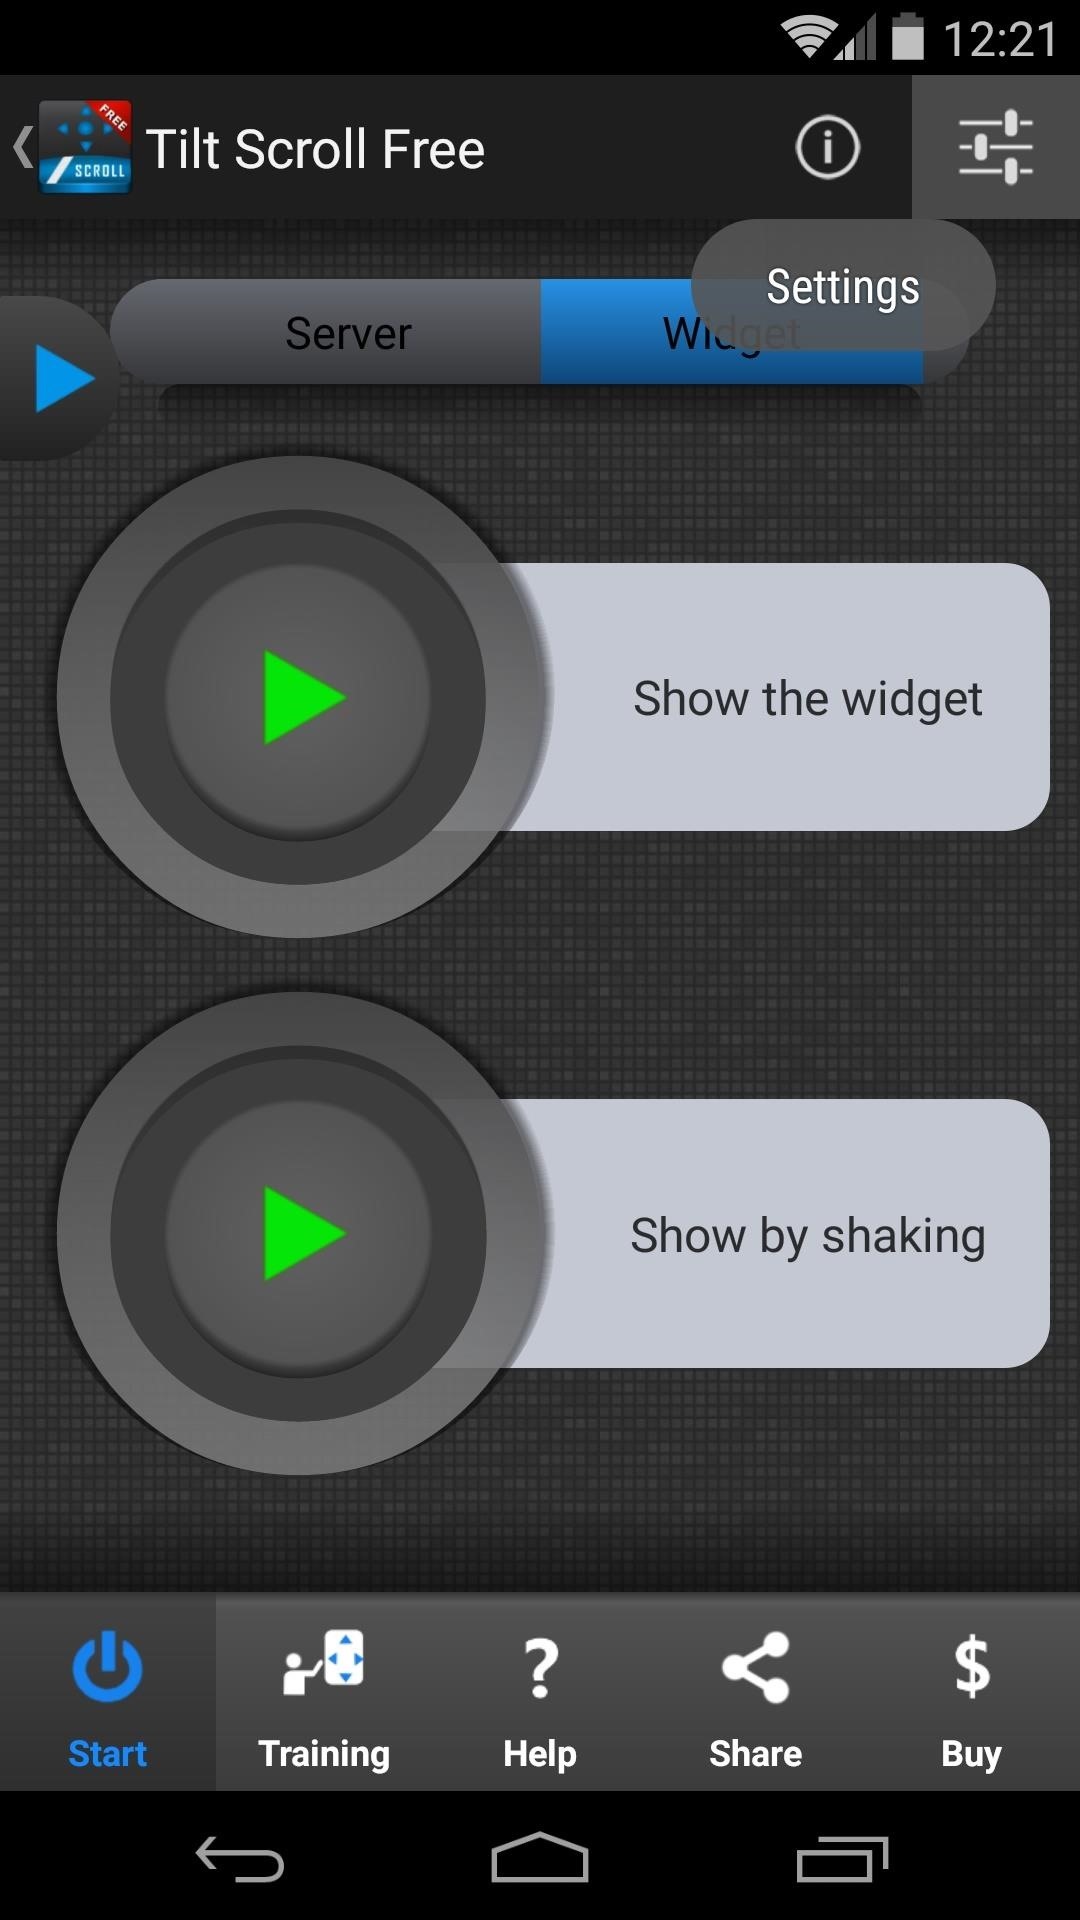
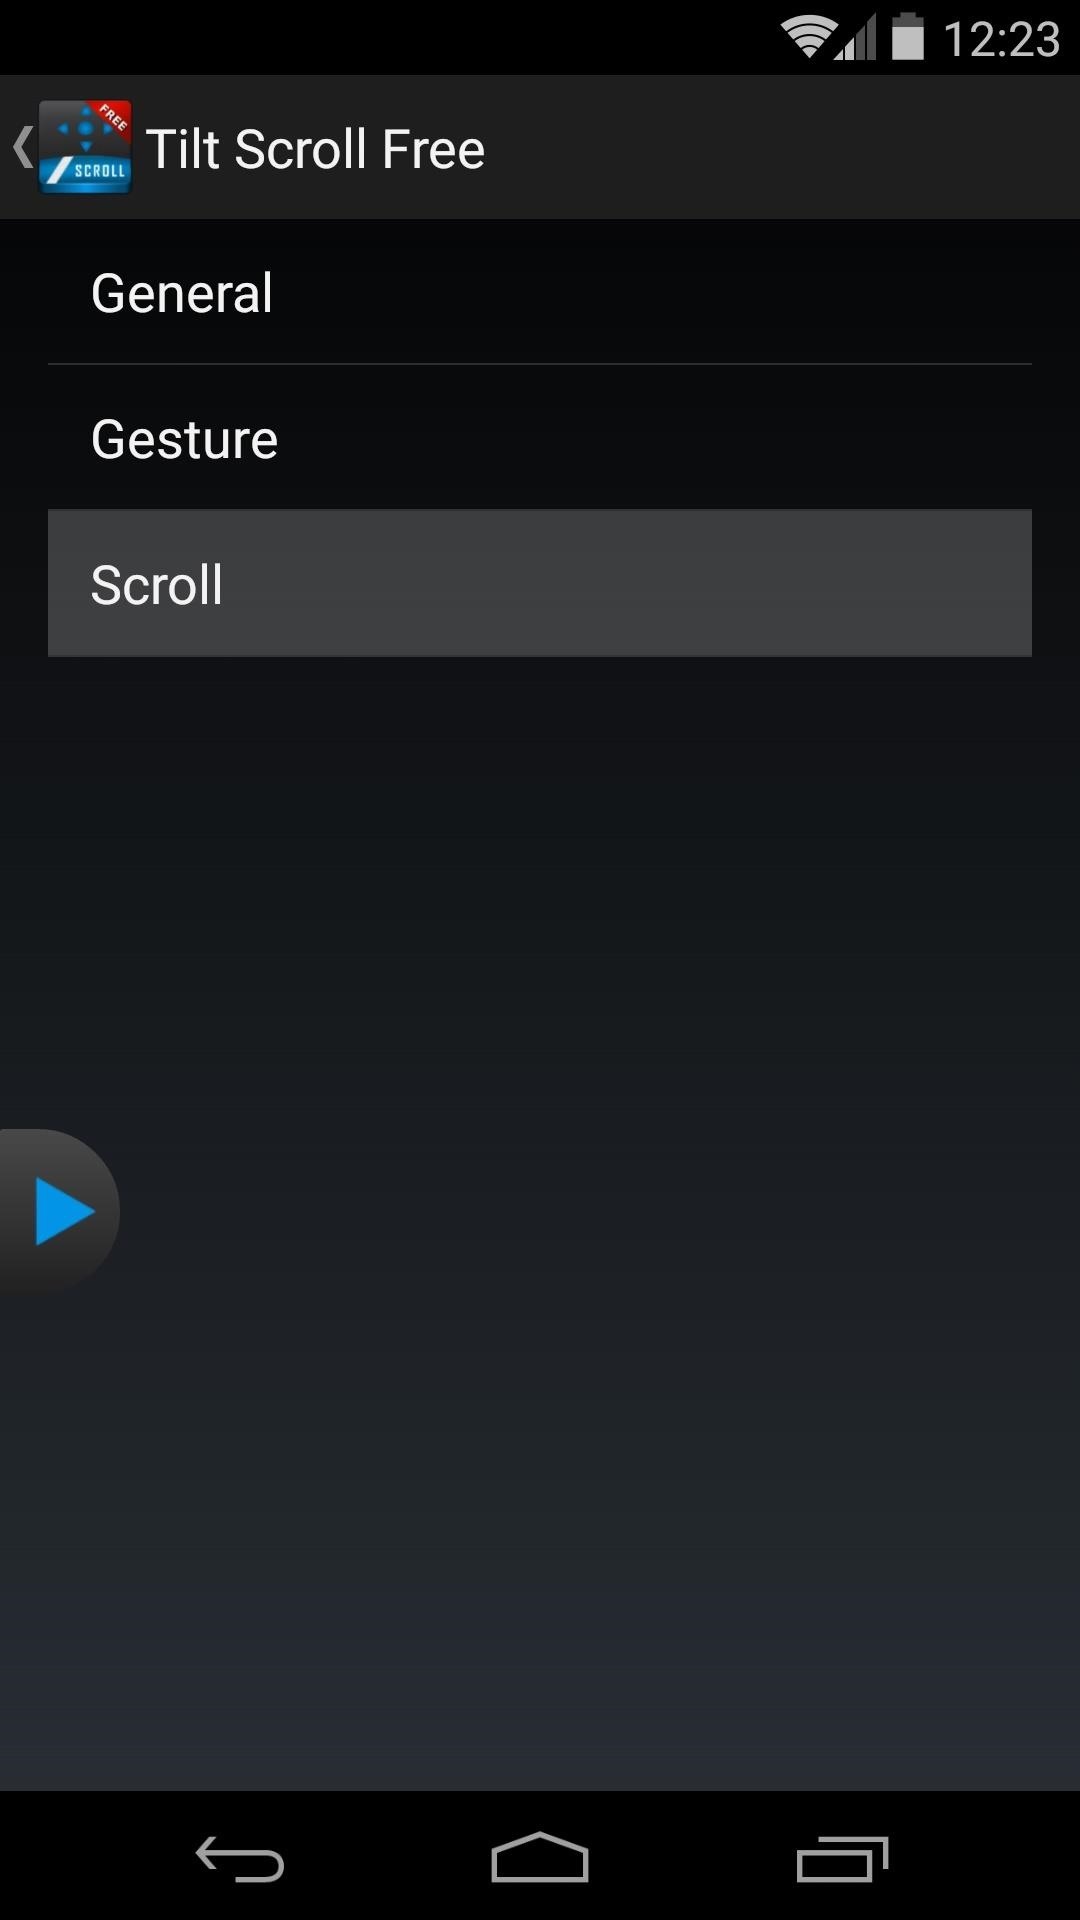
Step 2: Configure Additional Options
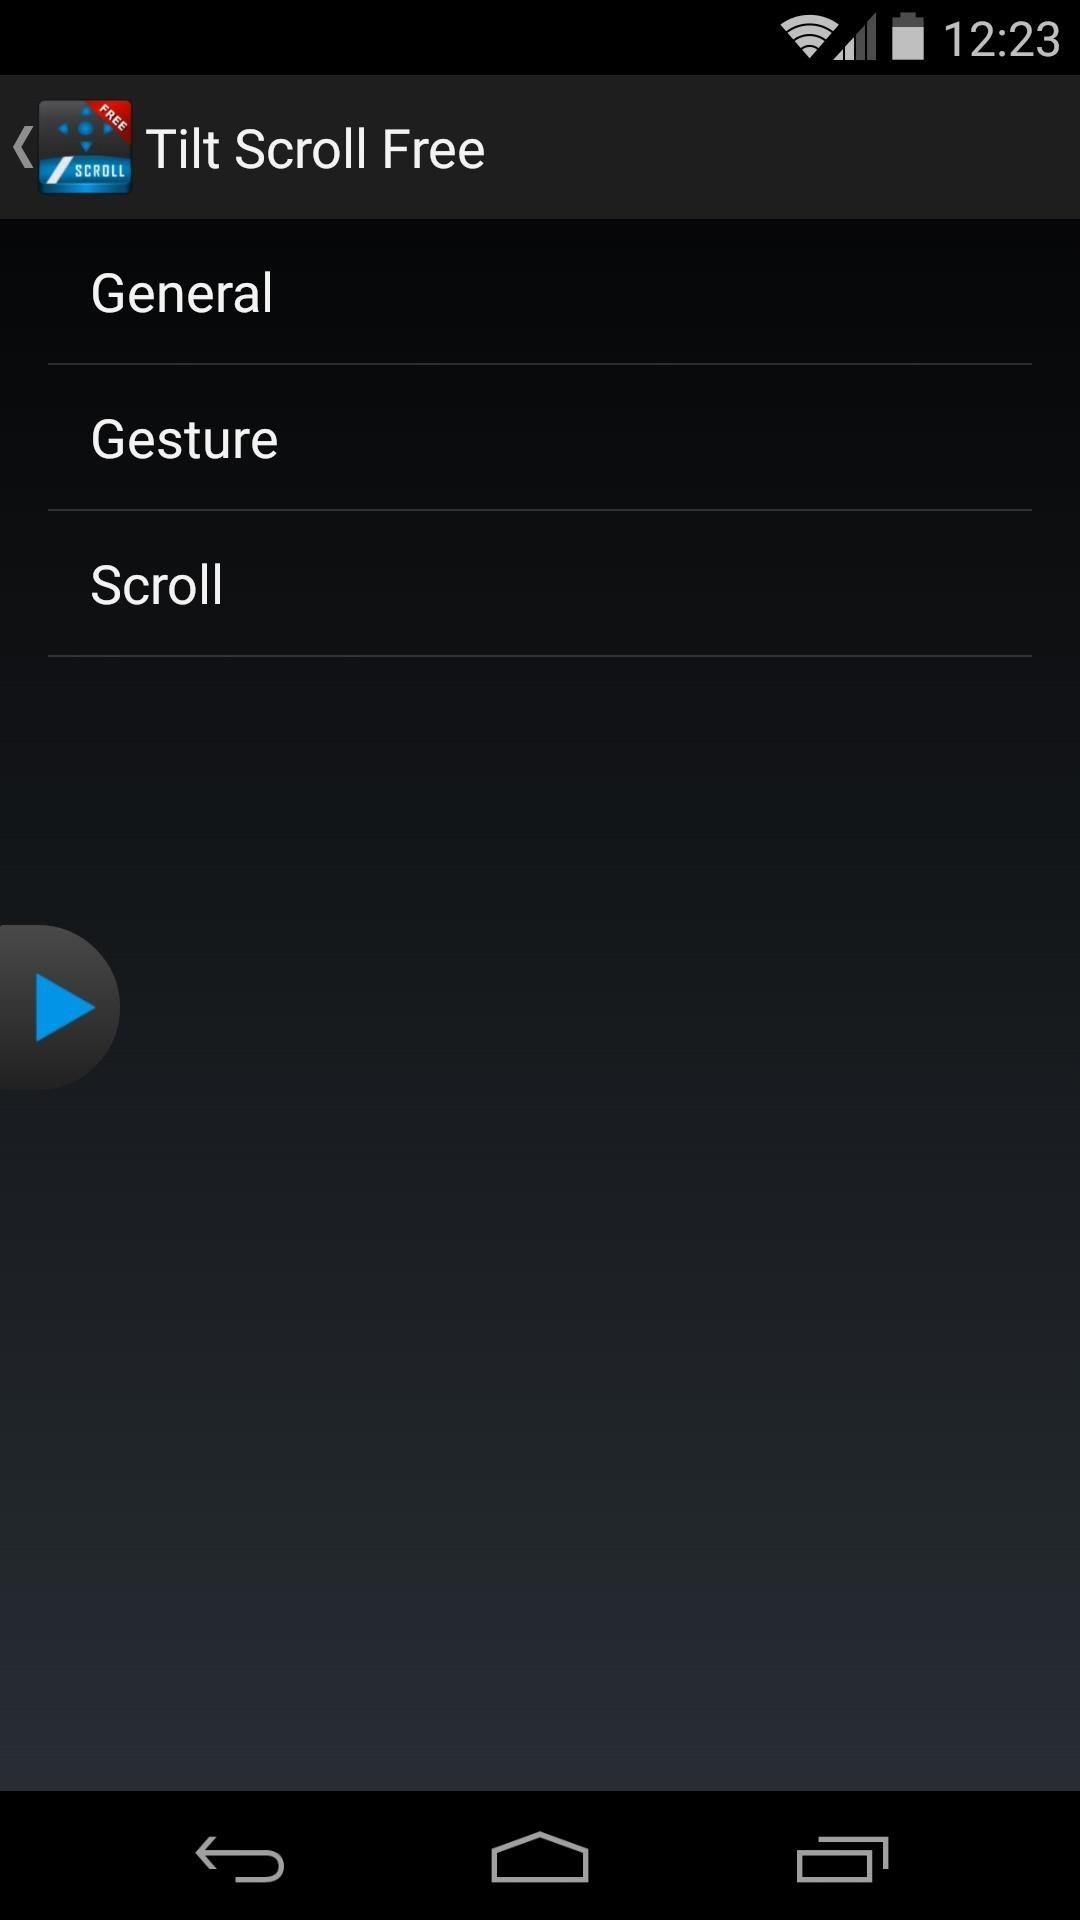
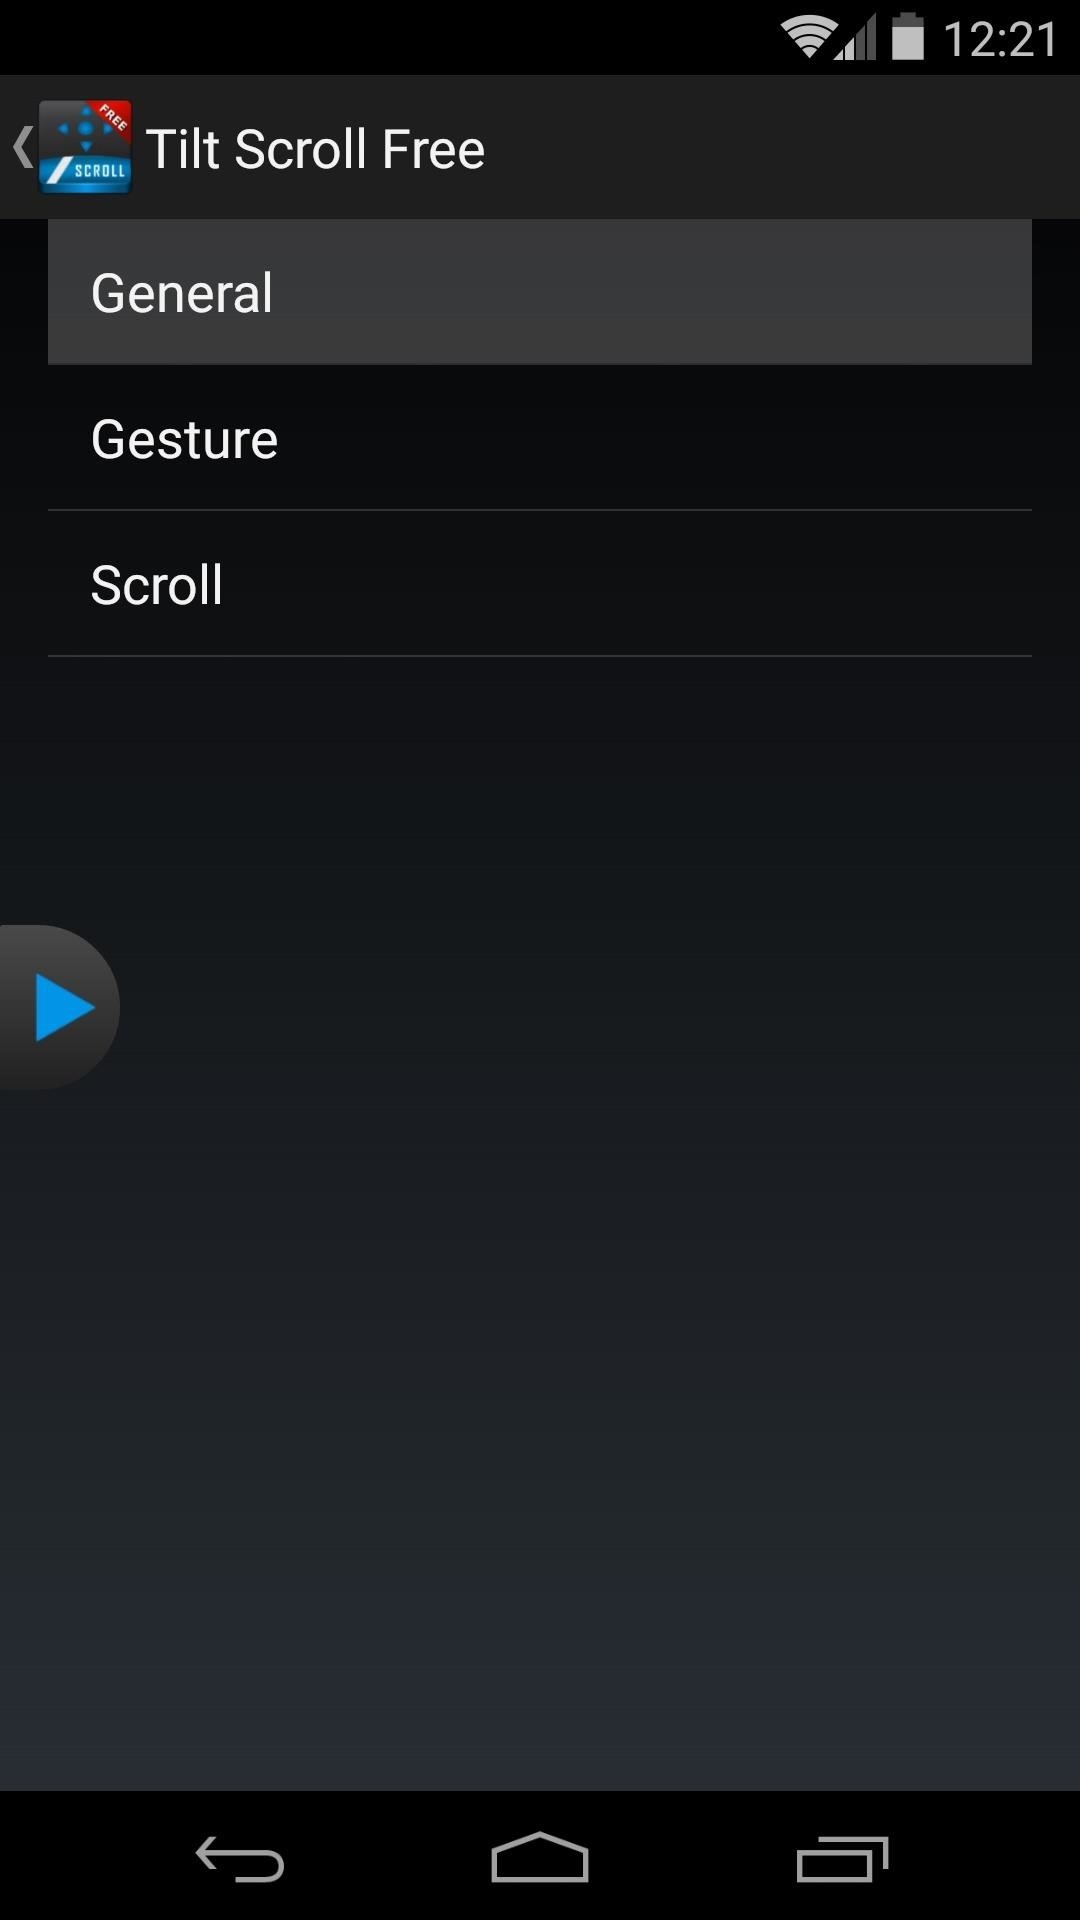
To fine-tune your experience a bit further, tap the Settings icon at the top of the screen.
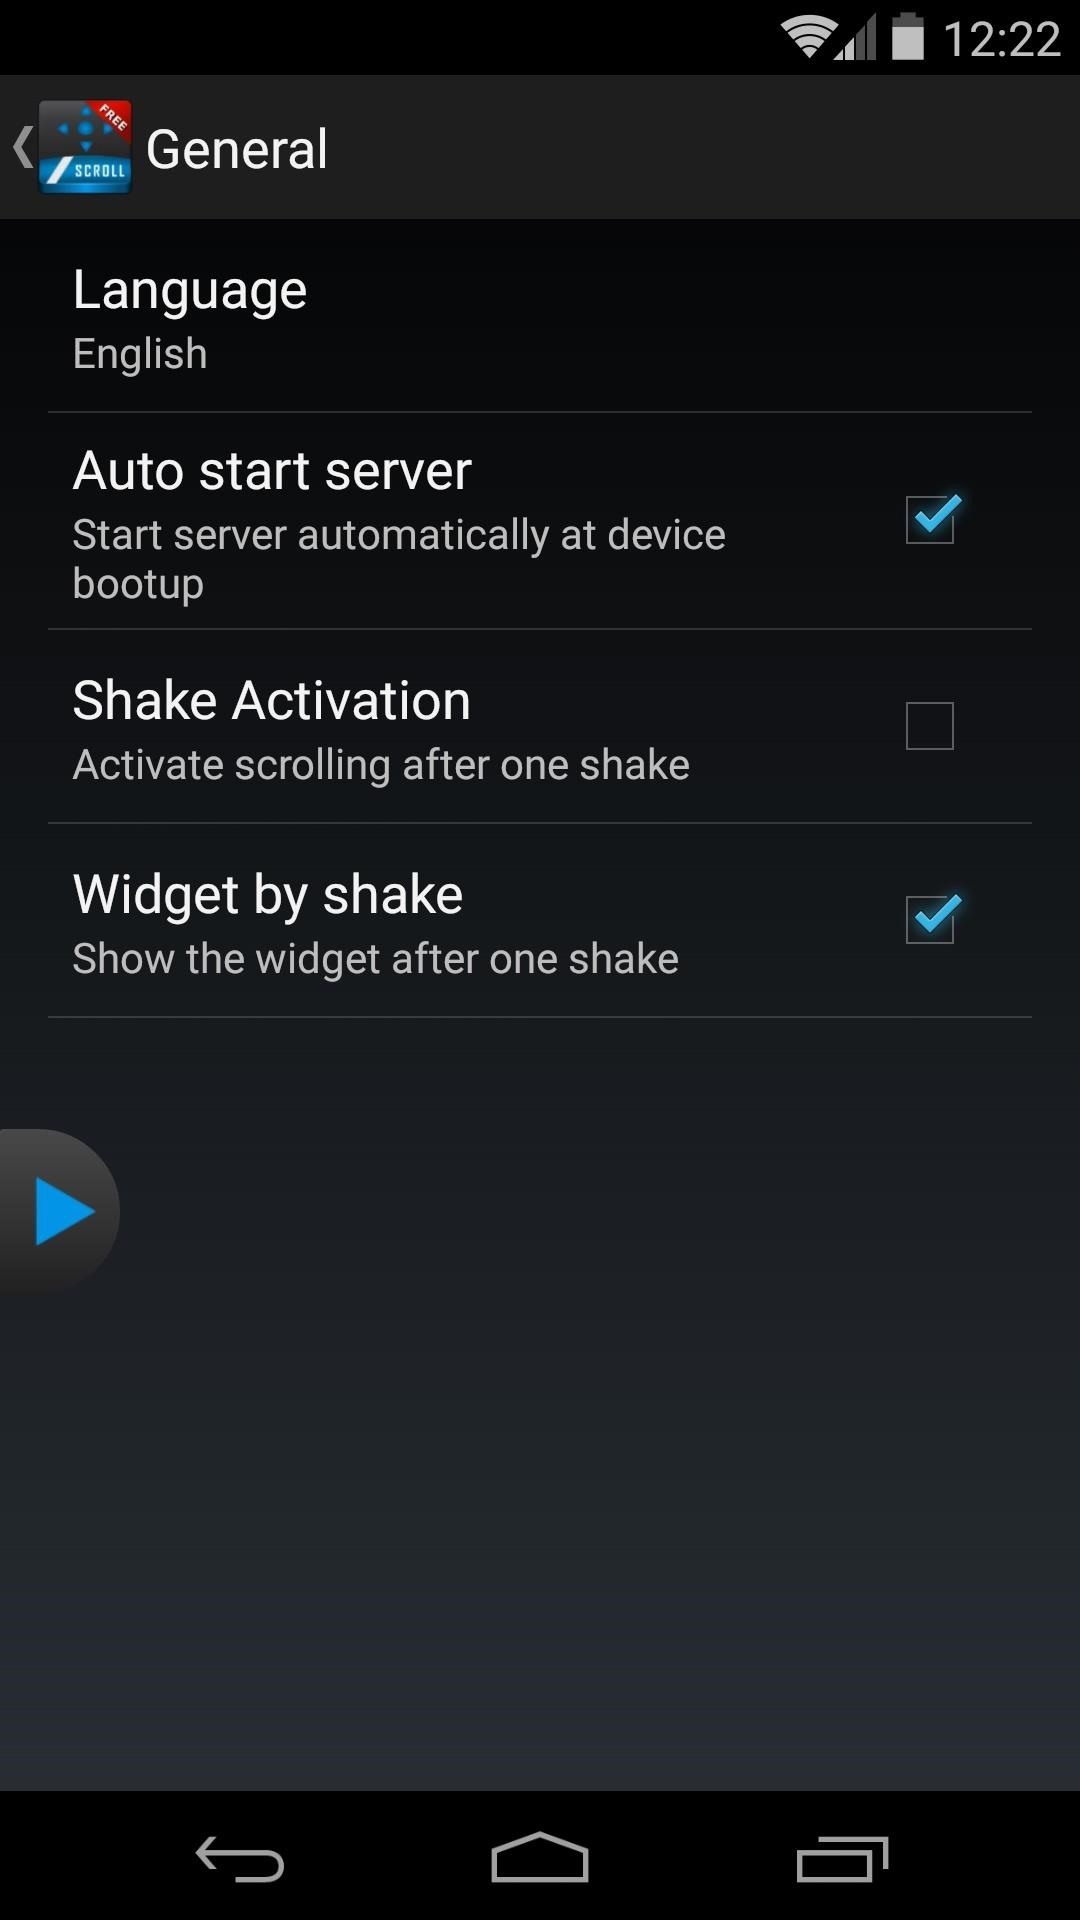
From the General entry, you can set whether or not you want the server to be started automatically at boot, as well as enable shake gestures.
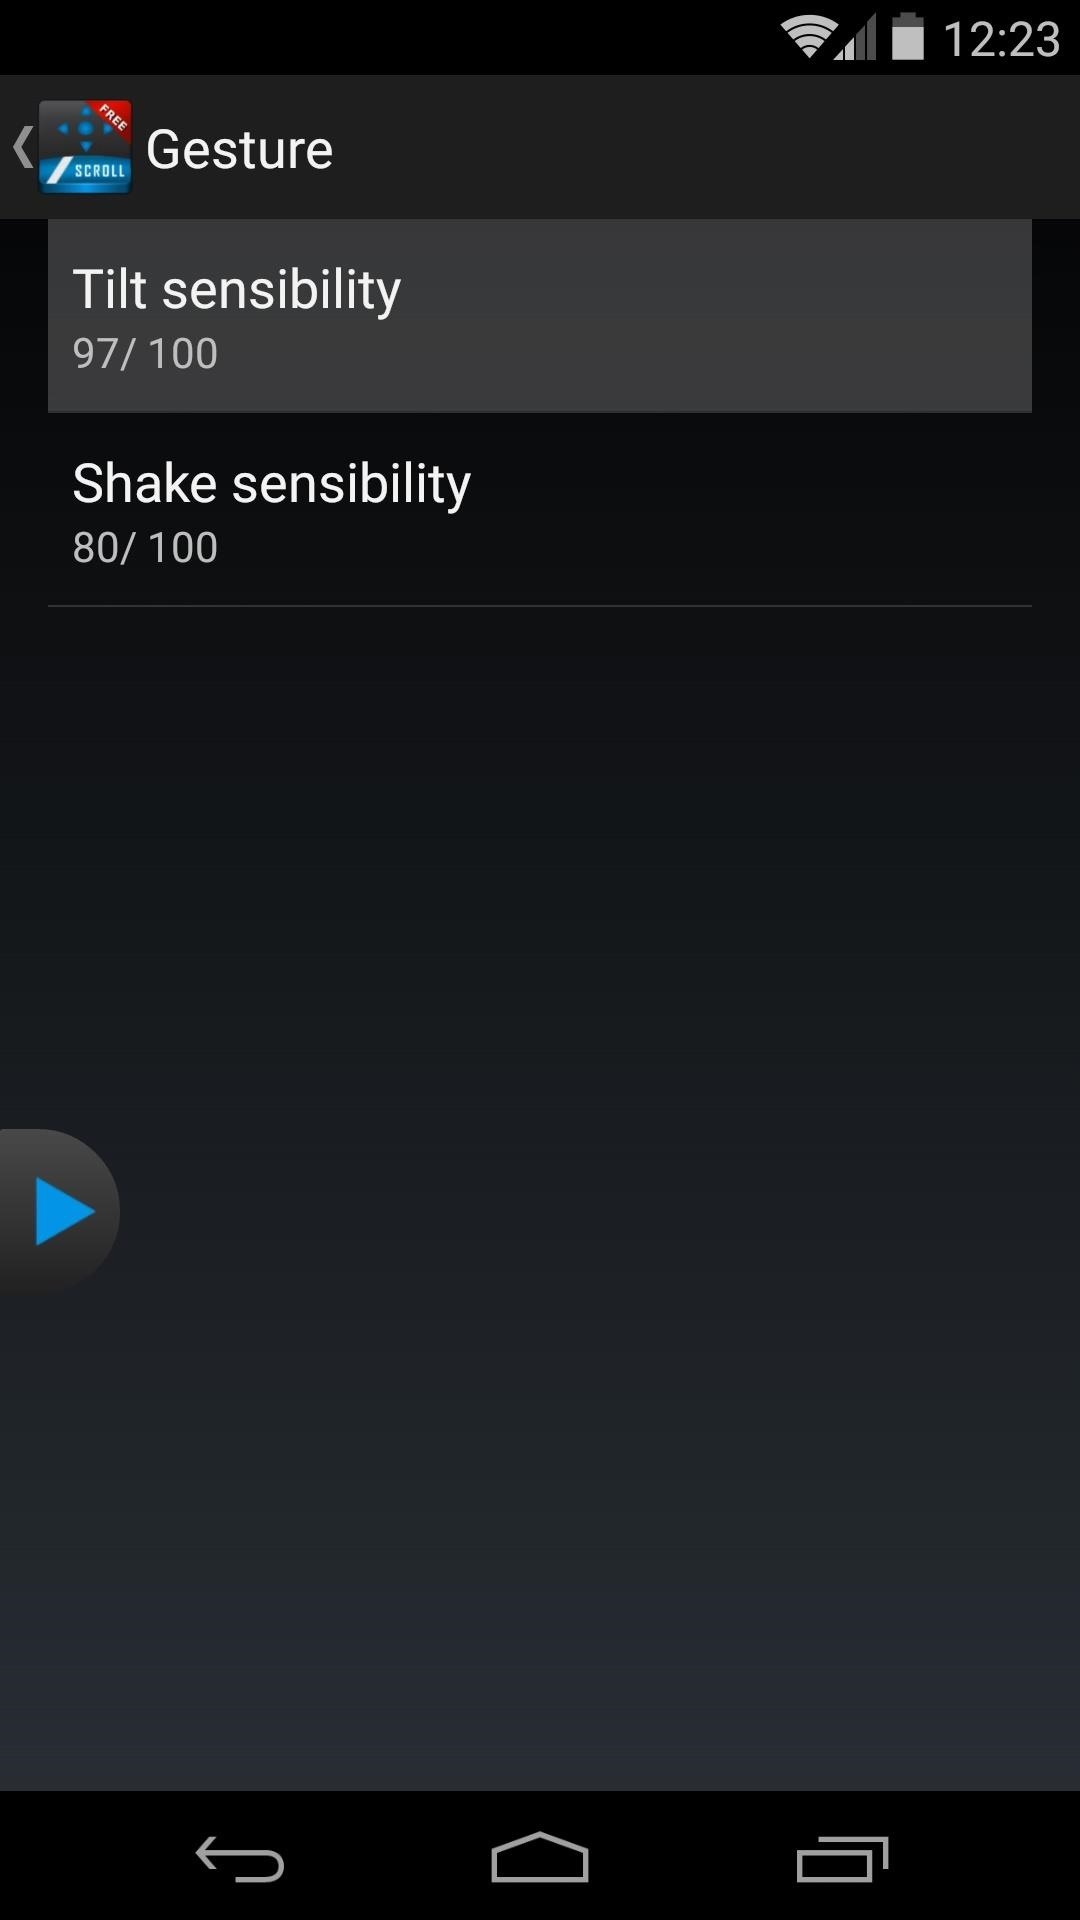
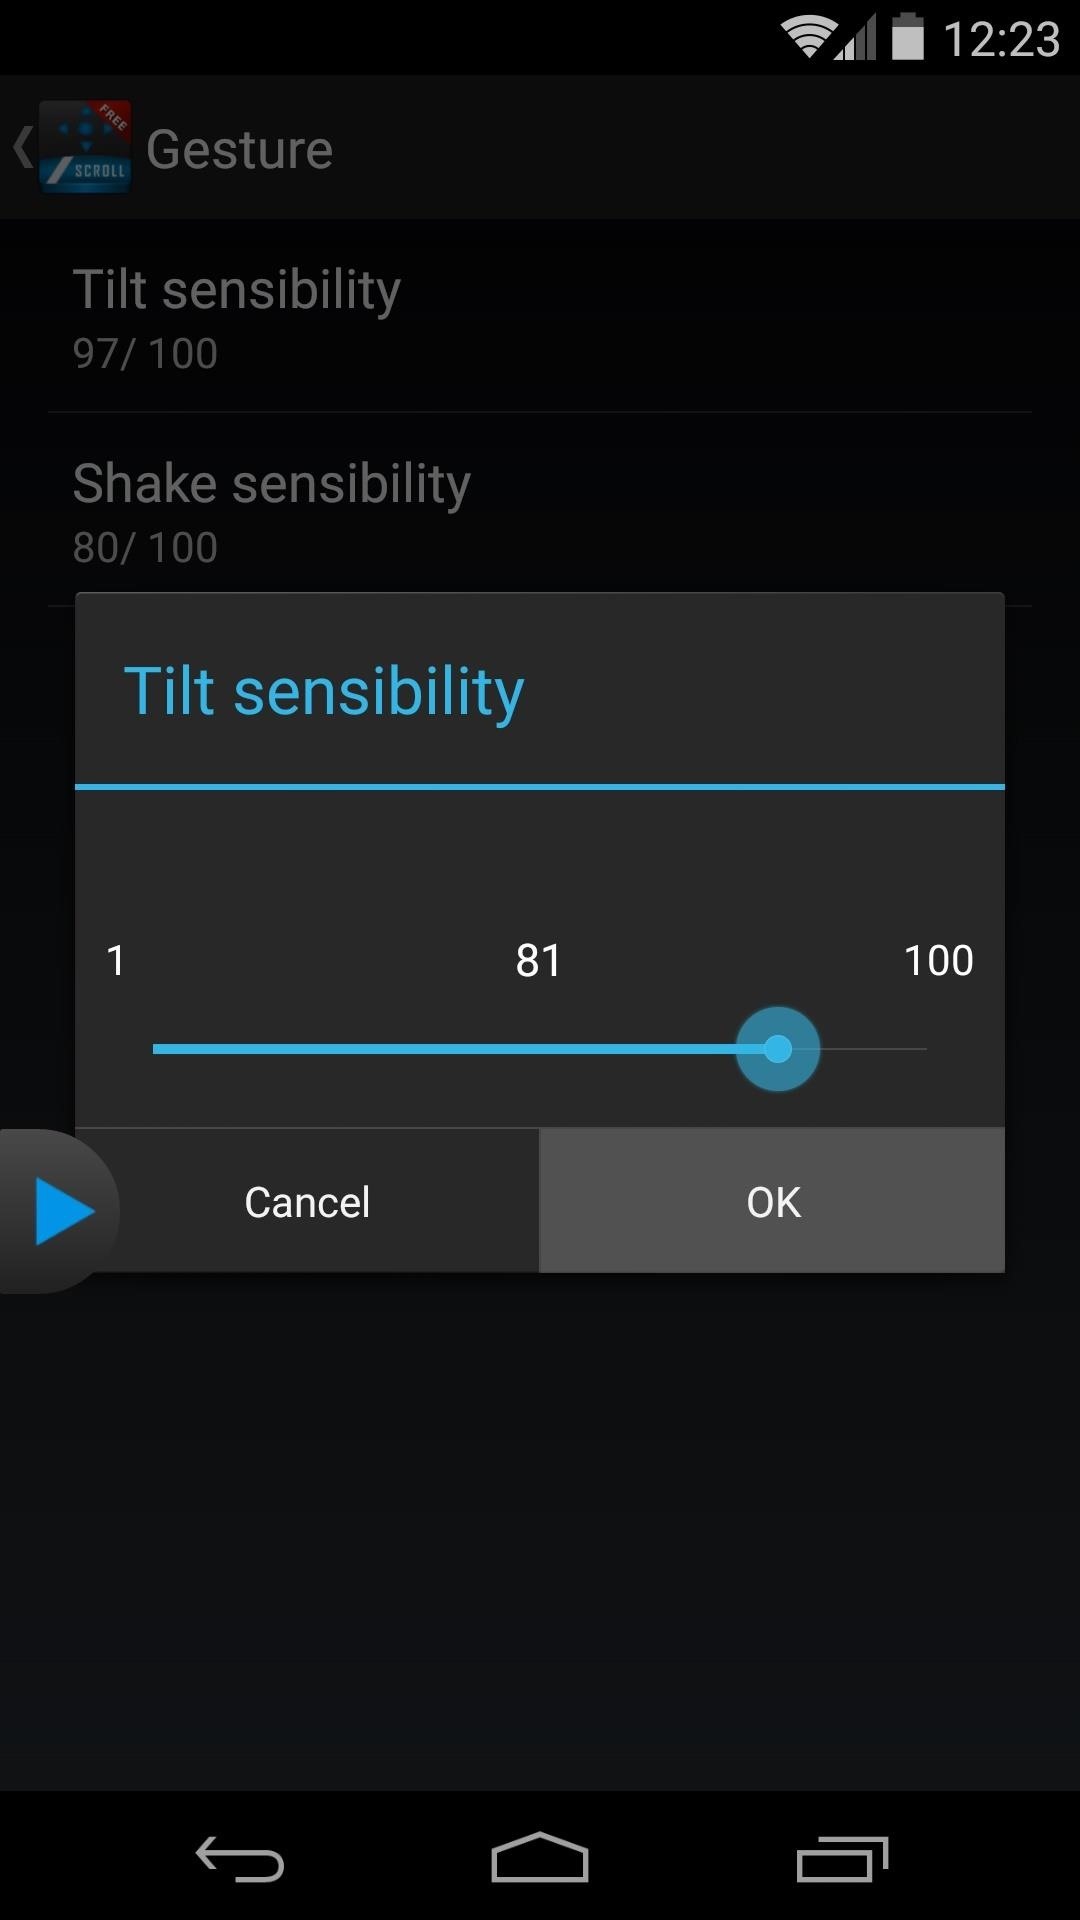
In the Gesture category, you'll find options for adjusting the sensitivity of the Tilt and Shake gestures. If you find that the gestures aren't sensitive enough for your liking, be sure to revisit this section of the app to find a more suitable sensitivity.

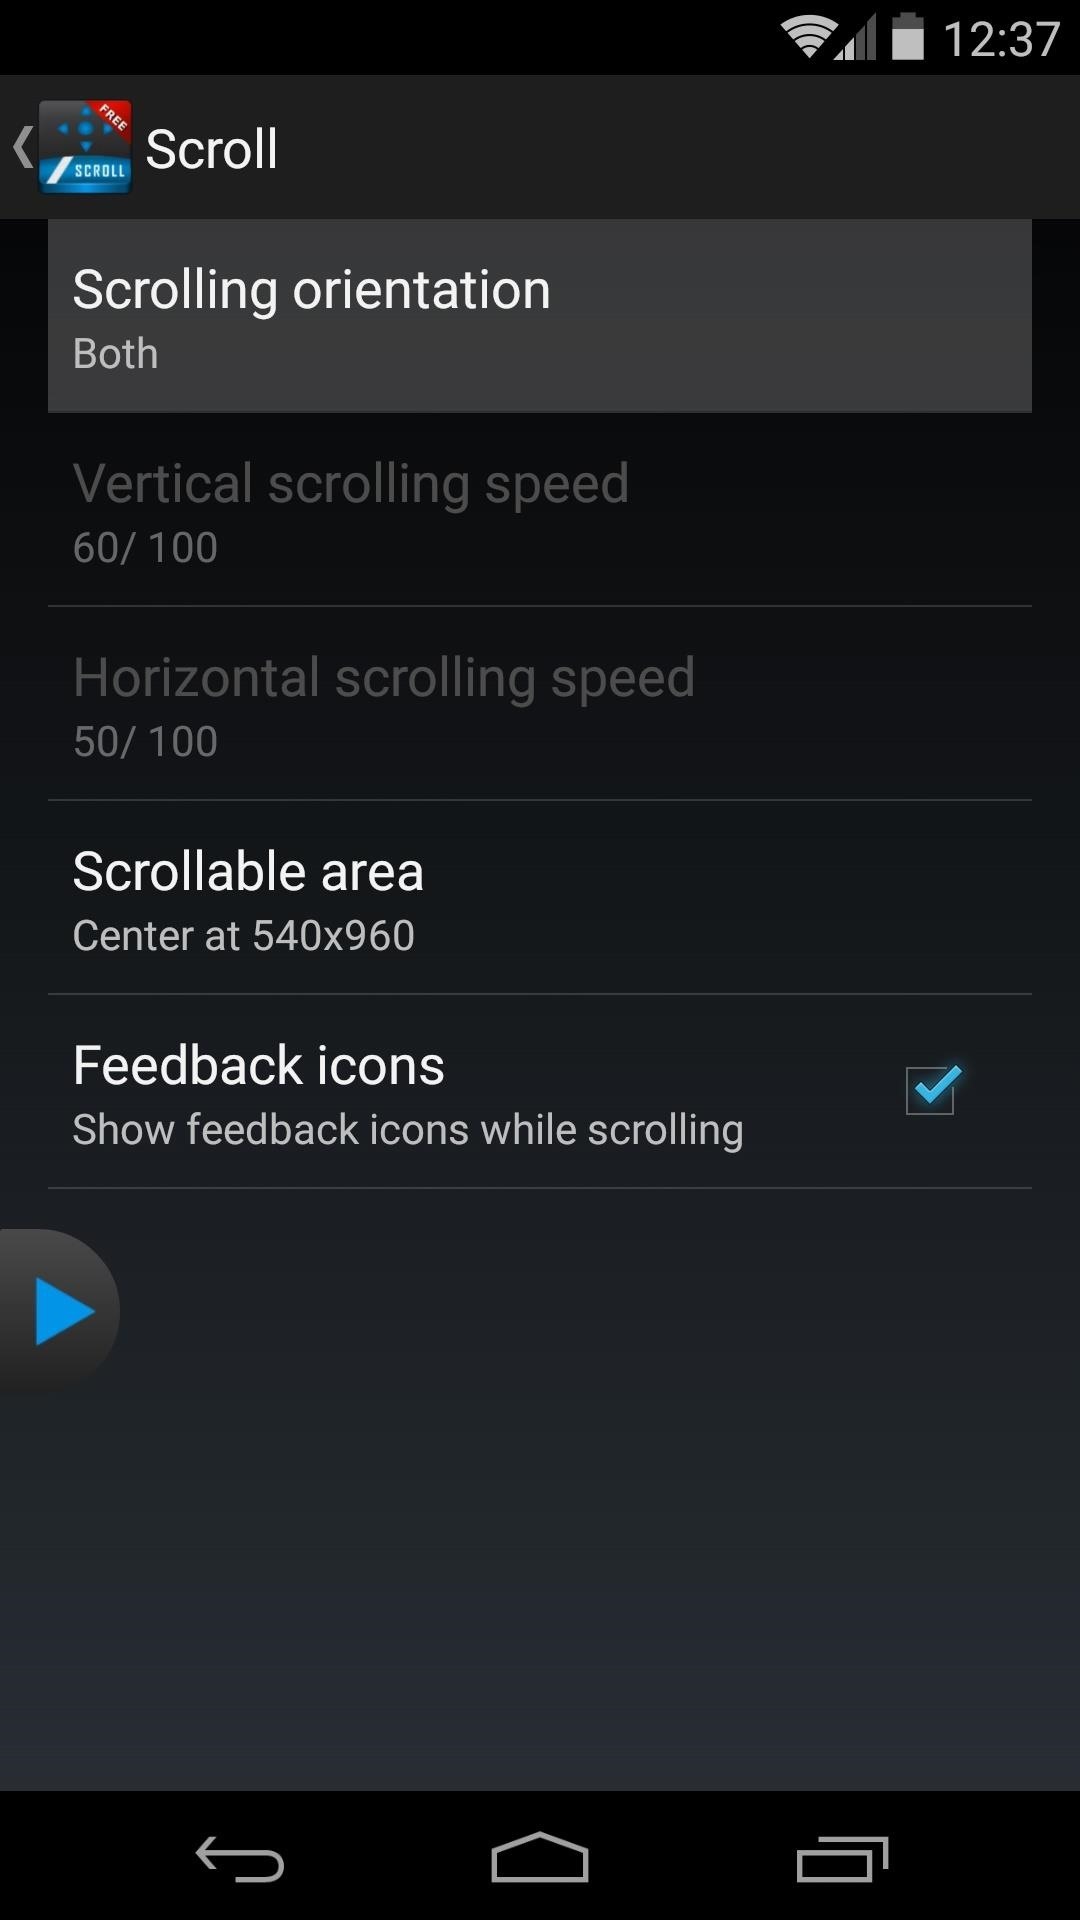
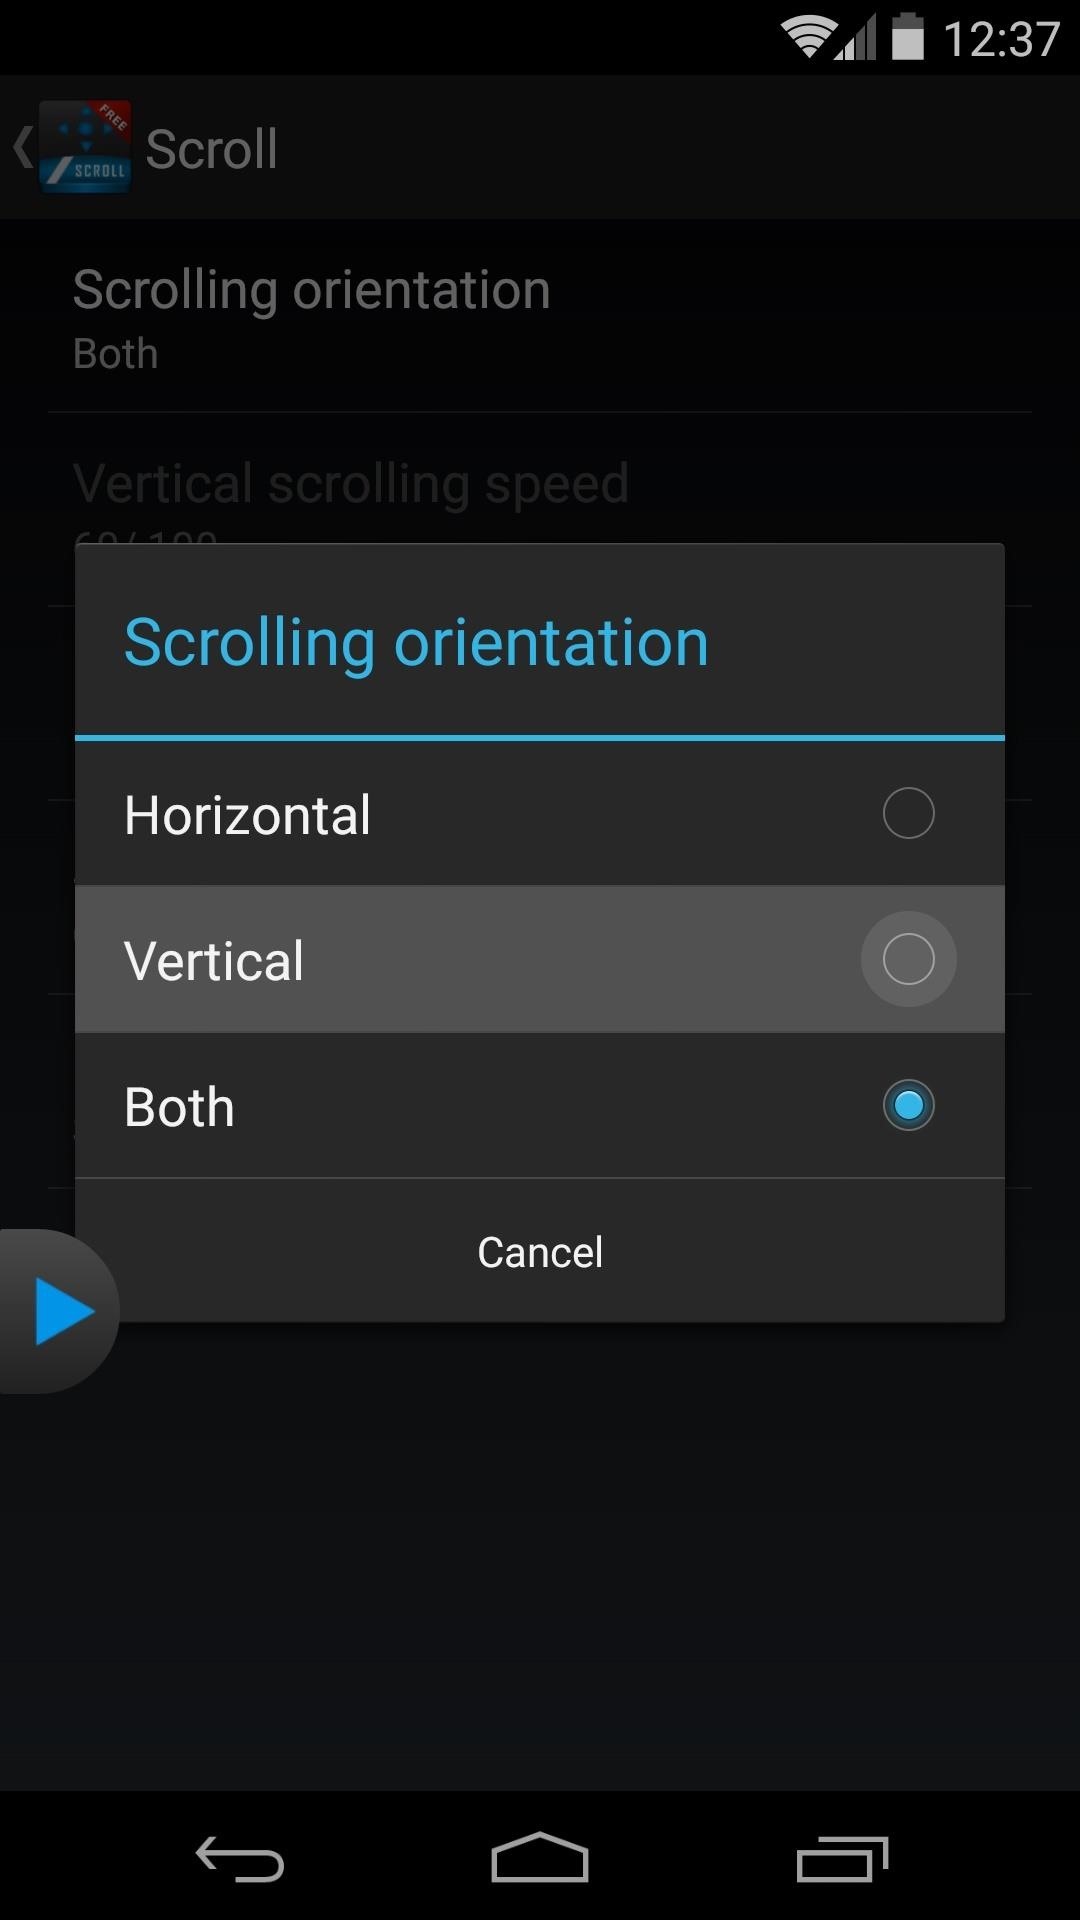
Next, head to the Scroll menu. There are options for disabling the small arrows, or Feedback icons, that show you which direction you are scrolling in. You can also adjust the Scrollable area if you're having trouble keeping content centered on your screen.
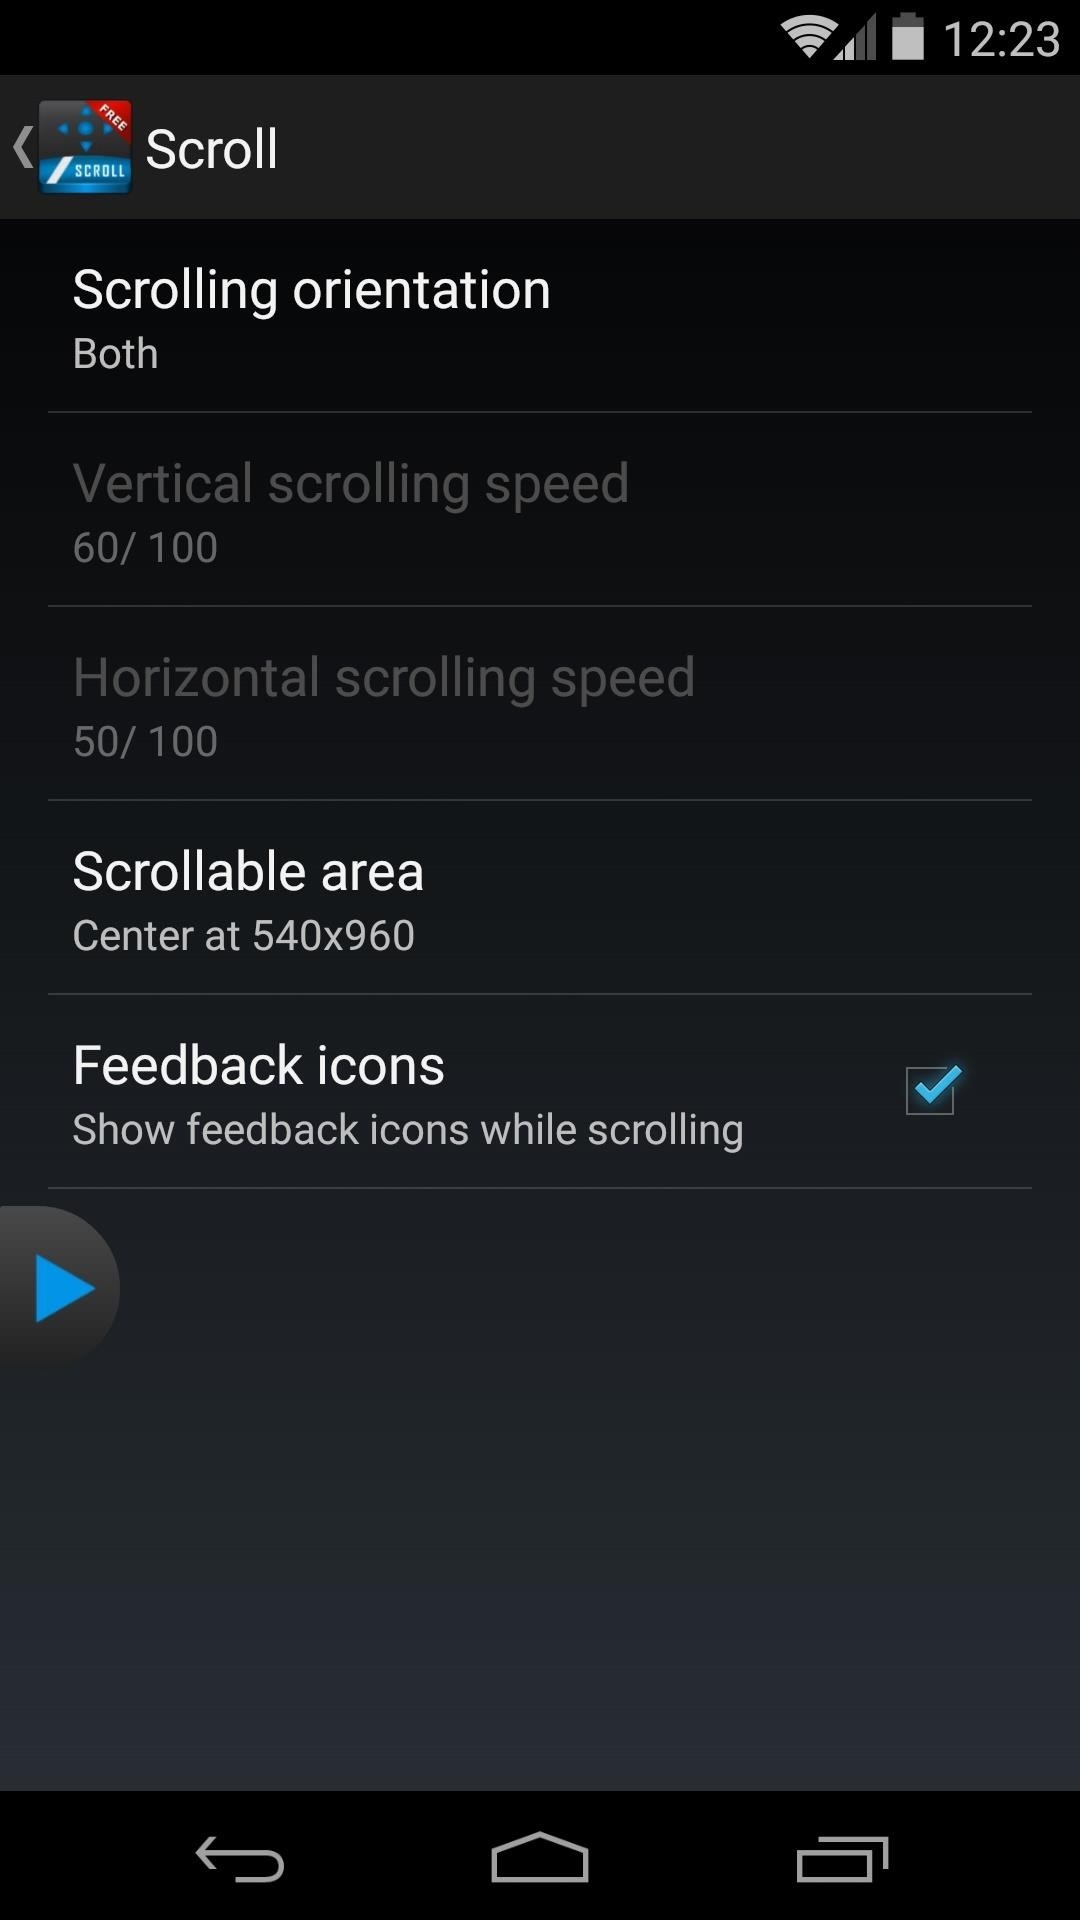
But the most important option in this submenu is Scrolling orientation. By default, this is set to both Horizontal and Vertical. But gesture-based scrolling on multiple axes like that can be a bit confusing and overcomplicated.
So if you're mainly going to use the tilt-scroll function for apps that orient their content vertically (like a web browser), use that option. For side-scrolling apps, use Horizontal, and if you're comfortable with a steeper learning curve, leave it set to Both.
Step 3: Using the Tilt-Scroll Gesture
With Tilt Scroll set up, open an app that you'd like to try the gestures out on. From here, tap the floating widget to expand it, then hit the Play button icon to activate the tilt-scrolling service.

The tilt gestures can be activated by quickly tilting your device in the direction that you want it to scroll, then tilting it in the opposite direction to begin scrolling.
While left and right scrolling gestures are fairly simple, scrolling up and down is not quite as natural. With these two, Up translates to towards you, while Down means away from you. So for example, scroll upward by tilting your device toward yourself to let the app know which direction you'd like to scroll, then quickly tilt it away from yourself to activate scrolling.

The device will continue to auto-scroll until you either touch the screen, or perform the Pause gesture. The pause gesture is done by performing the same sequence of tilts in reverse order.
While the app takes a little while to get used to, I've found that it works very well and becomes rather intuitive after a few tries. How well does it work for you? Let us know in the comments section below.
Just updated your iPhone? You'll find new emoji, enhanced security, podcast transcripts, Apple Cash virtual numbers, and other useful features. There are even new additions hidden within Safari. Find out what's new and changed on your iPhone with the iOS 17.4 update.


Be the First to Comment
Share Your Thoughts